

Are your kitchen cabinets looking tired, but the thought of painting feels like too much work? You don’t have to strip or sand to give your kitchen a fresh new look.
Imagine transforming your cabinets quickly, without the mess or the wait for paint to dry. You’ll discover simple, effective ways to cover your kitchen cabinets that save you time and effort. Keep reading, and you’ll find easy solutions that make your kitchen look brand new—no painting required.
Peel And Stick Vinyl
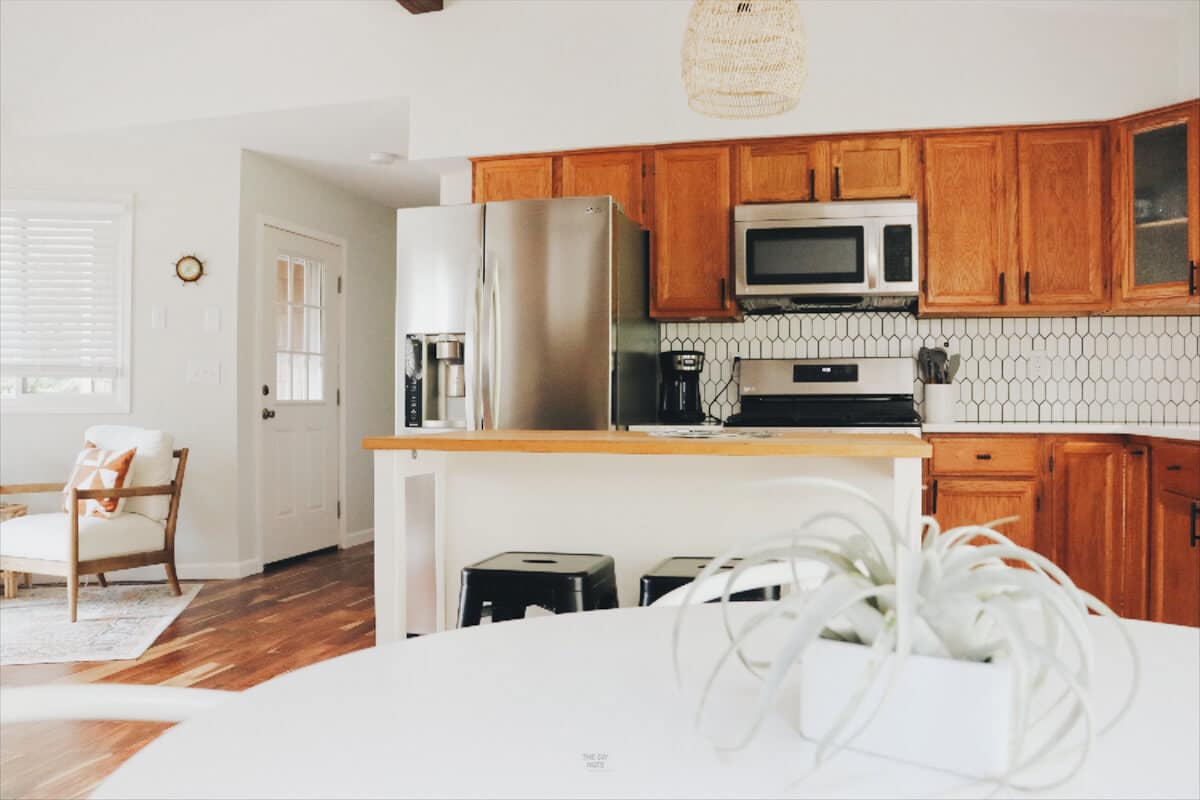
Peel and stick vinyl offers a quick, affordable way to transform your kitchen cabinets without the mess of painting. It’s a flexible, adhesive-backed material that you simply peel off and stick onto your cabinet surfaces. This method works well if you want a fresh look or want to cover up minor damage without a full renovation.
Choosing The Right Vinyl
Not all peel and stick vinyl is created equal. Look for vinyl that is thick enough to hide imperfections but thin enough to wrap around edges smoothly. Matte finishes often look more natural, while glossy vinyl can add a modern touch.
Consider the pattern and color carefully. Do you want a wood grain look, a solid color, or something bold like marble? Also, check if the vinyl is waterproof and heat resistant—important for kitchen environments.
Preparing Cabinet Surfaces
Clean your cabinets thoroughly before applying vinyl. Any grease, dust, or residue will prevent the vinyl from sticking properly. Use a mild detergent and dry the surface completely.
Lightly sanding the surface with fine-grit sandpaper can help the vinyl grip better, especially on glossy cabinets. Make sure to wipe away sanding dust with a damp cloth before application.
Applying Vinyl Smoothly
Take your time to apply the vinyl without rushing. Peel a small section of the backing and align it carefully with the cabinet surface. Use a plastic scraper or a credit card to smooth out air bubbles as you go.
Work slowly from one edge to the other, pressing firmly to ensure good adhesion. If the vinyl has wrinkles or bubbles, gently lift it back up and reapply. Trimming excess vinyl with a sharp utility knife will give a clean, professional edge.
Credit: thediynuts.com
Contact Paper Options
Covering kitchen cabinets with contact paper offers a quick, affordable update. It hides old surfaces and adds style without paint or tools. Contact paper comes in many colors and patterns to fit any kitchen look.
This material is easy to apply and remove, making it perfect for renters or those who change their minds often. Choosing the right type and using good measuring and cutting techniques ensures a smooth finish. Removing contact paper carefully protects your cabinets and keeps them looking good.
Types Of Contact Paper
- Vinyl contact paper is waterproof and durable.
- Matte finish hides fingerprints and glare.
- Glossy finish reflects light and brightens space.
- Patterned designs include wood grain, marble, and tile looks.
- Clear contact paper lets original cabinet color show through.
Measuring And Cutting Tips
- Measure cabinet surfaces carefully with a tape measure.
- Add an extra inch to each side for trimming.
- Use a sharp utility knife or scissors for clean cuts.
- Cut pieces on a flat, stable surface.
- Mark measurements lightly with a pencil on the paper’s backing.
Removing Without Damage
- Peel contact paper slowly and evenly at a low angle.
- Use a hairdryer to warm adhesive and ease removal.
- Remove any sticky residue with warm soapy water or rubbing alcohol.
- Avoid sharp tools that can scratch cabinet surfaces.
- Test removal on a small hidden area first to check safety.
Wallpaper On Cabinets
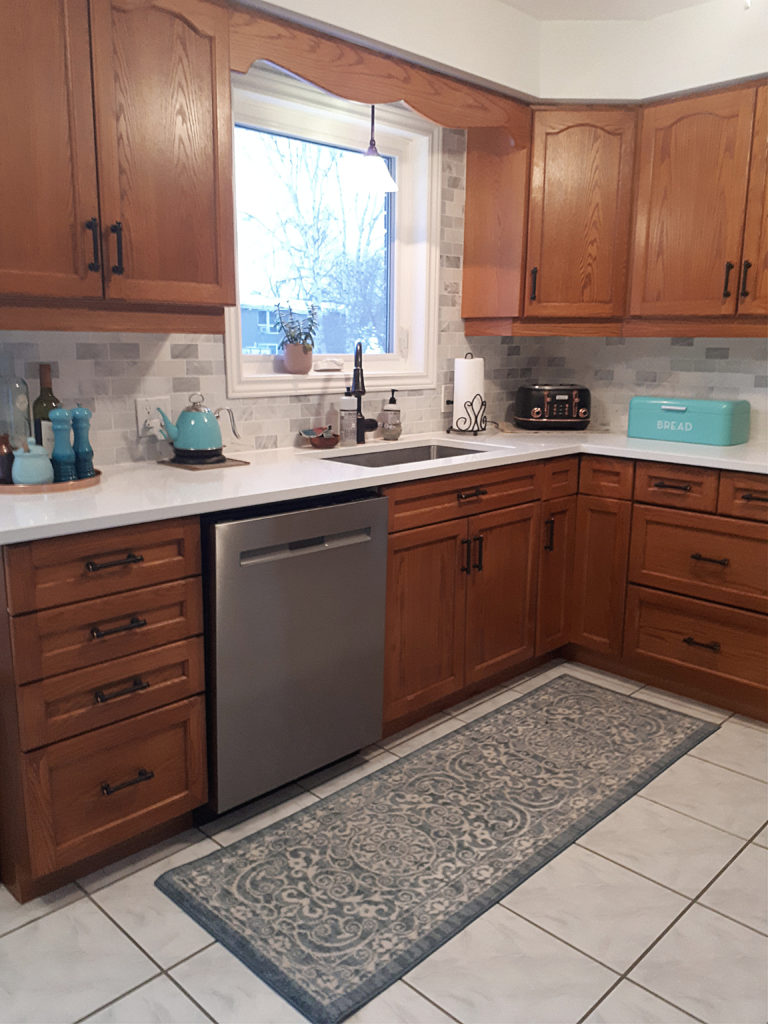
Transforming your kitchen doesn’t always mean paint and brushes. Wallpaper on cabinets offers a unique and stylish alternative. This method brings patterns and textures into your space. It is perfect for renters or those wanting a non-permanent change. Let’s explore how to effectively apply wallpaper on kitchen cabinets.
Selecting Durable Wallpaper
Choose wallpaper that can withstand kitchen conditions. Look for moisture-resistant options. Vinyl wallpaper is a popular choice. It is easy to clean and maintain. Ensure the pattern complements your kitchen's style. A busy pattern can hide imperfections. A soft pattern can add subtle elegance.
Adhering Wallpaper To Wood
Start with a clean surface. Remove any grease or dirt from the cabinets. Use a degreaser for best results. Measure and cut the wallpaper precisely. Apply adhesive evenly on the cabinet surface. Smooth the wallpaper gently to avoid bubbles. A squeegee can help in smoothing. Trim excess wallpaper with a sharp knife.
Sealing For Longevity
Sealing your wallpaper ensures durability. Use a clear, water-based sealant. This adds a protective layer over the wallpaper. Apply the sealant with a brush or roller. Allow it to dry completely. This will protect against moisture and stains. Regular cleaning helps maintain its appearance.
Credit: www.kylieminteriors.ca
Fabric Covers And Curtains
Fabric covers and curtains offer a fresh, soft look to kitchen cabinets. They hide old surfaces without permanent changes. This solution brings color, patterns, and texture to your kitchen. It’s a flexible way to update cabinets without paint or major work.
Picking Suitable Fabrics
Choose fabrics that resist stains and moisture. Cotton blends, linen, and polyester work well in kitchens. Pick colors and patterns that match your kitchen style. Light colors brighten space, while dark fabrics hide dirt better. Consider durability and ease of washing too.
Attaching Fabric Creatively
Use tension rods inside cabinet frames for easy curtain hanging. Velcro strips or adhesive hooks allow quick fabric changes. Staple or tack fabric on wooden frames for a neat look. Draping fabric loosely adds a casual charm. Ensure covers fit well to avoid snagging or slipping.
Maintaining Fabric Covers
Remove covers regularly for washing to keep them fresh. Spot clean spills quickly with mild soap and water. Iron fabrics to remove wrinkles and keep neat appearance. Replace covers seasonally to refresh your kitchen’s look. Store covers in a dry place to avoid mildew.
Decorative Contact Films
Decorative contact films offer a quick and stylish way to update your kitchen cabinets without the mess of painting. These films come in various designs and textures that can mimic wood, marble, metal, or even bold colors. They allow you to personalize your kitchen effortlessly while protecting the surface underneath.
Patterns And Finishes
Contact films are available in endless patterns, from classic wood grains to modern geometric prints. You can choose matte finishes for a subtle look or glossy ones to add shine and brightness to your kitchen. Some films even have textured finishes, giving your cabinets a realistic feel that stands out.
Think about the atmosphere you want to create. Would a sleek, dark wood pattern add warmth? Or would a white marble finish brighten your space? The variety makes it easy to find a style that fits your personality and kitchen design.
Easy Application Steps
Applying decorative contact film is simpler than you might think. First, clean your cabinet surfaces thoroughly to remove grease and dust. Measure and cut the film slightly larger than the cabinet panels to avoid mistakes during application.
Next, peel off the backing slowly and stick the film onto the surface, smoothing out air bubbles with a plastic card or squeegee. If you make a mistake, you can gently lift and reposition the film without damaging it. This flexibility makes it perfect for DIY projects, even if you’re not experienced.
Cleaning And Care
Maintaining contact films is straightforward. Use a soft cloth with mild soap and water to clean the surface—avoid abrasive cleaners that can scratch or peel the film. Since the film is water-resistant, it holds up well in kitchens where spills and splashes happen regularly.
Have you ever struggled with chipped paint ruining your cabinet’s look? Contact films eliminate that worry, keeping your kitchen looking fresh for years with minimal effort. Just wipe gently, and your cabinets will stay vibrant and smooth.

Credit: m.youtube.com
Wood Veneer Sheets
Wood veneer sheets offer a natural and elegant way to refresh kitchen cabinets. They are thin layers of real wood that stick to surfaces. Veneers give cabinets a new look without sanding or painting. These sheets come in many wood types and finishes. They add warmth and texture to your kitchen space. Applying veneer sheets is a cost-effective way to upgrade cabinets fast. This method keeps the original cabinet structure intact while enhancing style.
Choosing Veneer Types
Select veneer based on wood grain and color preference. Popular options include oak, maple, cherry, and walnut. Each type brings a unique texture and tone. Consider the kitchen’s overall style when picking a veneer. Some veneers come pre-finished for easier installation. Others allow staining or sealing after application. Always check veneer thickness and flexibility for cabinet curves.
Tools Needed For Application
- Measuring tape for accurate sizing
- Utility knife or veneer saw for cutting sheets
- Sanding block to smooth cabinet surfaces
- Contact cement or wood glue for bonding
- Roller or scraper to remove air bubbles
- Clamps or weights to hold veneer in place
- Clean cloth for wiping excess glue
Securing Veneer To Cabinets
Start by cleaning and sanding cabinet surfaces. Cut veneer sheets slightly larger than cabinet panels. Apply adhesive evenly on the cabinet and veneer backs. Press veneer firmly onto the cabinet surface. Use a roller to smooth out air pockets. Clamp the veneer or place weights on top. Let the adhesive dry fully before removing clamps. Trim excess veneer with a sharp blade. Sand edges lightly for a seamless finish.
Using Chalkboard Or Whiteboard Film
Using chalkboard or whiteboard film is a smart way to update kitchen cabinets without painting. These films stick directly onto cabinet doors, covering old surfaces with minimal effort. They bring a fresh look while adding practical features to your kitchen space.
Benefits For Kitchen Use
- Easy to clean and maintain with a damp cloth
- Allows quick notes, shopping lists, or reminders
- Durable surface resists stains and scratches
- Non-permanent and removable without damage
- Available in various colors and finishes
Installation Tips
- Clean cabinet surfaces thoroughly before applying
- Use a squeegee to remove air bubbles
- Cut film to fit cabinet door dimensions exactly
- Apply slowly from one edge to prevent wrinkles
- Allow 24 hours for the adhesive to set well
Creative Uses
- Write weekly meal plans or recipes on cabinet doors
- Let kids draw or write messages during meal prep
- Mark cabinet contents with easy-to-change labels
- Use different colors for various kitchen zones
- Combine chalkboard and whiteboard films for style variety
Adding Decorative Hardware
Adding decorative hardware can change your kitchen cabinets without paint. Hardware updates bring style and function in one simple step. New knobs, pulls, and handles create a fresh look quickly. They draw attention and add personality to plain cabinets. This approach suits renters and busy homeowners well. It saves time and money while improving your kitchen’s appeal.
Types Of Hardware To Use
- Knobs: Small and round, easy to install.
- Pulls: Long bars or handles for easy grip.
- Cup pulls: Half-moon shape, classic and elegant.
- Backplates: Decorative plates behind knobs for extra flair.
- Finger pulls: Built-in grooves for a sleek look.
- Mixed metals: Combine brass, chrome, or matte finishes.
Placement Ideas
- Center knobs on cabinet doors for balance.
- Place pulls horizontally on drawers for smooth use.
- Use backplates on large doors to add depth.
- Align hardware consistently for a clean, organized look.
- Try asymmetrical placement for a modern twist.
Combining With Other Covering Methods
Hardware works well with contact paper or vinyl wraps. Use decorative tape along edges for added contrast. Pair hardware updates with adhesive overlays to mimic wood or stone. Layering textures creates a unique, custom style. Small changes together make a big difference.
Frequently Asked Questions
How Can I Cover Kitchen Cabinets Without Painting?
You can cover cabinets using adhesive vinyl, contact paper, or peel-and-stick wallpaper. These options are easy and mess-free. They offer a fresh look without the need for paint or sanding.
What Materials Work Best For Cabinet Coverings?
Vinyl wraps, adhesive films, and decorative contact papers work best. They are durable, easy to apply, and come in various designs. These materials protect cabinets and update their appearance quickly.
Can I Use Wallpaper To Cover Kitchen Cabinets?
Yes, peel-and-stick wallpaper is great for cabinets. It’s easy to remove and doesn’t damage surfaces. Choose moisture-resistant wallpaper for better durability in kitchens.
How Long Does Covering Cabinets Without Painting Last?
With proper care, coverings last 3 to 5 years. Avoid excessive moisture and heat exposure. Quality adhesive materials ensure longer-lasting results and maintain the cabinet’s fresh look.
Conclusion
Covering kitchen cabinets without painting saves time and effort. You can use peel-and-stick wallpaper, adhesive vinyl, or cabinet wraps. These options offer a fresh look without mess or fumes. They also let you change styles easily later on. Choose the method that fits your budget and skill level.
Small changes can make a big difference in your kitchen’s appearance. Try one of these ideas to refresh your space today. Simple, quick, and effective.