
Are your kitchen cupboard doors looking tired or outdated? You don’t have to spend a fortune on a full renovation to give them a fresh, stylish makeover.
Covering your cupboard doors with vinyl is a simple, affordable way to transform your kitchen’s look in just a few hours. Imagine having brand-new cabinets that reflect your style—without the mess or high cost of replacing them. In this guide, you’ll discover easy steps to apply vinyl like a pro, tips to avoid common mistakes, and ideas to make your kitchen truly shine.
Ready to upgrade your space and impress everyone who walks in? Let’s get started!
Materials Needed
Covering kitchen cupboard doors with vinyl requires specific materials. Having the right supplies ensures a smooth and lasting finish. Prepare all items before starting to save time and avoid frustration.
The key materials include the vinyl itself and the tools needed for cutting and application. Each plays an important role in the success of your project.
Choosing The Right Vinyl
- Self-adhesive vinyl is best for easy application.
- Choose a vinyl with a smooth finish for a clean look.
- Pick a color or pattern that matches your kitchen style.
- Measure your cupboard doors to buy enough vinyl.
- Look for waterproof and durable vinyl for long-lasting results.
Tools And Supplies
- Measuring tape to get accurate door dimensions.
- Utility knife or sharp scissors for clean cuts.
- Squeegee or plastic card to smooth out air bubbles.
- Cleaning cloth and mild cleaner to prep surfaces.
- Ruler or straight edge for precise cutting lines.
- Pencil or marker to mark cutting areas lightly.
- Hairdryer to help vinyl conform to curves and corners.

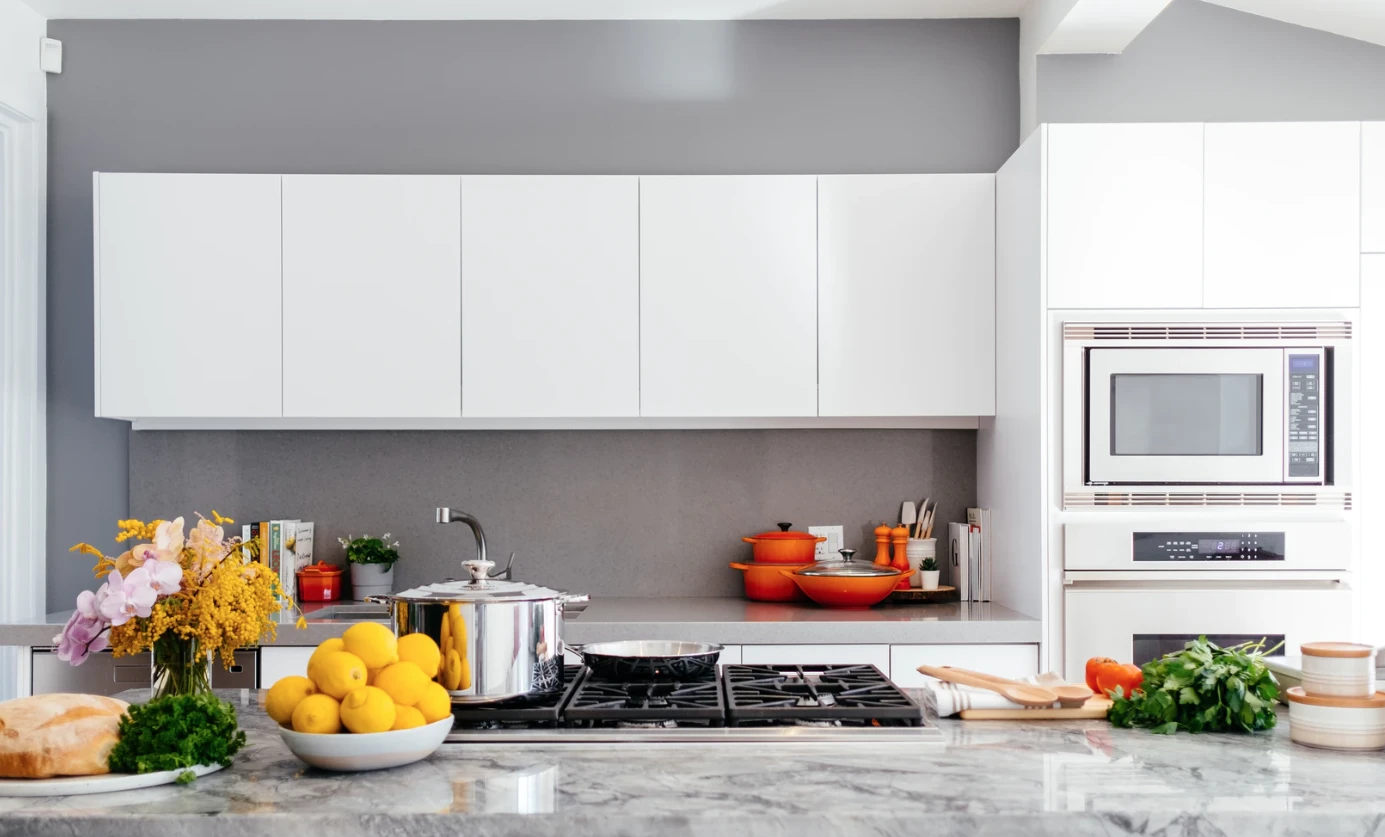
Credit: kitchenmakeovers.co.uk
Preparing The Cupboard Doors
Preparing your kitchen cupboard doors before applying vinyl is crucial for a smooth and long-lasting finish. Skipping this step can lead to bubbles, peeling, or an uneven surface that ruins your hard work. Taking the time to clean, sand, and remove hardware ensures the vinyl sticks properly and looks professional.
Cleaning And Sanding
Start by wiping down your cupboard doors with a mild detergent and warm water. This removes grease, dust, and dirt that could prevent the vinyl from adhering well. Use a clean cloth and make sure to dry the surface completely before moving on.
Next, lightly sand the doors with fine-grit sandpaper. This creates a slightly rough texture that helps the vinyl stick better. Don’t sand too hard—just enough to dull the glossy finish and remove any imperfections.
Have you noticed how even a clean surface can look different after sanding? That subtle change is what makes all the difference when applying vinyl.
Removing Hardware
Take off all handles, knobs, and hinges before you start covering the doors. Removing these pieces makes it easier to apply the vinyl smoothly and prevents damage to your hardware. Use a screwdriver to carefully unscrew each part and keep them in a safe place.
If you’re worried about losing screws or small parts, store them in a labeled container. This little step saves you frustration later when you’re ready to reattach everything.
Have you ever tried to work around hardware only to end up with wrinkles or cuts in the vinyl? Removing hardware first saves you from that headache.
Measuring And Cutting Vinyl
Measuring and cutting vinyl correctly ensures a neat and smooth finish on kitchen cupboard doors. Accurate sizing prevents waste and avoids gaps or overlaps. Taking time in this stage saves effort during application and improves the overall look.
Taking Accurate Measurements
Use a tape measure to get the height and width of each cupboard door. Measure from edge to edge carefully. Write down each dimension to avoid confusion later. Double-check every measurement before cutting vinyl. Consider adding an extra 1/4 inch to each side for trimming and adjustment. This small margin helps with perfect alignment during installation.
Cutting Vinyl Sheets
Place the vinyl sheet on a flat surface. Use a straight edge or ruler to guide your cuts. Mark the dimensions lightly on the vinyl with a pencil or chalk. Use a sharp utility knife or scissors to cut along the marks. Cut slowly to avoid jagged edges. Keep your hands steady and apply even pressure. After cutting, test fit the vinyl on the door to confirm the size. Trim any excess carefully if needed.

Credit: www.kitchenrestoration.co.uk
Applying The Vinyl
Applying vinyl to your kitchen cupboard doors is a step that demands patience and precision. This is where your project starts to take shape and the transformation becomes visible. Handling the vinyl carefully will help you avoid common pitfalls like wrinkles or bubbles.
Positioning The Vinyl
Begin by peeling a small section of the backing paper off the vinyl. Align the exposed edge with the top of your cupboard door. Take your time—once the vinyl sticks, repositioning becomes difficult.
Hold the vinyl taut but not stretched to prevent distortion. Use a ruler or a level to ensure it’s straight before pressing down. If your cupboard has handles or intricate edges, cut vinyl into smaller sections to fit around them smoothly.
Smoothing Out Air Bubbles
After positioning, you’ll likely notice some air bubbles trapped underneath. Use a plastic squeegee or a credit card wrapped in a soft cloth to gently push bubbles toward the edges. Start from the center and work outwards in slow, steady strokes.
If stubborn bubbles remain, pierce them carefully with a pin and press out the air. This small step can make a huge difference in achieving a flawless finish. Have you ever noticed how a few tiny bubbles can ruin the sleek look you worked hard to create?
Finishing Touches
Finishing touches are key to a polished kitchen makeover. Once the vinyl is applied, ensure every detail is perfect. These final steps will complete your cupboard transformation.
Trimming Excess Vinyl
Use a sharp utility knife or scissors. Carefully trim the vinyl edges around the doors. Ensure straight lines for a neat finish. Pay attention to corners and edges. These areas can be tricky. Take your time for precision.
Reattaching Hardware
Gather the removed hardware pieces. Align them with the original positions. Use a screwdriver to secure them back in place. Ensure screws are tight but not overly so. Check that handles and knobs are aligned properly. This ensures functionality and aesthetics.
Maintenance Tips
Maintaining vinyl-covered kitchen cupboard doors keeps them looking fresh and new. Proper care prevents peeling, fading, and stains. Simple habits extend the life of your vinyl surfaces.
Cleaning Vinyl Surfaces
Use a soft cloth or sponge for cleaning vinyl. Mild soap mixed with warm water works best. Avoid harsh chemicals that can damage the vinyl finish.
- Wipe gently to remove dirt and grease.
- Dry the surface with a clean cloth to avoid water spots.
- Clean spills immediately to prevent stains.
Avoiding Damage
Protect vinyl from sharp objects and excessive heat. Avoid using abrasive scrubbers or brushes. Keep vinyl away from direct sunlight for long periods.
- Open and close cupboard doors carefully to prevent peeling.
- Use handles or knobs instead of pulling directly on the vinyl.
- Do not place hot pans or appliances directly on vinyl surfaces.

Credit: www.kitchenrestoration.co.uk
Frequently Asked Questions
What Type Of Vinyl Is Best For Kitchen Cupboard Doors?
Choose adhesive vinyl designed for cabinets. It is durable, water-resistant, and easy to apply. Avoid thin vinyl that tears easily or lacks adhesive strength.
How Do I Prepare Cupboard Doors Before Applying Vinyl?
Clean doors thoroughly with soap and water. Remove grease, dirt, and dust. Sand lightly to create a smooth surface for better vinyl adhesion.
Can I Remove Vinyl Without Damaging Cupboard Doors?
Yes, gently peel vinyl using a heat gun or hairdryer. Warmth softens the adhesive, making removal easier without harming the door surface.
How Long Does Vinyl On Cupboard Doors Typically Last?
High-quality vinyl lasts 5 to 7 years with proper care. Avoid excessive moisture and clean gently to extend its lifespan.
Conclusion
Covering kitchen cupboard doors with vinyl is a simple way to refresh your space. You only need a few tools and patience to get good results. Vinyl gives your cupboards a new look without spending much money. It also protects the doors from scratches and stains.
Take your time to measure and cut carefully. Stick the vinyl smoothly to avoid bubbles and wrinkles. This project suits anyone who wants a quick and easy kitchen update. Try it yourself and enjoy a fresh, stylish kitchen in no time.