
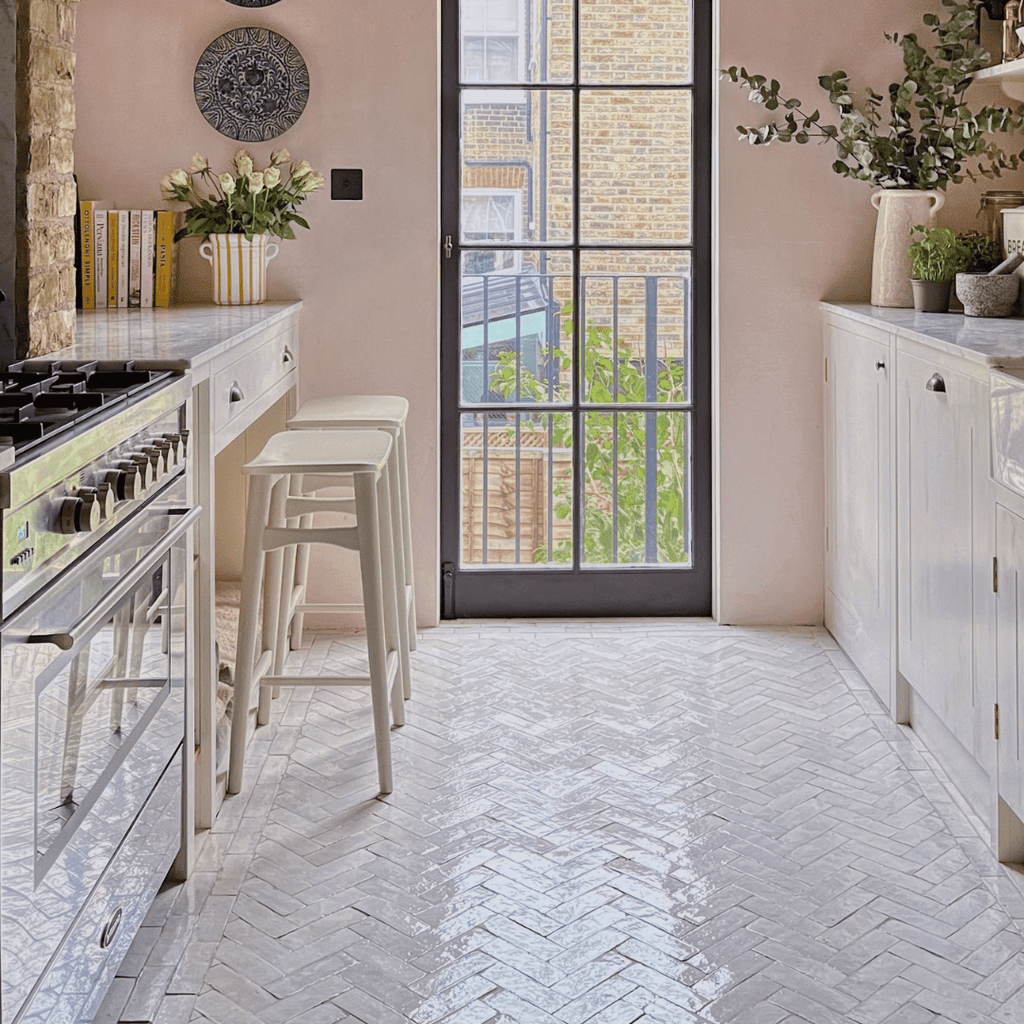
Are you tired of looking at old, worn-out kitchen floor tiles? Maybe they’re cracked, stained, or just don’t match your style anymore.
The good news is, you don’t have to tear up your entire floor to give your kitchen a fresh new look. Learning how to cover kitchen floor tiles can save you time, money, and a lot of hassle. You’ll discover simple, effective ways to transform your kitchen floor quickly and beautifully.
Ready to see your kitchen in a whole new light? Let’s dive in!

Credit: www.flor.com
Choosing The Right Covering
Choosing the right covering for kitchen floor tiles can change the room’s look and feel. It also protects the floor and makes cleaning easier. Several options fit different styles, budgets, and needs. Consider durability, ease of installation, and maintenance before picking a covering.
Vinyl And Laminate Options
Vinyl and laminate flooring can cover old tiles smoothly. Both come in various colors and patterns. They resist water and stains well, ideal for kitchens. Installation is easy, often requiring just a click-lock system. These options provide a fresh look without major remodeling.
Area Rugs And Mats
Area rugs and mats add warmth and color to the kitchen floor. They are simple to place and move around. Rugs protect high-traffic spots from wear and dirt. Choose washable materials to keep them fresh. This option lets you change styles quickly and cheaply.
Peel-and-stick Tiles
Peel-and-stick tiles stick directly over existing kitchen tiles. They come in many designs, from classic to modern. These tiles are quick to apply and remove. Perfect for renters or those who want a temporary update. Choose high-quality tiles for longer durability and better look.
Paint And Stencils
Painting tiles offers a creative and budget-friendly covering. Use special floor paint for lasting results. Stencils add patterns and personality to plain tiles. This option requires careful prep and sealing. It gives a unique, customized look to the kitchen floor.

Credit: www.reddit.com
Preparing Your Floor
Preparing your kitchen floor is essential before covering the tiles. Proper preparation ensures a smooth, durable finish. It also helps the new covering stick well and last longer.
Start by making sure the floor is clean and in good condition. Next, check for any uneven parts that need fixing. These steps create a perfect base for your new floor covering.
Cleaning And Repairing Tiles
Remove all dirt, grease, and stains from the tiles. Use a strong floor cleaner and a scrub brush. Make sure to clean grout lines too. Let the floor dry completely before moving on.
Check for cracked or loose tiles. Replace or fix them to avoid bumps. Fill any gaps or holes with tile filler. Smooth the surface for an even look.
Leveling Uneven Surfaces
Run your hand over the floor to find uneven spots. Use a level tool for accuracy. Small bumps or dips can cause problems later.
Apply a self-leveling compound to fix dips and low areas. Follow the product instructions carefully. Spread the compound evenly with a trowel.
Let the leveling layer dry fully. Sand down any rough patches. Your floor should feel flat and smooth before covering.
Diy Installation Tips
Updating your kitchen floor tiles is a rewarding DIY project. With a bit of guidance, you can achieve professional results. This guide covers essential tips for a smooth DIY tile installation. Follow these steps and avoid common pitfalls to transform your kitchen floor.
Tools You’ll Need
- Measuring tape
- Tile cutter or wet saw
- Notched trowel
- Rubber mallet
- Tile spacers
- Level
- Grout float
- Sponge
- Bucket
- Adhesive and grout
Step-by-step Application Guide
- Measure the kitchen floor area accurately.
- Choose your tile pattern and layout.
- Mix tile adhesive as per instructions.
- Spread adhesive with a notched trowel.
- Press tiles firmly into adhesive.
- Use spacers for even gaps between tiles.
- Check alignment with a level regularly.
- Allow adhesive to dry completely.
- Mix grout and fill gaps between tiles.
- Remove excess grout with a damp sponge.
- Let the grout cure as directed.
Common Mistakes To Avoid
- Skipping surface preparation before tiling.
- Using the wrong adhesive for your tiles.
- Failing to use spacers for even tile placement.
- Not allowing adhesive and grout to dry properly.
- Neglecting regular checks with a level.
Styling Ideas For A Fresh Look
Refreshing the look of your kitchen floor tiles can instantly uplift the entire space. Styling your floor cover thoughtfully not only hides imperfections but also adds character and warmth. Let’s dive into ideas that bring a fresh vibe without a full renovation.
Color Coordination
Choosing the right colors can transform your kitchen floor dramatically. Match your floor cover with your cabinetry or wall paint to create a seamless flow.
Try pairing neutral tiles with vibrant rugs or mats in shades like teal or burnt orange. This contrast draws attention without overwhelming the space.
Think about how colors affect mood. Would you prefer calming blues or energizing reds? Your choice sets the kitchen’s tone.
Mixing Textures
Combining different textures adds depth and interest to your kitchen floor. For example, smooth vinyl covers can balance out rough stone or ceramic tiles.
Layer a soft, woven rug over sleek tiles to introduce warmth and comfort underfoot. This mix invites you to spend more time in the kitchen.
Have you noticed how texture changes the feel of a room? Experiment with materials like jute, cotton, or even bamboo to find what suits your style.
Seasonal Changes
Switching floor covers with the seasons keeps your kitchen feeling fresh all year. Lightweight mats or rugs work well in summer, while thicker, cozy options suit winter.
You might use bright, floral patterns in spring and autumnal hues like rust or mustard in fall. This subtle shift can reflect the changing nature outside your window.
Consider how easy it is to swap your covers. Do you have storage space for off-season rugs? Planning ahead makes seasonal styling hassle-free.
Budget-friendly Solutions
Covering kitchen floor tiles doesn’t have to drain your wallet. There are smart, budget-friendly solutions that can transform your space without the high costs of full renovations. By choosing the right materials and shopping wisely, you can refresh your kitchen floor on a tight budget.
Repurposing Materials
Look around your home or local community for materials you can reuse. Old vinyl flooring, leftover laminate planks, or even wooden pallets can be turned into stylish floor covers. I once used reclaimed wood from a friend's renovation to create a warm and unique kitchen floor at a fraction of the price.
Repurposing not only saves money but also adds character to your kitchen. Ask yourself: what unused materials do I have that could get a new life underfoot?
Affordable Stores And Brands
Discount stores and online marketplaces often carry quality floor covering options at lower prices. Brands like TrafficMaster and Achim Home Furnishings offer peel-and-stick vinyl tiles that are easy to install and budget-friendly.
Check out clearance sections and seasonal sales for additional savings. Don’t hesitate to visit local hardware stores or big-box retailers, as they sometimes have overstock or discontinued items perfect for your project.
Cost Comparison Of Covering Types
| Covering Type | Average Cost per sq. ft. | Installation Difficulty | Durability |
|---|---|---|---|
| Peel-and-Stick Vinyl Tiles | $1 - $3 | Easy (DIY friendly) | Moderate |
| Laminate Flooring | $2 - $5 | Moderate | High |
| Painted Tiles | $1 - $2 (paint cost) | Easy | Low to Moderate |
| Area Rugs or Mats | $10 - $50 each | Very Easy | Variable |
Which option fits your budget and lifestyle best? Consider how long you want the cover to last and how much effort you want to spend on installation. Sometimes spending a little more upfront means less hassle down the road.
Maintaining Your New Floor
Maintaining your new kitchen floor keeps it looking fresh and lasting longer. Regular care prevents damage and preserves the floor’s beauty. Simple habits protect the surface and save money on repairs.
Cleaning Tips
Clean your floor daily with a soft broom or vacuum. Use a damp mop and mild detergent for deeper cleaning. Avoid harsh chemicals that can dull or damage tiles. Quickly wipe spills to prevent stains or slips.
Repairing Minor Damages
Fix small chips or cracks as soon as you notice them. Use tile repair kits that match your floor’s color. For loose tiles, apply a strong adhesive to secure them. Early repairs stop damage from spreading.
Extending The Lifespan
- Place mats near entrances to catch dirt and moisture.
- Use felt pads under furniture legs to prevent scratches.
- Keep pet nails trimmed to avoid tile damage.
- Avoid dragging heavy items across the floor.
- Regularly seal grout lines to protect from stains and moisture.

Credit: www.bertandmay.com
Frequently Asked Questions
What Are The Best Materials To Cover Kitchen Floor Tiles?
Popular materials to cover kitchen floor tiles include vinyl, laminate, peel-and-stick tiles, and rugs. These options are easy to install, cost-effective, and can refresh your kitchen’s look without removing old tiles.
Can I Cover Kitchen Floor Tiles Without Removing Them?
Yes, you can cover kitchen floor tiles without removal by using self-adhesive vinyl or laminate flooring. These options lay directly over the existing tiles, saving time, effort, and cost while protecting the original floor.
How Do I Prepare Kitchen Tiles Before Covering Them?
Clean the tiles thoroughly to remove dirt, grease, and grime. Ensure the surface is dry and level. Repair any cracks or loose tiles to create a smooth base for covering materials.
Are Peel-and-stick Tiles Durable For Kitchen Floors?
Peel-and-stick tiles are moderately durable and ideal for low to medium traffic kitchens. They resist moisture and are easy to replace, but may not last as long as traditional flooring options.
Conclusion
Covering kitchen floor tiles can refresh your space quickly. Choose materials that suit your style and budget. Measure carefully to avoid mistakes and waste. Prepare the floor well for better results. Take your time during installation for a neat finish.
Small efforts bring big changes to your kitchen. Enjoy a fresh look without a full renovation. Try these tips and see the difference yourself.