
Are your kitchen shelves looking plain or worn out? You don’t have to replace them to give your kitchen a fresh, stylish look.
Covering your kitchen shelves is an easy and affordable way to transform your space instantly. Whether you want to add color, protect the shelves from spills, or simply refresh their appearance, this guide will show you simple steps you can follow right now.
Keep reading, and you’ll discover smart tips and tricks to make your kitchen shelves look amazing without spending a fortune or hiring a pro. Your kitchen makeover starts here!

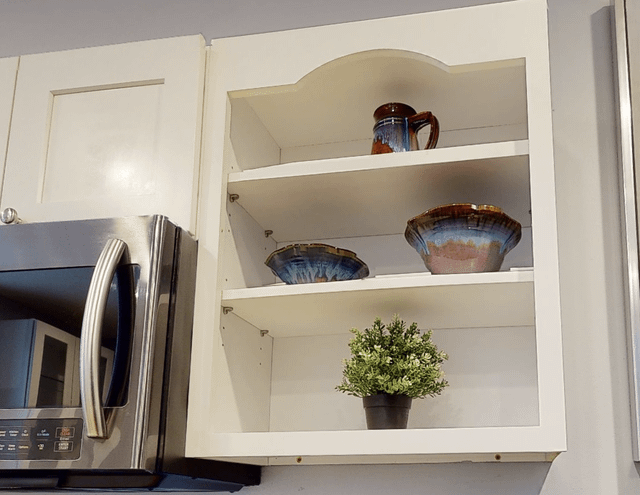
Credit: www.amazon.ca
Choosing The Right Material
Choosing the right material for covering kitchen shelves affects both look and function. Some materials offer easy cleaning, while others bring style and texture. The best choice depends on your kitchen’s use and your personal taste. Consider durability, moisture resistance, and ease of application. The material should also match your kitchen’s style for a seamless appearance.
Contact Paper Options
Contact paper is a popular choice for kitchen shelves. It is easy to apply and remove, making it ideal for renters. It comes in many colors and patterns, from wood grain to marble. Contact paper protects shelves from spills and stains. Choose a waterproof type for better durability. Clean the surface before applying to avoid bubbles and wrinkles.
Fabric Covers
Fabric covers add a soft, cozy touch to kitchen shelves. Cotton or linen fabrics work well because they are breathable and washable. Use fabric with a pattern or color that matches your kitchen theme. Attach fabric with double-sided tape or small tacks for easy removal. Fabric covers may need regular washing to keep them fresh and clean.
Paint And Stencils
Painting shelves can create a custom look that fits your style perfectly. Use water-resistant paint for durability in kitchen areas. Stencils add patterns or designs without much effort. Choose light colors to brighten shelves or dark tones for contrast. Sand and clean shelves before painting to ensure better paint adhesion. Allow paint to dry completely before using the shelves.
Preparing The Shelves
Preparing your kitchen shelves properly is essential before covering them. This step helps the covering material stick well and last longer. Careful preparation also makes the shelves look neat and smooth. Take your time with these tasks to achieve the best results.
Cleaning And Sanding
Start by removing all items from the shelves. Wipe the surface with a damp cloth to remove dust and dirt. Use mild soap if needed, then dry completely. Sand the shelves lightly using fine-grit sandpaper. This roughens the surface for better grip. After sanding, clean off dust with a dry cloth.
Measuring Accurately
Measure the width and depth of each shelf precisely. Use a metal tape measure for accuracy. Write down the numbers clearly. Double-check measurements to avoid mistakes. Precise measurements help cut covering materials to the right size. This saves time and prevents waste.
Gathering Tools
Collect all tools before starting the project. Common tools include:
- Measuring tape
- Screwdriver or drill (to remove shelves if needed)
- Sandpaper
- Cleaning cloths
- Scissors or utility knife
- Adhesive or glue
- Paintbrush or roller (for adhesive)
Having everything ready keeps the process smooth. No interruptions or searching for tools mid-task.
Applying Contact Paper
Cut kitchen shelves to fit contact paper carefully for a smooth finish. Peel the backing slowly and press firmly to avoid bubbles. Use a ruler or edge to smooth out wrinkles as you go.
Applying contact paper to kitchen shelves can transform their look. It's an easy and affordable way to refresh your kitchen decor. With a bit of patience, you can achieve a smooth and professional finish. Let's dive into the steps to apply contact paper effectively.
Cutting To Size
Measure the shelves accurately. Use a measuring tape for precision. Transfer the measurements to the back of the contact paper. Mark with a pencil for guidance. Cut the paper carefully with scissors or a utility knife. Ensure your cuts are straight for a neat appearance.
Peeling And Sticking
Start peeling back a corner of the paper. Align it with the edge of the shelf. Slowly peel the backing while pressing the paper onto the shelf. Use your hand to smooth the paper as you go. Peel and stick in small sections to avoid misalignment.
Smoothing Out Bubbles
Bubbles can form under the paper. Use a credit card or a smoothing tool. Push the bubbles towards the edges. Work slowly to avoid tearing the paper. If bubbles persist, prick them gently with a pin. Smooth the area again for a flat finish.

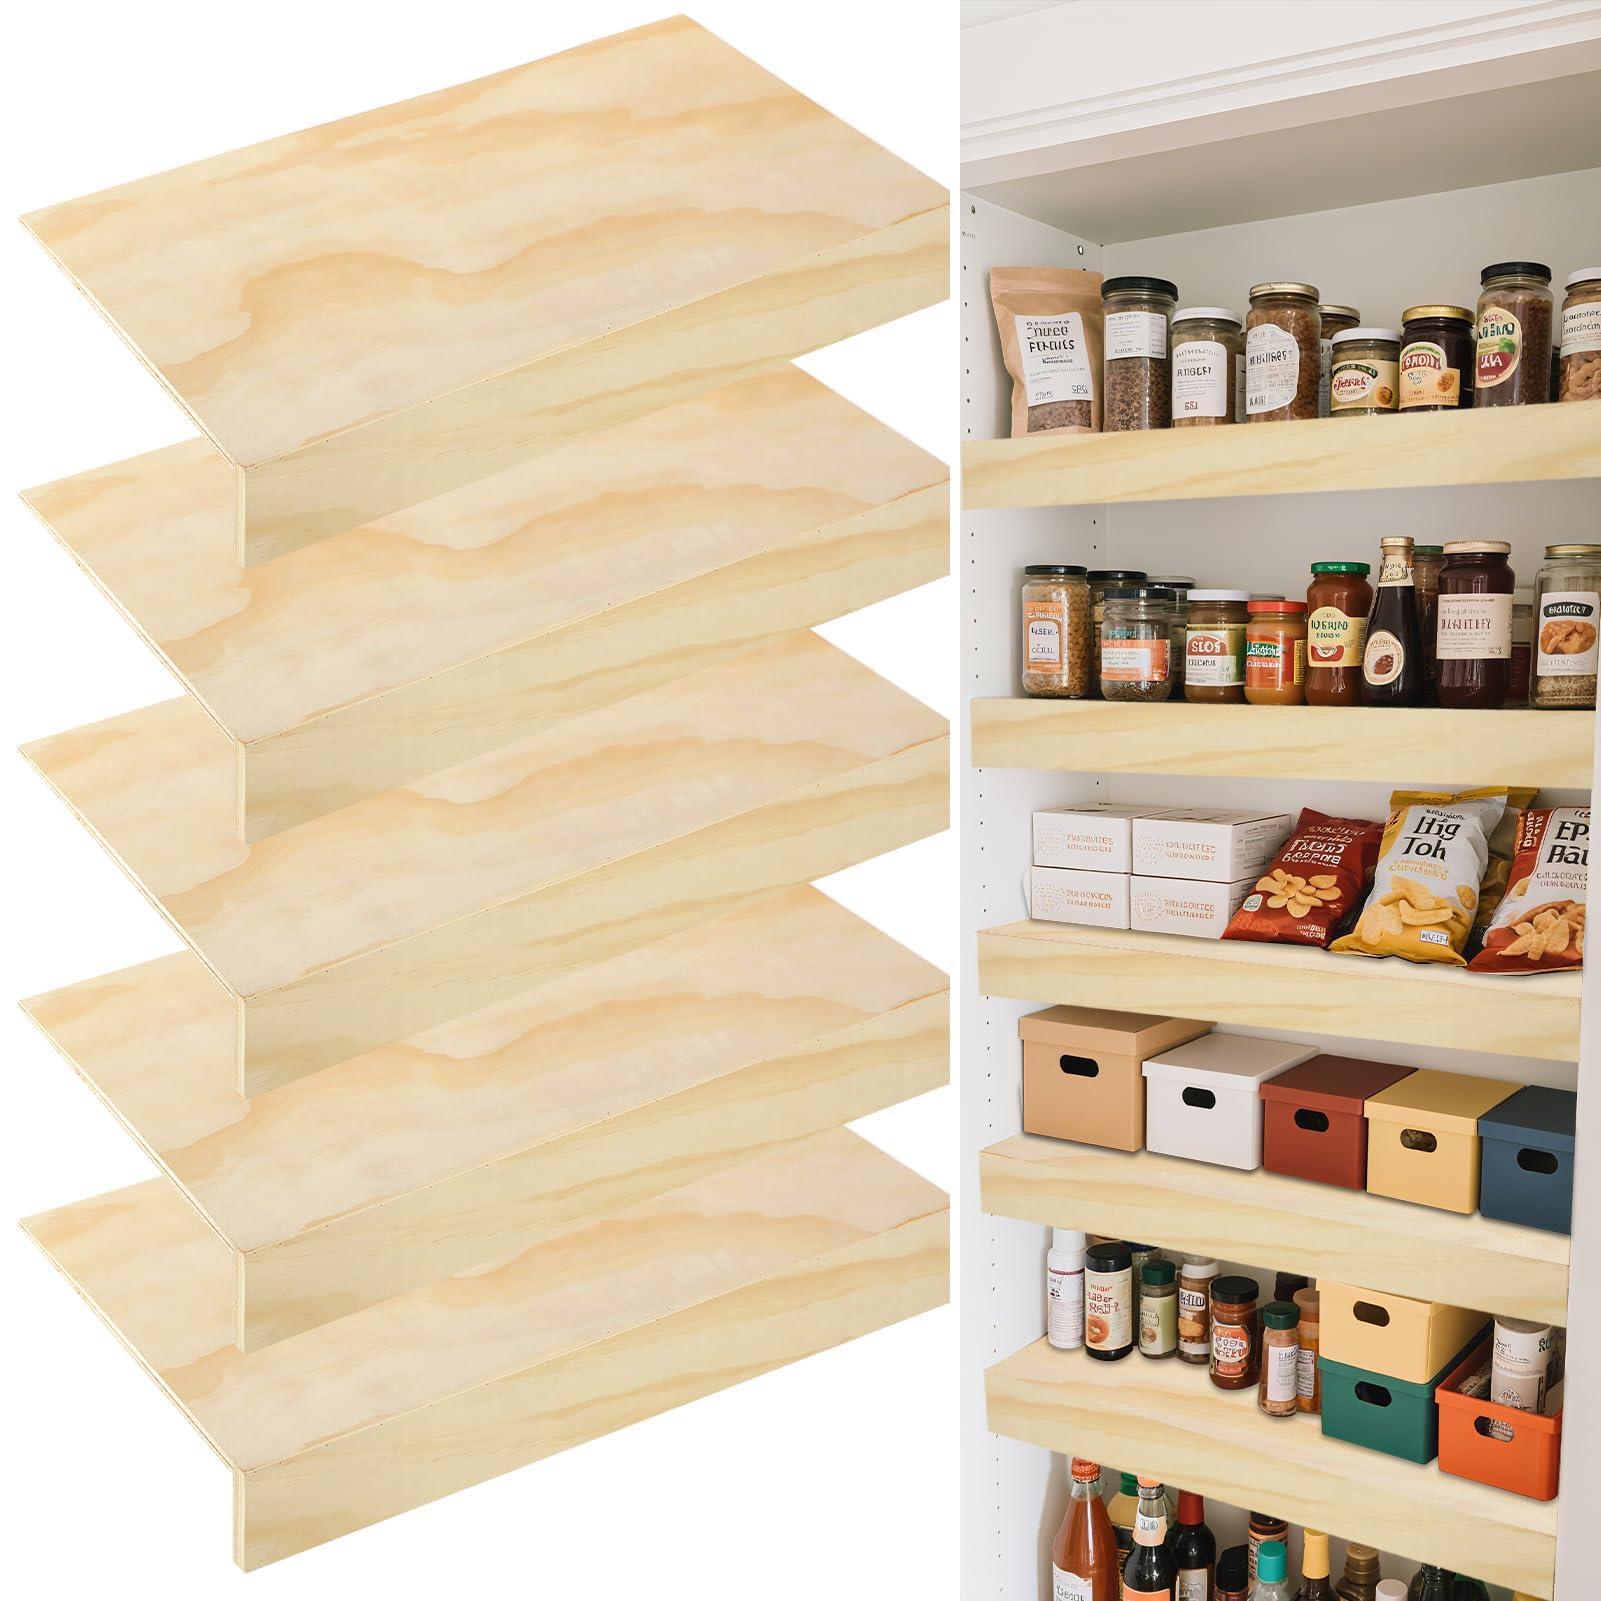
Credit: www.amazon.com
Using Fabric For Covering
Using fabric to cover your kitchen shelves is a smart way to add color, texture, and protection without spending a lot. Fabric covers can hide clutter and protect shelves from dust or spills. Plus, they’re easy to change when you want a new look or need to clean.
Selecting Washable Fabrics
Choose fabrics that are easy to wash and dry quickly. Cotton and polyester blends work well because they resist stains and don’t wrinkle easily. Avoid delicate fabrics like silk or anything that might fade with frequent washing.
Think about the color and pattern too. Light colors show dirt fast, while dark or patterned fabrics hide stains better. If your kitchen gets a lot of sunlight, pick fabrics that won’t fade quickly.
Attaching With Velcro Or Tacks
Velcro strips make it simple to attach and remove fabric covers. You can stick one side on the shelf edge and sew or glue the other side to your fabric. This setup lets you take covers off quickly for washing or switching styles.
Tacks are another option, especially if you want a more permanent look. Use small upholstery tacks or push pins to secure fabric tightly. Just be careful not to damage wooden shelves if you want to keep them pristine.
Creating Removable Covers
Design covers that slip on and off easily, like simple curtains or fabric panels with tabs. You can sew a pocket at the top to slide a rod or wire through, then hang it from the shelf edge. This makes cleaning and swapping fabrics hassle-free.
Another idea is to use snap buttons or ties along the edges. These fasten securely but let you remove covers quickly. Have you tried making removable covers? They make refreshing your kitchen feel fun and practical.
Painting And Decorating
Painting and decorating kitchen shelves can transform the entire space. It brings personality and freshness to a room often filled with plain wood or metal. A well-painted shelf can brighten your kitchen and match your style perfectly. Simple techniques can turn old shelves into eye-catching features.
Choosing Durable Paint
Durable paint is essential for kitchen shelves. Choose paints that resist moisture and stains. Look for options labeled as washable or scrubbable. Acrylic latex paint is a great choice. It dries fast and holds up well to cleaning. Satin or semi-gloss finishes add shine and protect better than flat paint.
Using Stencils For Patterns
Stencils add unique patterns without much effort. They help create neat shapes and designs. Use painter’s tape to hold stencils in place. Dab paint gently with a sponge or brush. Avoid heavy layers to prevent bleeding under the stencil. Patterns like flowers, stripes, or geometric shapes make shelves stand out.
Sealing For Longevity
Sealing painted shelves keeps the finish strong and lasting. Use a clear polyurethane or polycrylic sealer. These protect against scratches and water damage. Apply with a brush in thin, even coats. Allow each coat to dry completely before adding the next. Sealing keeps shelves looking fresh for years.
Creative Styling Tips
Creative styling transforms plain kitchen shelves into eye-catching displays. It adds personality and charm to your space. With simple ideas, shelves become both beautiful and functional. Use patterns, colors, trims, and practical touches to style shelves uniquely.
Mixing Patterns And Colors
Combine different patterns for a lively look. Stripes, florals, and dots can work well together. Use a shared color to keep harmony. Choose soft or bright colors to match your kitchen style.
Place patterned liners or wallpapers on shelf backs. It creates depth and interest behind dishes or jars. Try mixing solid colors with prints for balance. Change colors seasonally to refresh your kitchen’s mood.
Adding Decorative Trims
Decorative trims add detail and texture to shelves. Use lace, ribbon, or thin wooden strips along edges. Choose trims that complement your kitchen theme. Paint or stain trims for a custom look.
Attach trims with glue or small nails for durability. They highlight shelves and create a finished appearance. Combine trims with shelf liners for a polished style. Trims can also hide shelf wear and tear.
Incorporating Functional Elements
Mix style with function by adding practical touches. Hooks under shelves hold mugs or utensils. Small baskets or bins organize loose items neatly.
Use chalkboard paint on shelf sides for notes or labels. Add LED strip lights for brightness and mood. Functional elements keep shelves tidy and attractive. They make daily kitchen tasks easier and faster.
Maintenance And Care
Maintaining kitchen shelf covers keeps your space neat and fresh. Proper care helps covers last longer and look good. Regular attention stops dirt buildup and damage. Follow simple steps to clean, repair, and know when to change covers.
Cleaning Tips For Different Materials
Different covers need different cleaning methods. Use a soft cloth and mild soap for vinyl or plastic covers. For fabric covers, gentle hand washing works best. Avoid harsh chemicals that can damage the material. Dry covers completely before putting them back to prevent mold.
Repairing Small Damages
Fix small tears or scratches quickly. Use fabric glue for minor rips on cloth covers. Clear nail polish can stop small cracks on plastic covers. Keep repair kits handy to fix issues early. Small repairs prevent bigger problems later.
When To Replace Covers
Replace covers when stains don’t come out or damage is extensive. Look for fading colors or peeling surfaces. If covers no longer fit well, it’s time for new ones. Fresh covers keep your kitchen looking clean and updated.
Credit: www.amazon.com
Frequently Asked Questions
What Materials Are Best For Covering Kitchen Shelves?
Popular materials include contact paper, fabric, vinyl, and wallpaper. These are durable, easy to clean, and add style. Choose a material that matches your kitchen décor and withstands moisture and heat. Always opt for water-resistant options for long-lasting shelf protection.
How Do I Prepare Kitchen Shelves Before Covering?
Clean shelves thoroughly to remove dust and grease. Sand rough surfaces to ensure smoothness. Measure shelves accurately for precise cutting of covering material. Proper preparation ensures better adhesion and a neat finish for your shelf coverings.
Can I Cover Open Kitchen Shelves Without Damaging Them?
Yes, using removable contact paper or adhesive shelf liners prevents damage. Avoid strong glues or nails. These options protect shelves and allow easy removal or replacement. This approach keeps your shelves intact and maintains their original condition.
How To Maintain Covered Kitchen Shelves Easily?
Wipe covered shelves regularly with a damp cloth. Avoid abrasive cleaners to protect the covering. For spills, clean immediately to prevent stains. Proper maintenance extends the life and appearance of your shelf coverings.
Conclusion
Covering kitchen shelves can change your space quickly. Choose a style that fits your kitchen’s look. Use easy-to-find materials for a simple update. Keep your shelves clean and organized for best results. Small changes make a big difference in your kitchen.
Try different covers to see what you like most. Enjoy a fresh, neat kitchen without much effort. Your shelves will look new and help keep things tidy. Simple steps can make your kitchen feel more inviting.