
Are you tired of your old kitchen wall tiles but dread the messy, time-consuming job of removing them? What if you could give your kitchen a fresh, new look without the hassle of demolition?
You’re in the right place. This guide will show you simple, effective ways to cover your kitchen wall tiles quickly and affordably. Imagine transforming your space with minimal effort and no dust or damage. Keep reading to discover easy solutions that will make your kitchen feel brand new—without lifting a single tile.

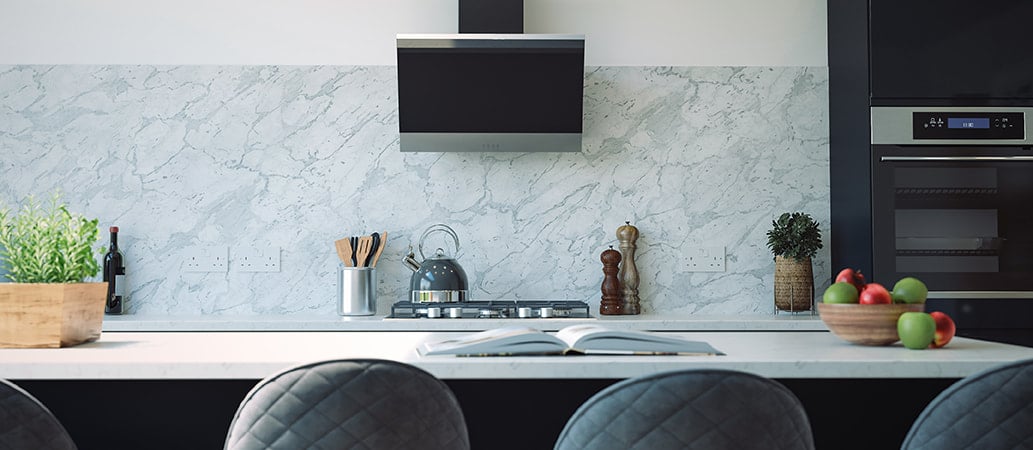
Credit: www.amazon.ca
Reasons To Cover Tiles
Covering kitchen wall tiles without removing them offers a smart alternative for many homeowners. It lets you change the look of your kitchen quickly and easily. This option suits those who want a fresh design without the mess and cost of full renovation.
Choosing to cover tiles can improve your kitchen’s style and function. It also saves effort and money compared to traditional tile removal. Understanding the reasons to cover tiles helps in making the best choice for your space.
Cost-effective Solutions
Covering tiles costs less than removing and replacing them. There is no need for expensive tools or professional labor. Materials like peel-and-stick tiles or paint are affordable and easy to use. This approach reduces waste and avoids damage to walls.
Homeowners can update their kitchens without spending a lot. It offers a budget-friendly way to achieve a new look. You get a fresh design without breaking the bank.
Time-saving Benefits
Covering tiles is faster than tile removal and installation. No demolition work means less dust and noise. You can apply covers or paint in a few hours or days. This saves days or weeks of renovation time.
Quick updates suit busy people or renters who want minimal disruption. It allows you to enjoy your kitchen sooner with less hassle. Time-saving also means less stress during home improvement.
Temporary Vs Permanent Options
Some tile covers are temporary, ideal for renters or short-term changes. Peel-and-stick tiles or wallpaper can be removed without damage. These options let you refresh your kitchen without commitment.
Permanent covers include tile paint or paneling that lasts longer. They provide durable protection and a lasting new look. Choose based on how long you want the update to last.
Knowing the difference helps in picking the right solution. Temporary covers offer flexibility. Permanent ones offer durability and style.
Preparing The Tile Surface
Preparing the tile surface is a crucial step if you want your new kitchen wall finish to last. Skipping this part can lead to peeling, bubbling, or uneven results. Taking time to properly prep ensures a smooth, strong bond for whatever you plan to add over your existing tiles.
Cleaning And Degreasing
Tiles in the kitchen often have layers of grease and grime that you might not see at first glance. Start by scrubbing the surface with warm water and a strong detergent or degreaser.
Use a sponge or cloth to remove all visible dirt and oily residue. Rinse thoroughly and let the tiles dry completely before moving on.
Have you noticed paint or wallpaper failing because the surface wasn’t clean? That’s exactly what you want to avoid here.
Sanding For Better Adhesion
Tiles are typically glossy, which makes it hard for new materials to stick. Lightly sanding the tile surface roughens it up, giving paint or adhesive something to grip.
Use medium-grit sandpaper and sand in circular motions until the shine dulls. Wipe away the dust with a damp cloth and allow the surface to dry.
This step may seem small, but it dramatically improves the durability of your new covering.
Repairing Damaged Tiles
Look closely for any cracks, chips, or loose tiles. These need fixing before you cover the wall to avoid unevenness or future damage.
Fill small cracks with a tile filler or epoxy putty, smoothing it out to match the tile surface. For loose tiles, reattach them with tile adhesive and let them set fully.
Have you ever covered a damaged surface only to regret it because imperfections showed through? Taking the time to repair now saves frustration later.
Peel And Stick Tiles
Peel and stick tiles offer a simple way to cover kitchen walls without removing old tiles. They stick directly onto surfaces, saving time and effort. Ideal for quick updates, these tiles come in many designs and are easy to install.
Peel and stick tiles offer a quick and affordable way to refresh your kitchen walls without the hassle of removing existing tiles. These innovative products come in a range of styles and colors, mimicking the look of traditional tiles. They are a game-changer for anyone looking to update their space with minimal effort and mess.
Choosing The Right Product
When selecting peel and stick tiles, consider the overall aesthetic of your kitchen. Do you want a sleek, modern look, or are you aiming for something more rustic? Browse through the options, and you might find yourself drawn to a style you hadn’t considered before. Check the tile material and ensure it's suitable for kitchen environments. Vinyl or glass are great options as they are both water-resistant and easy to clean. Always measure your space accurately before purchasing to avoid any last-minute surprises.
Application Tips
Start with a clean, dry surface to ensure the tiles adhere properly. It’s a good idea to wipe down your existing tiles with a mild cleaner and let them dry completely. If you skip this step, you risk the tiles peeling off prematurely. Plan your layout before starting the application. Use a level to keep your tiles straight, and work from the bottom up to maintain alignment. Peel the backing paper off gradually, smoothing out air bubbles as you go.
Maintenance And Durability
Peel and stick tiles are designed to withstand the wear and tear of daily kitchen use. However, a little care goes a long way in maintaining their appearance. Regularly wipe them down with a damp cloth to remove any grease or food splatters. Avoid using harsh chemicals, as they can damage the tile surface. If a tile does get damaged, the beauty of peel and stick tiles is their easy replacement—simply peel off the damaged tile and stick on a new one. How simple is that? Peel and stick tiles not only save time but also empower you to transform your kitchen in a matter of hours. Would you consider giving them a try?
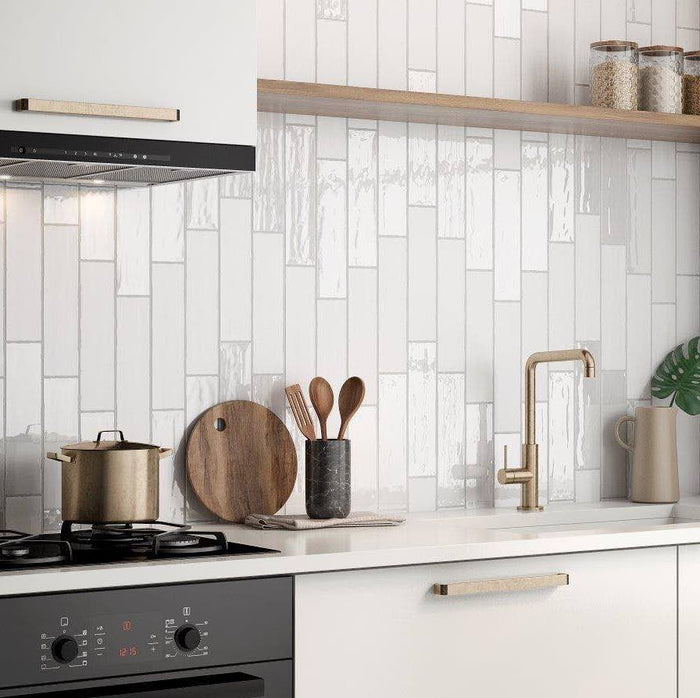
Credit: www.mineraltiles.com
Using Paint Over Tiles
Using paint over kitchen wall tiles is a smart way to refresh your space without the mess and expense of removing tiles. It can transform the look of your kitchen quickly and affordably. However, to make the paint stick and last, you need the right materials and approach.
Best Paint Types
Choose paint designed for high-moisture areas and slick surfaces. Epoxy paint is a top choice because it bonds well and resists water and stains. Another good option is urethane-modified acrylic paint, which offers durability and flexibility.
Avoid regular wall paint; it won’t hold up on tiles. Look for paints labeled specifically for tiles or bathrooms. This ensures your new finish withstands heat and humidity from cooking.
Priming The Surface
Priming is a crucial step you can’t skip. Tiles are smooth and non-porous, so paint won’t stick without a good primer. Use a high-adhesion primer made for glossy surfaces.
Before priming, clean the tiles thoroughly to remove grease and dirt. Sanding the tiles lightly with fine-grit sandpaper also helps the primer grip better. This prep work makes a big difference in how long your paint job lasts.
Painting Techniques
Use a small roller with a smooth nap or a high-quality brush for even coverage. Apply paint in thin, consistent layers to avoid drips and bubbles. Let each coat dry completely before adding the next.
Consider two to three coats for full coverage and durability. Don’t rush—patience here pays off with a professional-looking finish. Also, keep your workspace well-ventilated to help the paint cure properly.
Installing Wallpaper Or Wall Panels
Covering kitchen wall tiles without the hassle of removing them can save you time and effort. Installing wallpaper or wall panels offers a quick way to refresh your kitchen's look. These options let you add style and personality without the mess of demolition.
Selecting Suitable Wallpaper
Not all wallpaper works well over tiles. You need a type that sticks firmly and resists moisture. Vinyl wallpaper is a solid choice because it’s waterproof and easy to clean.
Think about the texture too. Smooth wallpapers adhere better to tiled surfaces. Avoid thin or delicate papers that might peel off quickly.
Ask yourself: What’s the kitchen’s humidity level? High moisture means you should pick a wallpaper designed for wet areas to avoid bubbles or mold.
Adhering Wallpaper To Tiles
Preparation is key. Clean your tiles thoroughly to remove grease and dirt. This gives the adhesive a better grip.
Lightly sanding the tile surface can also improve adhesion. Just be careful not to damage the tiles.
Use a strong wallpaper adhesive made for non-porous surfaces. Apply it evenly and press the wallpaper firmly to prevent air bubbles.
Have you tried smoothing wallpaper with a plastic card or a roller? It really helps to get a crisp, bubble-free finish.
Wall Panel Options
Wall panels come in various materials and styles. PVC panels are waterproof and easy to install, making them perfect for kitchens.
Wood-look panels add warmth but need sealing to handle moisture. If you want a modern look, metal or glass panels offer a sleek, reflective surface.
Panels often come with click-lock systems or adhesive backs for quick installation. This means less mess and no need for nails or screws.
Consider panels with built-in texture or patterns to hide any imperfections on your existing tiles. What kind of vibe do you want your kitchen to have?
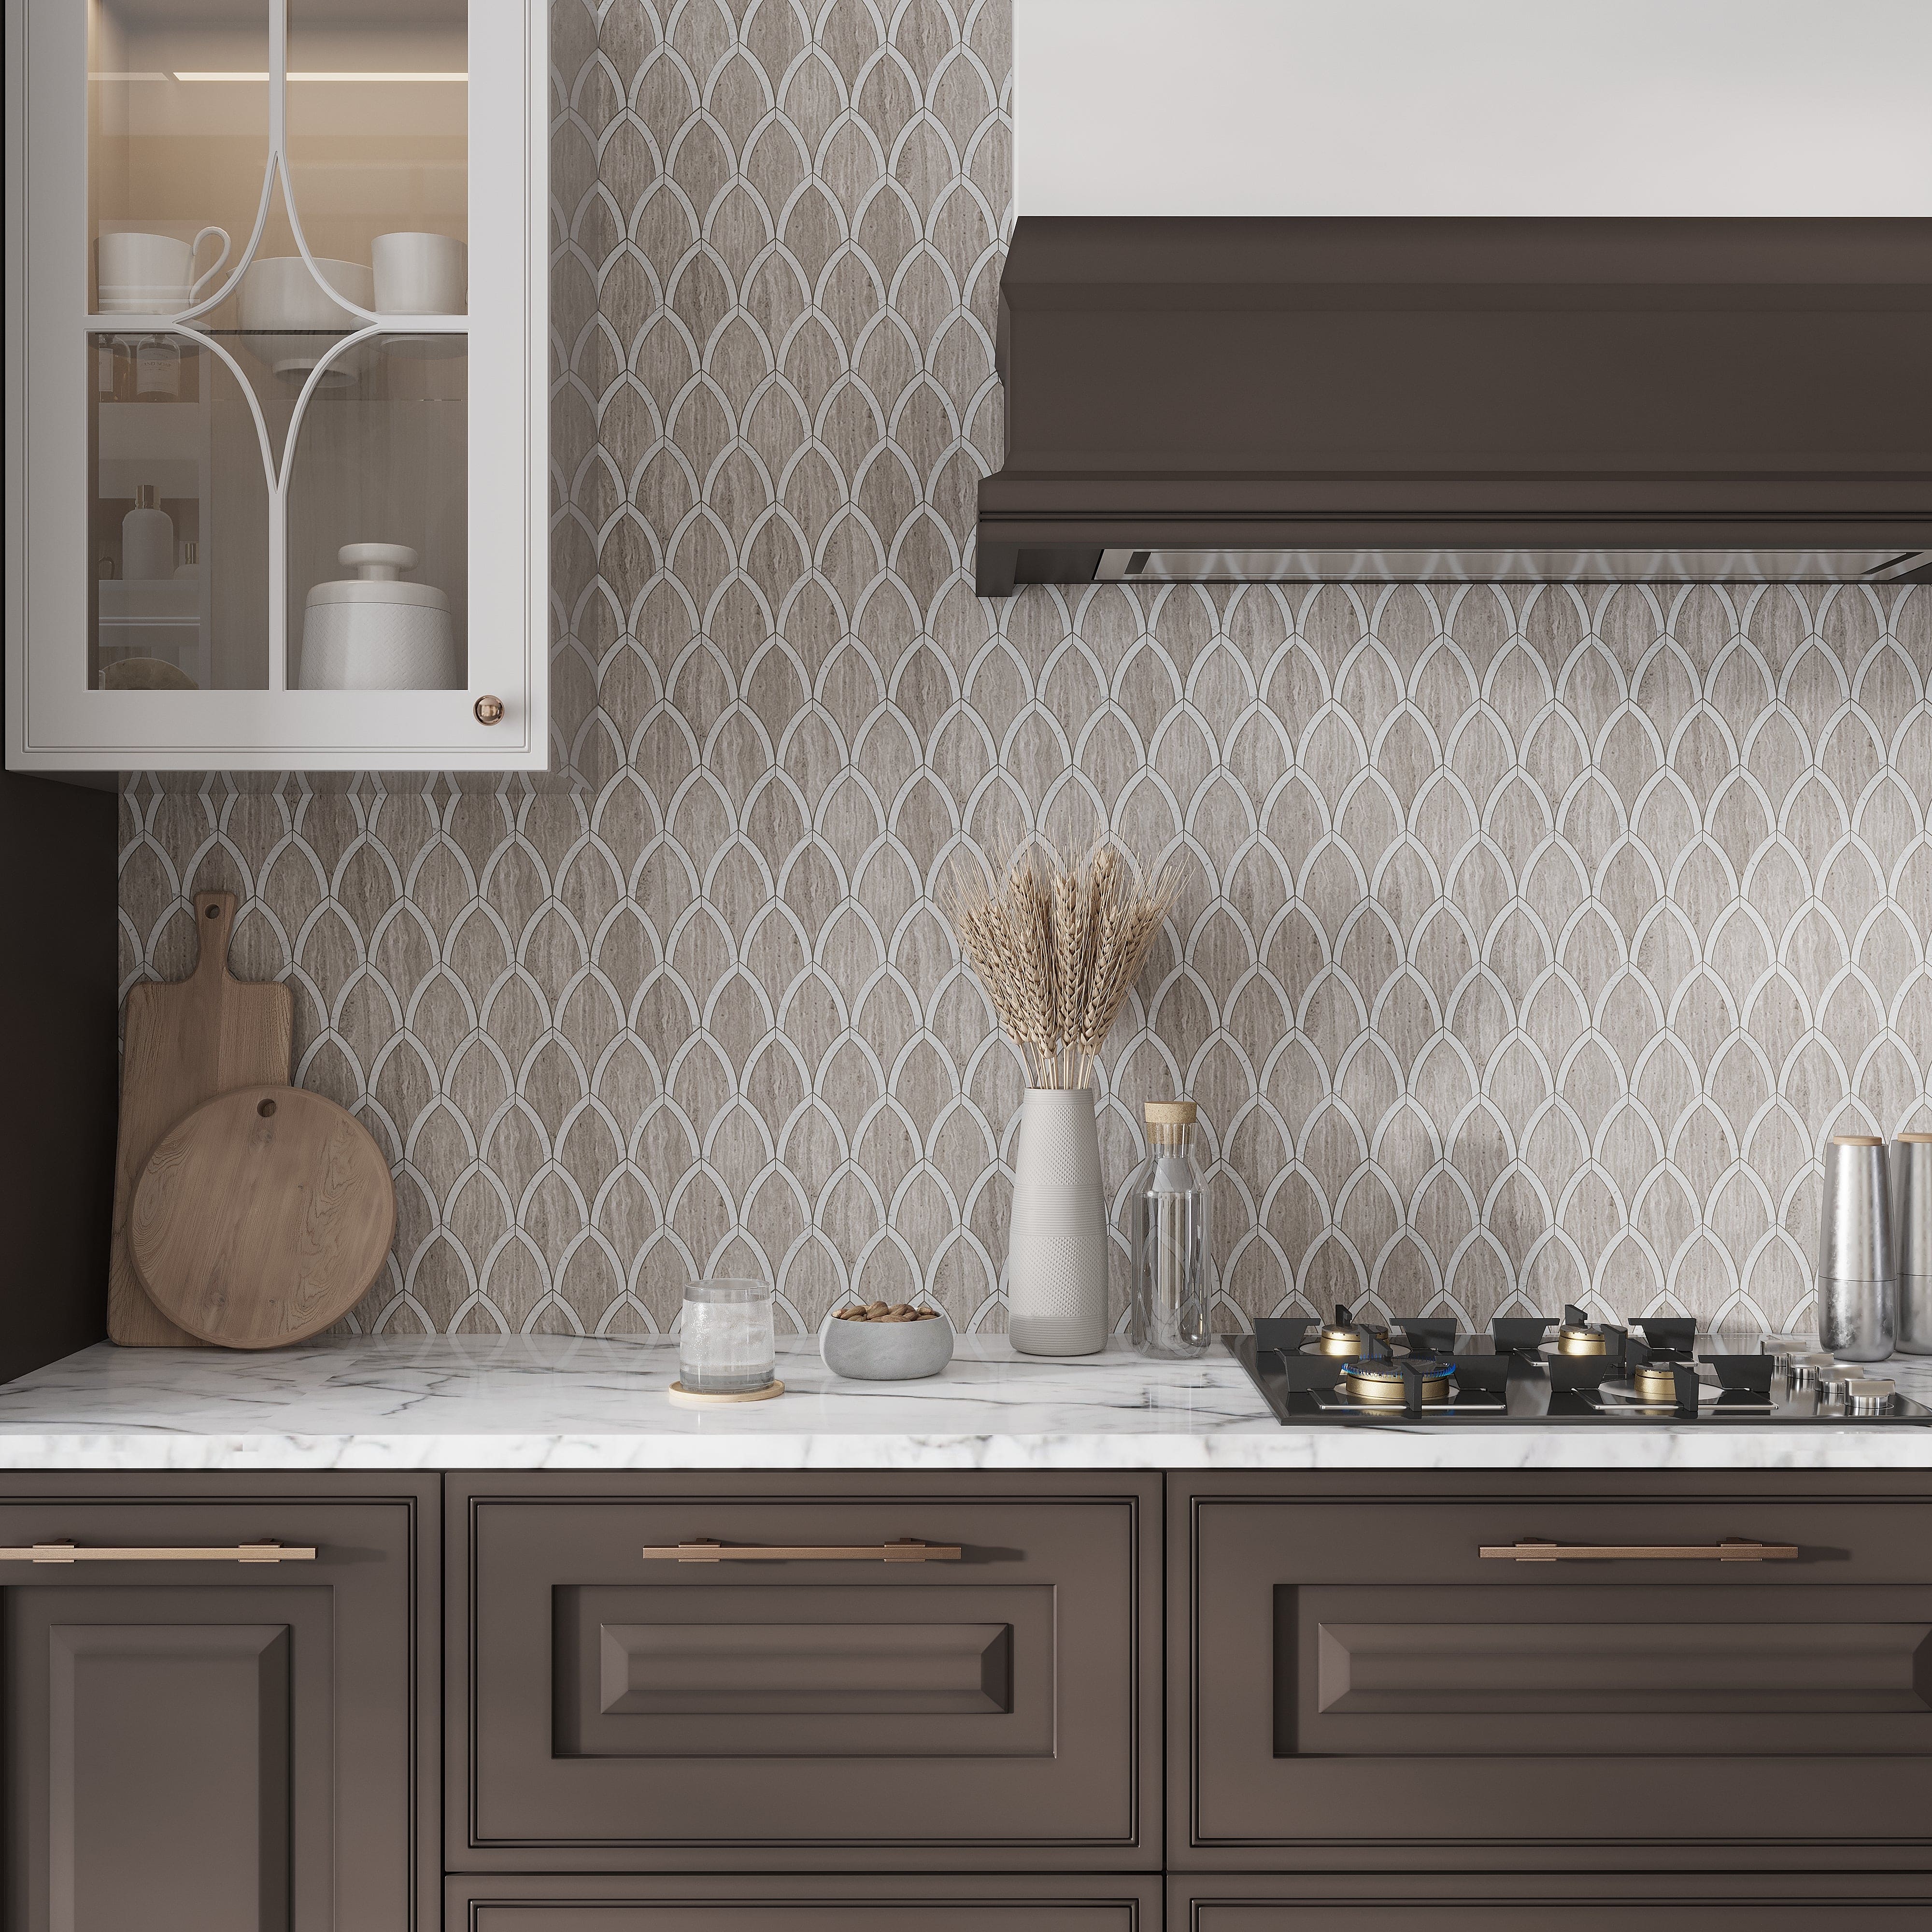
Credit: apollotile.com
Applying Tile Decals Or Stickers
Applying tile decals or stickers offers an easy way to refresh kitchen wall tiles without removing them. These decals come in many styles, shapes, and colors to fit any kitchen design. They stick directly onto the tiles, hiding old grout lines and worn surfaces instantly. This method saves time and money while giving your kitchen a fresh look.
Design Choices
Tile decals come in various designs to suit different tastes. You can find patterns like floral, geometric, or vintage styles. Solid colors and faux textures, such as marble or wood, are also popular. Choose decals that match your kitchen’s color scheme and style. Smaller decals work well for covering individual tiles. Larger decals cover multiple tiles for a more uniform look.
Placement Tips
- Clean tiles thoroughly before applying decals to ensure strong adhesion.
- Measure the tile area to select properly sized decals.
- Apply decals slowly to avoid air bubbles or wrinkles.
- Use a squeegee or flat edge to smooth out the surface.
- Plan the layout by arranging decals without peeling backing first.
- Focus on high-visibility areas for the biggest impact.
Removing Decals Safely
Remove tile decals carefully to avoid damaging the tiles underneath. Heat the decal gently with a hairdryer to soften the adhesive. Peel the decal slowly from one corner, pulling at a low angle. Use a mild adhesive remover or soapy water to clean any residue. Avoid using sharp tools that could scratch the tile surface. Proper removal keeps your tiles ready for new designs or restoration.
Covering With Fabric Or Contact Paper
Covering kitchen wall tiles with fabric or contact paper offers a quick, cost-effective way to refresh your space. These materials hide old tiles without the mess of removal. Both options come in many colors and patterns. They allow creativity and easy updates to your kitchen look.
Material Selection
Choose fabric or contact paper that suits kitchen conditions. Pick water-resistant or washable fabric to handle spills. Contact paper should be thick and durable. Matte finishes reduce glare, while glossy ones add shine. Patterns can hide dirt and stains better. Measure your wall area before buying enough material.
Attachment Methods
Attach fabric or contact paper carefully for a smooth look. Use double-sided tape or adhesive spray for fabric. Secure edges with fabric glue to prevent fraying. For contact paper, peel and stick slowly to avoid bubbles. Use a squeegee or credit card to smooth out air pockets. Trim excess material with a sharp blade for clean edges.
Cleaning And Care
Keep fabric or contact paper clean with gentle care. Wipe contact paper with a damp cloth and mild soap. Avoid abrasive cleaners to prevent damage. For fabric, vacuum or spot clean stains quickly. Avoid soaking fabric to prevent mold or damage. Regular cleaning helps maintain the fresh look longer.
Tips For Long-lasting Results
Ensuring your kitchen wall tiles stay covered and look great for years requires more than just a quick fix. Paying attention to how you protect and maintain the new surface will save you time and money. Here are some practical tips to keep your tile covers in top shape and avoid common problems.
Avoiding Moisture Damage
Moisture is the biggest enemy of any wall covering in a kitchen. Make sure to seal edges and joints properly with waterproof caulk or sealant. This prevents water from seeping behind the covering and causing mold or tile damage.
Ventilate your kitchen well during and after cooking to reduce humidity. Installing a range hood or using exhaust fans can help keep moisture levels low. Have you checked your ventilation recently? It might be the key to preserving your tile cover.
Regular Maintenance
Cleaning your tile cover regularly prevents grime from building up and dulling the finish. Use gentle, non-abrasive cleaners and a soft cloth to wipe surfaces. Harsh chemicals can damage the covering and shorten its lifespan.
Inspect your wall coverings every few months for signs of peeling, bubbling, or discoloration. Early detection lets you fix small issues before they become costly repairs. What routine can you set to keep an eye on your kitchen walls?
Handling Wear And Tear
Kitchen walls face frequent contact, so expect some wear over time. Protect vulnerable areas with splash guards or clear acrylic panels. These can be easily replaced if scratched or stained.
For minor scratches or chips on painted covers, keep touch-up paint handy. Promptly addressing damage keeps the wall looking fresh and prevents further deterioration. How do you react when you spot damage in your kitchen? Quick fixes often save more effort later.
Frequently Asked Questions
How Can I Cover Kitchen Wall Tiles Without Removal?
You can cover kitchen wall tiles using peel-and-stick wallpaper, beadboard panels, or tile overlays. These methods avoid tile removal and update your kitchen quickly.
Are Peel-and-stick Options Durable For Kitchen Tiles?
Yes, peel-and-stick wallpapers and panels are water-resistant and easy to clean. They provide a durable, budget-friendly way to refresh kitchen tiles without damage.
What Materials Work Best To Cover Existing Kitchen Tiles?
Materials like vinyl wallpaper, MDF panels, and acrylic sheets work well. They are moisture-resistant, easy to install, and offer a modern look without removing tiles.
Is It Necessary To Prep Tiles Before Covering Them?
Yes, cleaning and drying tiles thoroughly is essential. This ensures proper adhesion and a smooth finish for any covering material used over tiles.
Conclusion
Covering kitchen wall tiles without removing them saves time and effort. You can use paint, adhesive panels, or peel-and-stick tiles. These options give your kitchen a fresh look quickly. No need for a big renovation or mess. Choose the method that fits your style and budget.
Small changes can make a big difference. Start your project today and enjoy a new kitchen feel tomorrow.