
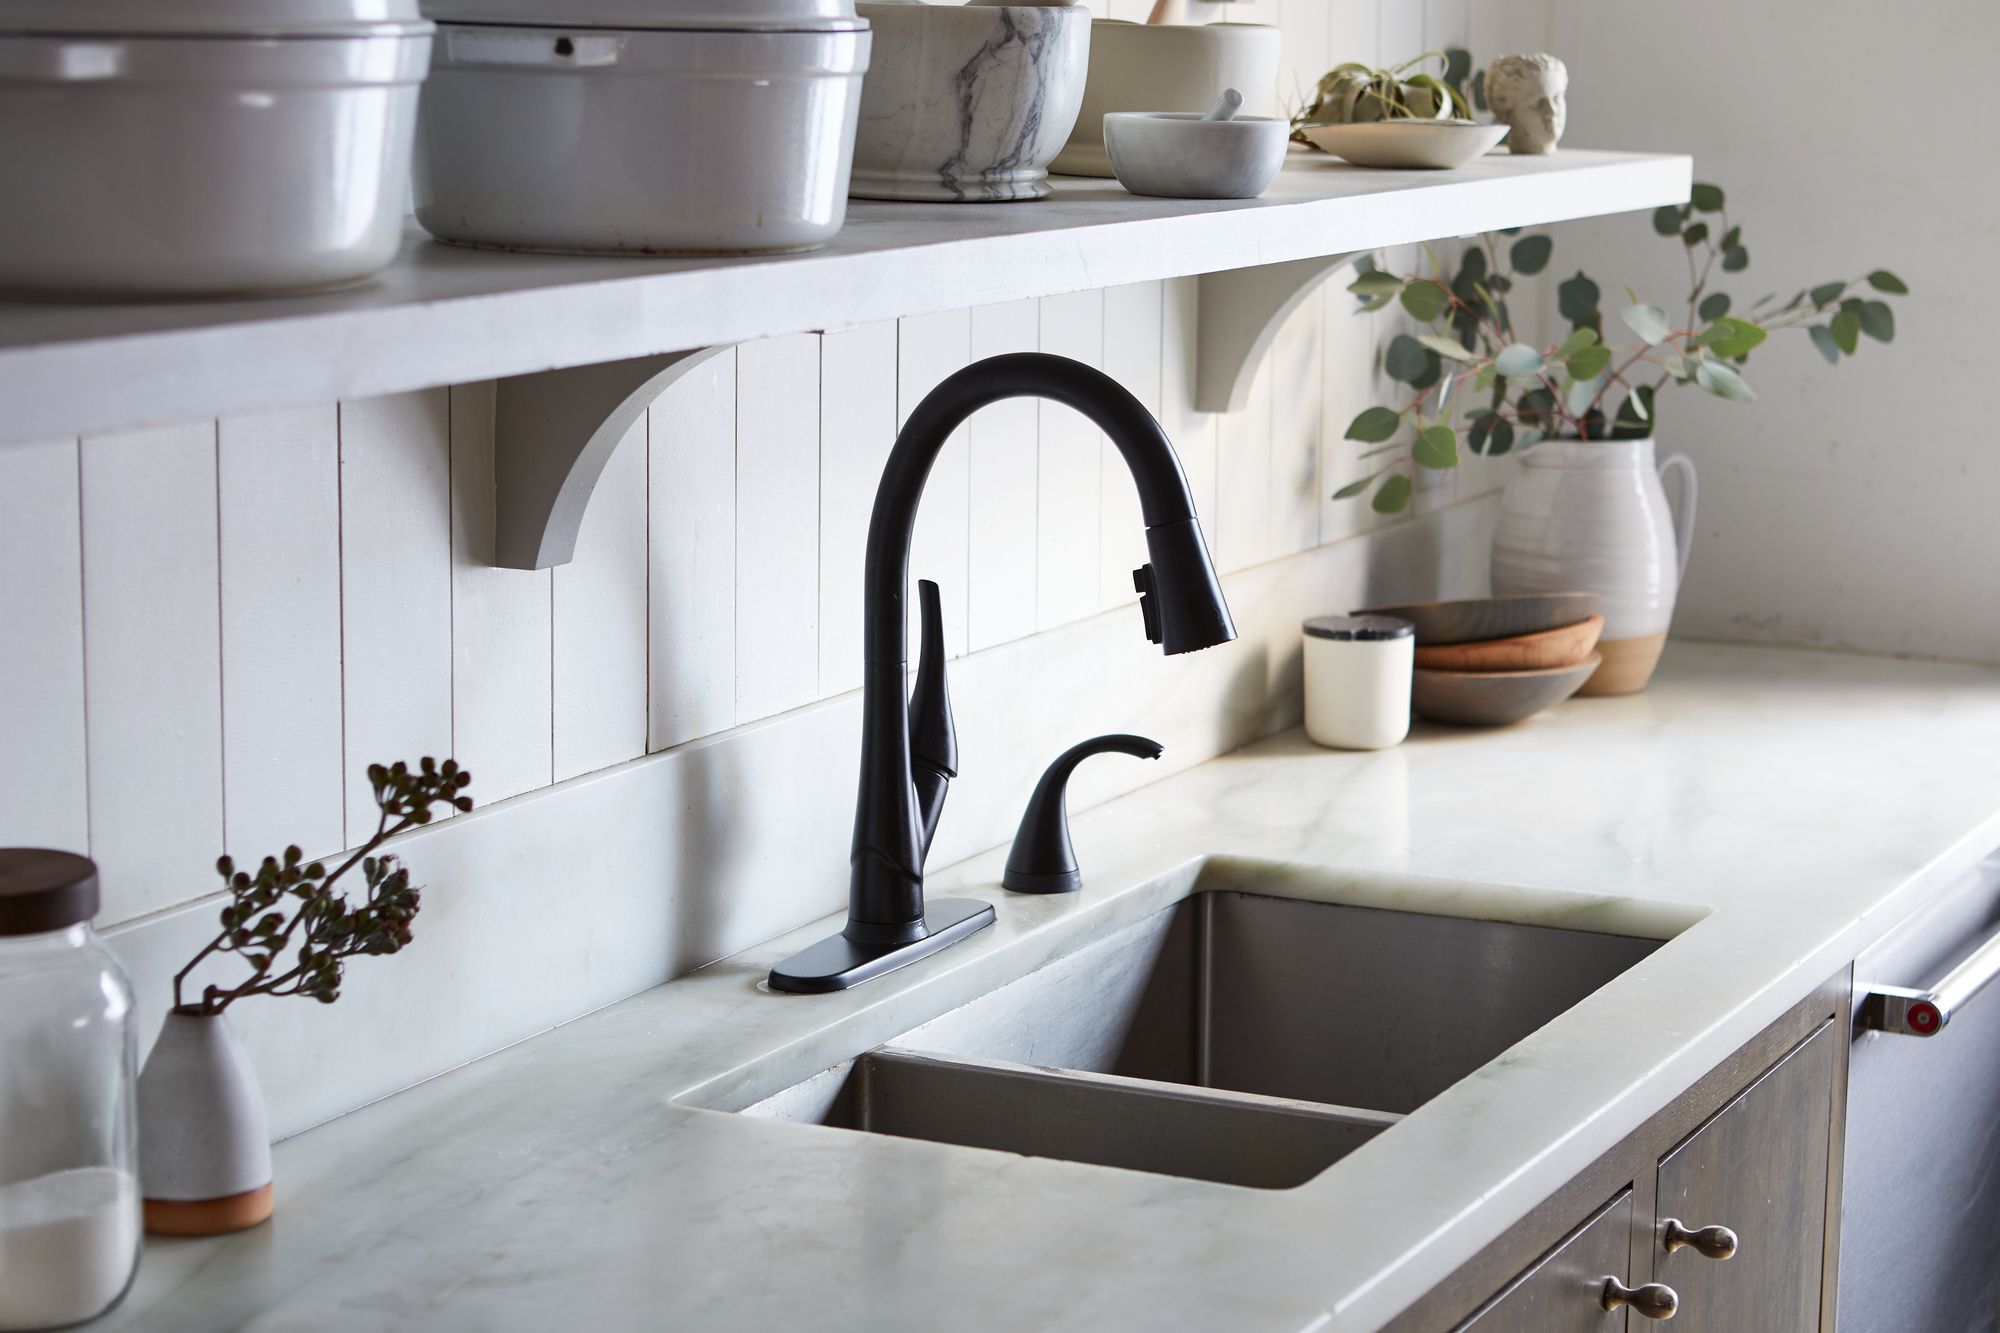
Are your kitchen countertops looking tired, outdated, or damaged? You don’t have to spend a fortune on a full remodel to give your kitchen a fresh, new look.
Imagine transforming your countertops without the mess, hassle, or high cost. You’ll discover simple and effective ways to cover your old kitchen countertops, making them look stylish and brand new. Whether you want a quick fix or a long-lasting update, these tips will help you achieve the kitchen makeover you deserve.
Keep reading to find out how easy it can be to breathe new life into your kitchen!
Assessing Your Countertops
Before covering old kitchen countertops, it is important to assess their current state. This helps decide the best approach and materials for covering. Proper assessment saves time and avoids extra costs later. Start by examining the surface condition carefully. Then measure the dimensions accurately. Finally, choose materials that suit both the kitchen style and your budget.
Checking Surface Condition
Look closely at your countertops for cracks, chips, or stains. Small damages can affect how well new coverings stick. Clean the surface thoroughly to spot hidden issues. A smooth, solid surface makes covering easier and lasts longer. If the surface is too damaged, consider repairs before covering.
Measuring Dimensions
Measure the length and width of your countertops accurately. Note any unusual shapes or cutouts around sinks and stovetops. Record these measurements carefully to avoid mistakes. Use a tape measure and write down numbers twice for accuracy. Correct dimensions help in buying the right amount of materials.
Choosing The Right Materials
Select materials that match your kitchen’s style and use. Options include vinyl, laminate, tile, or wood overlays. Consider durability, ease of installation, and maintenance needs. Think about your budget and how long you want the cover to last. Some materials offer quick updates, others bring lasting change.

Credit: www.familyhandyman.com
Preparing The Surface
Preparing the surface of your old kitchen countertops is crucial for a lasting and flawless finish. Skipping or rushing this step can lead to peeling, bubbling, or uneven coverage. Taking the time to properly prepare ensures the new layer sticks well and looks professional.
Cleaning And Sanding
Start by thoroughly cleaning your countertops to remove grease, dirt, and grime. Use a strong degreaser or dish soap with warm water, scrubbing every corner carefully. Even tiny residues can prevent proper adhesion.
After cleaning, sanding is key to roughen the surface so the new material can grip better. Use medium-grit sandpaper (around 120-150 grit) and sand in circular motions. Does your countertop feel smooth and shiny? That means it’s time to sand.
Repairing Damages
Inspect your countertops for cracks, chips, or holes. These imperfections can show through your new surface or cause it to fail over time. Fix them using a suitable filler like epoxy putty or countertop repair kits.
Apply the filler carefully and smooth it out with a putty knife. Let it dry completely, then sand the area to blend it seamlessly with the rest of the surface. What happens if you skip this? Your new countertop might not stay flat or look polished.
Priming For Adhesion
Priming is the secret weapon for strong adhesion. Choose a primer designed for your countertop material—whether laminate, wood, or stone. This step creates a bonding layer between the old surface and your new finish.
Use a brush or roller to apply a thin, even coat of primer. Allow it to dry fully according to the instructions. Skipping primer is like building a house without a foundation—how stable do you think it will be?
Peel And Stick Options
Peel and stick options offer a quick and budget-friendly way to refresh your old kitchen countertops. They are designed for easy application, often requiring just a clean surface and a little patience. These solutions let you transform your kitchen without the mess and cost of a full remodel.
Vinyl Wraps
Vinyl wraps are a popular peel and stick choice that can mimic materials like marble, granite, or wood. They come in large sheets that you cut to fit your countertop size and shape. The adhesive backing makes it easy to apply, and you can smooth out bubbles as you go.
One time, I used a marble-patterned vinyl wrap to cover a scratched laminate countertop. The result looked surprisingly realistic and held up well to daily kitchen use. Vinyl wraps are water-resistant, which makes cleaning spills straightforward.
Contact Paper
Contact paper is another peel and stick material often used for countertops. It tends to be thinner and more affordable than vinyl wraps. You can find it in many colors and patterns, allowing you to add a pop of style instantly.
Applying contact paper requires a steady hand to avoid wrinkles, but it peels off easily if you want to change the look later. It’s a great short-term solution if you’re renting or testing out new designs. However, it’s less durable than vinyl, so heavy kitchen use may wear it out faster.
Pros And Cons
| Pros | Cons |
|---|---|
|
|
Would you prioritize ease and cost over long-term durability? Peel and stick options let you experiment with style and protect your budget while giving your kitchen a fresh look. Think about how often you use your countertops and what kind of wear they endure before choosing the right product.

Credit: food52.com
Painting Countertops
Transform your old kitchen countertops with a fresh coat of paint. This cost-effective solution breathes new life into tired surfaces. A clean, painted finish brightens up the kitchen, making it look updated and inviting.
Painting countertops is a cost-effective way to refresh your kitchen's look. It transforms outdated surfaces with a splash of color. With the right paint, your countertops can mimic more expensive materials. This method is budget-friendly and adds style.
Selecting Paint Types
Choosing the right paint is crucial. Use paint meant for countertops or high-traffic areas. Epoxy paint is a popular choice. It provides a durable finish and resists stains. Acrylic paint is another option. It's easy to apply and comes in various colors.
Step-by-step Painting Process
Preparation is key. Start by cleaning the surface thoroughly. Remove all dirt and grease. Sand the countertop to create a smooth surface. Use a fine-grit sandpaper for best results. Next, apply a primer. This helps the paint adhere better. Allow the primer to dry completely. Then, apply the first coat of paint. Use a roller for even coverage. Let it dry before applying a second coat. Two coats usually provide good coverage.
Sealing For Durability
Seal the painted countertop for added protection. Choose a clear, water-based polyurethane sealant. This prevents scratches and stains. Apply the sealant with a clean brush. Allow it to cure completely before using the countertop. Reapply sealant every few years for lasting results.
Using Tile Overlays
Using tile overlays is a smart way to cover old kitchen countertops. It transforms worn surfaces into stylish focal points. Tiles are durable, easy to clean, and come in many designs. This option saves money and time compared to full replacement.
Choosing Tile Styles
Select tile styles that match your kitchen’s theme. Ceramic and porcelain tiles offer many colors and patterns. Consider glass tiles for a shiny, modern look. Natural stone tiles add texture and warmth. Pick smaller tiles for intricate designs or larger ones for a bold statement.
- Check tile size and shape for countertop fit.
- Choose colors that complement cabinets and walls.
- Opt for slip-resistant tiles to avoid accidents.
Installing Tiles
Prepare the countertop by cleaning and sanding the surface. Remove any grease or dirt for better adhesion. Use a strong tile adhesive to secure tiles evenly. Press tiles firmly and leave a small gap for grout. Use tile spacers to keep gaps uniform. Allow adhesive to dry fully before grouting.
Grouting And Finishing
Mix grout according to package instructions. Spread grout over tiles using a rubber float. Push grout into gaps, removing excess with the float. Wipe tiles with a damp sponge to clean grout residue. Let grout cure for 24 to 48 hours. Seal grout to protect from stains and water damage.
Applying Laminate Sheets
Applying laminate sheets is a smart way to refresh old kitchen countertops. This method offers a smooth, modern finish that can last for years. Laminate is affordable and comes in many colors and patterns. It covers scratches, stains, and other signs of wear. The process requires careful preparation and precision to achieve a neat look.
Material Selection
Choose laminate sheets that fit your kitchen style. Options range from solid colors to wood or stone patterns. Pick a thickness that matches your countertop edge. Ensure the laminate is durable and heat resistant. Buy extra material to cover mistakes or future repairs. Don’t forget to get contact cement made for laminate installation.
Cutting And Fitting
Measure your countertop surface accurately. Mark the laminate sheet with a pencil or marker. Use a fine-toothed saw or utility knife to cut the laminate. Cut slightly larger than the countertop size to allow trimming. Test fit the laminate to check edges and corners. Trim carefully with a router or sandpaper for a perfect fit.
Securing Laminate
Clean the countertop surface thoroughly before gluing. Apply contact cement evenly on both the countertop and laminate. Wait until the cement becomes tacky but not dry. Align the laminate carefully and press it down firmly. Use a roller to remove air bubbles and ensure strong adhesion. Trim excess laminate along the edges for a clean finish.
Diy Concrete Coating
DIY concrete coating offers a fresh, modern look for old kitchen countertops. It transforms worn surfaces into smooth, durable finishes. This method is budget-friendly and allows personal customization. Concrete coatings resist heat, stains, and scratches well. The process requires careful preparation and patience for best results.
Mixing Concrete Mix
Start with a high-quality concrete mix designed for countertops. Use clean water to mix it. Follow the package instructions for water-to-mix ratio. Mix thoroughly to get a smooth, lump-free paste. Avoid making the mix too runny or too thick. The right consistency spreads easily but holds shape.
Applying And Smoothing
Clean the countertop surface before applying the mix. Use a trowel to spread concrete evenly. Work in small sections for better control. Smooth the surface with a wet trowel or sponge. Remove air bubbles for a flawless finish. Let the first layer dry slightly before adding another if needed.
Curing And Sealing
Allow the concrete to cure slowly to avoid cracks. Cover the countertop with plastic to retain moisture. Keep it covered for at least 48 hours. After curing, sand the surface gently for smoothness. Apply a concrete sealer to protect from stains and water. Reapply the sealer every year for lasting durability.

Credit: www.yahoo.com
Maintenance Tips
Maintaining old kitchen countertops after covering them extends their beauty and life. Proper care keeps surfaces looking fresh and clean. Simple habits protect your investment and save money on repairs. A regular routine prevents damage and preserves the finish.
Cleaning Techniques
Use a soft cloth or sponge with mild soap and water. Avoid harsh chemicals that can strip coatings or damage materials. Wipe spills immediately to prevent stains and buildup. Dry surfaces thoroughly to stop water marks and mold. For tougher spots, try baking soda paste gently applied and rinsed well.
Avoiding Damage
Do not place hot pans directly on the countertop. Use trivets or heat pads to protect surfaces from burns. Avoid cutting directly on the countertop; use cutting boards instead. Prevent heavy impacts by handling pots and dishes carefully. Keep sharp objects away from edges and seams to stop chipping.
Touch-up Ideas
Minor scratches or chips can be fixed with matching paint or sealant. Use a fine brush for precise application and smooth finish. For laminate covers, try color repair kits available in stores. Sand lightly before applying touch-up material for better adhesion. Regularly check for small issues and repair quickly to avoid bigger problems.
Frequently Asked Questions
What Materials Can Cover Old Kitchen Countertops?
You can use laminate sheets, peel-and-stick vinyl, tiles, or paint kits. These options are affordable and easy to install. Each material offers different durability and styles to suit your kitchen’s look and budget. Choose based on your desired finish and maintenance preference.
How To Prepare Old Countertops Before Covering?
Clean the surface thoroughly to remove grease and dirt. Sand any rough spots to create a smooth base. Repair cracks or holes with filler. Proper preparation ensures better adhesion and a longer-lasting finish for your new countertop cover.
Can I Cover Countertops Without Professional Help?
Yes, many countertop covering methods are DIY-friendly. Peel-and-stick tiles and paint kits are especially simple to apply. However, more complex materials like laminate may need precise cutting and gluing skills. Always follow manufacturer instructions for the best results.
What Is The Cost Of Covering Old Kitchen Countertops?
Costs vary by material and project size. Peel-and-stick options start around $10-$20 per square foot. Laminate and tile materials may cost $20-$50 per square foot, including supplies. DIY projects save labor costs, making covering countertops affordable.
Conclusion
Covering old kitchen countertops can refresh your space quickly. Choose materials that fit your style and budget. Prepare the surface well to ensure a smooth finish. Take your time with each step for best results. Small changes can make a big difference in your kitchen.
Enjoy your new countertop look without a full remodel. Try different ideas to find what suits you best. Your kitchen can feel brand new with simple updates.