
Are your old kitchen tile countertops making your kitchen look outdated? You don’t have to spend a fortune on a full renovation to give your space a fresh, modern feel.
Imagine transforming your countertops quickly and easily, making your kitchen the place you love to cook and gather. You’ll discover simple, practical ways to cover those worn-out tiles and turn your kitchen into a stylish, inviting space. Keep reading, and you’ll find the perfect solution that fits your style and budget.

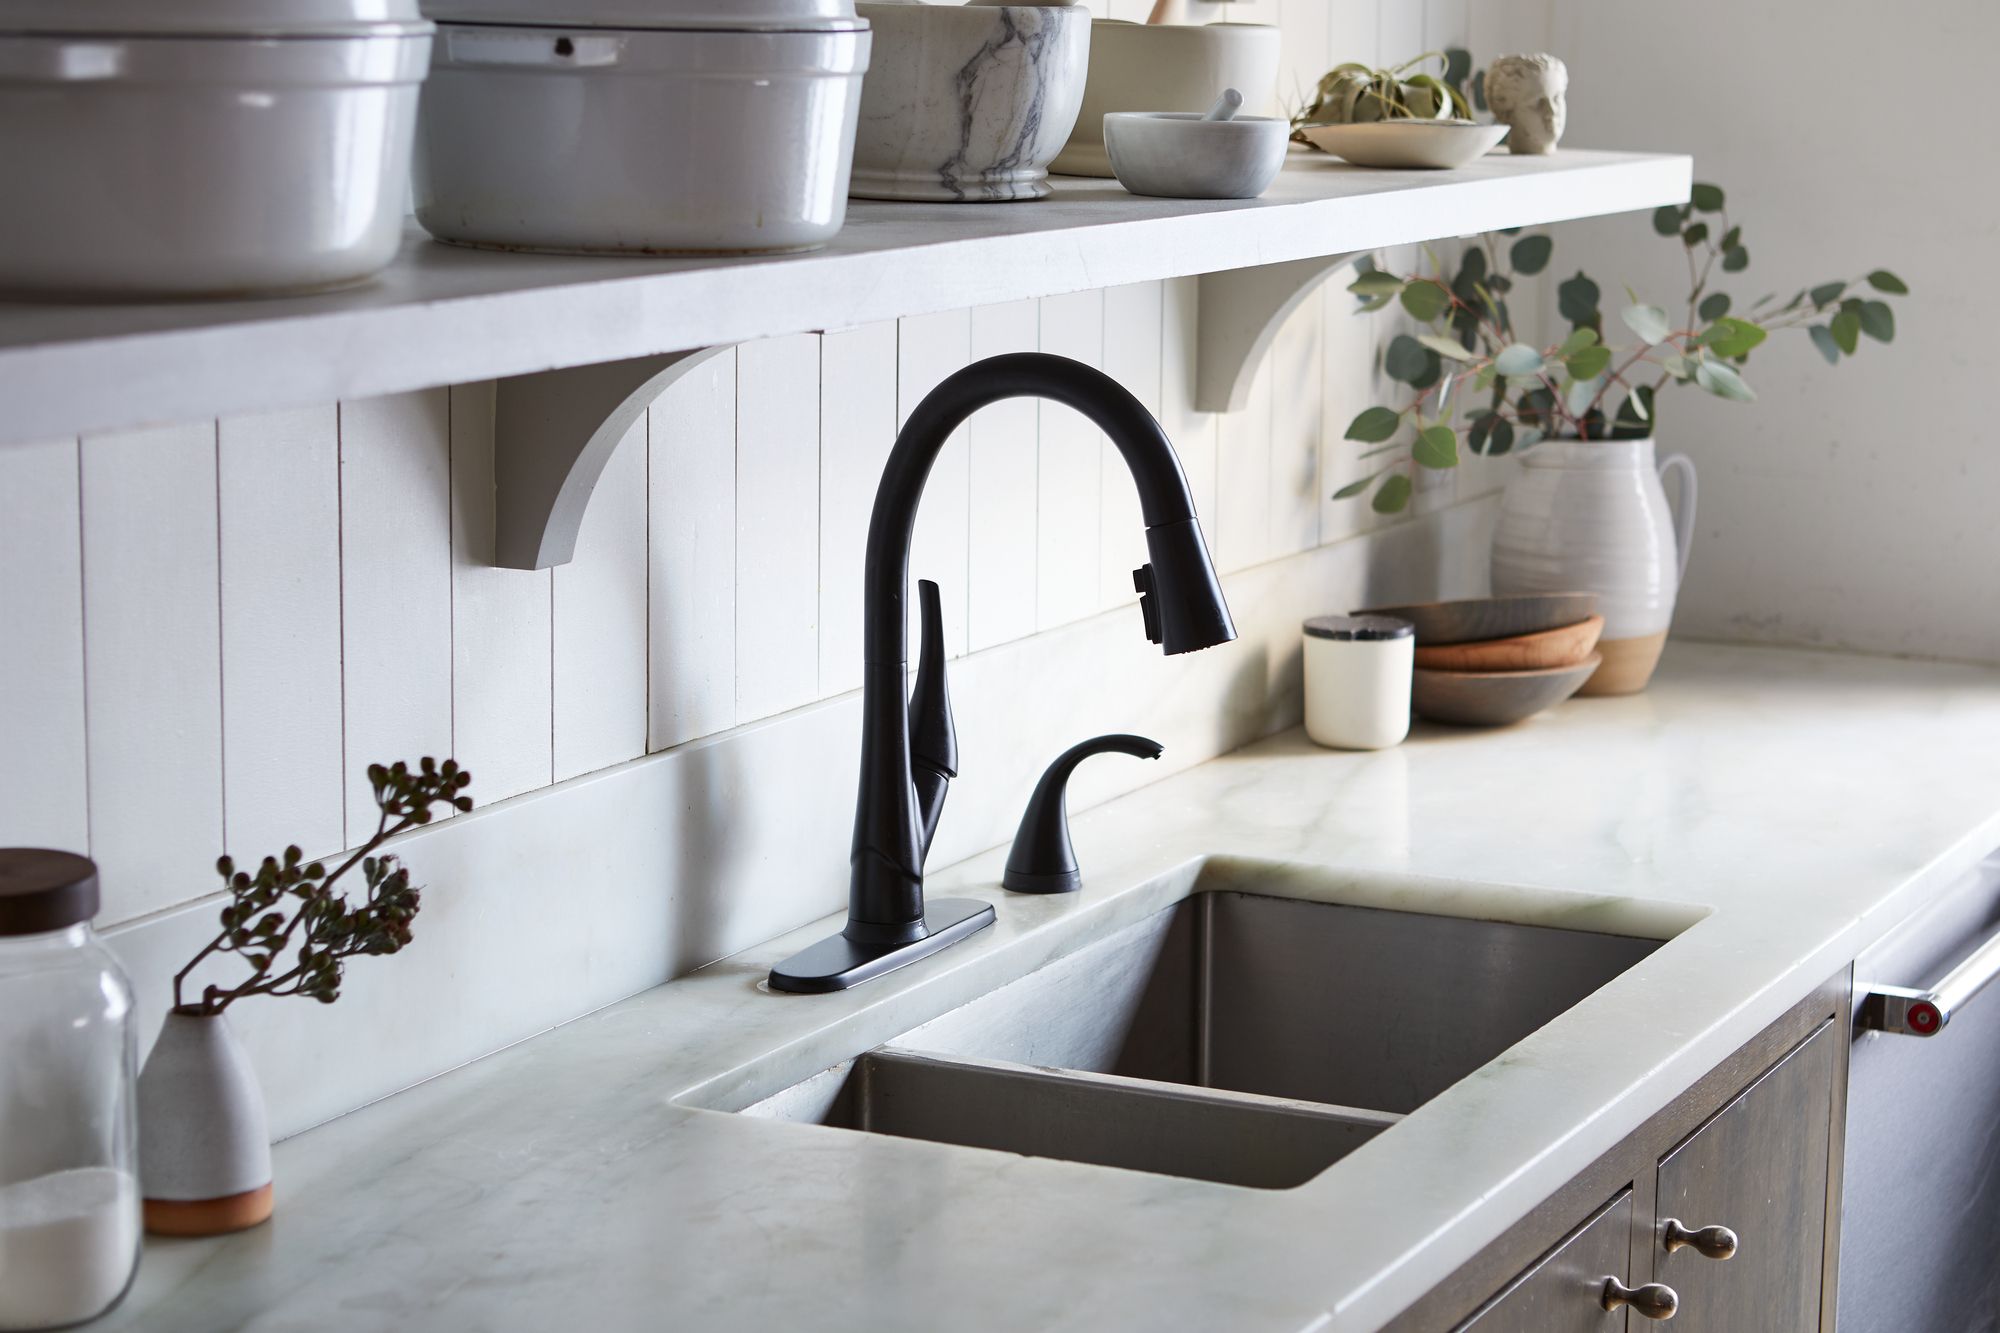
Credit: www.kylieminteriors.ca
Assessing Your Old Tiles
Assessing old kitchen tiles is the first step to a successful countertop update. It helps determine the condition of the surface and what materials or methods to use for covering it. Taking time here saves effort and money later.
Understanding the state of your tiles guides your decisions. It also sets realistic goals for the renovation. Careful inspection reveals hidden problems that could cause trouble after the makeover.
Checking For Damage
Look closely at each tile and the grout lines. Check for cracks, chips, or loose tiles. Damaged tiles can affect the new covering’s durability and appearance. Remove or repair tiles that show significant damage. Pay attention to water stains or mold, signs of deeper issues. A solid, clean surface is key for a lasting result.
Measuring Your Countertop Space
Measure the entire countertop length and width accurately. Use a tape measure and note down the dimensions. Include areas around sinks, edges, and backsplashes. Precise measurements help buy the right amount of materials. It also avoids waste or shortages during the project. Keep measurements handy for reference throughout the process.
Preparing The Surface
Clean the tile surface thoroughly to remove grease, dirt, and grime. Sand the tiles lightly to create a rough texture for better paint or adhesive grip. Ensure the area is dry before applying any covering materials.
Preparing the Surface Before you dive into covering your old kitchen tile countertops, it's crucial to prepare the surface properly. A well-prepped surface ensures better adhesion of the covering material and a longer-lasting finish. Let's walk through the essential steps to get your tiles ready for their makeover.
Cleaning And Sanding Tiles
Start by giving your tiles a thorough cleaning. Use a strong degreaser or tile cleaner to remove any grease, dirt, and grime. Stubborn spots may require a bit of elbow grease, but it's important to ensure every tile is spotless. Once clean, the next step is sanding. Lightly sand the tiles with medium-grit sandpaper to roughen the surface. This helps the new covering material adhere better. Ensure the surface is even, and remember to wipe away any dust with a damp cloth after sanding.
Repairing Cracks And Gaps
Inspect your tiles for any visible cracks or gaps. These imperfections can compromise the new surface if not addressed. Use a high-quality epoxy or tile filler to mend these areas. Apply the filler with a putty knife, smoothing it out to blend with the tile surface. Let it dry completely before proceeding. This step not only improves the aesthetics but also strengthens the structural integrity of your countertop. Have you ever found a hidden gem beneath layers of old paint? Similarly, preparing your tiles well can reveal a perfect canvas for your creative vision. Ready to transform your kitchen with confidence?
Peel-and-stick Options
Peel-and-stick options offer a quick and affordable way to update old kitchen tile countertops. These self-adhesive coverings come in many designs and textures. They can mimic stone, wood, or classic tile patterns. This makes them perfect for a fresh kitchen look without heavy remodeling. Peel-and-stick products are easy to handle and require minimal tools. They are ideal for renters or those wanting a temporary change.
Choosing Vinyl Stickers
Select vinyl stickers made for countertops. Look for water-resistant and heat-resistant types. Choose a design that matches your kitchen style. Measure your countertop carefully before buying. Pick stickers with a strong adhesive for long-lasting use. Some stickers have a textured finish that hides imperfections. Buy extra sheets to cover mistakes or future repairs.
Applying And Sealing
Clean the tile surface thoroughly. Remove dirt, grease, and dust for better adhesion. Peel the backing off the sticker slowly. Press the sticker firmly onto the surface. Use a squeegee or flat tool to avoid bubbles. Trim excess material with a sharp blade. Apply a clear sealer over the stickers to protect them. The sealer adds durability and makes cleaning easier. Allow the sealer to dry completely before use.
Painting Over Tiles
Painting over old kitchen tile countertops is a smart way to refresh your space without the mess and cost of a full remodel. It’s a straightforward project that can give your kitchen a fresh, modern look in just a few hours. But success depends on choosing the right materials and applying paint correctly.
Selecting The Right Paint
Not all paints stick well to tile surfaces, so picking the right one is crucial. Look for paints specifically designed for high-traffic areas and glossy surfaces, such as epoxy or acrylic latex paint. These types offer durability and resistance to moisture, heat, and stains, which your kitchen countertop will face daily.
Matte or satin finishes can hide imperfections better than glossy options. Also, consider the color carefully—lighter colors can brighten your kitchen, but darker shades tend to hide dirt and wear longer. Have you thought about how your choice will complement the rest of your kitchen décor?
Priming And Painting Techniques
Preparation makes or breaks your project. Start by cleaning the tiles thoroughly with a degreaser to remove any residue. Sanding the tile surface lightly will help the primer and paint stick better, so don’t skip this step.
Use a high-quality bonding primer to create a strong base. Apply it evenly with a brush or roller and let it dry completely before painting. When you paint, use thin, even coats to avoid drips and ensure smooth coverage.
Allow each coat to dry fully before adding the next. Two to three coats usually provide the best results. Have you set aside enough drying time? Rushing this step can cause peeling or uneven spots later.
Using Laminate Sheets
Using laminate sheets offers a simple and affordable way to cover old kitchen tile countertops. These sheets come in many colors and patterns, letting you update your kitchen look fast. Laminate is durable and easy to clean, making it perfect for busy kitchens. It can be applied directly over tile, saving time on removal and repair work.
Types Of Laminate
- Standard Laminate: Thin sheets with a smooth surface. Common and budget-friendly.
- High-Pressure Laminate (HPL): Thicker and more durable. Resists scratches and heat better.
- Textured Laminate: Has a surface texture that mimics natural materials like wood or stone.
- Self-Adhesive Laminate: Comes with a sticky back for easy, glue-free installation.
Installation Steps
- Clean the tile surface thoroughly to remove grease and dirt.
- Sand the tiles lightly to roughen the surface for better adhesion.
- Measure and cut the laminate sheet to fit your countertop size.
- Apply contact cement or adhesive evenly on the tiles and laminate.
- Wait a few minutes for the adhesive to become tacky.
- Carefully place the laminate sheet onto the countertop.
- Press down firmly to remove air bubbles and ensure good contact.
- Trim excess edges with a sharp utility knife for a clean finish.
- Seal the edges with waterproof caulk to prevent water damage.

Credit: www.reddit.com
Installing New Countertop Surfaces
Installing new countertop surfaces over old kitchen tile can transform your space without the hassle of a full remodel. It gives you a fresh look and often saves time and money. Picking the right material is key to ensuring durability and style that fits your kitchen’s vibe.
Butcher Block Options
Butcher block countertops add warmth and character to your kitchen. They are made from strips of hardwood glued together, creating a sturdy and smooth surface.
You can easily install butcher block over your existing tile by using strong adhesive and screws for extra support. The natural wood tones bring a cozy, inviting feel that many homeowners love.
Keep in mind, butcher block requires regular sealing and oiling to prevent stains and water damage. Ask yourself: Are you ready for the upkeep that keeps this surface looking great over time?
Quartz And Granite Overlays
Quartz and granite overlays offer a sleek, modern upgrade to your old tile countertops. These materials are durable, scratch-resistant, and easy to clean.
Installing overlays involves placing thin slabs directly over your existing tile surface, often secured with a special adhesive. This method hides outdated tile without the mess of demolition.
Think about how much you use your kitchen. Quartz and granite stand up well to heavy use but can be more expensive upfront. Would the investment in a premium surface fit your budget and lifestyle?
Creative Covering Ideas
Creative covering ideas transform old kitchen tile countertops without heavy work. These solutions refresh the kitchen look quickly and affordably. Options suit various needs, including temporary fixes for renters and stylish upgrades for homeowners. Choose a method that fits your style and budget. Here are some simple and effective ways to cover old tiles.
Temporary Covers For Rentals
Temporary covers protect countertops without damage. Renters benefit from easy-to-remove options that leave tiles intact. These covers add style and function without permanent change. Materials include:
- Peel-and-stick vinyl sheets
- Removable countertop films
- Thin cutting boards or mats placed over tiles
Peel-and-stick sheets come in many colors and patterns. They apply easily and peel off without leaving residue. Countertop films offer a smooth, waterproof surface. Cutting boards create a flat workspace and hide tile imperfections. These options keep your deposit safe and update your kitchen instantly.
Decorative Contact Paper Designs
Decorative contact paper offers a stylish, budget-friendly upgrade. It covers tiles with patterns and colors that brighten the space. This paper is easy to cut and fit, ideal for DIY projects. Popular designs include:
- Marble and stone effects
- Geometric patterns
- Wood grain finishes
Apply contact paper carefully to avoid air bubbles. Use a squeegee or credit card to smooth the surface. Contact paper resists stains and can be cleaned with a damp cloth. It’s a smart choice for renters and homeowners wanting a fresh look without high costs or mess.
Credit: www.kylieminteriors.ca
Maintenance Tips
Maintaining your covered kitchen tile countertops is key to keeping them looking fresh and new. Proper care not only extends their lifespan but also saves you money on repairs. You might be surprised how small daily habits can make a big difference in preserving your countertop’s beauty.
Cleaning Covered Surfaces
Use a soft cloth or sponge with mild soap and warm water for regular cleaning. Avoid harsh chemicals that can damage the covering material. If you spot stubborn stains, try a gentle baking soda paste instead of abrasive cleaners.
Wipe spills immediately to prevent stains from setting in. You don’t need special cleaners—simple household items often do the trick. How often do you clean your countertops? Making it a daily habit can keep your kitchen inviting.
Avoiding Damage
Protect your covered countertops from heat by always using trivets or hot pads. Direct contact with hot pots can cause warping or discoloration. Avoid cutting directly on the surface; use cutting boards to prevent scratches.
Be cautious with heavy or sharp objects that can chip or crack the covering. If you have kids, teach them to handle the surfaces gently—small hands can unintentionally cause damage. Have you noticed any signs of wear? Catching them early makes repair easier and less costly.
Frequently Asked Questions
How Do I Prepare Old Tile Countertops For Covering?
Clean the surface thoroughly and remove any loose grout or debris. Sand the tiles lightly to create a smooth base. Repair any cracks or damaged areas before applying new materials.
What Materials Can I Use To Cover Old Kitchen Tiles?
Popular options include epoxy paint, peel-and-stick vinyl tiles, laminate sheets, or wood overlays. Choose a material that suits your style, budget, and durability needs.
Is It Cost-effective To Cover Tiles Instead Of Replacing?
Yes, covering old tiles is usually cheaper and quicker than full replacement. It also minimizes mess and disruption in your kitchen.
Can I Paint Over Old Kitchen Tile Countertops?
Yes, with proper cleaning and priming, you can use epoxy or specialized tile paint. This method offers a fresh look without removing existing tiles.
Conclusion
Covering old kitchen tile countertops can refresh your space quickly. Choose a method that fits your style and budget. Simple steps like painting or using adhesive films work well. These options save time and avoid costly renovations. A fresh countertop can brighten your kitchen and add value.
Start with clean, dry tiles for the best result. Small changes make a big difference in your kitchen's look. Enjoy your updated space without the mess or stress of a full remodel.