
Are you tired of staring at those old kitchen tiles that just don’t match your style anymore? You don’t need to tear out your entire kitchen to give it a fresh, modern look.
Covering old kitchen tiles is easier and more affordable than you think. Imagine transforming your kitchen without the mess, cost, or long wait. You’ll discover simple, effective ways to cover your old tiles and breathe new life into your space.
Ready to make your kitchen feel brand new? Let’s dive in!

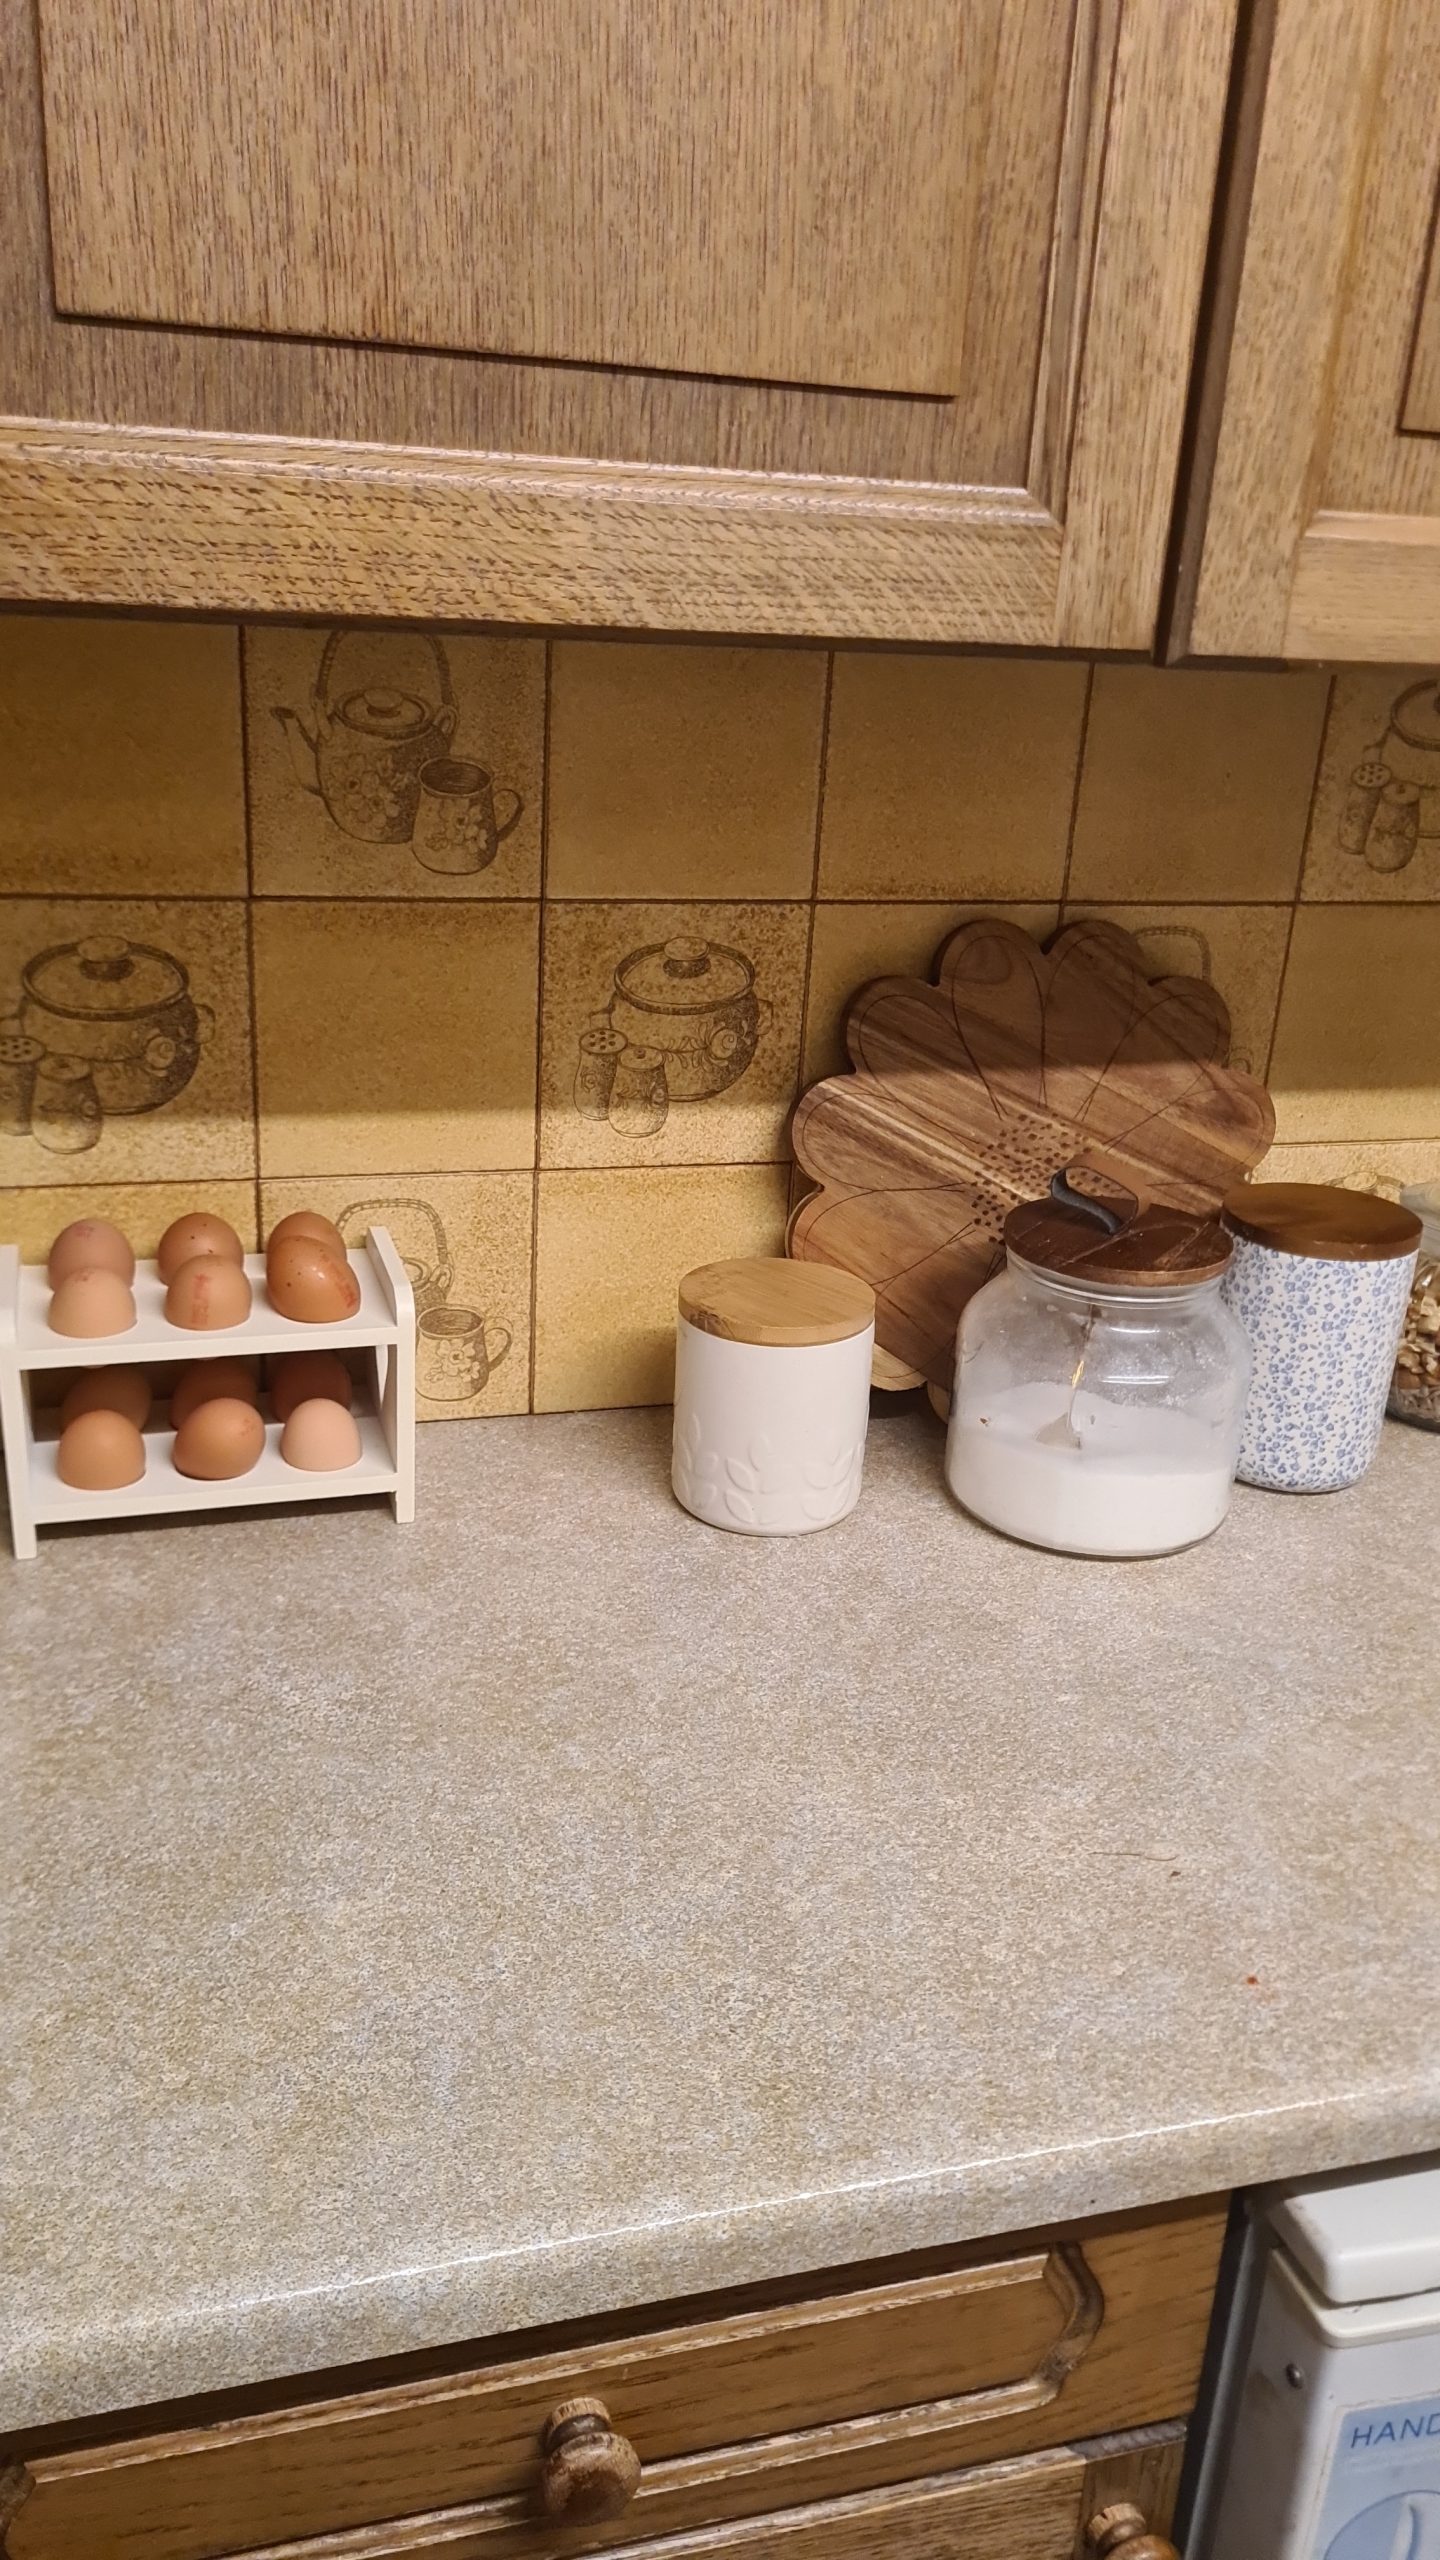
Credit: www.create-enjoy.com
Assessing Your Old Tiles
Before you dive into covering your old kitchen tiles, it’s crucial to take a good look at what you’re working with. Assessing your tiles helps you understand the condition, size, and style of the existing surface. This knowledge will guide your choices and ensure your project goes smoothly without surprises.
Check Tile Condition
Look closely at each tile and the grout in between. Are there cracks, chips, or loose tiles? Damaged tiles might need repair or removal before you cover them.
Pay attention to stains or discoloration too. Sometimes, a simple cleaning can make a big difference, but deep stains might show through thinner coverings. Have you noticed any areas where tiles are uneven or peeling away?
Measure Your Space
Grab a tape measure and note the length and height of the tiled area. Accurate measurements help you buy the right amount of materials and avoid wastage.
Don’t forget to measure tricky spots like corners, behind appliances, or around windows. Write everything down clearly—this will save you time and headaches later.
Identify Style Goals
Think about the look you want to achieve. Are you aiming for a modern, sleek kitchen or something cozy and rustic? Your style choice will affect the materials and techniques you pick for covering the tiles.
Consider how the new surface will blend with your cabinets and countertops. What colors and textures excite you? Visualizing your end goal can help you avoid mismatched or awkward results.
Preparing Tiles For Covering
Preparing your old kitchen tiles before covering them is a crucial step that sets the foundation for a smooth and lasting finish. Skipping this part can lead to peeling, bubbling, or uneven surfaces. Are you ready to give your kitchen tiles a fresh start? Let’s get your tiles prepped right.
Clean And Degrease
Start by thoroughly cleaning your tiles. Use a strong degreaser or a mixture of warm water and dish soap to remove any grease, dirt, or food stains. Grease can prevent adhesives or paints from sticking properly, so don’t rush this step.
Scrub the tiles with a stiff brush or sponge, focusing on grout lines and corners. Rinse with clean water and allow the surface to dry completely. You’ll notice how much better your tiles look once all the grime is gone.
Repair Damages
Next, inspect your tiles for cracks, chips, or missing grout. These damages can create weak spots that affect the new covering. Use a tile filler or epoxy putty designed for ceramics to patch these imperfections.
Apply the filler carefully and smooth it out with a putty knife. Let it cure according to the product instructions before moving on. Have you ever skipped fixing cracks, only to find the new surface flaking off? Taking this step seriously saves you from headaches later.
Smooth Rough Surfaces
Rough or uneven tiles make it hard to achieve a flat finish. Lightly sand the surface using medium-grit sandpaper, paying attention to any raised edges or rough spots. This helps the covering material adhere better and look cleaner.
After sanding, wipe away the dust with a damp cloth and let the tiles dry fully. If you feel the surface is still uneven, repeat the sanding process. How much effort do you put into prepping surfaces before a project? A little extra time here makes a big difference in the final look.
Peel-and-stick Tile Options
Peel-and-stick tiles offer an easy way to refresh old kitchen tiles. They provide a quick, hassle-free update. Perfect for a modern look without the mess of traditional tiling.
Updating your kitchen doesn't have to be an expensive or time-consuming task. Peel-and-stick tiles offer a simple and budget-friendly way to give your old kitchen tiles a fresh look. These tiles are incredibly user-friendly, making them a popular choice for DIY enthusiasts. Let's delve into the different types of peel-and-stick tiles available, how to install them, and how to maintain their beauty over time.
Types Of Peel-and-stick Tiles
Peel-and-stick tiles come in a variety of materials, each offering unique aesthetics and benefits. Vinyl tiles are lightweight and water-resistant, perfect for areas prone to spills and splashes. If you're after a more luxurious look, gel tiles mimic the appearance of glass and add a glossy finish to your space. For a touch of elegance, consider metallic tiles that can add a modern edge to your kitchen decor.
Installation Tips
Installing peel-and-stick tiles is straightforward, but a few tips can make the process even smoother. Start with a clean surface; any grease or dust can affect the adhesive. Measure twice, cut once — this old adage holds true to ensure you have precisely cut tiles for corners and edges. Use a level to keep your tiles aligned for a professional finish. Are you worried about making mistakes? The best part is, peel-and-stick tiles can be adjusted slightly if needed.
Maintenance And Durability
Once installed, peel-and-stick tiles require minimal maintenance. Simply wipe them down with a damp cloth to keep them looking new. They are designed to resist moisture and stains, making them ideal for kitchen environments. However, avoid using harsh chemicals which can damage the tile surface. Wondering how long they last? With proper care, peel-and-stick tiles can maintain their beauty for years, offering an easy and effective solution for transforming your kitchen.
Painting Old Tiles
Painting old kitchen tiles is an easy way to refresh your space without costly renovations. A fresh coat of paint can brighten the room and update the style. It also hides stains and chips on worn tiles. This method works well for ceramic or porcelain tiles.
Choosing The Right Paint
Select paint made for tiles or high-gloss surfaces. Epoxy or enamel paints work best for durability. Choose a paint that resists moisture and heat, especially near sinks or stoves. Light colors open up small kitchens, while dark shades add contrast and depth.
Surface Preparation Steps
- Clean tiles thoroughly with a degreaser or strong soap.
- Remove any mold, mildew, or old adhesive residue.
- Sand tiles lightly to create a rough surface for paint to stick.
- Wipe away dust and let tiles dry completely.
- Apply a primer designed for slick surfaces to improve adhesion.
Painting Techniques
Use a high-quality brush or small roller for smooth, even coverage. Paint in thin layers to avoid drips and uneven spots. Allow each coat to dry fully before applying the next. Two or three coats usually provide the best finish. Use painter’s tape to protect grout lines or other areas you want to keep paint-free.
Tile Overlays And Panels
Tile overlays and panels offer a simple way to refresh old kitchen tiles. They cover worn surfaces without removing existing tiles. This method saves time and reduces mess. Overlays and panels come in many styles and materials. They can fit various kitchen designs. Installing these coverings can transform your kitchen’s look quickly and affordably.
Materials For Overlays
Several materials work well for tile overlays. Popular choices include:
- Thin porcelain or ceramic tiles
- Acrylic or PVC panels
- Laminate sheets with tile patterns
- Metal sheets like stainless steel
- Vinyl panels with adhesive backing
Each material offers different durability and appearance. Choose one that matches your kitchen style and usage needs.
Installing Wall Panels
Start with a clean, dry tile surface. Remove grease and dirt for better adhesion. Measure the area and cut panels to size. Use strong adhesive or double-sided tape made for tiles. Press panels firmly onto the wall. Seal edges with waterproof caulk to prevent moisture damage. Allow adhesive to dry fully before use.
Wall panels install quickly and cause minimal disruption. They hide old grout lines and cracked tiles easily.
Advantages Of Tile Overlays
- Cost-effective compared to full tile replacement
- Faster installation with less dust and debris
- Wide range of styles and colors available
- Protects old tiles and extends their life
- Easy to clean and maintain
- Non-permanent option for renters or temporary updates
Tile overlays improve kitchen appearance without major renovations. A practical choice for a fresh, modern look.

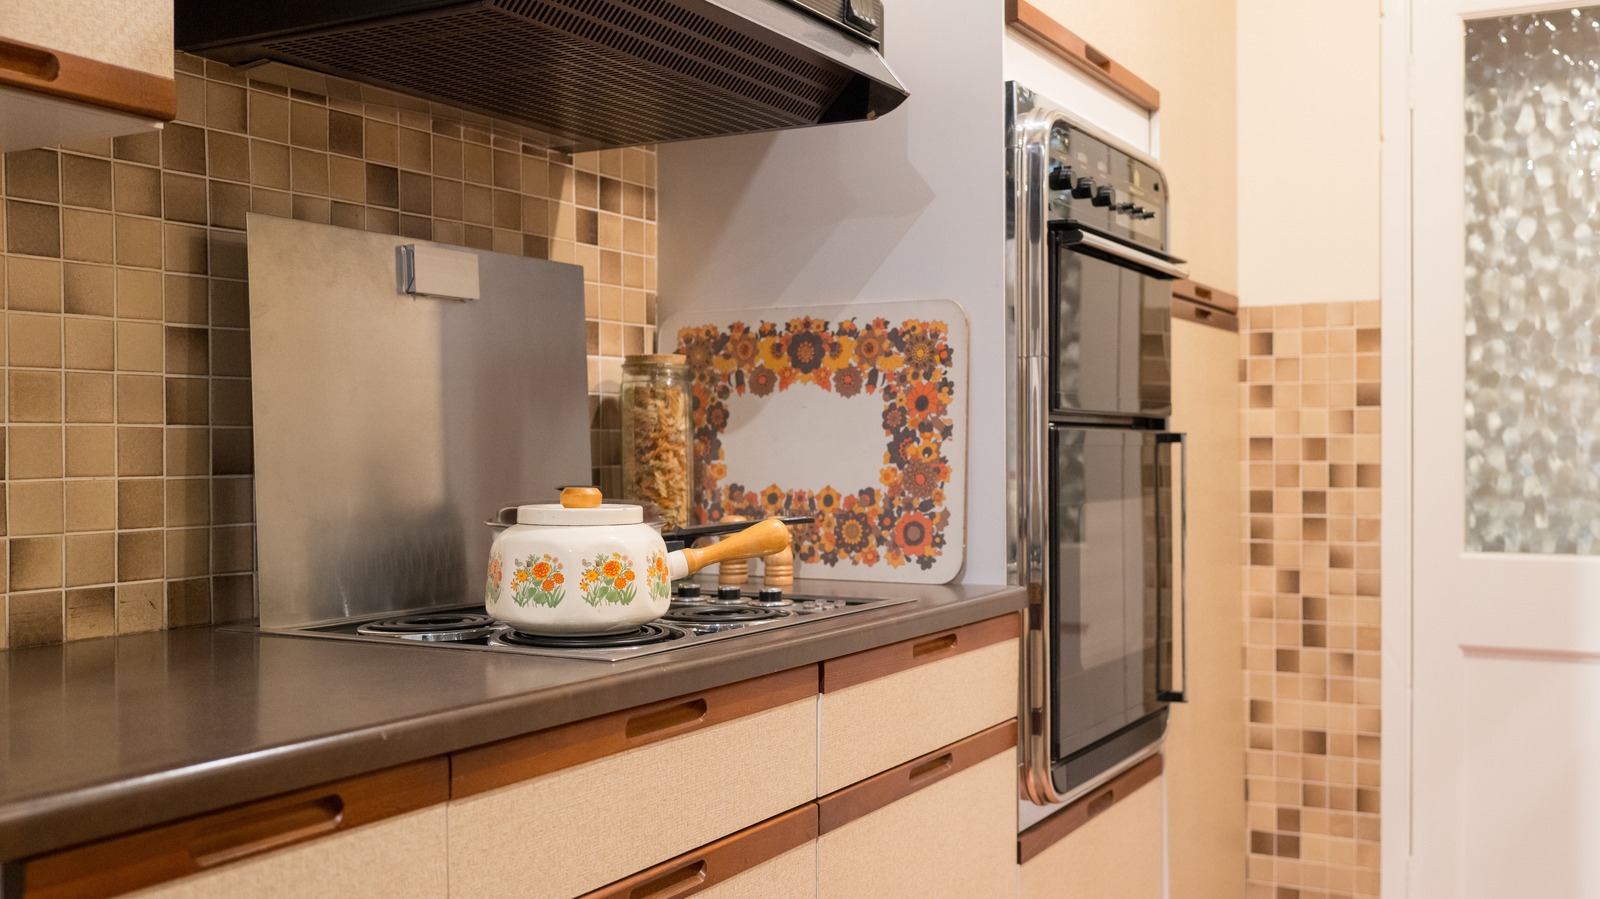
Credit: www.reddit.com
Using Wallpaper Or Decals
Using wallpaper or decals offers a fresh way to cover old kitchen tiles. This option is cost-effective and quick. It allows easy customization with patterns and colors. These materials can hide outdated tiles without heavy work.
Choose the right type of wallpaper or decals for durability. Proper application ensures a smooth, lasting finish. Adding a protective layer helps maintain the look over time.
Selecting Waterproof Wallpaper
Pick wallpaper designed for wet areas. Waterproof wallpaper resists moisture and steam in kitchens. Vinyl-coated wallpaper is a good choice for tile coverage. It cleans easily and lasts longer. Avoid regular paper wallpaper as it can peel or warp.
Check the wallpaper label for water resistance. Choose light colors or patterns to brighten your kitchen. Measure your wall area carefully for the right wallpaper amount.
Applying Decals On Tiles
Clean tiles thoroughly before applying decals. Remove all grease and dirt to improve adhesion. Dry the surface completely to avoid bubbling. Peel the decal slowly and place it carefully on tiles.
Use a squeegee or credit card to smooth out air bubbles. Work from the center outwards for best results. Trim any excess decal with a sharp blade. Allow decals to set for 24 hours before cleaning.
Protective Finishes
Apply a clear protective coat over wallpaper or decals. This adds durability and makes cleaning easier. Use water-based polyurethane or acrylic sealer for safety. Test the finish on a small area first to check for damage.
Reapply the protective layer every few years to keep surfaces fresh. Avoid harsh chemicals when cleaning to extend the finish life. This simple step helps your kitchen stay beautiful longer.
Creative Tile Patterns And Layouts
Creative tile patterns and layouts can transform your old kitchen tiles into a stunning focal point without the need for a full renovation. Playing with different designs not only covers imperfections but also breathes new life into your space. What patterns will best express your style while making your kitchen feel fresh and inviting?
Mixing Colors And Textures
Mixing colors and textures adds depth and interest to your tile cover-up project. Combining matte with glossy finishes can make your kitchen walls pop without overwhelming the space. Try pairing neutral tones with bold colors to create contrast that feels balanced and modern.
Think about how rough stone tiles look next to smooth ceramic ones. This contrast can highlight each tile’s unique features and add tactile appeal. Have you considered a blend of soft pastels with dark, rich hues to keep things lively yet cozy?
Geometric Designs
Geometric tile patterns are perfect for adding structure and style to your kitchen walls. Arranging tiles in shapes like hexagons, triangles, or chevrons can create a dynamic visual effect that draws the eye. These patterns work well in both small and large kitchens, giving your space a trendy edge.
Try laying out tiles in a herringbone or basket weave pattern to add movement and rhythm. How might a bold geometric design change the way you experience your kitchen every day?
Accent Borders
Accent borders offer a simple yet effective way to frame your kitchen walls or backsplash. A narrow strip of decorative tiles can break up plain areas and add personality without overwhelming the space. You can use contrasting colors, intricate patterns, or metallic finishes for a subtle pop.
Consider running an accent border along the countertop edge or around your stove area to highlight key zones. What small border detail could make your kitchen feel more custom and unique?
Budget-friendly Makeover Ideas
Giving old kitchen tiles a fresh look does not need to be costly. Budget-friendly makeover ideas can transform your space without breaking the bank. Simple changes can make a big difference in style and feel.
Diy Solutions
Doing it yourself saves money and adds a personal touch. Painting tiles with special tile paint is a popular option. Peel-and-stick tile decals offer an easy way to change patterns. Regrouting can refresh the look without replacing tiles. These projects require basic tools and little experience.
Affordable Materials
Choosing low-cost materials helps keep expenses down. Vinyl tiles offer variety and easy installation. Laminate sheets can cover large tile areas smoothly. Contact paper with modern designs is budget-friendly and simple to apply. These materials make updates quick and affordable.
Time-saving Tips
- Plan your design before starting to avoid mistakes.
- Use peel-and-stick options for quick application.
- Limit work to small sections at a time.
- Gather all tools and materials first to stay organized.
- Allow paint or adhesive to dry fully for best results.
Following these tips can reduce effort and speed up your kitchen makeover.
Maintaining Your New Kitchen Look
Keeping your kitchen looking fresh after covering old tiles takes more than just the initial makeover. How you care for your new surfaces will determine how long they stay vibrant and damage-free. Paying attention to everyday habits can save you time and money later.
Cleaning Techniques
Use gentle cleaners to avoid harming your new tile covers. Harsh chemicals can strip finishes or cause discoloration over time. A mix of warm water and mild dish soap usually does the trick.
Try wiping down your tiles with a soft cloth or sponge rather than abrasive scrubbers. This prevents scratches and keeps the surface smooth. Have you noticed how small changes in cleaning tools can extend the life of your kitchen surfaces?
Preventing Damage
Protect your tiled areas from heavy impacts and sharp objects. Avoid dragging pots or appliances across the surfaces. Placing felt pads under heavy items can make a big difference.
Be mindful of spills, especially acidic substances like lemon juice or vinegar. These can wear down protective coatings if left too long. Quick cleanup helps maintain that fresh look you worked hard to achieve.
Long-term Care
Regularly inspect your kitchen tiles for signs of wear or loosening. Early detection lets you fix small issues before they become costly repairs. Consider resealing your tiles every few years if your covering material requires it.
Think about your kitchen's daily use—does anything repeatedly cause wear? Adjusting your habits, like using cutting boards or mats, can prevent future damage. How much effort are you willing to put into keeping your kitchen looking new?
Credit: www.thedailymeal.com
Frequently Asked Questions
How Can I Cover Old Kitchen Tiles Without Removing Them?
You can cover old kitchen tiles using peel-and-stick tiles, paint, or tile overlays. These methods save time and reduce mess. Proper surface cleaning is essential before application for better adhesion and durability.
What Materials Work Best For Covering Old Kitchen Tiles?
Peel-and-stick vinyl tiles, tile paint kits, and laminate panels work well. These materials are affordable, easy to install, and durable. Choose based on your kitchen style and maintenance preferences.
Is Painting Old Kitchen Tiles A Durable Solution?
Yes, painting tiles with specialized tile paint can be durable. It requires thorough cleaning, priming, and sealing. This method is cost-effective but may need touch-ups over time.
Can I Install New Tiles Directly Over Old Kitchen Tiles?
Yes, you can install new tiles over old ones if the surface is stable and clean. Use a suitable adhesive designed for tile-over-tile installation. This approach saves demolition time and costs.
Conclusion
Covering old kitchen tiles can refresh your space quickly. Choose the method that fits your budget and skill level. Simple steps can make a big difference. Enjoy a fresh look without a full renovation. Small changes create a cozy, new kitchen feel.
Try to keep your work neat and clean. Your kitchen deserves a fresh, updated touch today.