
Are your old kitchen wall tiles making your space look outdated? You don’t have to live with them or spend a fortune on a full renovation.
Imagine transforming your kitchen walls quickly and easily, giving your whole room a fresh, modern look. You’ll discover simple, effective ways to cover those old tiles and breathe new life into your kitchen. Keep reading, and you’ll find practical tips that anyone can follow—no special skills needed.
Ready to make your kitchen look amazing again? Let’s get started!

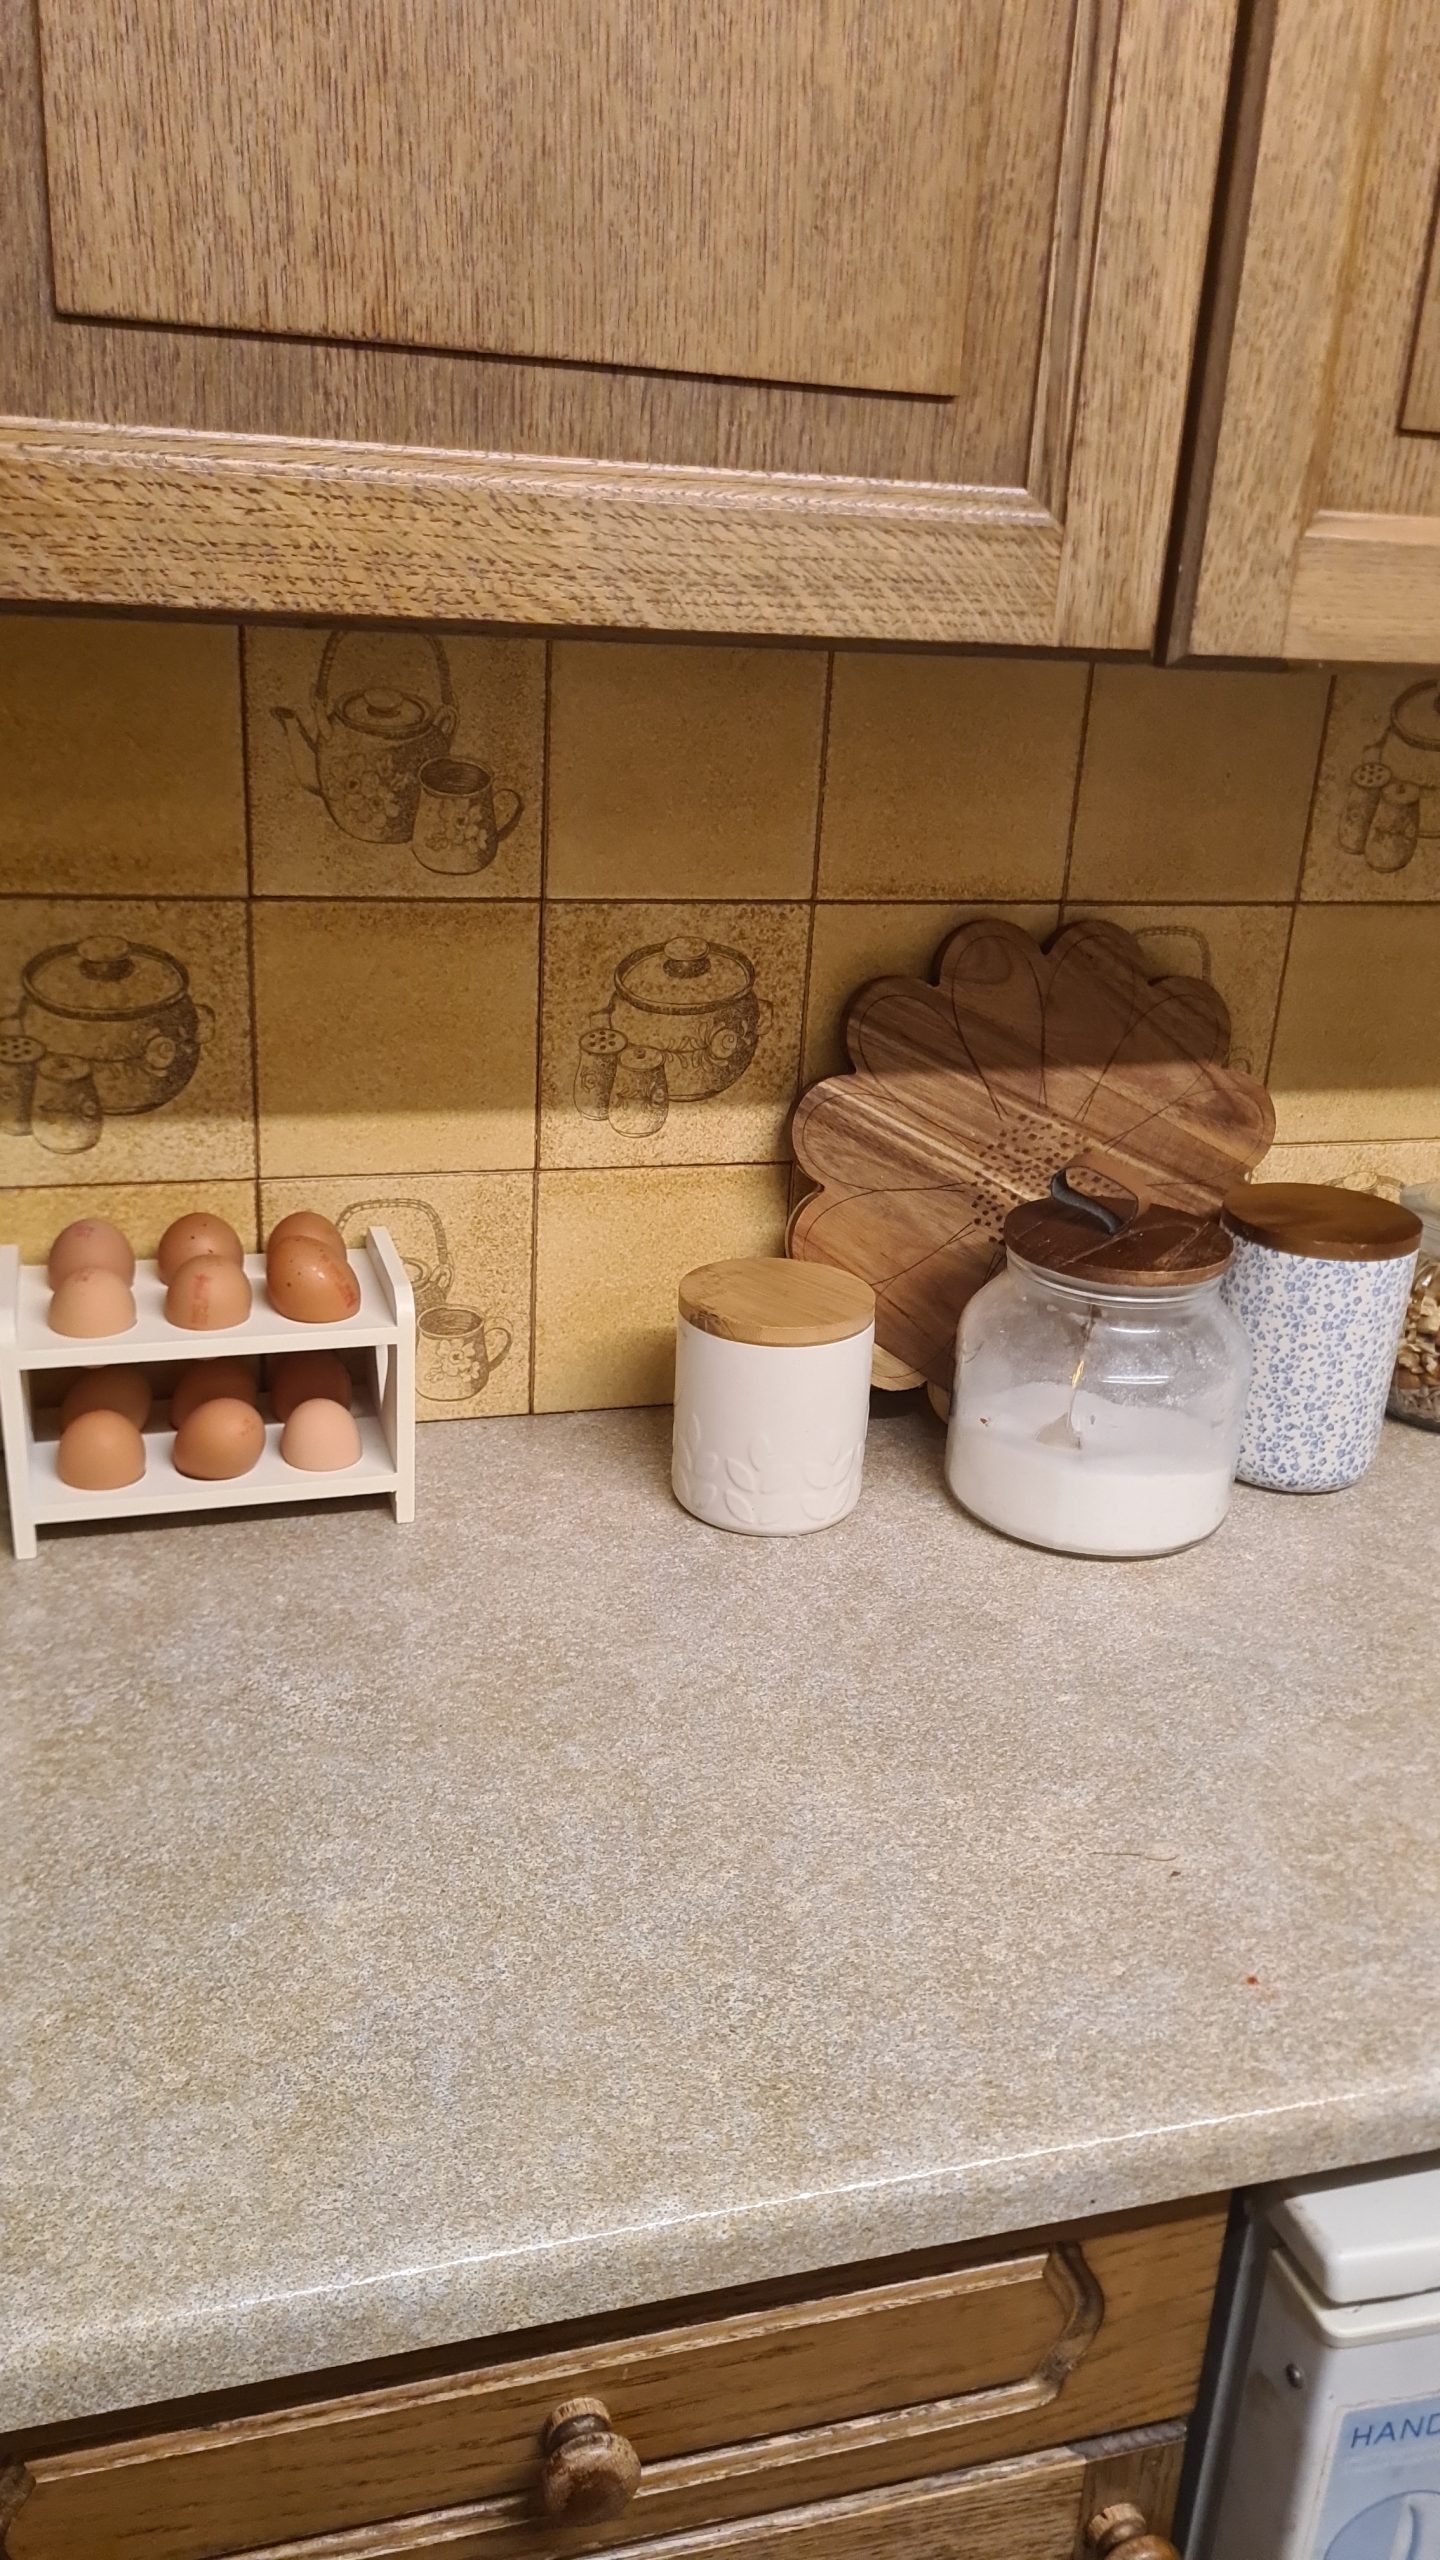
Credit: www.kylieminteriors.ca
Assessing Your Old Tiles
Before you dive into covering old kitchen wall tiles, it’s crucial to take a good look at what you’re working with. Assessing your old tiles helps you avoid unexpected issues and makes sure your new covering lasts longer. Understanding the current condition, surface type, and size of the tiled area sets a solid foundation for your project.
Check Tile Condition
Start by examining each tile closely. Are there cracks, chips, or loose tiles? Damaged tiles can affect the adhesion of your new covering, so you might need to repair or remove them first.
Also, look for signs of mold or mildew, especially in damp areas. These problems must be addressed before you add anything new to prevent future damage.
Identify Surface Type
Not all tiles are the same. Some have a glossy finish, while others might be matte or textured. Knowing your tile’s surface helps you choose the right primer or adhesive for your project.
For example, smooth and shiny tiles are harder to stick to, so you might need to roughen the surface lightly with sandpaper. This step improves grip and ensures your new covering sticks well.
Measure Wall Area
Accurate measurements save time and money. Use a tape measure to find the height and width of the tiled area.
Multiply these numbers to get the total square footage. This helps you buy the right amount of materials—whether paint, panels, or new tiles—without waste.
Preparing The Surface
Preparing the surface is a vital step before covering old kitchen wall tiles. A clean, smooth base ensures the new finish sticks well and lasts longer. Proper preparation avoids peeling, bubbling, and uneven results. Take time to get the surface ready for the best outcome.
Clean Thoroughly
Start by removing dirt, grease, and grime from the tiles. Use warm water and a mild detergent to scrub the walls. Rinse with clean water and let dry completely. Avoid any leftover residue that may block adhesion.
Repair Damages
Check the tiles for cracks, chips, or loose pieces. Fill small cracks with tile filler or epoxy putty. Replace or secure any loose tiles firmly. A smooth, even surface prevents bumps under the new covering.
Sand For Adhesion
Lightly sand the tile surface with medium-grit sandpaper. This creates a rough texture that helps glue or paint stick better. Wipe off dust with a damp cloth after sanding. A well-sanded surface improves the durability of the new layer.
Painting Over Tiles
Cover old kitchen wall tiles by cleaning and sanding the surface first. Apply a primer made for tiles, then paint with a durable, waterproof paint. This refreshes the look without removing tiles.
Painting over tiles is a brilliant way to give your kitchen a fresh new look without the hassle of a full renovation. It's cost-effective, less time-consuming, and allows you to personalize your space. However, achieving a lasting and beautiful finish requires some preparation and the right materials.
Choose The Right Paint
Selecting the appropriate paint is crucial for a successful tile transformation. Opt for epoxy or latex-based paints, as these are designed to adhere well to tile surfaces and withstand moisture. Make sure to visit your local hardware store and consult with experts to find the best option suited for your kitchen's needs.
Apply Primer
Before you get to painting, priming your tiles is essential. A good primer ensures that the paint sticks properly and doesn't chip off easily. Clean the tiles thoroughly, apply a high-quality primer designed for tiles, and allow it to dry completely. Skipping this step could lead to disappointing results, so take your time to do it right.
Use Durable Coats
Once the primer is set, it’s time to apply the paint. Use a small roller for larger areas and a brush for corners and edges. Apply multiple thin layers rather than one thick coat to avoid drips and achieve a smooth finish. Be patient, allowing each coat to dry completely before adding the next. Imagine your kitchen with a vibrant new color – all it took was a bit of paint and patience. What color will you choose to transform your space?
Installing Tile Stickers
Installing tile stickers offers a quick, affordable way to refresh old kitchen wall tiles. These stickers adhere directly to the tile surface, covering up outdated or damaged patterns. They come in many designs, colors, and textures, making it easy to find a style that matches your kitchen décor. Applying tile stickers requires careful preparation and attention to detail to ensure a smooth, lasting finish.
Select Designs
Choose tile stickers that complement your kitchen's color scheme. Consider patterns that add brightness or contrast to the space. Matte finishes hide imperfections better than glossy ones. Pick designs with simple shapes for easy alignment. Avoid overly busy patterns that may overwhelm small kitchens.
Proper Application Tips
- Clean tiles thoroughly to remove dirt and grease.
- Dry the surface completely before applying stickers.
- Measure and mark tile edges for precise placement.
- Peel stickers slowly to avoid tearing or bubbles.
- Use a flat tool to press stickers firmly and remove air pockets.
- Work on one tile at a time for best results.
Maintenance Advice
Wipe tile stickers gently with a damp cloth and mild soap. Avoid abrasive cleaners that can damage the surface. Do not scrub stickers roughly to keep them intact. Check edges regularly and press down any that lift. Replace damaged stickers promptly to maintain a fresh look.
Applying Peel-and-stick Tiles
Applying peel-and-stick tiles is a quick and easy way to refresh old kitchen walls. These tiles come with adhesive backing, allowing you to cover outdated surfaces without messy glue or grout. They offer a smooth finish and come in many colors and patterns, giving your kitchen a fresh new look.
Surface Preparation
Clean the wall tiles thoroughly before starting. Remove any grease, dirt, or dust using a mild cleaner. Make sure the surface is dry and smooth. Fill any cracks or holes with spackle, then sand it down gently. A clean and even surface helps the tiles stick better and last longer.
Cutting And Fitting
Measure the wall area carefully to plan tile placement. Use a utility knife or scissors to cut tiles to the right size. Cut slowly to avoid jagged edges. Fit tiles snugly around outlets, switches, and corners. Press each tile firmly onto the wall, smoothing out air bubbles as you go.
Long-term Care
Keep your peel-and-stick tiles clean by wiping them with a damp cloth. Avoid abrasive cleaners that can damage the surface. Check edges regularly to make sure tiles stay attached. If any tiles start to peel, press them back or use a small amount of adhesive. Proper care helps maintain the fresh look for years.
Using Beadboard Panels
Using beadboard panels is a smart way to cover old kitchen wall tiles without the mess of demolition. These panels add texture and charm while hiding imperfections. Plus, they’re easy to install and update, making your kitchen feel fresh and inviting quickly.
Material Options
Beadboard panels come in different materials, each with its perks. Traditional wood beadboard offers a warm, classic look but needs sealing to protect against moisture. PVC or vinyl beadboard is moisture-resistant and perfect for kitchens prone to steam and splashes.
If you prefer something budget-friendly, MDF beadboard is smooth and easy to paint, though it requires good ventilation to avoid swelling. Think about your kitchen’s conditions and choose a material that suits your lifestyle and maintenance preference.
Installation Steps
Start by cleaning the tile surface thoroughly; dirt and grease can prevent adhesion. Next, measure the wall carefully and cut your beadboard panels to size using a saw or utility knife for thinner materials.
Attach the panels using construction adhesive for a clean look, or use finishing nails if you want extra security. Make sure to press panels firmly against the tiles and check for level to keep the lines straight. Don’t forget to fill any nail holes or gaps with wood filler or caulk for a seamless finish.
Painting And Finishing
Once installed, you can paint the beadboard to match your kitchen’s color scheme or contrast for a bold look. Use a primer suitable for your panel material to ensure paint sticks well and lasts longer.
Apply at least two coats of paint with a brush or roller, allowing each coat to dry completely. Adding a clear polyurethane finish can protect the surface from stains and moisture, especially in busy kitchens.
Have you considered how a simple paint color can transform the entire vibe of your kitchen? Experimenting with different shades on beadboard can give your space a unique personality without a full renovation.
Adding Wood Or Laminate Panels
Adding wood or laminate panels over old kitchen wall tiles creates a fresh, warm look. This option hides worn tiles without messy demolition. Panels add texture and style easily. They work well in kitchens with lots of moisture if sealed properly. The process involves picking the right materials, mounting them securely, and sealing for lasting protection.
Choosing Materials
Wood panels offer a natural, cozy feel. Choose moisture-resistant types like cedar or treated pine. Laminate panels come in many colors and patterns. They resist water and stains better than wood. Consider panel thickness for smooth installation. Lightweight panels simplify mounting on tile surfaces. Pick styles that match your kitchen’s decor.
Mounting Techniques
Prepare tile surfaces by cleaning and drying them well. Use construction adhesive designed for tiles to stick panels firmly. Apply adhesive evenly on the back of each panel. Press panels firmly against the tile wall. Secure edges with finishing nails or screws if possible. Leave small gaps between panels for expansion. Use a level to ensure panels stay straight.
Sealing For Protection
Seal panel edges to block moisture from getting behind them. Use clear polyurethane or varnish for wood panels. Apply two or three thin coats, letting each dry fully. For laminate, check if a sealant is needed on edges. Sealant prevents warping and mold growth. Keep kitchen humidity low to extend panel life. Regularly inspect and touch up seals to maintain protection.
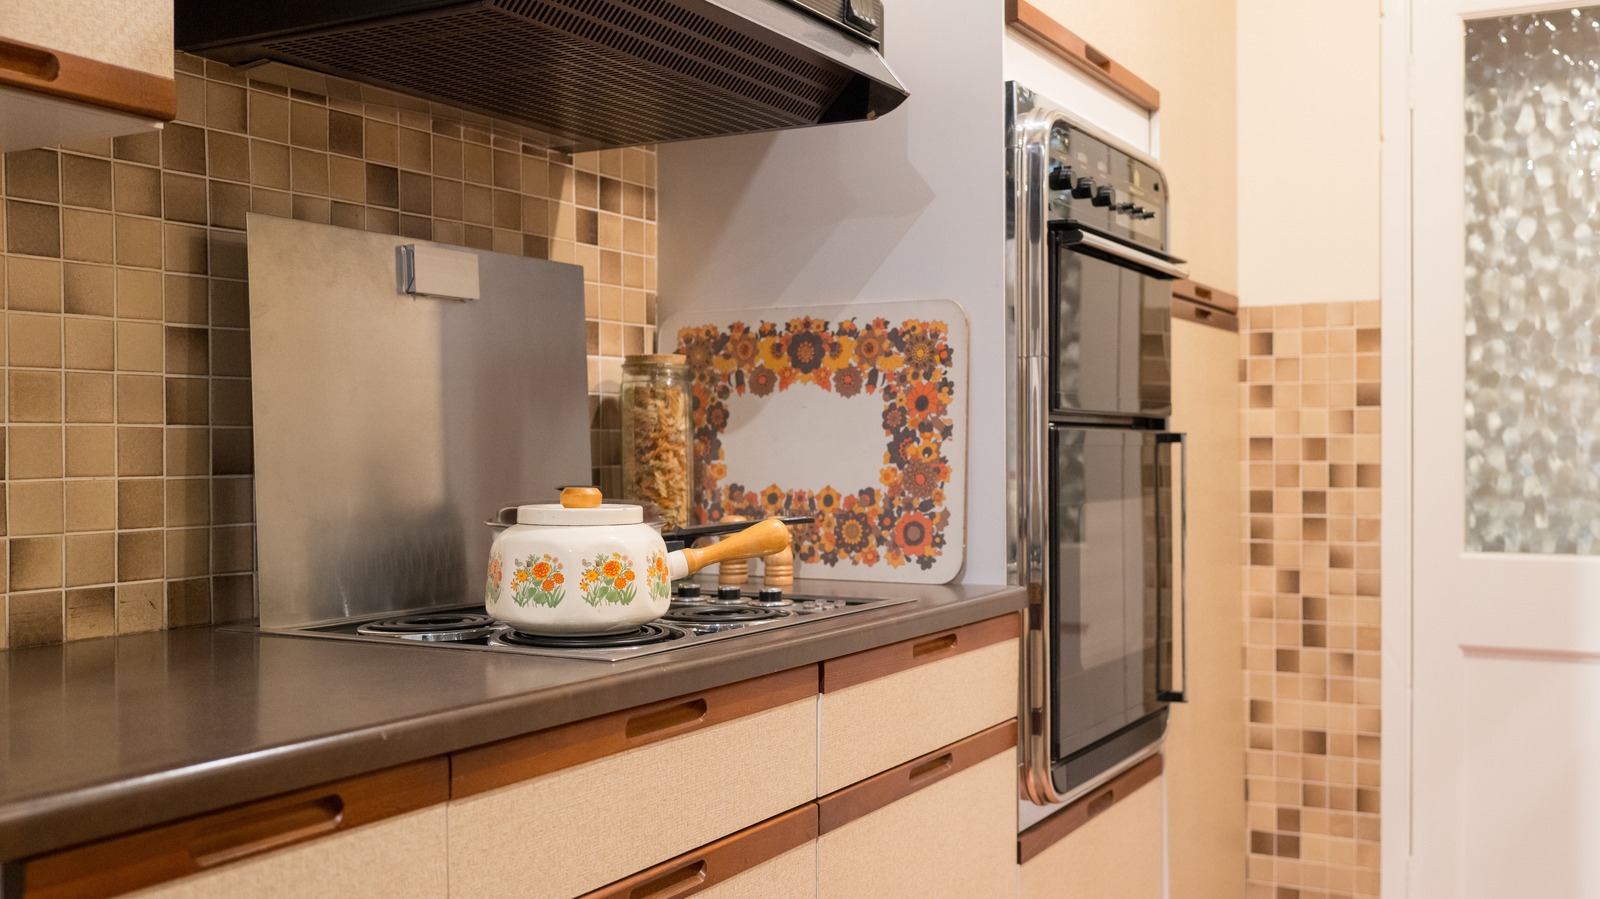
Credit: www.thedailymeal.com
Creating A Backsplash Overlay
Creating a backsplash overlay is a smart way to refresh old kitchen wall tiles. It covers worn tiles without the mess of full demolition. This method saves time and money while giving your kitchen a fresh look. Overlays add style and protect your walls from moisture and stains.
Material Choices
Many materials work well for backsplash overlays. Choose one that fits your style and budget. Popular options include:
- Peel-and-stick tiles – easy to install and remove
- Glass panels – sleek and easy to clean
- Metal sheets – modern and durable
- Acrylic sheets – lightweight and affordable
- Laminate panels – cost-effective and available in many designs
Each material has benefits. Consider durability, maintenance, and appearance.
Design Ideas
Backsplash overlays can transform your kitchen’s look. Try these ideas:
- Bold colors for a vibrant touch
- Subtle patterns for a classic feel
- Textured surfaces to add depth
- Metallic finishes for a modern vibe
- Mix materials for unique style
Match your overlay to cabinets and countertops for a balanced look.
Installation Guide
Prepare the wall by cleaning tiles thoroughly. Remove grease and dirt for better adhesion. Measure the backsplash area carefully. Cut the overlay material to fit precisely.
Follow these steps:
- Dry fit pieces before applying adhesive
- Apply adhesive or use self-adhesive backing
- Press firmly to avoid air bubbles
- Seal edges with silicone to prevent water damage
- Allow adhesive to cure as recommended
Use a level to keep the overlay straight. Take your time for neat results.
Incorporating Decorative Screens
Decorative screens offer a creative way to cover old kitchen wall tiles without the mess of demolition. They add texture and character while allowing you to personalize your kitchen space easily. You can choose screens that complement your style and fit perfectly over your existing tiles, turning a dull wall into a focal point.
Style Options
Decorative screens come in a variety of styles to suit different tastes. You might prefer laser-cut metal with intricate patterns for a modern look or woven bamboo screens for a natural vibe. Some screens feature geometric shapes, while others showcase floral or abstract designs.
Think about the atmosphere you want in your kitchen. Would you like something bold and eye-catching or subtle and calming? Your choice can transform the entire room’s feel.
Mounting Methods
You don’t need to damage your tiles to install a decorative screen. Many screens can be mounted using adhesive strips or hooks, which makes removal and replacement easy. If you want a more permanent solution, screws with wall anchors work well on sturdy tile surfaces.
Consider the screen’s weight and your wall’s condition before deciding. A lightweight screen may just need strong double-sided tape, while heavier ones might require drilling. Have you checked if your wall can support the installation without cracking the tiles?
Lighting Effects
Adding lighting behind or around decorative screens can create stunning visual effects. Backlighting highlights the screen’s pattern and adds depth to your kitchen walls. LED strip lights are a popular choice because they’re easy to install and come in multiple colors.
Try experimenting with warm or cool light tones to see what works best with your kitchen’s color scheme. How might subtle lighting change the mood during your evening meals or morning coffee?
Cost And Time Considerations
Covering old kitchen wall tiles can save money compared to full replacement. Time varies based on the chosen method and tile condition. Simple solutions often take less time but may need more frequent updates.
Covering old kitchen wall tiles involves cost and time considerations. Knowing the expenses and time required can help in planning. This section guides on budgeting, project duration, and whether to DIY or hire a professional.
Budgeting Tips
Creating a budget is crucial. List all potential costs. Consider materials like paint, tile stickers, or panels. Check prices at local stores and online. Compare to find the best deals. Don't forget tools like brushes or adhesive. Allocate some extra funds for unexpected expenses. This prevents stress during the project.
Project Duration
Estimate the time needed for your project. Simple tasks like painting take a weekend. More complex jobs might last several weeks. Consider your availability. Plan for any disruptions in the kitchen. A clear schedule helps manage time effectively.
Diy Vs Professional Help
Decide whether to tackle the project yourself or hire help. DIY can save money but requires effort and skill. Professionals offer expertise and speed. They ensure quality results but at a higher cost. Evaluate your skills and budget before choosing.

Credit: www.yahoo.com
Frequently Asked Questions
How Can I Cover Old Kitchen Wall Tiles Easily?
You can cover old kitchen tiles using peel-and-stick tiles, tile paint, or adhesive wall panels. These options are cost-effective and quick. Ensure the surface is clean and dry before application for better adhesion and durability.
What Materials Work Best To Cover Old Kitchen Tiles?
Peel-and-stick tiles, tile paint, and vinyl wall panels work best. They are easy to install and affordable. Choose water-resistant materials for kitchen walls to prevent moisture damage and ensure longevity.
Is It Necessary To Remove Old Tiles Before Covering?
No, removing old tiles is not always necessary. You can cover tiles directly if they are intact and clean. Covering saves time and reduces renovation costs, but damaged tiles should be repaired or removed first.
How Do I Prepare Old Tiles Before Covering Them?
Clean tiles thoroughly with soap and water to remove grease and dirt. Sand glossy tiles lightly to improve adhesion. Ensure tiles are dry before applying any covering material for the best results.
Conclusion
Covering old kitchen wall tiles can refresh your space quickly. Choose the best method that fits your budget and style. Simple steps can make a big difference in your kitchen’s look. Take your time, measure carefully, and prepare the surface well.
Small changes create a fresh, clean, and modern feel. Enjoy your updated kitchen without the hassle of a full renovation. Your walls will look new and inviting in no time. Start today and see the change for yourself.