
Are you tired of seeing plain, unfinished backs on your kitchen cabinets? That dull, exposed surface can make your kitchen look less polished and even collect dust over time.
But here’s the good news: you don’t have to live with it. Covering the back of your kitchen cabinets is a simple step that can instantly boost your kitchen’s style and protect your cabinets for years to come. You’ll discover easy and affordable ways to transform that overlooked space into something attractive and functional.
Keep reading, and you’ll find out exactly how to give your kitchen that clean, finished look you’ve been wanting.

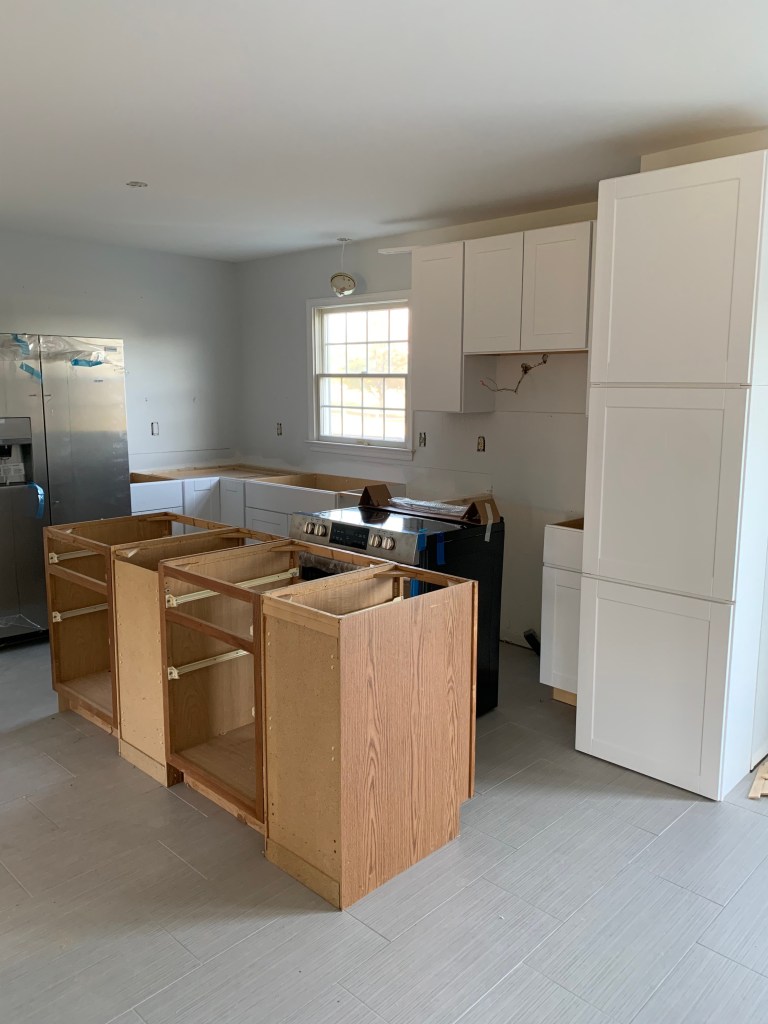
Credit: www.extraspace.com
Reasons To Cover Cabinet Backs
Covering the back of kitchen cabinets is a detail many overlook, yet it offers significant benefits. Whether you want to protect your kitchen surfaces, boost the overall look, or make your cabinets last longer, this simple step can make a big difference. Let’s dive into why you should consider covering those cabinet backs.
Protecting Surfaces
Kitchen cabinets face constant exposure to moisture, heat, and spills. Covering the back helps shield the wall or the cabinet material itself from damage caused by steam or accidental splashes.
Think about the last time you noticed water stains or peeling paint near your cabinets. Covering the backs can prevent these issues before they start, saving you time and money on repairs.
Enhancing Style
Have you ever peeked behind your open cabinets and noticed an unfinished or dull surface? Adding a cover lets you introduce color, texture, or patterns that complement your kitchen’s design.
This small touch can turn a hidden spot into a style statement. Whether you choose wallpaper, beadboard, or painted panels, it creates a polished, cohesive look.
Increasing Durability
Cabinet backs are often made from thin materials that wear down over time. Covering them adds an extra layer of strength and stability.
This reinforcement helps your cabinets hold up better against daily wear, especially if you store heavier items or frequently clean the area. A sturdy cabinet is a lasting one.
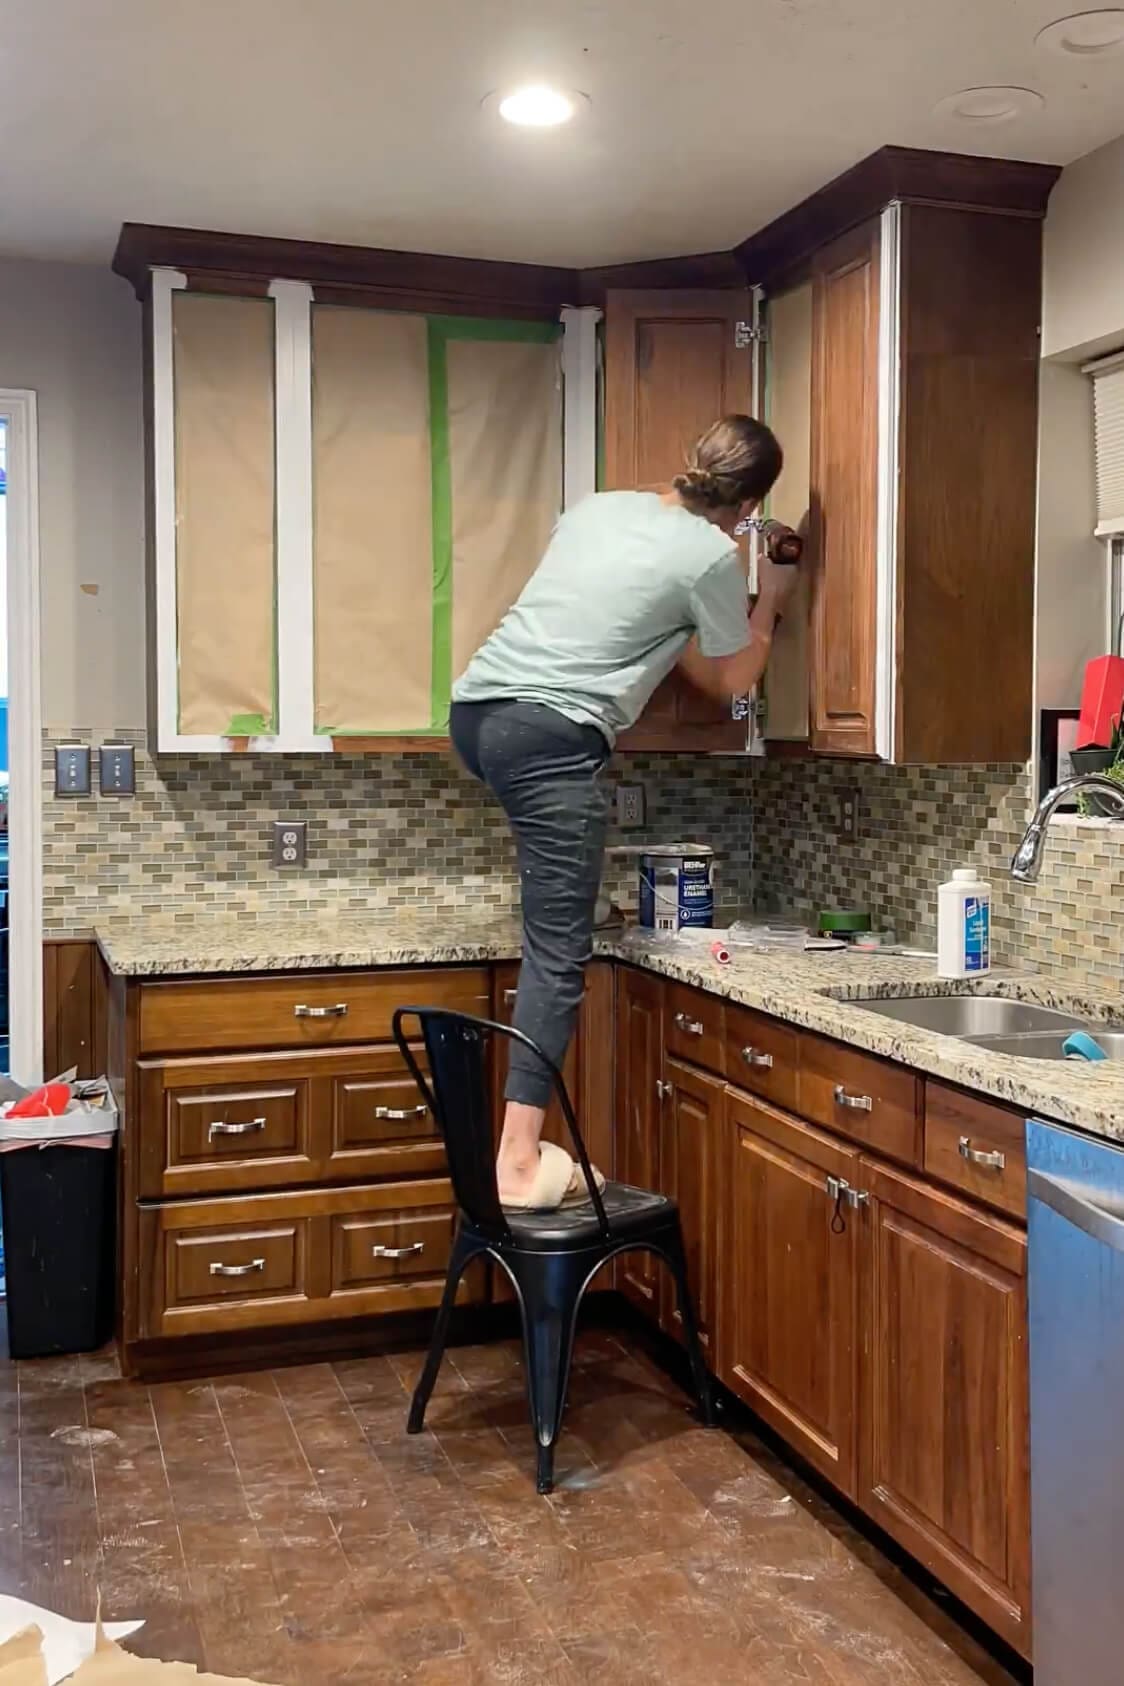
Credit: crystelmontenegrohome.com
Popular Materials For Cabinet Backs
Choosing the right material to cover the back of your kitchen cabinets can dramatically change the look and feel of your space. The options range from simple, budget-friendly solutions to more durable and stylish finishes. Think about how you use your kitchen and what kind of statement you want to make before picking a material.
Peel-and-stick Wallpaper
Peel-and-stick wallpaper offers a quick and easy way to add color or pattern behind your cabinets. It’s perfect if you want to experiment with bold designs without the hassle of traditional wallpaper. Plus, it’s removable, so you can switch styles as often as you like.
Decorative Contact Paper
Decorative contact paper is a budget-friendly choice that’s also easy to apply. It comes in a variety of textures and patterns, including faux wood and marble, giving you a high-end look without the cost. If you want to refresh your kitchen quickly, this material lets you do just that.
Wood Panels
Wood panels add warmth and natural beauty to your kitchen cabinet backs. They work well in rustic or farmhouse-style kitchens and can be stained or painted to match your decor. Keep in mind, wood requires some maintenance to protect against moisture and wear.
Metal Sheets
Metal sheets like stainless steel or copper bring a modern and industrial vibe to your kitchen. They’re durable, easy to clean, and reflect light to make your space feel larger. If you like sleek surfaces and minimal upkeep, metal could be your best bet.
Chalkboard Paint
Chalkboard paint turns the back of your cabinets into a fun, functional space. You can jot down grocery lists, recipes, or doodle with your family. It’s a creative way to personalize your kitchen and keep important notes front and center.
Step-by-step Installation Tips
Cover the back of kitchen cabinets by measuring the space carefully and cutting your material to size. Apply adhesive evenly, press the cover firmly, and smooth out any bubbles for a neat finish. Allow time for the adhesive to set before using the cabinets.
Revamping your kitchen can be an exciting yet challenging task, especially when it comes to covering the back of your cabinets. A well-executed finish can transform your kitchen's look and feel. Below, you'll find clear and practical tips to guide you through the installation process, ensuring a professional-looking result.
Measuring And Preparing
Before you begin, accurate measurements are essential. Use a measuring tape to determine the height and width of the cabinet backs. Double-check these measurements to avoid costly mistakes. Once you have your numbers, prepare the surfaces. Clean the back of the cabinets thoroughly to remove dust and grease. This will ensure the adhesive sticks well and the covering lasts longer.
Cutting Materials To Size
With your measurements on hand, cut your chosen material to size. Whether you're using wallpaper, contact paper, or thin wood panels, precision is key. A sharp utility knife or a pair of quality scissors can make this task easier. Ensure your cuts are straight and even by using a straight edge or a ruler.
Applying Adhesive Backings
Ready your adhesive. For peel-and-stick materials, simply remove the backing and apply. If using a separate adhesive, spread it evenly on the surface to avoid bubbles. Start from the top and work your way down, smoothing the material as you go. Use a flat tool or a credit card to push out any air bubbles, ensuring a smooth finish.
Securing Loose Edges
No one wants peeling edges. Secure them by applying additional adhesive if needed. Press down firmly on the edges for a few minutes to ensure they stick. If you're working with wood or heavier materials, consider using small finishing nails for added security. These can be painted over to match your cabinet color, keeping them discreet. Have you ever thought about the lasting impact a simple change like this can have? By following these steps, you ensure your kitchen not only looks great but also stands up to daily wear and tear.
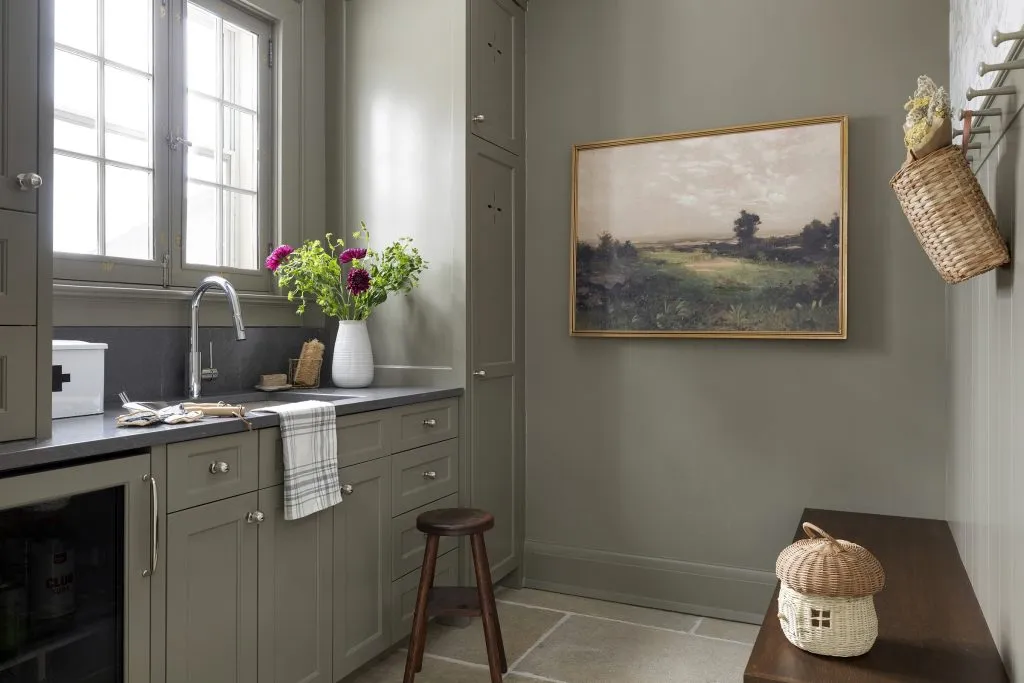
Credit: www.jkath.com
Creative Design Ideas
Giving the back of your kitchen cabinets a creative makeover can transform the entire look of your cooking space. It’s a chance to add personality and flair where many tend to overlook. Let’s dive into some exciting ideas that make your kitchen stand out without overwhelming the room.
Bold Patterns And Colors
Why settle for plain when you can make a statement? Using bold patterns or bright colors on the back panels can instantly energize your kitchen.
Consider geometric shapes or vibrant floral prints that contrast with your cabinet doors. This unexpected pop catches the eye every time you open a cabinet.
Have you thought about using wallpaper designed for kitchens? It’s easy to apply and swap out if you want to refresh your style later.
Textured Finishes
Texture adds depth and interest beyond just color. Try materials like beadboard, shiplap, or even woven bamboo to create a tactile experience.
These surfaces play with light and shadow, giving your cabinets a subtle yet sophisticated look.
If you enjoy DIY projects, applying a textured paint or plaster can be a fun way to customize your cabinet backs.
Mixing Materials
Combining different materials can elevate your kitchen’s style and functionality. Think glass paired with wood or metal accents alongside ceramic tiles.
For example, a mirrored back can open up the space and reflect light, while metal sheets add an industrial edge.
Experiment with layering materials to see what feels right for your space—don’t be afraid to break traditional design rules.
Incorporating Lighting
Lighting behind cabinet backs can highlight your design and improve visibility. LED strips or puck lights are simple options to install.
They create a warm glow that showcases textures and colors, especially in the evening.
Have you noticed how subtle lighting can change the mood of a room? Adding this feature makes your kitchen feel both cozy and modern.
Maintenance And Cleaning
Keeping the back of your kitchen cabinets clean and well-maintained can extend their life and keep your kitchen looking fresh. Regular care helps avoid buildup of dust, grease, and stains, which can be tricky to remove if left unattended. Here’s how you can keep that often overlooked space in top shape.
Routine Cleaning Tips
Start with a soft cloth or microfiber duster to remove loose dust and crumbs. Avoid harsh scrubbing that might damage the surface finish. A gentle wipe with a mixture of warm water and mild dish soap works well to cut through everyday grease.
Try to clean these areas at least once a month. This simple habit prevents grime from settling in and saves you from tougher cleaning sessions later.
Handling Stains
For stubborn stains, use a baking soda paste—mix baking soda with a little water to form a thick paste. Apply it to the stain, let it sit for 10–15 minutes, then gently scrub with a soft brush. This method removes stains without harsh chemicals that could harm your cabinet’s back panel.
If stains resist, a small amount of white vinegar diluted with water can help. Spray lightly, wipe quickly, and dry immediately to avoid damage. Have you noticed certain stains returning often? That might point to a deeper issue like moisture or spills that need addressing promptly.
Repairing Minor Damage
Scratches or minor dents can be fixed easily with wood filler or touch-up markers matching your cabinet color. Fill small holes or scratches, then smooth the surface with fine sandpaper once dry. Touch-up markers work well for surface scratches and blend the color nicely.
For laminate-backed cabinets, use a laminate repair paste to cover chips or peeling areas. Don’t ignore small damage; fixing it early keeps your cabinets looking new and prevents bigger problems later. What’s your biggest challenge when maintaining these hidden spots?
Budget-friendly Options
Covering the back of kitchen cabinets can enhance your kitchen’s look without high costs. Budget-friendly options offer creative ways to improve your space. These choices save money and add style. Simple ideas can make a big difference in your kitchen’s feel.
Diy Projects
DIY projects cut costs and allow personal touches. Use paint or wallpaper to refresh cabinet backs. Stencils create patterns for a unique design. Peel-and-stick tiles offer easy installation and vibrant looks. Small tools and basic skills work well here. Time and effort replace expensive materials.
Affordable Materials
Choose materials that look good but cost less. Vinyl wallpaper is durable and easy to clean. Contact paper comes in many colors and styles. Thin plywood sheets can be painted or stained. Cork sheets add texture and are budget-friendly. These materials fit tight spaces behind cabinets.
Repurposing Old Items
Old items bring charm and save money. Use reclaimed wood for a rustic effect. Cut old wallpaper or fabric for a patchwork design. Tin ceiling tiles add vintage appeal. Old mirrors brighten the kitchen by reflecting light. Creativity with reused items reduces waste and cost.
Frequently Asked Questions
What Materials Are Best For Covering Cabinet Backs?
Popular materials include beadboard, plywood, and decorative panels. Choose durable, moisture-resistant options to withstand kitchen conditions. These materials are easy to install and enhance cabinet aesthetics while protecting walls from spills and stains.
How Do I Measure Cabinet Backs For Covering?
Measure the width and height inside the cabinet frame accurately. Use a tape measure and record dimensions precisely. Proper measurements ensure a perfect fit and prevent material waste when cutting covers.
Can I Paint The Back Of Kitchen Cabinets?
Yes, painting is a cost-effective way to refresh cabinet backs. Use moisture-resistant, washable paint for durability. Choose colors that complement your kitchen’s overall design for a cohesive look.
How To Install Backing On Kitchen Cabinets Easily?
Cut backing material to size, then use adhesive or small nails to attach. Ensure the surface is clean and dry before installation. This method is quick and helps protect walls behind cabinets.
Conclusion
Covering the back of kitchen cabinets adds style and protects walls. Choose materials that suit your budget and kitchen look. Measure carefully to avoid mistakes and save time. Use easy-to-clean surfaces for better kitchen hygiene. Small changes can refresh your kitchen space quickly.
Enjoy a neat and attractive kitchen with simple steps. Try different designs to find what fits best. Keep your kitchen looking fresh and well-maintained every day.