
Are you tired of looking at chipped or outdated tile countertops in your kitchen? You don’t have to replace the entire surface to give your kitchen a fresh, modern look.
Covering your tile countertops can be an easy and affordable way to transform your space without the hassle of a full renovation. You’ll discover simple, step-by-step methods to cover your tile kitchen countertops and make them look brand new. Whether you want a sleek finish or something more creative, you’ll find the perfect solution that fits your style and budget.
Keep reading to find out how you can upgrade your kitchen quickly and confidently.
Choosing The Right Materials
Choosing the right materials for covering tile kitchen countertops is crucial for achieving a durable and attractive finish. The materials you pick will affect not only the look but also how long your counters last under daily use. It’s important to balance aesthetics with practicality to get the best results for your kitchen.
Tile Options For Kitchen Counters
Picking the right tile can change the entire vibe of your kitchen. Porcelain tiles are a popular choice because they are strong and resist stains well. Ceramic tiles offer a wide range of colors and patterns, making it easy to match your style.
Natural stone tiles like granite or marble bring a unique look but need more care to avoid stains and scratches. Think about how much time you want to spend maintaining your counters when choosing tile material.
Adhesives And Grouts
The right adhesive ensures your tiles stay put through spills and heat. Thin-set mortar is a reliable choice that works well with most tile types. Avoid using just regular glue or tape—it won’t hold up in a kitchen environment.
Grout fills the gaps between tiles and keeps moisture out. Epoxy grout is highly resistant to stains and water, making it ideal for kitchen counters. Cement-based grout is easier to work with but may require sealing later.
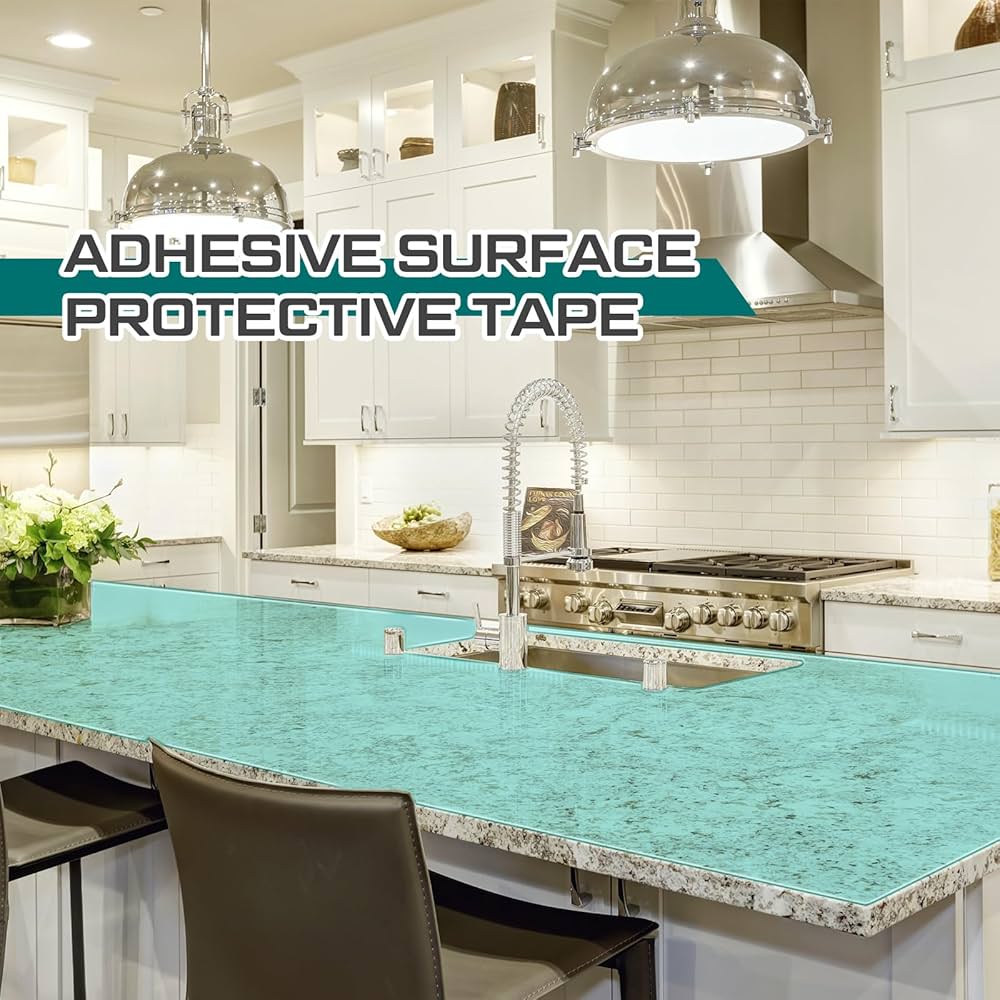
Sealers And Finishes
Sealing your tiles and grout protects them from stains and moisture damage. Use a penetrating sealer for natural stone to keep its natural look while adding protection. For ceramic and porcelain, a surface sealer can help repel spills and make cleaning easier.
Finishes like matte or glossy affect both look and feel. Matte finishes hide fingerprints better, while glossy finishes can brighten up your kitchen but may show smudges more easily. Which finish suits your lifestyle and cleaning habits?
Credit: www.myrepurposedlife.com
Preparing Your Countertop Surface
Preparing your countertop surface is a crucial step before covering tile kitchen countertops. It ensures a smooth, durable finish and prevents future problems like peeling or uneven surfaces. Taking time here saves you from headaches later, making your project successful and lasting.
Cleaning And Repairing Existing Tiles
Start by thoroughly cleaning your tiles with a strong degreaser or a mixture of water and vinegar. Grease, dirt, and grime can stop adhesives from sticking properly. Check each tile for cracks or loose pieces—these must be fixed before moving on.
If you find any damaged tiles, use a strong adhesive or filler to repair them. You want a stable base; otherwise, the new covering might crack or shift. Ask yourself: Is every tile firmly in place and clean enough to hold new materials?
Sanding And Smoothing
Tiles are often glossy and smooth, which makes it hard for paint or covering materials to stick. Lightly sanding the surface roughens it just enough to help adhesion. Use medium-grit sandpaper and be thorough but gentle to avoid damaging the tiles.
After sanding, wipe the surface with a damp cloth to remove dust. This step is often overlooked but dust can ruin the bond between your countertop and the new layer. Have you checked if your surface feels smooth and ready to grip?
Measuring And Planning Layout
Accurate measurements prevent costly mistakes and wasted materials. Measure the length and width of your countertop, and note any irregular shapes or cutouts like sinks or faucets. Sketch a simple layout plan to visualize how the new covering will fit.
Consider how patterns or tiles will align with the edges and corners. Will you need to cut any pieces? Planning ahead helps you avoid awkward gaps or mismatched seams. What’s your strategy for maximizing material use while keeping a clean look?
Diy Tile Installation Steps
Prepare the surface by cleaning and sanding the old tiles. Apply adhesive evenly, then place new tiles carefully. Finish by grouting and sealing for a smooth, durable countertop.
DIY tile installation can transform your kitchen countertops. It's an affordable way to refresh your space. Following these steps ensures a smooth process and a beautiful finish.
Applying Adhesive
Start with a clean, dry surface. This helps the adhesive stick better. Use a notched trowel to spread the adhesive. Hold it at a 45-degree angle for even coverage. Work in small sections. This prevents the adhesive from drying out. Check that the adhesive layer is consistent. Uneven layers can cause tiles to sit improperly.
Laying Tiles Evenly
Position the first tile at the countertop's edge. Use spacers to keep tiles aligned. Press each tile firmly into the adhesive. Check alignment with a level tool. This ensures your tiles are straight. Continue laying tiles in rows. Adjust with spacers as needed for even gaps. Make sure to clean any excess adhesive immediately.
Cutting Tiles For Edges And Corners
Measure the space for edge tiles carefully. Use a tile cutter for precise cuts. Score the tile along the marked line. Snap the tile along the scored line. For corners, use a wet saw if needed. Safety glasses protect your eyes during cutting. Fit the cut tiles to check their alignment.
Grouting And Cleaning
Allow adhesive to cure for 24 hours. Prepare grout mix as per instructions. Use a rubber float to spread grout diagonally. Fill all spaces between tiles. Wipe excess grout with a damp sponge. Rinse the sponge often to keep it clean. Allow grout to set for several hours. Buff tiles with a dry cloth for a shine.

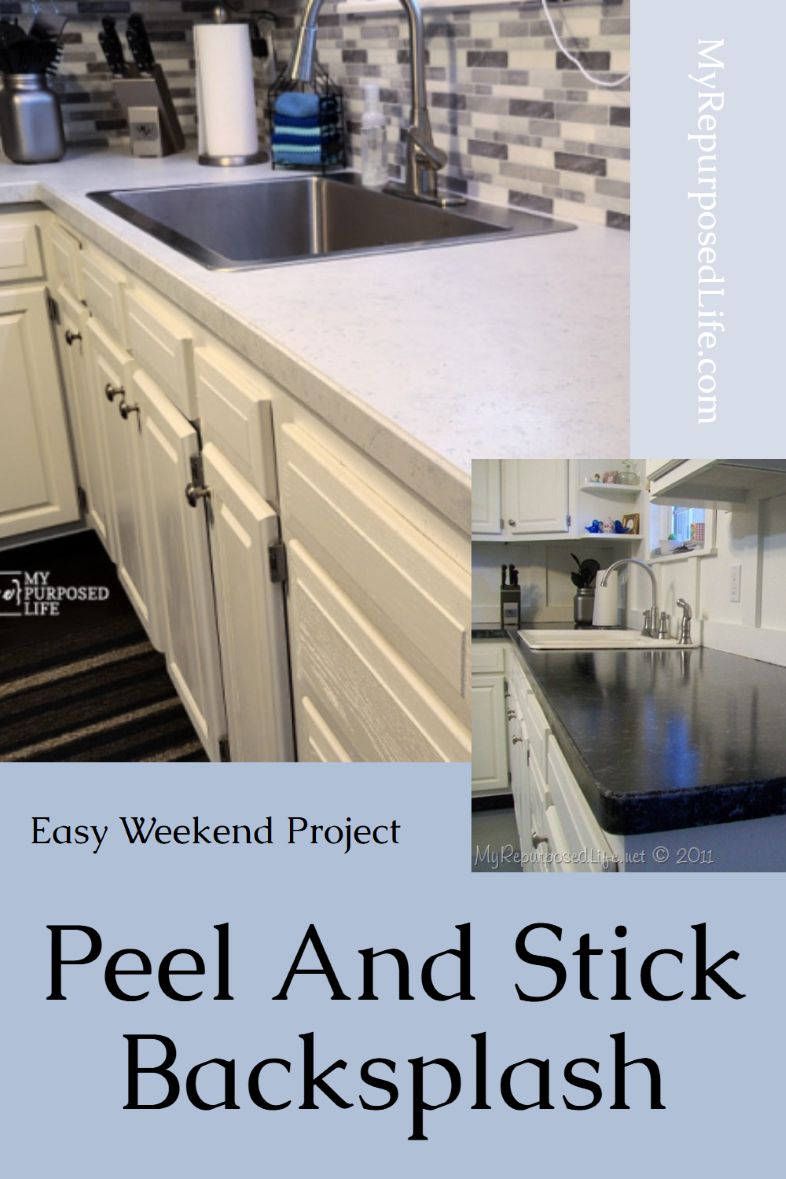
Credit: www.amazon.com
Creative Design Ideas
Creative design ideas can transform your tile kitchen countertops from plain to stunning. The right mix of colors, patterns, and accents adds personality and style. These elements also help you express your taste while making your kitchen a unique space.
Mixing Patterns And Colors
Don’t be afraid to combine different tile patterns and colors. Pairing geometric shapes with floral motifs can create dynamic visual interest. Try contrasting dark and light tiles to make the design pop.
One way to start is by choosing a dominant color and adding smaller tiles in complementary shades. This approach avoids overwhelming your space while keeping it lively. Have you thought about how a splash of unexpected color could brighten your kitchen?
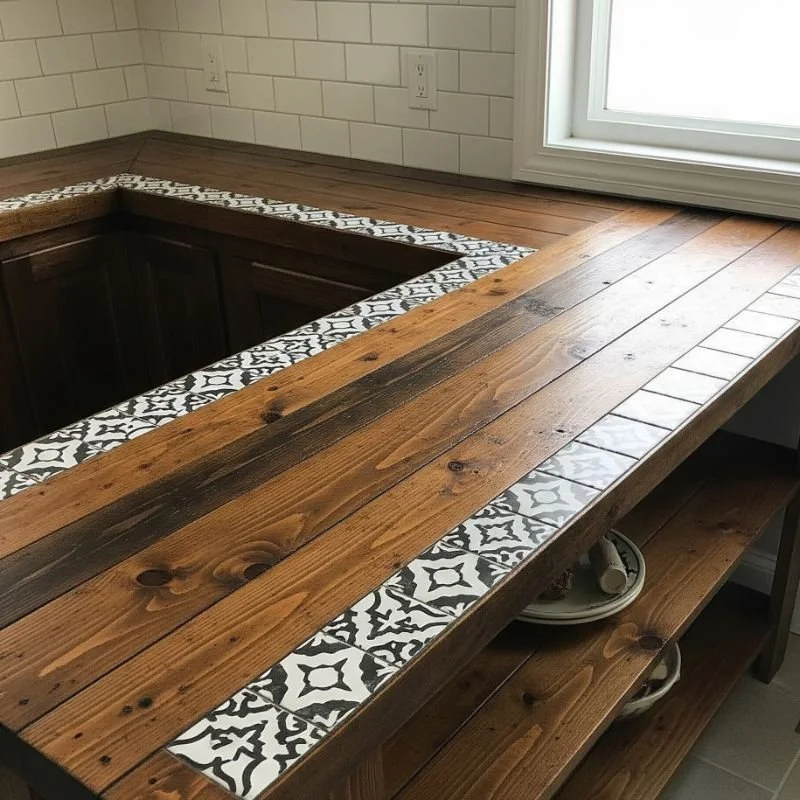
Incorporating Mosaic Accents
Mosaic tiles add texture and detail that catch the eye. Use small mosaic strips as backsplash highlights or to outline your countertop edges. They bring depth without needing a full redesign.
Think about using glass or stone mosaic pieces to reflect light and add sparkle. This technique worked wonders when I updated my own kitchen, giving it a fresh, modern feel with minimal effort. What kind of mosaic style fits your kitchen’s vibe?
Using Bold Borders And Edges
Bold borders frame your countertops and add a finishing touch to the design. Choose tiles with strong colors or patterns to create these borders. They help define the space and make it look polished.
Consider using tiles with metallic finishes or intricate designs along the edges. This not only protects the edges but also adds an unexpected style element. How could a bold border change your kitchen’s overall look?
Maintenance Tips For Longevity
Keeping your tile kitchen countertops in great shape takes more than just occasional wiping. Regular upkeep is key to preserving their look and functionality over time. Small efforts like proper cleaning, sealing, and timely repairs can save you from costly replacements down the road.
Regular Cleaning Methods
Clean your tile countertops frequently to avoid dirt buildup and stains. Use a mild detergent mixed with warm water and a soft cloth or sponge for wiping. Avoid harsh chemicals or abrasive tools that can scratch the tile or damage the grout.
Pay special attention to grout lines—they often trap food and moisture, leading to discoloration. A soft-bristled brush can help scrub grout gently without wearing it down. How often do you inspect those grout lines? Spot cleaning small stains right away prevents bigger problems later.
Sealing To Prevent Stains
Sealing your tile and grout is essential to block stains and moisture. Apply a high-quality penetrating sealer every 6 to 12 months, depending on your countertop’s use and type. Sealing creates a protective barrier that repels spills and reduces the risk of mold or mildew.
Make sure the surface is clean and dry before sealing. Test a small area first to see how the sealer absorbs. Have you noticed water soaking into your countertop or leaving marks? That’s a clear sign it’s time to reseal.
Repairing Chips And Cracks
Chips and cracks happen, especially in busy kitchens. Address these issues quickly to prevent dirt accumulation and further damage. For small chips, use a tile repair kit with epoxy or resin that matches your tile color.
Cracks in grout can be filled with fresh grout or grout repair caulk. Larger tile damage might require professional replacement. Do you inspect your countertops for tiny cracks regularly? Catching damage early keeps your kitchen looking fresh and safe.
Credit: www.diydoer.com
Frequently Asked Questions
How Do I Prepare Tile Kitchen Countertops For Covering?
Start by cleaning the surface thoroughly. Remove grease, dirt, and loose grout. Sand the tiles lightly for better adhesion. Repair any damaged tiles or grout before proceeding.
What Materials Can I Use To Cover Tile Countertops?
Popular options include epoxy, laminate sheets, or wood overlays. Each offers different durability and aesthetic benefits. Choose based on your budget and desired look.
How Long Does It Take To Cover Tile Countertops?
The process typically takes 2-3 days. This includes cleaning, prepping, applying materials, and curing time. Drying times vary by material used.
Can I Cover Tile Countertops Without Professional Help?
Yes, many DIY kits are available for covering tiles. Follow detailed instructions carefully for the best results. Some materials require more skill than others.
Conclusion
Covering tile kitchen countertops can freshen your space quickly. Choose materials that fit your style and budget. Prepare the surface well for better results. Take your time to measure and cut carefully. Small mistakes can affect the final look. This project can save money compared to full replacement.
Enjoy your new countertops that feel clean and modern. A little effort brings big changes to your kitchen. Try it and see how easy updating can be.