
Are you tired of looking at those ugly tiles in your kitchen every day? You don’t have to live with them or spend a fortune on a full renovation.
Imagine turning your kitchen into a fresh, stylish space without breaking the bank or hiring expensive professionals. You’ll discover simple and effective ways to cover those unwanted tiles quickly and easily. Keep reading, and you’ll find practical tips that can transform your kitchen and make you love the heart of your home again.
Assessing Your Kitchen Tiles
Before covering ugly tiles in your kitchen, start by assessing the current state. Understanding the condition and size of your tiles helps you pick the best covering method. This process saves time and money while ensuring a smooth finish.
Careful assessment also prevents surprises during the project. It guides your choices for materials and tools. Let’s explore how to evaluate your kitchen tiles step by step.
Identifying Tile Issues
Check each tile for cracks, chips, or stains. Notice if any tiles are loose or uneven. Look at the grout lines for discoloration or damage. Note tiles that show water damage or mold. Knowing these problems helps decide if covering is enough or if repair is needed first.
Measuring Tile Area
Measure the length and height of the tiled walls or floor. Use a tape measure for accuracy. Multiply length by height to find the total square footage. Record your measurements carefully. This data helps you buy the right amount of covering material and avoid waste.
Choosing The Right Approach
Decide on a covering method based on tile condition and size. Consider options like painting, stick-on tiles, or paneling. Think about your budget and time available. Choose a method that fits your skill level and desired look. Proper choice ensures a durable and attractive kitchen update.
Peel-and-stick Tile Covers
Peel-and-stick tile covers offer a quick and affordable way to refresh ugly kitchen tiles. These covers stick directly onto existing tiles, hiding damage or outdated styles. They come in many designs, textures, and colors to suit various kitchen themes.
Peel-and-stick covers save time and money compared to full tile replacement. They require no grout or special tools. Anyone can apply them with basic preparation. This makes them ideal for renters or those wanting a fast upgrade.
Types Of Peel-and-stick Options
- Vinyl tile covers:Flexible and waterproof, great for kitchen walls.
- Metallic finishes:Offer a modern look with stainless steel or copper tones.
- Patterned designs:Mimic ceramic or stone tiles with various prints.
- Textured tiles:Add depth with 3D surfaces like brick or wood grain.
- Clear covers:Protect original tiles while hiding minor defects.
Installation Tips
- Clean tiles thoroughly; remove grease and dirt before sticking.
- Measure and cut covers accurately to fit each tile.
- Peel the backing slowly to avoid dust or air bubbles.
- Press firmly from center to edges for a strong bond.
- Use a plastic scraper to smooth out wrinkles and bubbles.
- Work in small sections for better control and alignment.
- Allow adhesive to set fully before exposing to water or heat.
Maintenance And Durability
- Wipe covers with a damp cloth and mild soap regularly.
- Avoid abrasive cleaners that can scratch or peel the surface.
- Inspect edges periodically; press down loose areas to reattach.
- Peel-and-stick covers can last several years with care.
- Replace damaged or faded covers easily without removing original tiles.
- Keep heat sources like stovetops from direct contact with covers.
Painting Over Tiles
Painting over tiles offers a simple way to refresh your kitchen’s look. This method saves time and money compared to full tile replacement. A fresh coat of paint can hide outdated or ugly tiles effectively. It also allows customization with colors that match your style. Proper preparation and the right paint ensure a smooth, lasting finish.
Preparing The Surface
Cleaning tiles thoroughly is essential before painting. Remove grease, dirt, and grime using a strong cleaner. Rinse well and let the tiles dry completely. Sand the tile surface lightly with fine-grit sandpaper. This helps the paint stick better. Wipe away dust after sanding. Use painter’s tape to protect edges and fixtures.
Selecting Tile Paint
Choose paint made specifically for tiles or high-gloss enamel. These paints resist moisture and wear in kitchens. Epoxy or acrylic-based paints work well. Avoid regular wall paint; it peels easily on tiles. Consider paint that matches your kitchen style and color scheme. Buy primer if your paint requires one for best adhesion.
Step-by-step Painting Guide
- Apply primer evenly on the tiles and grout lines. Let it dry fully.
- Use a small roller or brush to apply the first coat of tile paint.
- Paint grout lines carefully for a consistent look.
- Allow the first coat to dry according to paint instructions.
- Apply a second coat for complete coverage and smooth finish.
- Let the paint cure for several days before using the kitchen area.

Credit: www.architecturaldigest.in
Using Tile Decals And Stickers
Using tile decals and stickers transforms dull kitchen tiles effortlessly. These easy-to-apply solutions offer a fresh look without the hassle of remodeling. Choose from various designs to match your style and revamp your space instantly.
Tired of staring at those outdated kitchen tiles? Tile decals and stickers offer a transformative solution without the commitment of a renovation. They are an affordable, easy-to-apply option that can breathe new life into your kitchen. Let's explore how you can use these decals to hide those unsightly tiles and create a space you love.
Design Choices
Tile decals come in a plethora of designs, from classic subway tile patterns to intricate mosaics. Do you prefer a modern, minimalist vibe? Opt for decals in solid colors or geometric patterns. On the other hand, if you're leaning towards a more eclectic look, choose vibrant designs with bold motifs. When selecting decals, consider your kitchen's existing color scheme to ensure a cohesive look.
Application Techniques
Applying tile decals is a straightforward process that requires minimal tools. Start by cleaning the tiles thoroughly to ensure the decals adhere properly. Measure each tile to cut the decal to the perfect size, if necessary. Use a squeegee or a credit card to smooth out any air bubbles as you apply the sticker. It's a quick project that can usually be done in an afternoon, transforming your kitchen in no time.
Removing Decals Without Damage
Worried about damaging your tiles when it's time for a change? Tile decals are designed to be removable. To take them off, gently heat the decal with a hairdryer to loosen the adhesive. Then, peel it away slowly to avoid leaving any residue. For any stubborn spots, a mild adhesive remover will do the trick, leaving your original tiles intact and ready for their next makeover.
Installing A Backsplash Over Tiles
Installing a backsplash over ugly kitchen tiles is a smart way to refresh your space. It hides outdated or damaged tiles without the hassle of removal. This method saves time and money while giving your kitchen a fresh look. You can choose materials that suit your style and budget. The process is simple enough for most DIYers.
Material Options
- Peel-and-stick tiles: Easy to apply and remove, great for renters.
- Glass tiles: Sleek and modern, reflect light beautifully.
- Metal sheets: Durable and easy to clean, add an industrial touch.
- Beadboard panels: Provide a classic, textured look.
- Laminate sheets: Affordable and come in many designs.
Tools Needed
- Measuring tape: For accurate dimensions.
- Utility knife: To cut materials precisely.
- Level: Ensures the backsplash is straight.
- Adhesive or double-sided tape: For securing the backsplash.
- Caulk and caulk gun: To seal edges and prevent moisture.
- Cleaning supplies: To prepare the tile surface.
Diy Installation Process
Clean the existing tiles thoroughly. Remove grease and dirt for better adhesion.
Measure the area carefully to cut backsplash materials to size.
Dry fit the materials to check alignment and fit.
Apply adhesive or peel off backing from peel-and-stick tiles.
Press the backsplash firmly against the tiles, starting from the bottom.
Use a level to keep everything straight during installation.
Seal the edges with caulk to protect from water damage.
Allow adhesive or caulk to dry fully before using the kitchen.
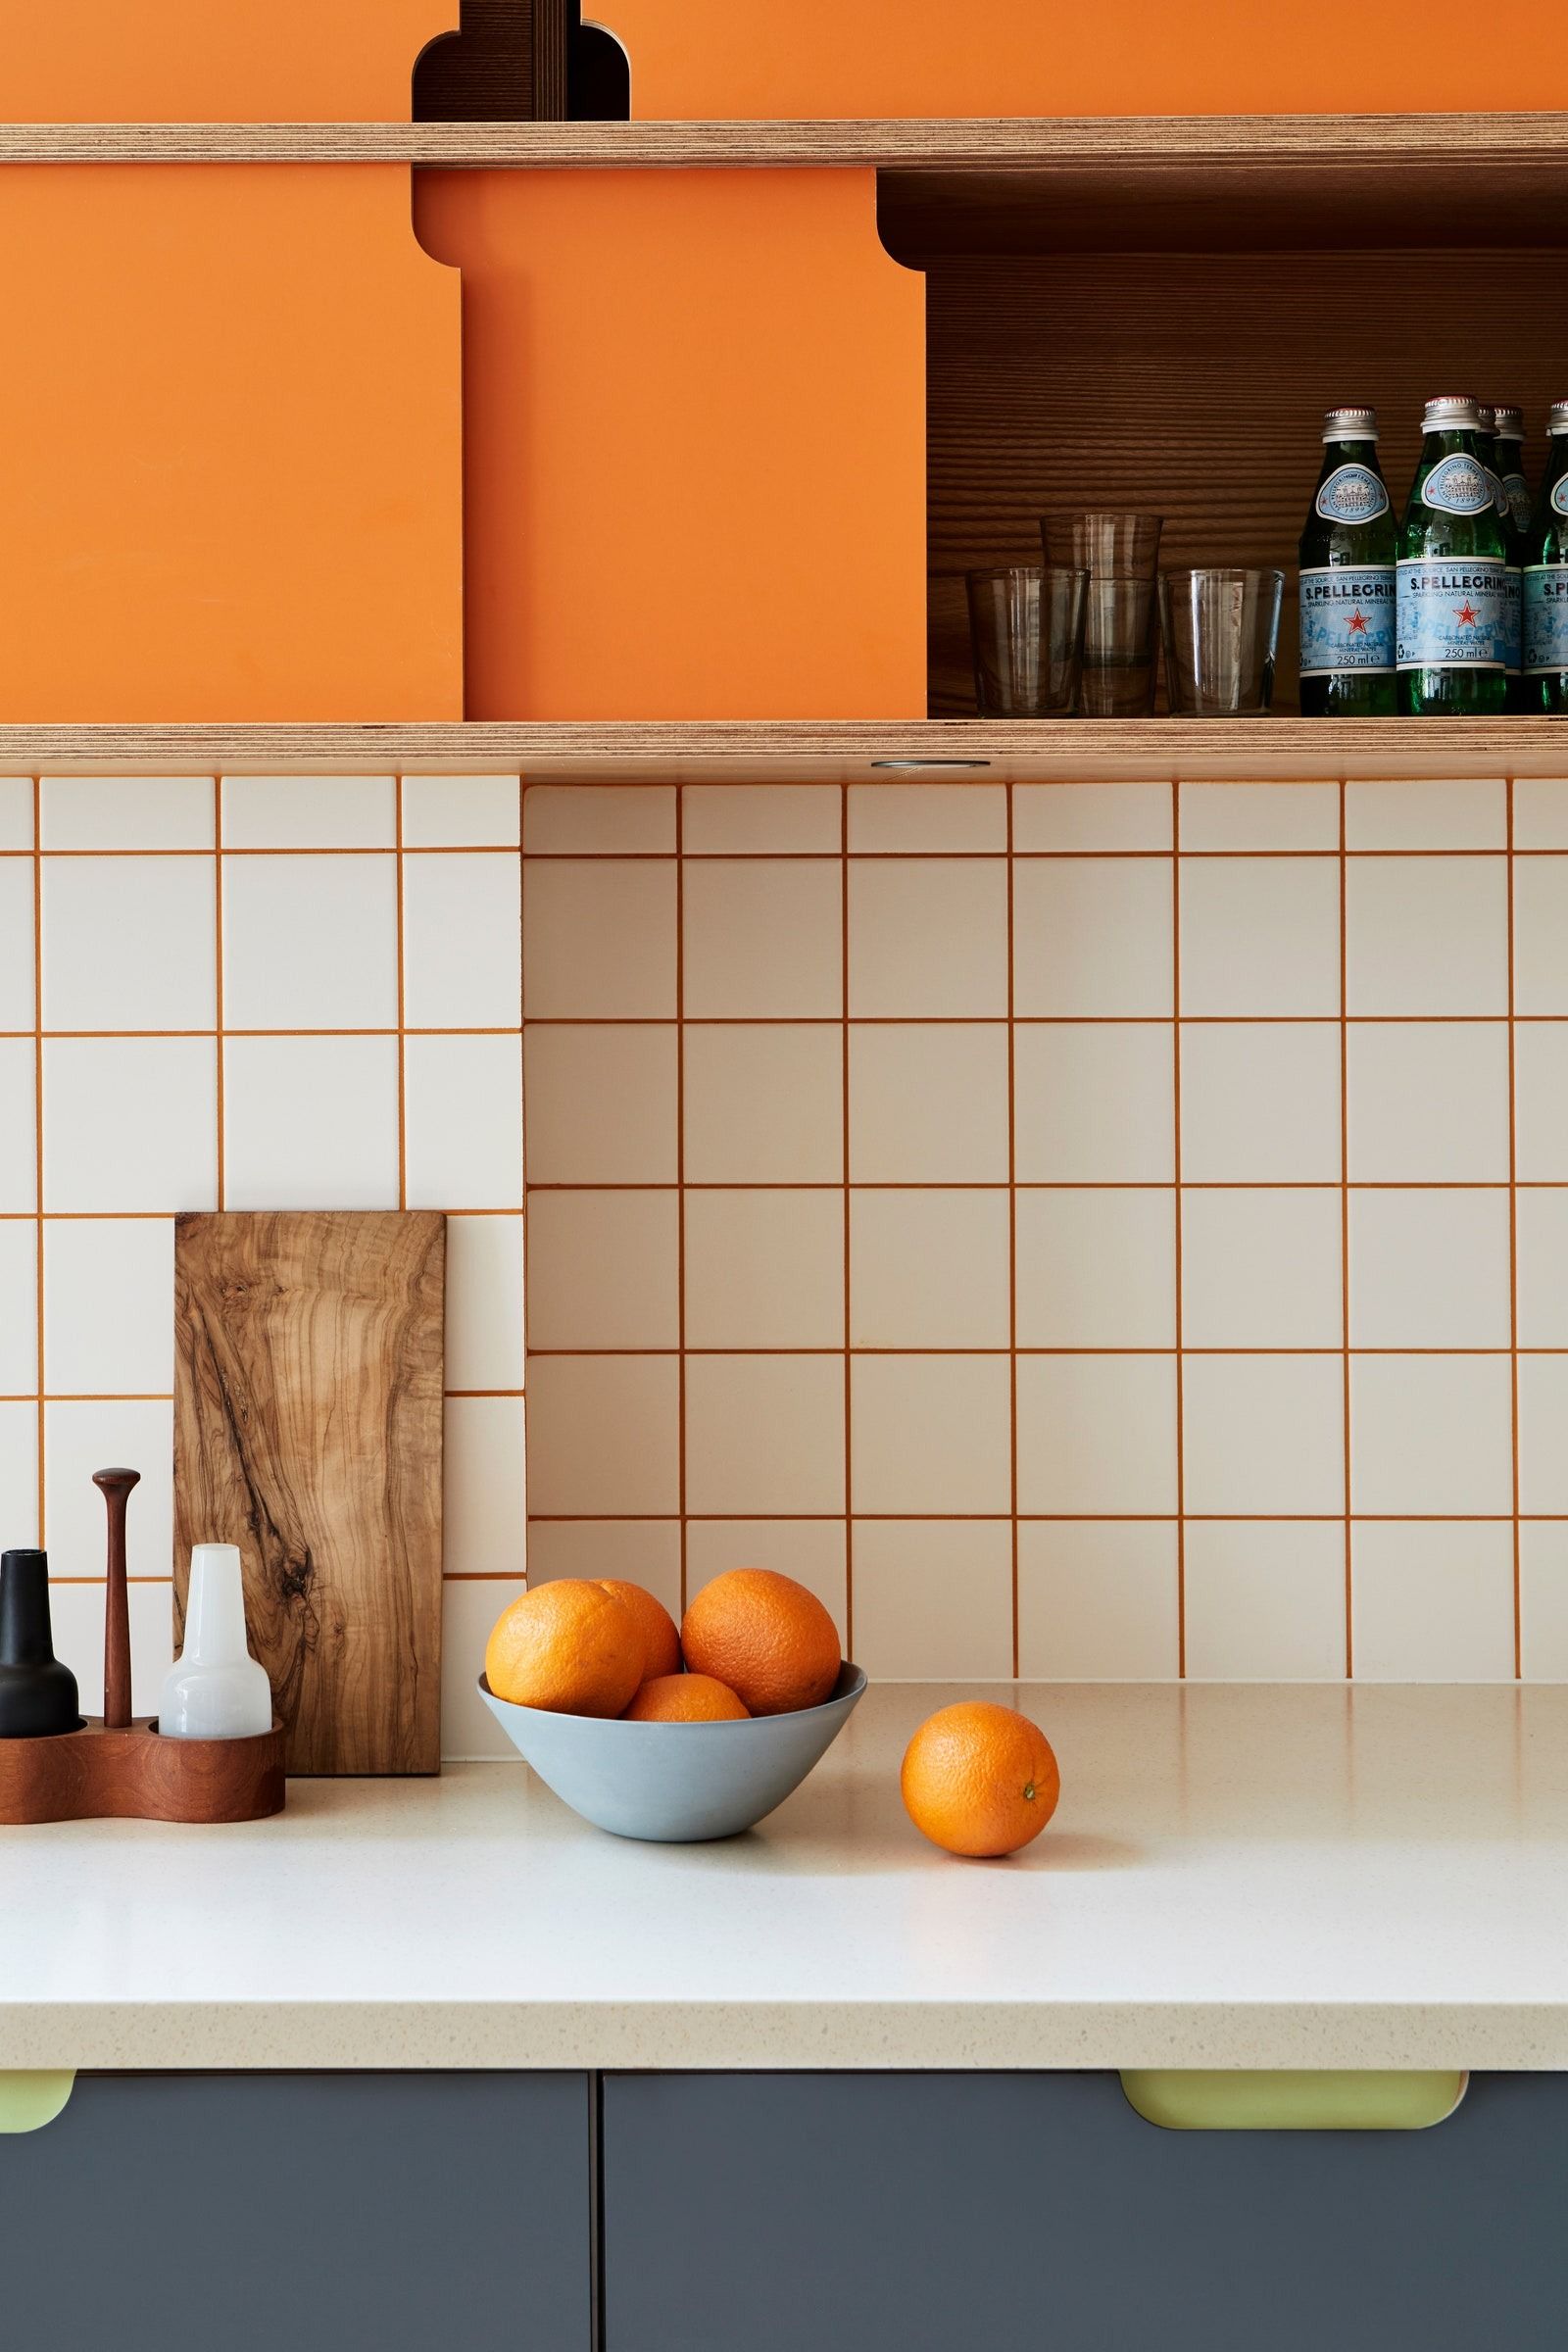
Covering Tiles With Fabric Or Wallpaper
Covering tiles with fabric or wallpaper is a creative way to transform your kitchen without the hassle of demolition. It allows you to add color, texture, and personality to a space that might otherwise feel dull or outdated. This approach also offers flexibility—you can easily change your design whenever you want a fresh look.
Choosing Waterproof Materials
Since kitchens are prone to moisture and spills, selecting waterproof fabric or wallpaper is essential. Vinyl-coated wallpapers or fabrics treated with water-resistant finishes work best. Avoid materials that absorb water easily, as they can peel or develop mold over time.
Think about the durability you need. Do you cook often with steam and splashes? If yes, opt for heavy-duty options designed specifically for wet areas. This small choice can save you from frequent repairs and replacements.
Adhering Fabric Or Wallpaper
Proper adhesion is key to a smooth and lasting finish. Use strong, waterproof adhesives suited for your chosen material and the tile surface. Before applying, clean the tiles thoroughly to remove grease and dust that could prevent sticking.
Cut your fabric or wallpaper carefully, leaving a little extra at the edges to trim later for a neat finish. Applying with a smoothing tool can help avoid air bubbles and wrinkles. If you’re covering grout lines, consider a fabric-backed wallpaper which handles uneven surfaces better.
Sealing For Longevity
Once your fabric or wallpaper is in place, sealing it protects against moisture and stains. A clear, water-based sealant or varnish applied over the surface can extend the life of your cover. Choose a sealant that dries clear and won’t yellow over time.
Don’t forget to seal the edges well to prevent peeling. How often you’ll need to reseal depends on your kitchen’s usage, but a yearly touch-up can keep things looking fresh. This step is what turns a quick fix into a durable makeover.
Creative Tile Covers With Wood Or Panels
Creative tile covers using wood or panels offer a fresh way to hide ugly kitchen tiles. These covers bring warmth and style to the space. Wood and panels can easily match many kitchen designs. They provide a smooth, clean surface that changes the room’s look quickly.
Choosing the right wood or panel type is key. The next steps involve cutting the panels to fit perfectly and adding finishing touches for a polished appearance. This process is simple and cost-effective compared to replacing tiles.
Selecting Wood Types
Choose wood that fits your kitchen’s style and moisture levels. Solid hardwoods like oak and maple are strong and last long. Plywood and MDF are budget-friendly and easy to work with. Cedar and teak resist moisture well, good for kitchens.
- Hardwoods: durable and classic look
- Softwoods: lighter and easier to cut
- Plywood/MDF: smooth surface, affordable
- Moisture-resistant wood: best for humid kitchens
Pick a wood finish that suits your kitchen’s color and theme. Natural stains highlight grain, paints add color, and sealants protect from water damage.
Cutting And Fitting Panels
Measure the tiled area carefully before cutting. Use a saw suitable for your chosen wood type. Cut panels to cover the tile fully without gaps. Sand edges to remove splinters and create a smooth fit.
- Measure twice, cut once
- Use clamps to hold panels steady while cutting
- Test fit panels before attaching
- Leave small gaps for expansion if needed
Attach panels using strong adhesive or small nails. Ensure panels sit flat and secure. Overlap edges or use trim to hide seams for a neat finish.
Finishing Touches
Finish panels with paint, stain, or sealant. Choose finishes that resist kitchen moisture and stains. Light sanding before finishing helps paint or stain stick better.
- Apply primer for painted panels
- Use water-resistant sealers for durability
- Add decorative molding for style
- Clean panels regularly to maintain appearance
Proper finishing protects your work and keeps panels looking new. It also adds to the kitchen’s charm and coziness.

Credit: www.goodhousekeeping.com
Budget-friendly Tips
Covering ugly kitchen tiles doesn’t have to drain your wallet. There are smart, budget-friendly ways to transform your space without sacrificing style or quality. Let’s dive into practical tips that help you save money and still get a fresh new look.
Sourcing Affordable Materials
Look beyond traditional home stores to find materials that fit your budget. Online marketplaces, thrift shops, and clearance sales often have hidden gems like peel-and-stick tiles or inexpensive paint designed for tiles.
Don’t overlook leftover materials from other projects. A friend’s leftover tile or discounted samples can be perfect for a small backsplash area. Have you considered repurposing materials? It’s a creative way to cut costs and add unique character.
Diy Vs. Professional Help
Doing the work yourself can save a lot, but only if you’re confident in your skills. Painting tiles or applying adhesive covers is manageable with some patience and the right tools.
However, if the task involves major repairs or complex tile removal, hiring a professional might save you money in the long run by avoiding costly mistakes. Ask yourself: What’s worth your time and what’s worth hiring out?
Maximizing Impact On A Budget
Small changes can make a big difference. Focus on high-visibility areas like the backsplash behind the stove or sink.
Try a bold color or pattern in these spots to draw attention away from less attractive tiles. Adding new grout or sealing existing grout lines can also refresh the look without replacing tiles.
- Use under-cabinet lighting to highlight the new tile cover.
- Accessorize with matching kitchen tools or dishware to tie the look together.
- Consider open shelving to reduce the tiled area visible.
What part of your kitchen catches your eye first? Target that for the most impact while keeping expenses low.
Credit: designertrapped.com
Frequently Asked Questions
What Are The Best Materials To Cover Ugly Kitchen Tiles?
Popular materials include peel-and-stick vinyl, beadboard panels, and tile overlays. These options are affordable, easy to install, and durable, transforming your kitchen’s look without a full renovation. They also resist moisture, making them ideal for kitchen environments.
Can Paint Effectively Cover Ugly Kitchen Tiles?
Yes, tile paint is a cost-effective solution to refresh ugly tiles. Use a primer and epoxy-based paint for durability. This method works best on clean, smooth tiles and can last several years with proper care.
How Do Peel-and-stick Tiles Improve Old Kitchen Tiles?
Peel-and-stick tiles adhere directly over old tiles, hiding imperfections instantly. They come in various designs and are water-resistant. Installation is quick and requires no grout, making them a perfect DIY solution.
Is Covering Kitchen Tiles A Good Diy Project?
Absolutely. Many tile covering methods require minimal tools and skills. Options like vinyl overlays and paint are beginner-friendly. Always prepare the surface properly to ensure lasting results.
Conclusion
Covering ugly kitchen tiles can change your space quickly. Choose a method that fits your style and budget. Simple fixes like paint or peel-and-stick tiles work well. They save time and avoid major work. You can create a fresh look without removing old tiles.
Small changes make a big difference in your kitchen’s feel. Start with easy steps and enjoy your improved space. Your kitchen can look bright and clean again. Try one of these ideas and see the change.