
Are you tired of the wood grain on your kitchen cabinets and want a fresh, smooth look? Covering wood grain can transform your kitchen without the cost of full replacement.
But how do you do it right, so the finish looks flawless and lasts long? In this guide, you'll discover simple, effective methods to hide that grain and give your cabinets a clean, modern appearance. Keep reading, and you’ll learn easy steps that make a big difference—no messy mistakes, just results you’ll love.

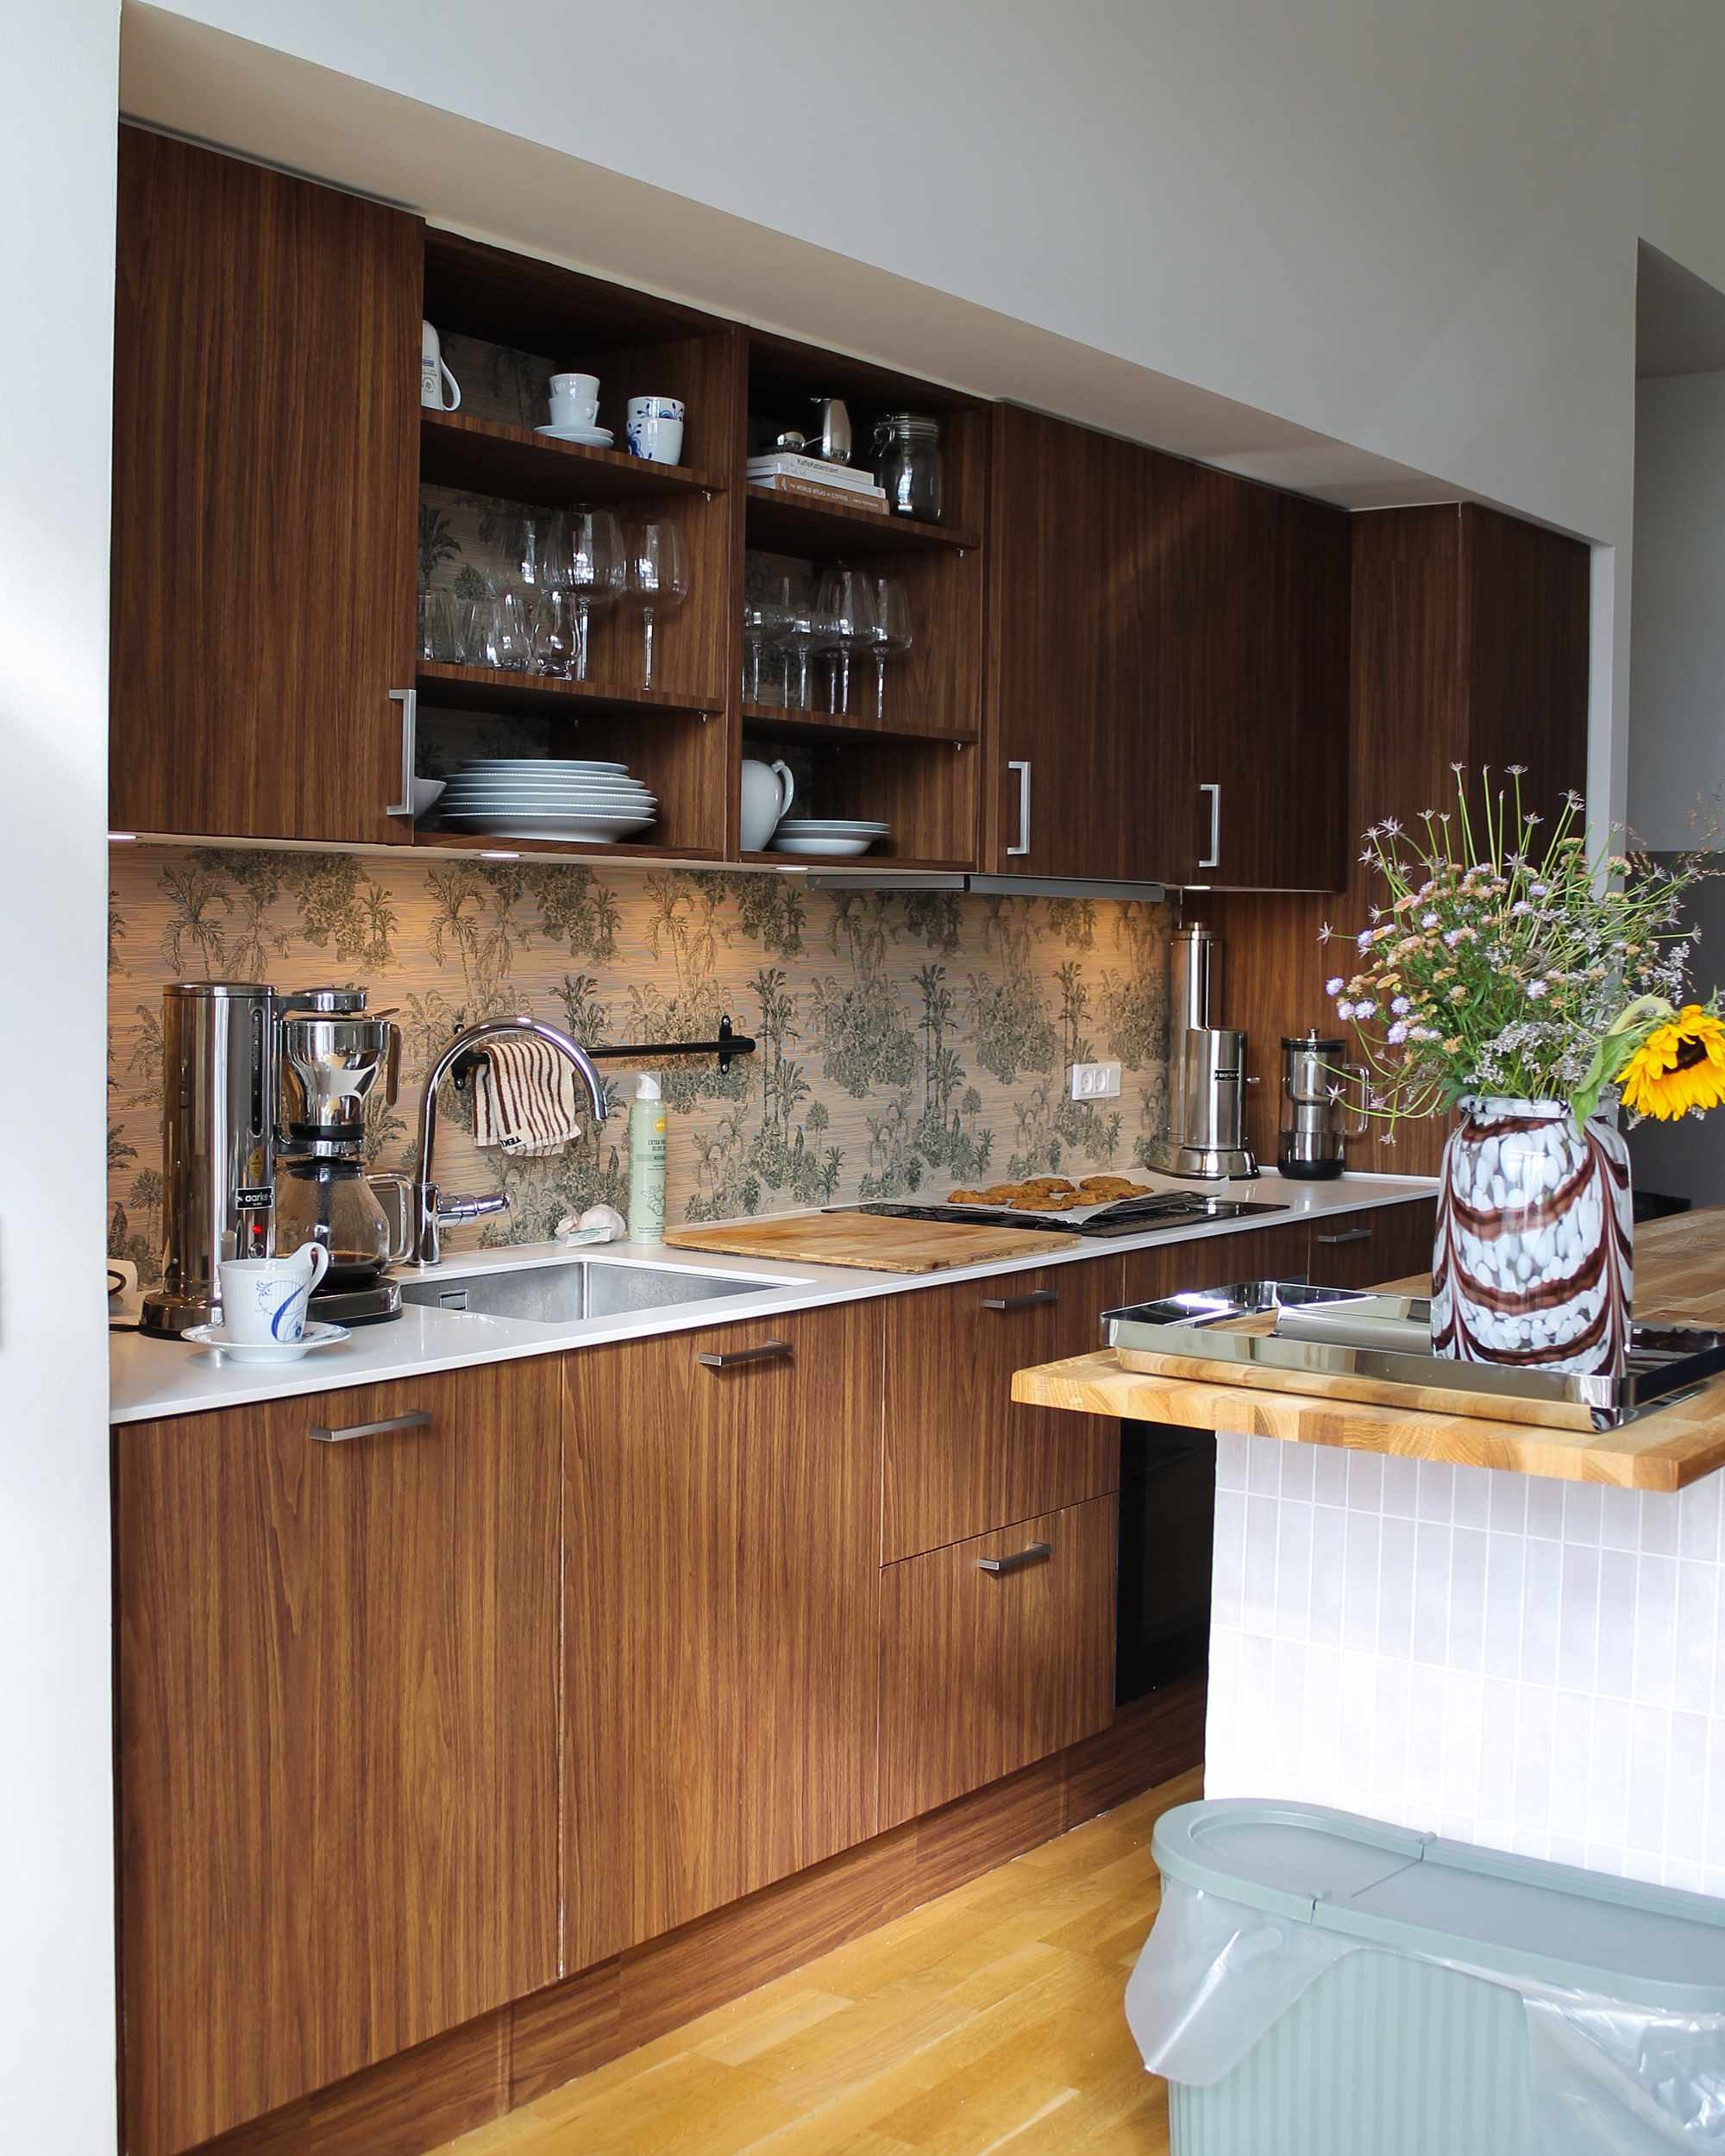
Credit: www.amazon.com
Preparing Cabinet Surfaces
Preparing your kitchen cabinet surfaces is the foundation for successfully covering wood grain. Skipping this step can lead to uneven finishes and peeling paint. Taking time to properly clean, sand, and repair will make your cabinets look professionally done and ensure the new surface holds up over time.
Cleaning And Degreasing
Start by removing all dirt, grease, and kitchen residues from your cabinets. Use a strong cleaner like trisodium phosphate (TSP) or a degreasing dish soap mixed with warm water.
Wipe down every corner with a sponge or cloth, paying special attention to areas around handles and edges where grime tends to build up. Rinse with clean water and let the cabinets dry completely before moving on.
Have you noticed how even a lightly greasy surface can cause paint to bubble or peel? Proper cleaning eliminates this risk.
Sanding Techniques
Sanding smooths the surface and helps new paint or primer stick better. Use medium-grit sandpaper (120-150 grit) to sand the cabinet surfaces evenly.
Focus on rough spots or glossy finishes that will resist paint. Sand in the direction of the wood grain to avoid scratches that show through later.
After sanding, wipe away all dust with a tack cloth or damp rag. This step is crucial because leftover dust can create bumps under your finish.
Repairing Imperfections
Inspect your cabinets for dents, holes, or deep scratches. Fill these imperfections with a wood filler or spackling compound suitable for your cabinet material.
Apply the filler with a putty knife and smooth it out, then allow it to dry completely. Once dry, sand the repaired areas flush with the surface.
Ignoring small flaws might seem tempting, but they become very noticeable after painting. Fixing them now saves you from frustration later.
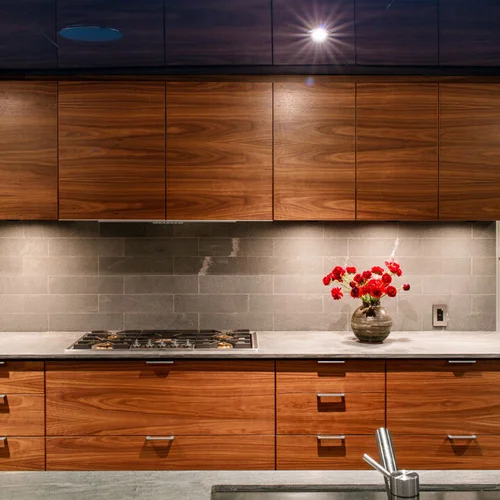
Credit: woodnco.com
Choosing The Right Primer
Choosing the right primer is a crucial step in covering wood grain on kitchen cabinets. The primer you select acts as the foundation for your paint, ensuring a smooth and even finish. Without the proper primer, the wood grain can show through, making your cabinets look less polished.
Types Of Primers For Wood
There are several primer types designed specifically for wood surfaces. Oil-based primers are excellent for blocking stains and tannins, which often bleed through paint. They also provide strong adhesion and durability.
Latex primers dry faster and clean up with water, making them user-friendly for beginners. They work well on previously painted surfaces but may not block stains as effectively as oil-based options. Shellac primers offer superior stain blocking and fast drying, ideal if your cabinets have knots or heavy discoloration.
Think about the condition of your cabinets and the type of paint you plan to use. Matching your primer to your paint type often delivers the best results.
Application Tips
Applying primer evenly is key to hiding wood grain. Use a high-quality brush or foam roller to avoid streaks and bubbles. Thin, even coats work better than one thick layer, which can drip or peel.
Sand lightly between coats with fine-grit sandpaper to smooth the surface. This step might seem tedious, but it dramatically improves your final finish. Don’t rush — patience pays off.
Have you noticed how some painted cabinets still reveal grain? Often, it’s because the primer wasn’t applied properly or was too thin.
Drying Times
Primer drying times vary by type. Oil-based primers usually take longer, around 24 hours, while latex primers can dry within an hour or two. Shellac primers dry the fastest, often within 15 to 30 minutes.
Check the label for specific times, but also consider your room’s temperature and humidity. These factors can slow down drying and affect adhesion.
Waiting the full recommended time before painting ensures your finish won’t peel or crack. It’s tempting to rush, but letting primer fully cure strengthens your cabinets’ new look.
Selecting Paint For Cabinets
Choose a paint with high opacity to hide wood grain effectively on kitchen cabinets. Using a primer before painting creates a smooth surface and blocks grain patterns. Opt for satin or semi-gloss finishes to enhance durability and appearance.
Selecting the right paint for kitchen cabinets can transform your space. This decision impacts both appearance and durability. A good paint hides the wood grain and enhances the kitchen's style. Consider factors like finish, color, and brand. These choices will ensure a beautiful and lasting result.
Best Paint Finishes
Paint finish affects the look and maintenance of cabinets. Satin and semi-gloss finishes are popular for kitchens. They offer a slight shine and are easy to clean. Matte finishes provide a modern look but may show stains more easily. Choose a finish that matches your kitchen's style and your cleaning habits.
Color Selection Tips
Color affects the mood and perceived space in your kitchen. Light colors like white or beige can make a kitchen feel larger. Darker shades, such as navy or charcoal, add depth and elegance. Neutral tones are versatile and timeless. Bold colors can create a striking focal point. Consider how colors will match your counters and floors.
Quality Brands To Consider
Selecting a reliable paint brand is crucial for lasting results. Benjamin Moore offers high-quality paints with excellent coverage. Sherwin-Williams provides durable options suitable for kitchen cabinets. Behr is known for its affordability and variety. These brands ensure a smooth application and enduring finish.
Covering Wood Grain Effectively
Covering wood grain on kitchen cabinets can be challenging, especially if you want a smooth, flawless finish. The natural texture of wood often shows through paint or stain, which might not fit the look you want. Understanding effective techniques helps you achieve a clean, uniform appearance that enhances your kitchen’s style.
Techniques To Hide Grain
To successfully hide wood grain, preparation is key. Start by sanding your cabinets thoroughly, focusing on smoothing the surface to reduce the depth of the grain. Using a primer designed to fill in small imperfections can also create a better base for paint.
Another useful approach is applying a grain filler, which smooths out the surface and blocks the grain from showing through. Think about the final texture you want—some fillers can leave a slightly textured surface, so test on a scrap piece first to avoid surprises.
Using Grain Fillers
Grain fillers come in oil-based or water-based formulas. Oil-based fillers typically provide a smoother finish and work better on open-grain woods like oak or mahogany. Water-based fillers dry faster and are easier to clean up but may not fill deep grains as effectively.
Apply the filler with a putty knife or a flexible spreader, pushing it into the grain. After it dries, sand the surface lightly to remove excess filler and create an even finish. This step is crucial—too much sanding can expose the grain again, so go gently.
Multiple Coats Strategy
Applying several thin coats of paint instead of one thick layer helps cover wood grain more effectively. Each coat builds opacity and smoothness, reducing the wood’s texture in stages. Let each coat dry completely before adding the next one to avoid peeling or cracking.
Using a high-quality brush or a foam roller can improve the finish, reducing brush marks that might highlight the grain. Have you noticed how a well-applied multiple coat finish changes the entire look of your cabinets? Patience in this process pays off with a professional appearance.
Applying Paint Like A Pro
Applying paint to cover wood grain on kitchen cabinets takes more than just slapping on color. It requires technique and the right tools to get that flawless, smooth finish you want. Knowing how to handle your brush, roller, or sprayer can make all the difference in hiding those natural wood patterns.
Brush Vs. Roller Vs. Spray
Choosing the right tool depends on your cabinet’s surface and your comfort level. Brushes give you control and are great for edges and corners, but they can leave strokes if you're not careful. Rollers cover flat surfaces quickly and evenly but might struggle with cabinet details.
Sprayers offer the most even coverage and can hide wood grain the best, but they require prep work like taping and masking. If you want that ultra-smooth finish, investing time in using a sprayer pays off. What’s your experience with these tools—do you prefer precision or speed?
Maintaining Smooth Surfaces
Sand between coats using fine-grit sandpaper to keep the surface silky and free of bumps. Dust off thoroughly before applying the next layer to avoid imperfections. Thin coats dry faster and minimize drips, which helps maintain a professional look.
Think about your paint’s consistency too—too thick and it will highlight the grain, too thin and it might not cover well. Have you noticed how your paint behaves on your cabinets? Adjusting the thickness can be a game-changer.
Avoiding Common Mistakes
- Don’t skip primer. It seals the wood and helps paint stick better, which is crucial for covering grain.
- Don’t rush drying times. Painting over wet layers leads to peeling and uneven texture.
- Avoid heavy-handed brush strokes. Light, even strokes prevent visible marks and help hide the grain.
- Don’t ignore temperature and humidity—they affect drying and adhesion significantly.
Have you ever felt frustrated seeing your hard work ruined by tiny paint drips or bumps? Taking your time and watching these details can save you from that disappointment.
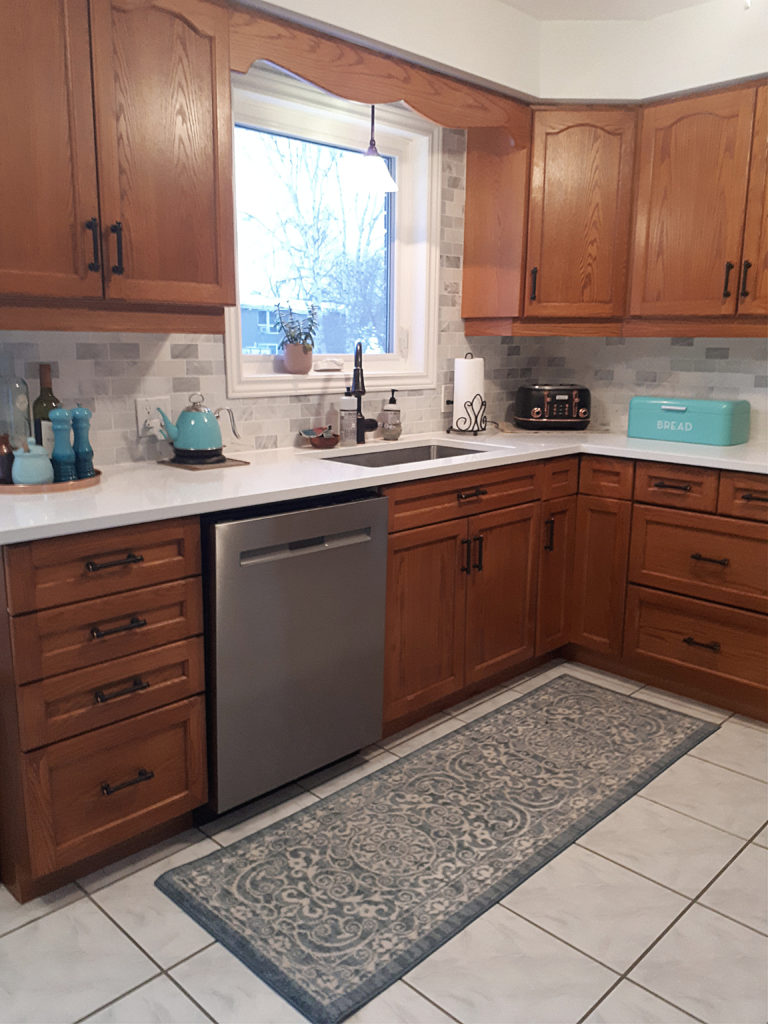
Credit: www.kylieminteriors.ca
Finishing Touches
Finishing touches bring your kitchen cabinet makeover to life. They protect your work and add lasting beauty. Proper finishing ensures your cabinets stay smooth and clean for years. Pay close attention to these final steps for the best results.
Sealing With Topcoat
Apply a clear topcoat to seal the surface. Choose a water-based polyurethane for easy cleanup and low odor. Use a high-quality brush or foam applicator for smooth coverage. Brush in long, even strokes along the grain. Avoid overworking the finish to prevent bubbles or streaks. Let the first coat dry fully before adding another. Two to three coats offer the best protection against moisture and wear.
Curing Time And Care
Allow ample time for the finish to cure. Curing means the topcoat hardens completely, not just dries. This process can take up to two weeks. Avoid heavy use or cleaning during this period. Keep cabinets dry and well-ventilated. Patience here ensures a strong, durable finish that resists scratches and stains.
Hardware Replacement Tips
Replacing hardware refreshes your cabinet’s look. Remove old knobs and handles carefully to avoid damage. Match new hardware style with your kitchen’s theme. Measure screw holes before buying to ensure a perfect fit. Install screws firmly but do not overtighten. Check that doors and drawers open smoothly after hardware installation.
Maintaining Painted Cabinets
Maintaining painted cabinets is key to keeping your kitchen looking fresh and stylish after covering the wood grain. Painted surfaces can brighten your space, but they also need care to prevent chips, stains, and wear. By understanding the right cleaning methods and touch-up techniques, you can extend the life of your cabinets and avoid costly repairs.
Cleaning Tips
Use a soft cloth or sponge with mild soap and warm water to clean your painted cabinets. Avoid harsh chemicals or abrasive scrubbers that can damage the paint finish. Wipe spills immediately—especially oil or acidic substances—to prevent stains from setting in.
Try cleaning a small hidden area first to ensure your cleaning method won’t dull the paint. Regular dusting with a microfiber cloth helps keep dirt from building up. How often you clean depends on your kitchen’s use, but a weekly wipe-down keeps cabinets looking their best.
Touch-up Techniques
Small chips and scratches happen, but fixing them quickly prevents bigger problems. Keep some leftover paint from your cabinet project for easy touch-ups. Use a fine brush to carefully apply paint only where needed.
If you don’t have leftover paint, match the color by taking a cabinet door or a paint chip to a hardware store. Let the touch-up paint dry fully before using the cabinets again. You might find that a light sanding around the damaged area helps the new paint blend smoothly.
Long-term Care Advice
Protect your painted cabinets by installing soft-close hinges to reduce banging and wear. Avoid hanging heavy items on the cabinet doors, which can stress the paint and hardware. Consider applying a clear protective topcoat if your cabinets get heavy use; this adds durability without changing the look.
Ask yourself if your kitchen environment is too humid or hot, as these conditions can cause paint to peel or bubble. Ventilation and temperature control go a long way in preserving your painted surfaces. Are you ready to give your cabinets the care they deserve to stay beautiful for years?
Frequently Asked Questions
How Can I Hide Wood Grain On Kitchen Cabinets?
To hide wood grain, use a high-quality primer and paint designed for cabinets. Sand the surface smooth first. Multiple paint coats ensure full coverage and a sleek finish.
What Is The Best Paint Type For Covering Wood Grain?
Use a durable, oil-based or acrylic latex paint. These provide smooth coverage and resist chipping. They effectively mask wood grain on kitchen cabinets.
Should I Sand Cabinets Before Covering Wood Grain?
Yes, sanding is essential. It removes the glossy finish and roughens the surface. This step helps primer and paint adhere better for a flawless result.
Can Wood Grain Be Covered Without Sanding?
Minimal sanding can work with special bonding primers. However, light sanding is recommended for best paint adhesion and a smooth, even finish on cabinets.
Conclusion
Covering wood grain on kitchen cabinets can change your space’s look. Choose the right method that fits your style and skill. Sanding, priming, and painting work well for a smooth finish. Use quality tools to get the best results. Take your time and follow each step carefully.
Your cabinets will look fresh and clean afterward. Enjoy the new feel of your kitchen without heavy costs. Small changes can bring big improvements. Try it yourself and see the difference.