
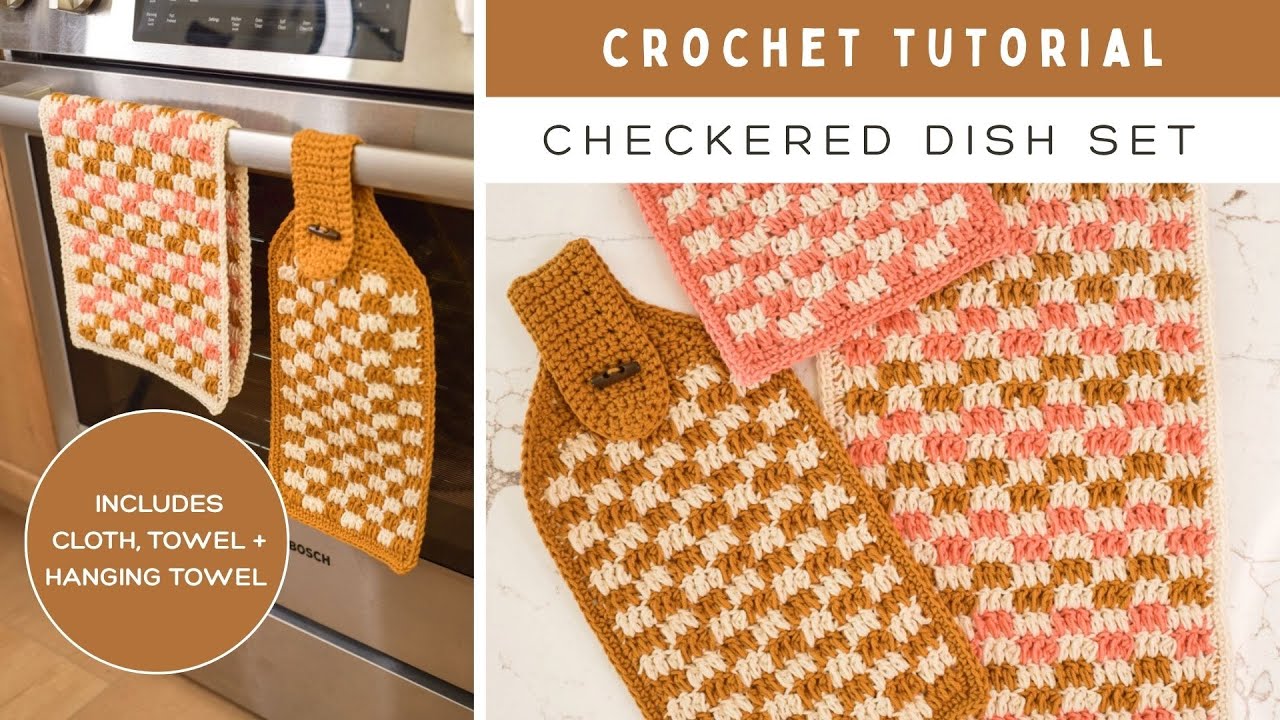
Are you looking for a simple, fun way to add a personal touch to your kitchen? Learning how to crochet a kitchen cloth is easier than you think—and it’s a skill you’ll use again and again.
Imagine having a colorful, handmade cloth that not only cleans well but also brightens up your space. In this guide, you’ll discover step-by-step instructions that anyone can follow, even if you’re new to crocheting. Ready to create something useful and beautiful with your own hands?
Keep reading, and by the end, you’ll have your very own kitchen cloth ready to go.
Materials Needed
Before you start crocheting your kitchen cloth, gathering the right materials is essential. The choices you make here affect not only the look but also the durability and usability of your finished cloth. Let’s break down what you need to get started and why each item matters.
Choosing The Right Yarn
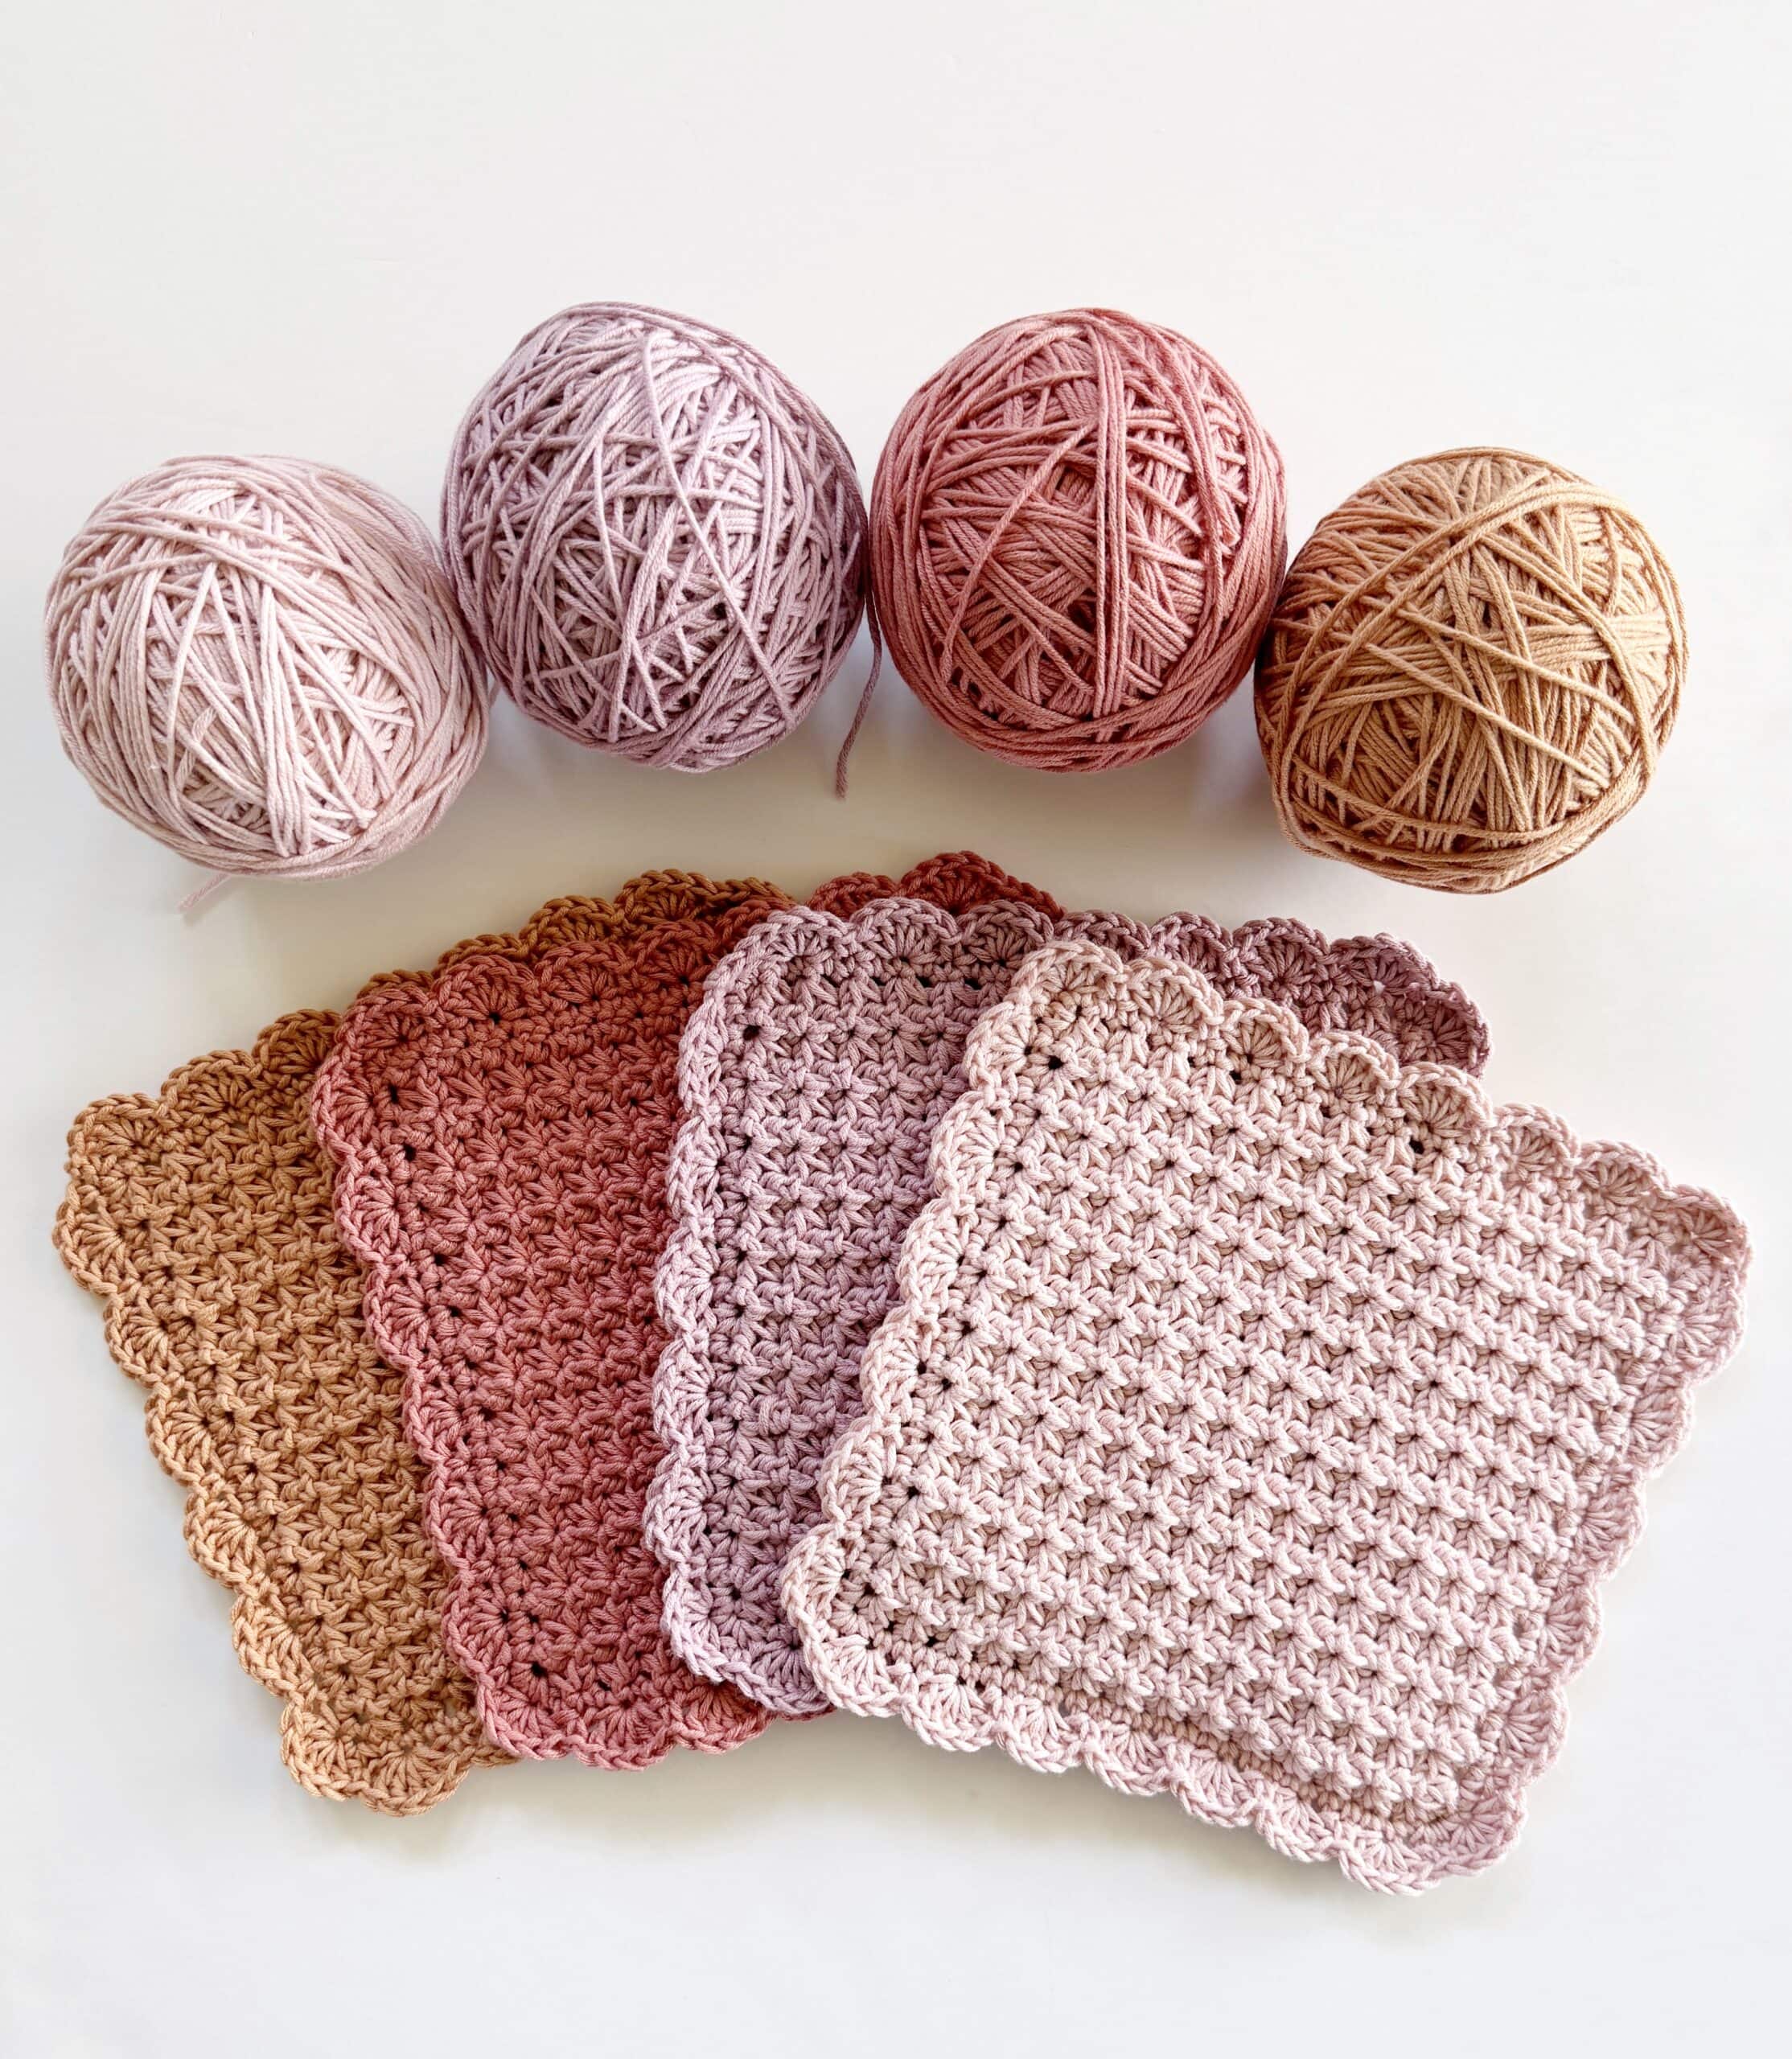
Your kitchen cloth needs to stand up to frequent washing and scrubbing. Cotton yarn is the top choice because it’s absorbent, durable, and easy to clean. Avoid acrylic or wool yarns, as they won’t hold up well against moisture and can feel rough on your hands during dishwashing.
Think about the yarn weight too. A medium weight (like worsted weight) cotton yarn works perfectly—it’s thick enough to scrub but not so bulky that your cloth takes forever to dry. Have you noticed how some kitchen cloths stay damp for days? Picking quick-dry yarn can help you avoid that problem.
Selecting The Crochet Hook
Your crochet hook size should match your yarn choice. Most cotton yarns recommend a 4.0mm to 5.5mm hook, but check the yarn label for guidance. Using a hook that’s too large will create loose stitches, while one that’s too small makes the cloth stiff and less absorbent.
Comfort matters here. Since you might crochet several cloths, pick a hook with an ergonomic handle or smooth finish to reduce hand fatigue. Have you ever stopped halfway because your hand hurt? The right hook can make all the difference.
Additional Tools
Besides yarn and hook, a few extra tools will make your process smoother. Scissors for cutting yarn cleanly, a yarn needle for weaving in ends, and stitch markers to track your progress are must-haves. These small helpers keep your work tidy and save you frustration later.
Consider a measuring tape too. Keeping your cloth the right size matters, especially if you want it to fit a dish rack or hang neatly in your kitchen. What’s your preferred cloth size? Having a tape on hand makes it easy to customize.
Credit: daisyfarmcrafts.com
Basic Crochet Stitches
Mastering basic crochet stitches is essential before you dive into making your kitchen cloth. These stitches form the foundation of your project and impact the texture, durability, and appearance of your cloth. By practicing these simple stitches, you’ll gain confidence and control over your crochet work.
Chain Stitch
The chain stitch is the starting point for almost every crochet project. It creates a flexible foundation row that you build upon with other stitches. Once you get the hang of making even chains, your projects will look neat and consistent.
Hold your yarn and hook comfortably, then loop the yarn over the hook and pull it through the loop on your hook. Repeat this to create a chain of the desired length. Think of it as the backbone of your kitchen cloth; if your chains are too tight, your cloth might curl up.
Single Crochet
Single crochet is one of the simplest and densest stitches you can use. It’s great for kitchen cloths because it creates a sturdy, absorbent fabric. You’ll find this stitch perfect for scrubbing and wiping surfaces without causing damage.
Insert your hook into the stitch, yarn over, pull through the stitch, yarn over again, and pull through both loops on the hook. Repeat this stitch across your row. How does your cloth feel after a few rows? Does it seem too stiff or just right for your kitchen needs?
Double Crochet
Double crochet stitches are taller and create a lighter, more flexible fabric than single crochet. This stitch lets you finish your cloth faster and adds a nice texture. It’s ideal if you want a cloth that dries quickly and feels softer in your hand.
Yarn over, insert your hook into the stitch, yarn over again, pull through, yarn over, pull through two loops, yarn over, and pull through the last two loops. Practice this stitch to balance durability and softness in your kitchen cloth. What kind of texture do you prefer when cleaning—firm or gentle?
Starting The Kitchen Cloth
Starting your kitchen cloth is the most exciting part of the crochet journey. This is where your project begins to take shape, stitch by stitch. Getting a solid start sets the tone for the entire cloth, so paying close attention here can save you frustration later.
Making The Foundation Chain
The foundation chain is the backbone of your kitchen cloth. It determines the width, so think about how big you want your cloth to be before you start.
- Use a medium-weight cotton yarn for durability and absorbency.
- Choose a crochet hook size that matches your yarn label for best results.
- Chain a number that fits the width you want, usually between 30 to 40 chains for a standard cloth.
Remember, your foundation chain should be loose but not too slack. If it’s too tight, your cloth will curl up. I once started with a very tight chain and spent hours trying to fix the edges, so take your time here.
Working The First Row
Once your foundation chain is ready, it’s time to work the first row. This row sets the texture and pattern for your entire cloth.
- Start by making a turning chain, usually one or two chains depending on the stitch you choose.
- Insert your hook into the second or third chain from the hook—this depends on the pattern stitch.
- Complete your first row of stitches, keeping your tension even to avoid warping.
Ask yourself: Is my tension too tight or too loose? Adjusting this early will help your cloth lie flat and look professional. Early mistakes are easy to fix, but the longer you go, the harder it becomes.
Crocheting The Body
Begin by creating a foundation chain for the kitchen cloth's body. Use simple stitches like single or double crochet to build even rows. Keep your tension consistent for a neat and sturdy cloth.
Crocheting the body of a kitchen cloth is both fun and rewarding. This is where your project takes shape, becoming a useful household item. As you crochet, you'll see your efforts come to life. The stitches form a fabric, strong and versatile. This part of the project is where consistency matters most.
Maintaining Consistent Tension
Consistent tension ensures a smooth and even fabric. Hold the yarn the same way throughout. Use even pressure when pulling the yarn. This consistency makes your stitches uniform. Practice holding the crochet hook and yarn comfortably. If your tension is too tight, the fabric will be stiff. Loose tension makes the fabric floppy. Adjust your grip if needed. Take breaks to relax your hands.
Repeating The Stitch Pattern
Repeating the stitch pattern creates a rhythm. Follow your pattern's instructions closely. Each row should look like the last. Count your stitches to avoid mistakes. Repeating the same stitches builds muscle memory. This makes crocheting faster over time. Enjoy the calming effect of repetitive motion. Mistakes can be undone by ripping out stitches. Stay patient and enjoy the process.
Finishing Touches
Finishing touches give your kitchen cloth a neat and polished look. These small details make a big difference in durability and style. Focus on smooth edges and secure yarn ends. A well-finished cloth lasts longer and looks better in your kitchen.
Adding A Border
A border frames your kitchen cloth and adds strength to the edges. Use simple stitches like single crochet or crab stitch for a clean finish. Choose a color that matches or contrasts with the main cloth. This makes your cloth more attractive and prevents curling.
To add a border:
- Work evenly around all edges.
- Make sure corners have extra stitches for smooth turns.
- Keep tension consistent for a uniform look.
Weaving In Ends
Weaving in ends hides loose yarn and stops unraveling. Use a yarn needle to carefully thread each loose end back into the cloth. Follow the stitch pattern to keep the yarn secure and invisible.
Tips for weaving in ends:
- Weave in at least 2 inches of yarn.
- Go back and forth through several stitches.
- Trim excess yarn close to the cloth.
Care And Maintenance
Taking good care of your crocheted kitchen cloth ensures it stays fresh, functional, and beautiful for a long time. Proper maintenance prevents wear and tear, keeps the fibers strong, and preserves the cloth’s texture. Are you ready to learn how simple habits can extend the life of your handmade cloth?
Washing Tips
Always wash your crocheted kitchen cloth gently to avoid stretching or damaging the stitches. Use cool or lukewarm water with a mild detergent that won’t strip the fibers of their natural softness.
Hand washing is best, but if you use a machine, place the cloth inside a mesh laundry bag to protect it. Avoid bleach and fabric softeners because they can weaken the yarn and reduce absorbency.
Rinse thoroughly to remove all soap, and gently squeeze out excess water without wringing. Have you noticed how harsh washing can make your cloth rough? Treat it with care to keep it feeling soft.
Drying Methods
Lay your kitchen cloth flat on a clean towel to air dry. This prevents stretching and helps maintain the shape.
Avoid hanging it up when wet, as gravity can pull the stitches and distort the cloth. Direct sunlight can fade colors and weaken fibers, so dry in a shaded, well-ventilated area instead.
If you’re short on time, you can gently press the cloth between towels to remove moisture before air drying. Have you tried these drying tips to keep your cloth looking new?
Troubleshooting Common Issues
Troubleshooting common issues in crocheting a kitchen cloth helps keep your project neat and enjoyable. Small problems can cause frustration but are easy to fix with simple tips. Identifying these issues early improves your final work.
Fixing Uneven Edges
Uneven edges often happen due to inconsistent stitch tension or missed stitches. Keep your tension steady throughout the project. Count your stitches at the end of each row to ensure consistency.
Use a stitch marker to mark the first and last stitch of each row. This helps you check if you are adding or missing stitches. Blocking your cloth after finishing can also even out edges.
Correcting Stitch Count
Incorrect stitch count affects the shape and size of your cloth. Always count your stitches after completing each row. If the count is off, identify where you added or skipped stitches.
To fix this, unravel only back to the mistake, not the entire row. Use stitch markers to separate sections and make counting easier. Practice helps maintain the right stitch count over time.

Credit: www.mooglyblog.com

Credit: tlycblog.com
Frequently Asked Questions
What Materials Do I Need To Crochet A Kitchen Cloth?
To crochet a kitchen cloth, you need cotton yarn and a crochet hook. Cotton is absorbent and durable. Choose a medium-weight yarn and a hook size recommended on the yarn label for best results.
How Long Does It Take To Crochet A Kitchen Cloth?
Crocheting a kitchen cloth usually takes 1 to 3 hours. Time depends on your skill level and the pattern complexity. Beginners may take longer, while experienced crocheters can finish quickly.
What Stitch Is Best For Kitchen Cloths?
The single crochet stitch is ideal for kitchen cloths. It creates a dense, absorbent fabric perfect for cleaning. You can also use the waffle or moss stitch for texture and durability.
Can I Wash A Crocheted Kitchen Cloth?
Yes, you can wash crocheted kitchen cloths. Use warm water and mild detergent. Air dry or tumble dry on low to maintain shape and durability.
Conclusion
Crocheting a kitchen cloth is a simple and useful skill. You can make a cloth that fits your style and needs. Using basic stitches, anyone can create a strong and pretty cloth. Practice a little each day to improve your work.
Handmade kitchen cloths save money and reduce waste. Keep your cloth clean by washing it often. Enjoy the warmth and charm your cloth brings to your kitchen. Start today, and see how fun crochet can be!