
Your kitchen sponge is one of the dirtiest items in your home, even if it looks clean. If you’re not disinfecting it regularly, harmful bacteria could be lurking right on your countertop.
But don’t worry—there’s a quick and simple way to kill those germs using something you already have: your microwave. You’ll learn exactly how to disinfect your kitchen sponge safely and effectively, so you can keep your kitchen cleaner and protect your health.
Keep reading to discover the easy steps that will make a big difference in your daily cleaning routine.
Why Disinfect Kitchen Sponges
Kitchen sponges are essential tools for cleaning dishes and surfaces. They absorb water and food particles, creating a perfect environment for germs. Disinfecting kitchen sponges stops harmful bacteria from spreading. It helps keep your kitchen and family safe. Regular cleaning of sponges reduces bad odors and extends sponge life.
Common Germs In Sponges
Sponges often contain bacteria and germs from food and surfaces. Some common germs found in sponges include:
- E. coli:Comes from raw meat and can cause stomach illness.
- Salmonella:Found in poultry and eggs, causing food poisoning.
- Staphylococcus aureus:Lives on the skin and can cause infections.
- Fungi and mold:Grow in damp sponges, causing odors and allergies.
These germs multiply quickly in wet sponges. They spread to dishes and surfaces when sponges are reused without cleaning.
Health Risks Of Dirty Sponges
Using dirty sponges can lead to health problems. Germs from sponges can cause:
- Food poisoning and stomach pain.
- Skin infections and irritations.
- Allergic reactions from mold spores.
- Cross-contamination of harmful bacteria to other foods.
Children, elderly, and people with weak immune systems are more at risk. Cleaning sponges regularly lowers these health risks and keeps your kitchen hygienic.
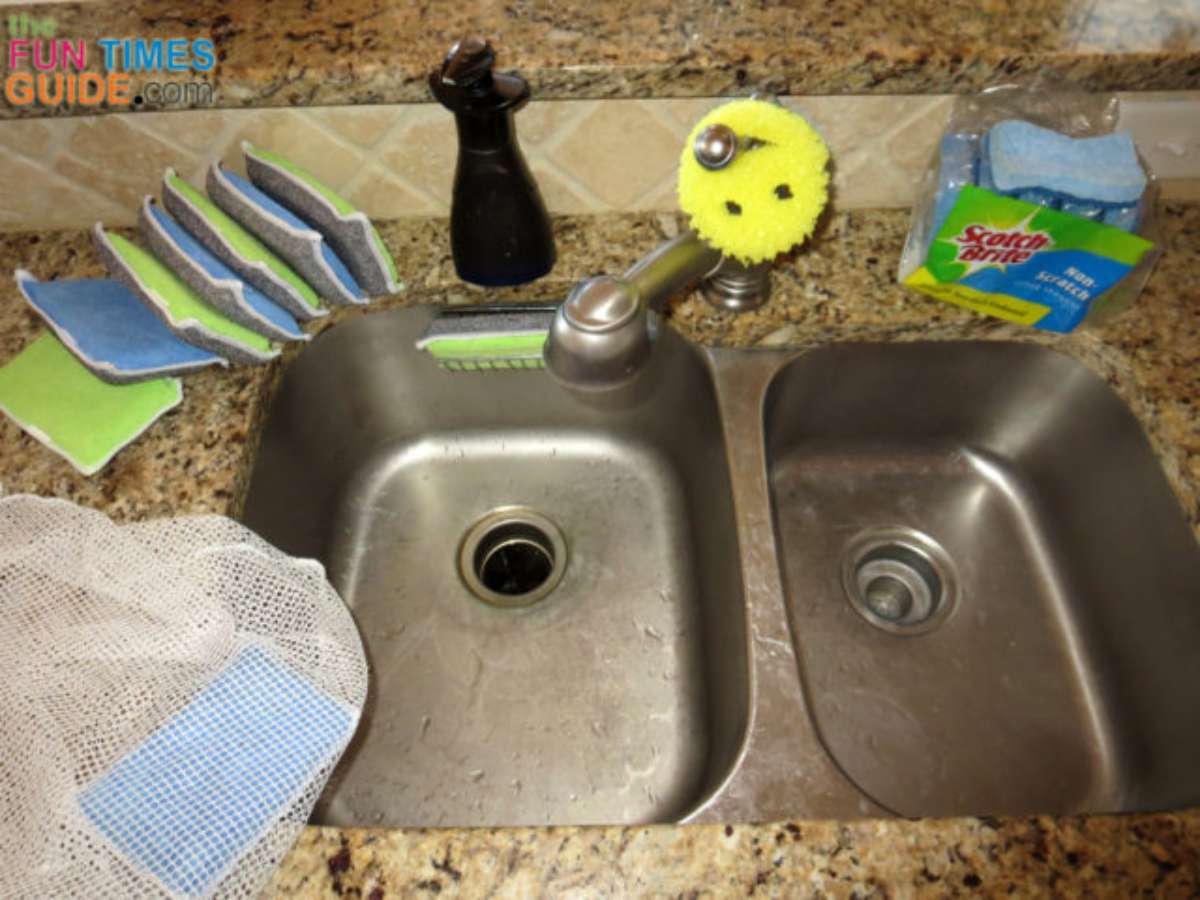
Credit: household-tips.thefuntimesguide.com
Microwave Method Benefits
The microwave method offers several benefits for disinfecting kitchen sponges. It is a quick and efficient way to keep your kitchen clean. This method helps eliminate harmful bacteria that can accumulate in sponges. Below, explore the key advantages of using the microwave for this purpose.
Speed And Convenience
Disinfecting sponges in the microwave is fast and easy. Simply wet the sponge and place it in the microwave for two minutes. This process requires minimal effort and time. It fits well into a busy schedule. No need for special cleaning solutions or tools. The microwave is a common kitchen appliance, making this method accessible to many.
Effectiveness Against Bacteria
The microwave method is highly effective against bacteria. It uses heat to kill germs hiding in the sponge. Studies show it can eliminate 99% of bacteria in just two minutes. This helps prevent the spread of germs in your kitchen. A clean sponge means a healthier cooking environment. Feel confident knowing your kitchen tools are safe to use.
Preparing The Sponge
Preparing your kitchen sponge for microwave disinfection is key to effective cleaning. This stage clears away leftover food and sets the sponge for safe microwaving. Follow these simple steps to get your sponge ready.
Remove Food Residue
Check the sponge for any food bits stuck inside. Rinse it under warm water to loosen debris. Use your fingers to squeeze out trapped particles. A clean sponge heats evenly and disinfects better.
Dampen The Sponge Properly
Wet the sponge fully before microwaving. A dry sponge can catch fire in the microwave. Squeeze out excess water but keep it moist. The moisture helps kill germs and prevents damage to the sponge.
Microwaving Steps
Disinfecting your kitchen sponge in the microwave is a quick and effective way to kill germs and bacteria that can linger after washing dishes. The process is simple but requires attention to detail to ensure safety and effectiveness. Let’s break down the key steps you need to follow for microwaving your sponge properly.
Setting The Microwave Timer
Start by soaking your kitchen sponge in water. A wet sponge prevents fires and helps steam build up inside, which disinfects better. Place the sponge in a microwave-safe dish or directly on the microwave plate.
Set the microwave timer to run for about 1 to 2 minutes on high power. Short bursts work best; running it longer can damage the sponge or even cause it to catch fire. If your sponge is very dirty, you might want to repeat this process after letting it cool down.
Safety Precautions During Microwaving
Never microwave a dry sponge. Dry sponges can ignite and create a fire hazard. Always make sure the sponge is soaked thoroughly with water before placing it inside the microwave.
Be cautious when removing the sponge—it will be hot and may release steam. Use tongs or a heat-resistant glove to take it out safely. Also, keep an eye on the microwave while the sponge is inside to catch any problems early.
Aftercare For Sponges
After disinfecting a kitchen sponge in the microwave, proper aftercare is important. It helps keep the sponge clean and safe for future use. Taking care of the sponge extends its life and reduces bacteria growth. Follow simple steps to cool and store your sponge correctly.
Cooling Down Safely
Microwaved sponges become very hot. Let the sponge cool before handling. Place it on a heat-safe surface. Avoid touching it with bare hands right away. Wait at least 5 minutes for the sponge to cool down. This prevents burns and damage to your skin.
Storage Tips To Keep Sponges Clean
- Store the sponge in a dry place. Moisture encourages bacteria growth.
- Use a sponge holder with drainage holes. This helps water drain away quickly.
- Keep the sponge away from the sink surface after use. Avoid leaving it in standing water.
- Replace the sponge every 1 to 2 weeks. Even with care, sponges wear out.
Alternatives To Microwaving
If you’re looking for ways to disinfect your kitchen sponge without using the microwave, there are reliable alternatives that can be just as effective. These methods can fit different preferences and kitchen setups, offering flexibility when you want to keep your sponge clean and safe.
Trying different options might also help you discover what works best for your routine and sponge type. Are you ready to explore some practical and easy ways to sanitize your sponge without heating it in the microwave?
Dishwasher Sanitizing
Running your sponge through the dishwasher is a simple and hands-off way to disinfect it. Place the sponge on the top rack to avoid damage and run it through a hot wash cycle.
The heat and detergent work together to kill most bacteria and remove food residue. This method is great if you already use your dishwasher daily, making sponge cleaning a quick add-on.
Bleach Soaking Method
Soaking your sponge in a bleach solution is another powerful way to sanitize it. Mix about 3/4 cup of bleach with one gallon of water, then let the sponge soak for five minutes.
After soaking, rinse the sponge thoroughly with water to remove any bleach residue. This method is especially useful if you want a deep clean and don’t mind the extra step of rinsing carefully.
When To Replace Your Sponge
Knowing when to replace your kitchen sponge is key for keeping your kitchen clean and safe. Even with regular disinfecting, sponges wear out and can harbor bacteria. Replacing your sponge at the right time helps prevent germs from spreading on your dishes and countertops.
Signs Of Wear And Odor
Watch your sponge closely for these signs:
- Fraying or falling apart edges
- Persistent bad smell despite cleaning
- Discoloration or stains that don’t wash out
- Texture becoming slimy or mushy
Any of these signals mean your sponge should be replaced immediately.
Recommended Replacement Frequency
Replace kitchen sponges often to maintain hygiene. Experts suggest changing sponges every 1 to 2 weeks. Using a sponge longer than this increases bacteria growth risk. If you clean your sponge in the microwave, it still needs regular replacement. Microwaving kills many germs but does not fix physical damage. Keep a schedule for sponge replacement to avoid health risks.

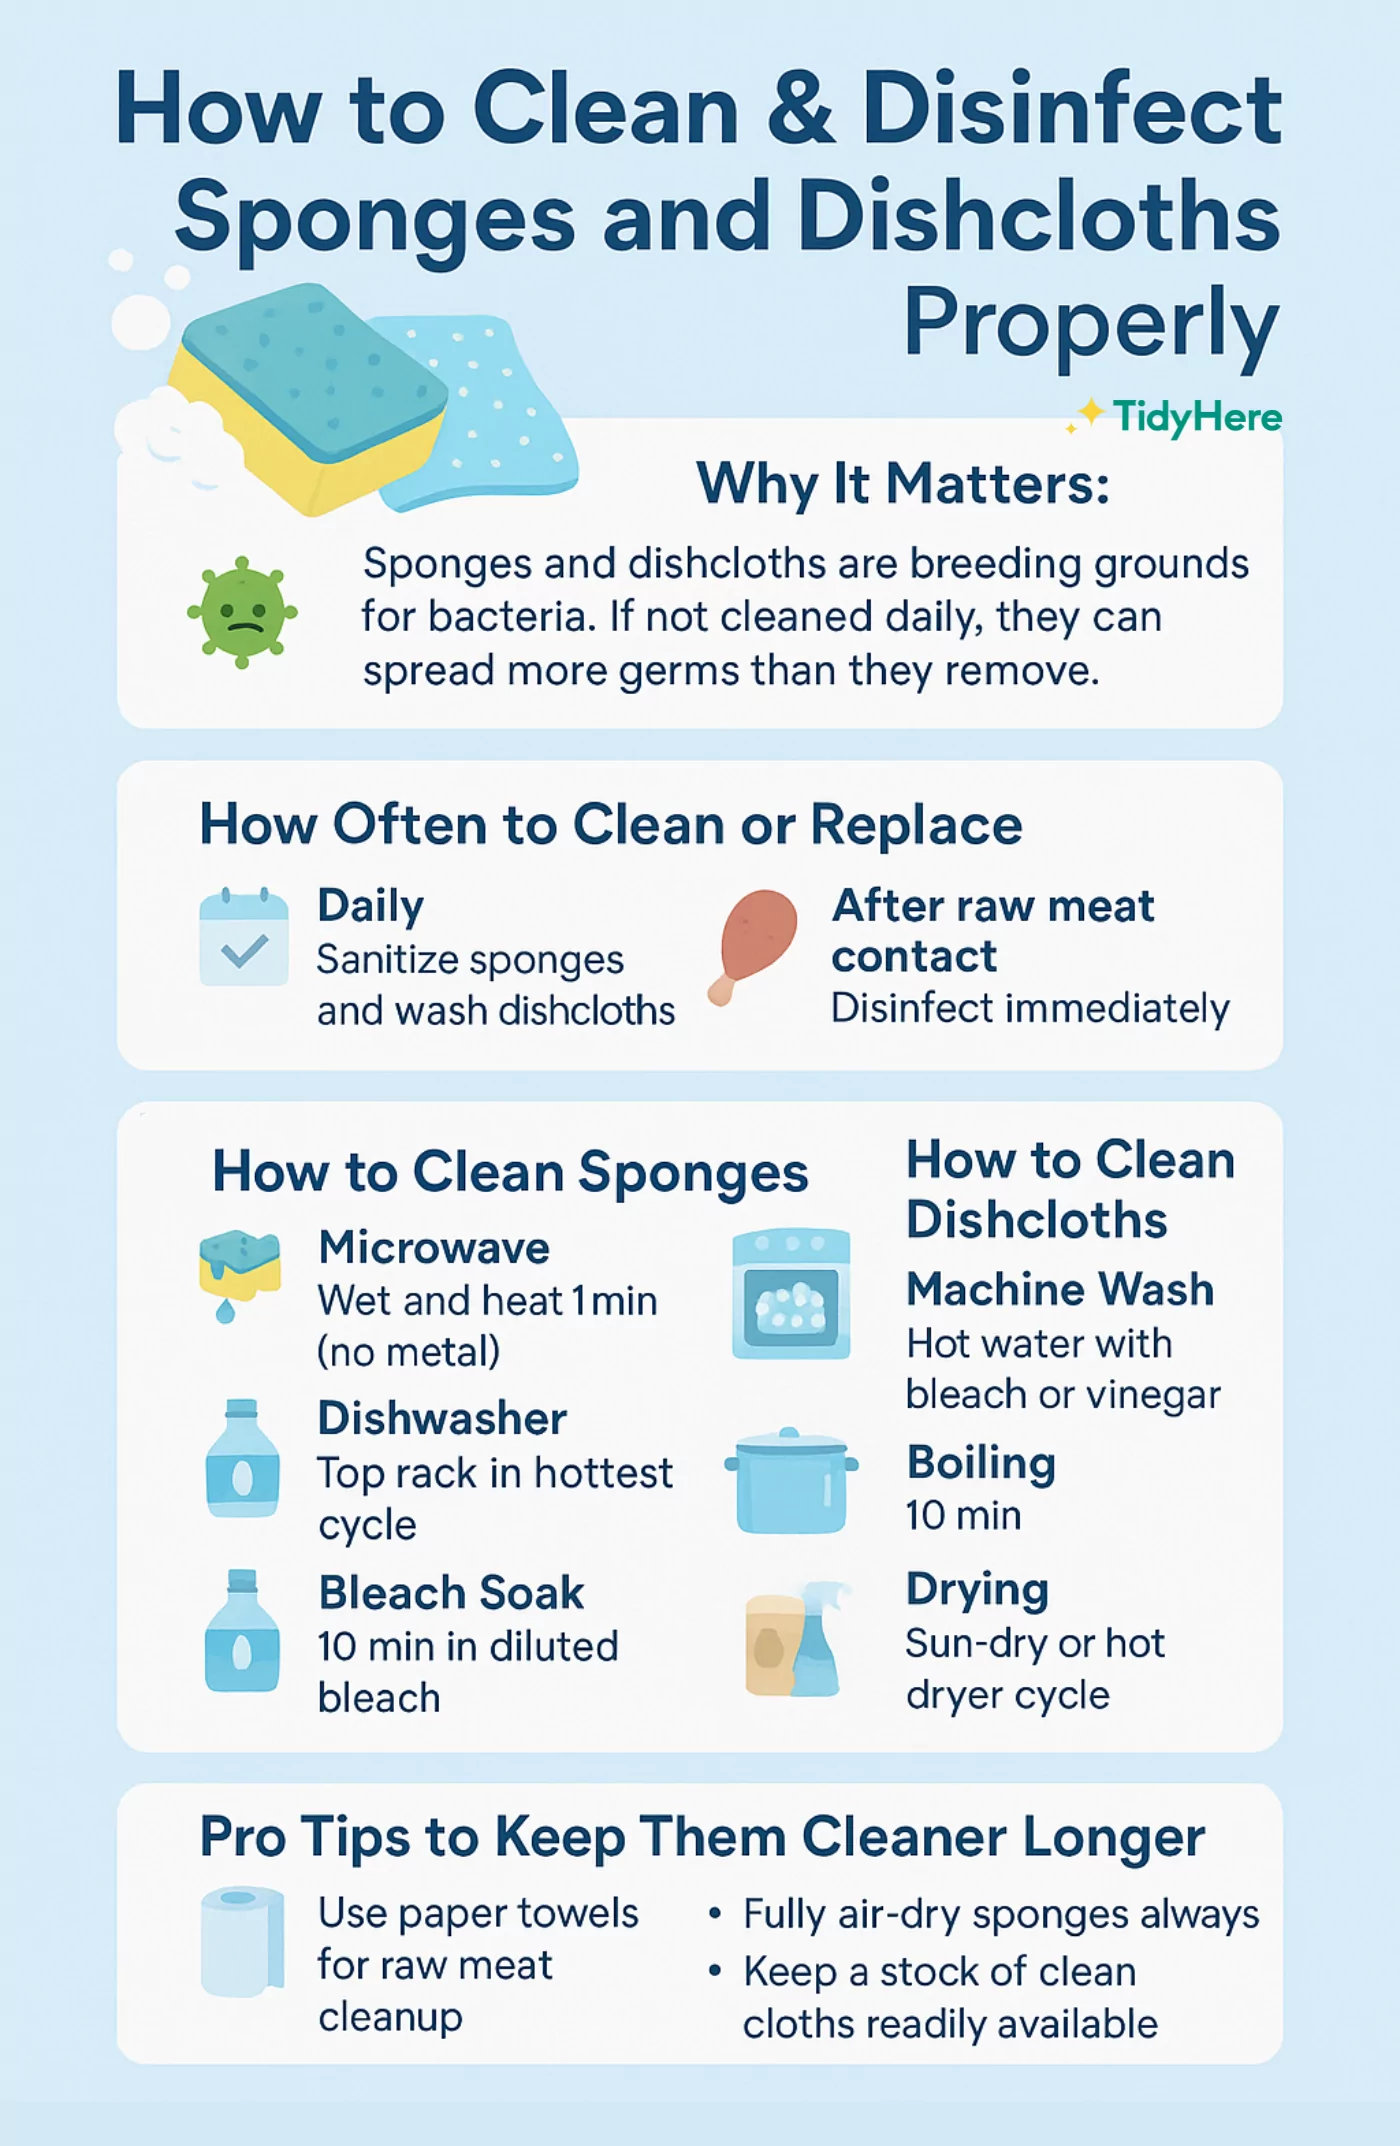
Credit: tidyhere.com

Credit: household-tips.thefuntimesguide.com
Frequently Asked Questions
How Long Should I Microwave A Kitchen Sponge?
Microwave the sponge on high for 1-2 minutes. Ensure it is wet to avoid fire risks. This kills most bacteria effectively.
Can Microwaving A Sponge Really Kill Germs?
Yes, microwaving a damp sponge heats it enough to destroy harmful bacteria and viruses. It’s a quick disinfecting method.
Is It Safe To Microwave All Types Of Sponges?
Only microwave sponges without metal parts. Synthetic and cellulose sponges are safe when wet. Avoid dry or damaged sponges.
How Often Should I Disinfect My Kitchen Sponge?
Disinfect your sponge every 1-2 days to prevent bacteria buildup. Replace sponges regularly for best hygiene.
Conclusion
Disinfecting your kitchen sponge in the microwave is quick and easy. It kills most germs and keeps your sponge fresh. Always wet the sponge before microwaving to avoid fire risks. Clean sponges help keep your kitchen safe and reduce bad smells.
Try this simple method regularly to maintain a healthy cooking space. Small steps make a big difference in kitchen hygiene. Give your sponge a quick microwave clean today.