
Your kitchen sponge is one of the dirtiest items in your home, even if it looks clean. Every time you use it, bacteria and germs multiply rapidly, putting your health at risk.
But don’t worry—disinfecting your kitchen sponge is easier than you think. You’ll discover simple, effective ways to keep your sponge clean and safe. Keep reading to protect your family and make your kitchen a healthier place.
Why Clean Sponges Matter
Kitchen sponges are a key tool for cleaning dishes and surfaces. They trap food particles and moisture, creating a perfect place for germs to grow. Dirty sponges spread bacteria, causing food contamination and illnesses. Keeping sponges clean helps maintain a healthy kitchen environment. It reduces the risk of cross-contamination between raw and cooked foods.
Regularly disinfected sponges last longer and perform better. A clean sponge prevents bad odors and keeps your kitchen smelling fresh. It also protects your family from harmful bacteria and viruses that can cause sickness.
How Bacteria Thrive In Sponges
Sponges stay damp and hold food bits, making them a breeding ground. Warmth and moisture help bacteria multiply quickly. Some germs found in sponges can cause food poisoning and skin infections. Without cleaning, these bacteria spread to your hands and kitchen surfaces.
Health Risks Of Using Dirty Sponges
Dirty sponges can spread harmful bacteria like Salmonella and E. coli. These bacteria cause stomach pain, vomiting, and diarrhea. Using a dirty sponge on dishes or counters increases infection risk. Children, elderly, and people with weak immune systems are more vulnerable.
Signs Your Sponge Needs Cleaning
- Unpleasant smell coming from the sponge
- Visible dirt or food residue
- Sponge feels slimy or unusually soft
- Stains or discoloration
Cleaning your sponge regularly stops these signs and keeps it safe.
Common Germs In Kitchen Sponges
Kitchen sponges are a common tool in every home. They help clean dishes and surfaces. Yet, they can hold many germs. These germs grow quickly because of moisture and food bits trapped inside. Knowing the common germs in kitchen sponges helps in better cleaning and disinfecting.
Escherichia Coli (e. Coli)
E. coli is a bacteria found in raw food and feces. It can cause stomach pain and diarrhea. Sponges often pick up E. coli from raw meat juices and dirty dishes. This bacteria grows fast in damp sponges.
Salmonella
Salmonella bacteria come from raw poultry and eggs. It causes food poisoning with symptoms like fever and cramps. Sponges that clean raw meat can spread Salmonella to other surfaces and foods.
Staphylococcus Aureus
Staphylococcus aureus is a germ found on skin and in the nose. It can cause infections and food poisoning. If sponges touch contaminated hands or surfaces, this bacteria can transfer easily.
Pseudomonas Aeruginosa
This bacteria thrives in wet places like sponges. It can cause infections, especially in people with weak immune systems. Pseudomonas aeruginosa also resists many cleaning agents, making it hard to remove.
Fungi And Mold
Sponges often stay damp, creating a perfect place for fungi and mold. These can cause bad smells and allergic reactions. Mold spores spread quickly if sponges are not dried or cleaned properly.
Signs Your Sponge Needs Disinfecting
Kitchen sponges are essential for cleaning, but they can harbor germs quickly. Recognizing signs that your sponge needs disinfecting helps keep your kitchen safe. Regularly checking your sponge prevents bacteria buildup and unpleasant odors.
Sponges often look clean but hide harmful microbes. Some signs are easy to spot and warn you that it's time to disinfect or replace your sponge. Paying attention to these signs keeps your dishes and surfaces hygienic.
Unpleasant Odor
A bad smell coming from your sponge signals bacteria growth. Sponges absorb food particles and moisture, creating a perfect place for germs. If your sponge smells sour or rotten, it needs cleaning immediately.
Visible Stains And Discoloration
Dark spots or stains on the sponge surface show mold or mildew. Over time, sponges change color due to dirt and germs. Discoloration means the sponge is no longer clean and requires disinfecting or replacing.
Spongy Texture Changes
If your sponge feels slimy or unusually soft, it indicates bacterial buildup. A healthy sponge should be firm and porous. Sliminess means it is full of germs and needs attention.
Loss Of Cleaning Efficiency
Your sponge may stop cleaning well because of trapped dirt and grease. If dishes or surfaces remain dirty after scrubbing, the sponge is less effective. This is a clear sign it needs disinfecting or changing.
Frequent Use
Using the sponge daily increases the chance of contamination. Even if it looks clean, daily use requires regular disinfecting. Consider disinfecting sponges every few days to maintain hygiene.
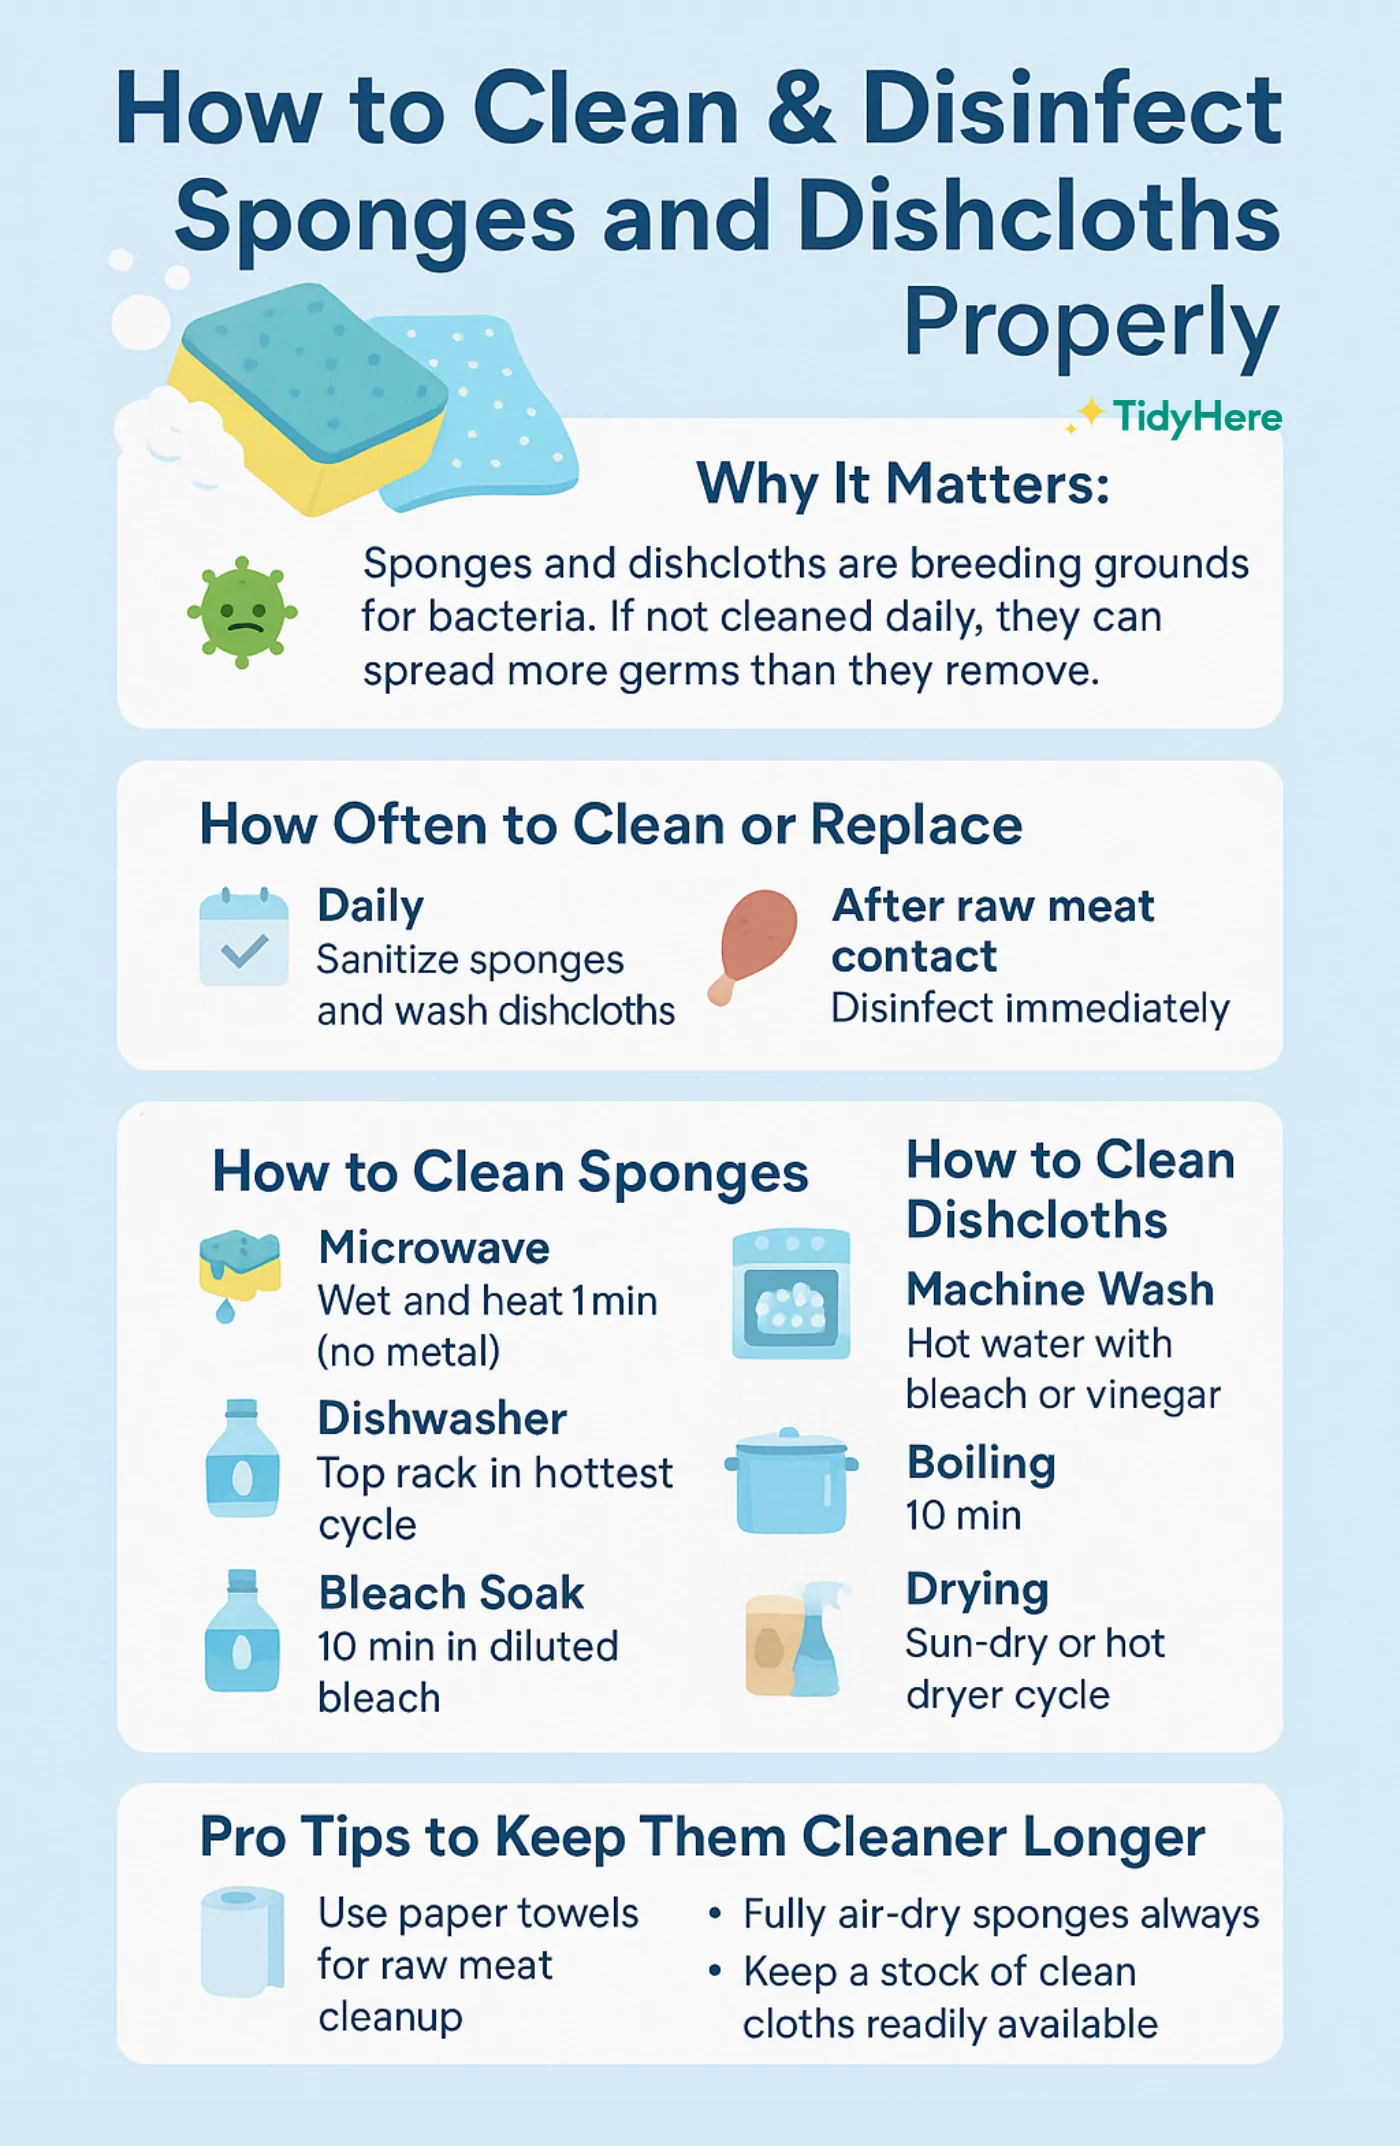
Credit: tidyhere.com
Microwave Method For Disinfection
Kitchen sponges hold many germs after daily use. The microwave method kills most bacteria fast. It uses steam heat inside the sponge to disinfect. This method is simple, safe, and saves money.
Microwaving your sponge regularly keeps your kitchen cleaner. It stops bad smells and reduces illness risk. The process takes only a few minutes and needs no special tools.
Preparing The Sponge For Microwaving
First, soak the sponge in water completely. A wet sponge prevents fire hazards in the microwave. Squeeze out excess water so it is damp but not dripping. Place the sponge in a microwave-safe dish for safety.
Microwaving Time And Power Settings
Set your microwave on high power. Heat the sponge for about two minutes. Small microwaves may need more time, up to three minutes. Watch the sponge carefully to avoid burning or sparks.
Handling The Sponge After Microwaving
Let the sponge cool before removing it. The sponge will be very hot and can burn your fingers. Use tongs or wait a few minutes for safety. After cooling, squeeze out water and store the sponge dry.
Safety Tips For Using The Microwave Method
- Always keep the sponge wet before microwaving.
- Never microwave a dry sponge; it may catch fire.
- Use a microwave-safe container to hold the sponge.
- Check your microwave’s wattage for proper timing.
- Replace sponges often; microwaving does not clean all dirt.
Boiling Technique For Sanitizing
Boiling kitchen sponges is a simple yet effective way to kill bacteria and sanitize them thoroughly. This technique uses high temperature to eliminate germs that regular washing might miss. It’s quick, chemical-free, and something you can easily do at home.
Preparing Your Sponge For Boiling
Start by rinsing your sponge under warm water to remove any food particles. This helps prevent debris from burning during boiling. Make sure your sponge is free from soap or detergent to avoid harmful fumes.
How To Boil The Sponge Safely
Fill a pot with enough water to fully submerge the sponge. Bring the water to a rolling boil before adding the sponge. Boil the sponge for about 5 minutes, which is enough time to kill most bacteria and germs.
Be cautious when removing the sponge from the hot water—use tongs or a slotted spoon to avoid burns.
Drying And Storing The Sponge
After boiling, squeeze out excess water gently but avoid wringing it too hard to prevent damage. Place the sponge in a clean, dry area with good airflow to dry completely. Never store a damp sponge, as moisture encourages bacterial growth.
Why Boiling Works Better Than Other Methods
- High Temperature:Boiling water reaches 212°F (100°C), which kills most bacteria instantly.
- No Chemicals:Unlike bleach or detergents, boiling uses only heat, making it safe and eco-friendly.
- Cost-Effective:You don’t need special products—just water and a pot.
Have you noticed how some sponges still smell even after washing? Boiling can help you avoid that persistent odor by killing the bacteria causing it.
Using Bleach Solutions Safely
Using bleach solutions can be a powerful way to disinfect your kitchen sponges, but it’s crucial to handle bleach safely to protect yourself and your home. Bleach is a strong chemical and can cause irritation or damage if used carelessly. Understanding the right steps and precautions helps you clean effectively without risking harm.
Preparing The Bleach Solution Correctly
Always dilute bleach with water before using it on sponges. A common and safe ratio is about 1 tablespoon of bleach per 1 quart (4 cups) of water. Never use undiluted bleach directly, as it can break down the sponge fibers and release harmful fumes.
Make the solution fresh each time you disinfect. Bleach loses its effectiveness over time, so mixing a new batch ensures the sponge gets properly sanitized.
Handling Bleach Safely During Use
- Wear rubber gloves to protect your skin from irritation.
- Work in a well-ventilated area to avoid inhaling fumes.
- Keep bleach away from your eyes and avoid splashing.
Have you ever felt your eyes sting after cleaning? That’s a clear sign you need better ventilation or protective gear. Simple steps like opening a window or turning on a fan can make a big difference.
Soaking And Rinsing Your Sponge
Place your sponge in the bleach solution and soak for about 5 minutes. Avoid soaking longer, as prolonged exposure can degrade the sponge. After soaking, rinse the sponge thoroughly with clean water.
Rinsing is key to remove any leftover bleach. Residual bleach on your sponge can transfer to your dishes or hands, which isn’t safe. Make sure the sponge feels clean and free of bleach smell before using it again.
Storing Bleach And Sponges Safely
Store bleach out of reach of children and pets, preferably in a locked cabinet. After disinfecting, keep your sponge in a dry place to prevent bacterial growth. Damp sponges, even if bleached, can quickly become breeding grounds for germs.
Think about where you place your sponge after cleaning. Is it on a wet surface or in a dry area? Small changes like this can extend the life of your sponge and keep your kitchen healthier.
Vinegar Soak For Natural Cleaning
Vinegar soak is a simple and natural way to clean kitchen sponges. It uses the acidity of vinegar to kill germs and remove odors. This method is safe and effective without harsh chemicals.
Vinegar is easy to find and inexpensive. It breaks down bacteria and helps your sponge last longer. Soaking your sponge in vinegar keeps it fresh and hygienic.
How To Prepare The Vinegar Soak
- Use white distilled vinegar for the best results.
- Fill a bowl or container with enough vinegar to cover the sponge.
- Make sure the sponge is fully submerged in the vinegar.
Soaking Time And Process
- Let the sponge soak for at least 5 minutes.
- For a deeper clean, soak for 30 minutes or longer.
- After soaking, rinse the sponge well with water.
Tips For Best Results
- Use warm vinegar to speed up cleaning.
- Repeat the soak once or twice a week for hygiene.
- Replace sponges regularly, even with cleaning.

Credit: tidyhere.com
Tips To Extend Sponge Life
Kitchen sponges can harbor germs quickly. Soaking them in a bleach solution or microwaving when damp kills bacteria effectively. Regular cleaning keeps sponges safe and lasts longer.
Extending the life of your kitchen sponge not only saves money but also reduces waste. With a few simple habits, you can keep your sponge fresh and effective for a longer period. Here are some practical tips that you can start using today.
Keep It Dry
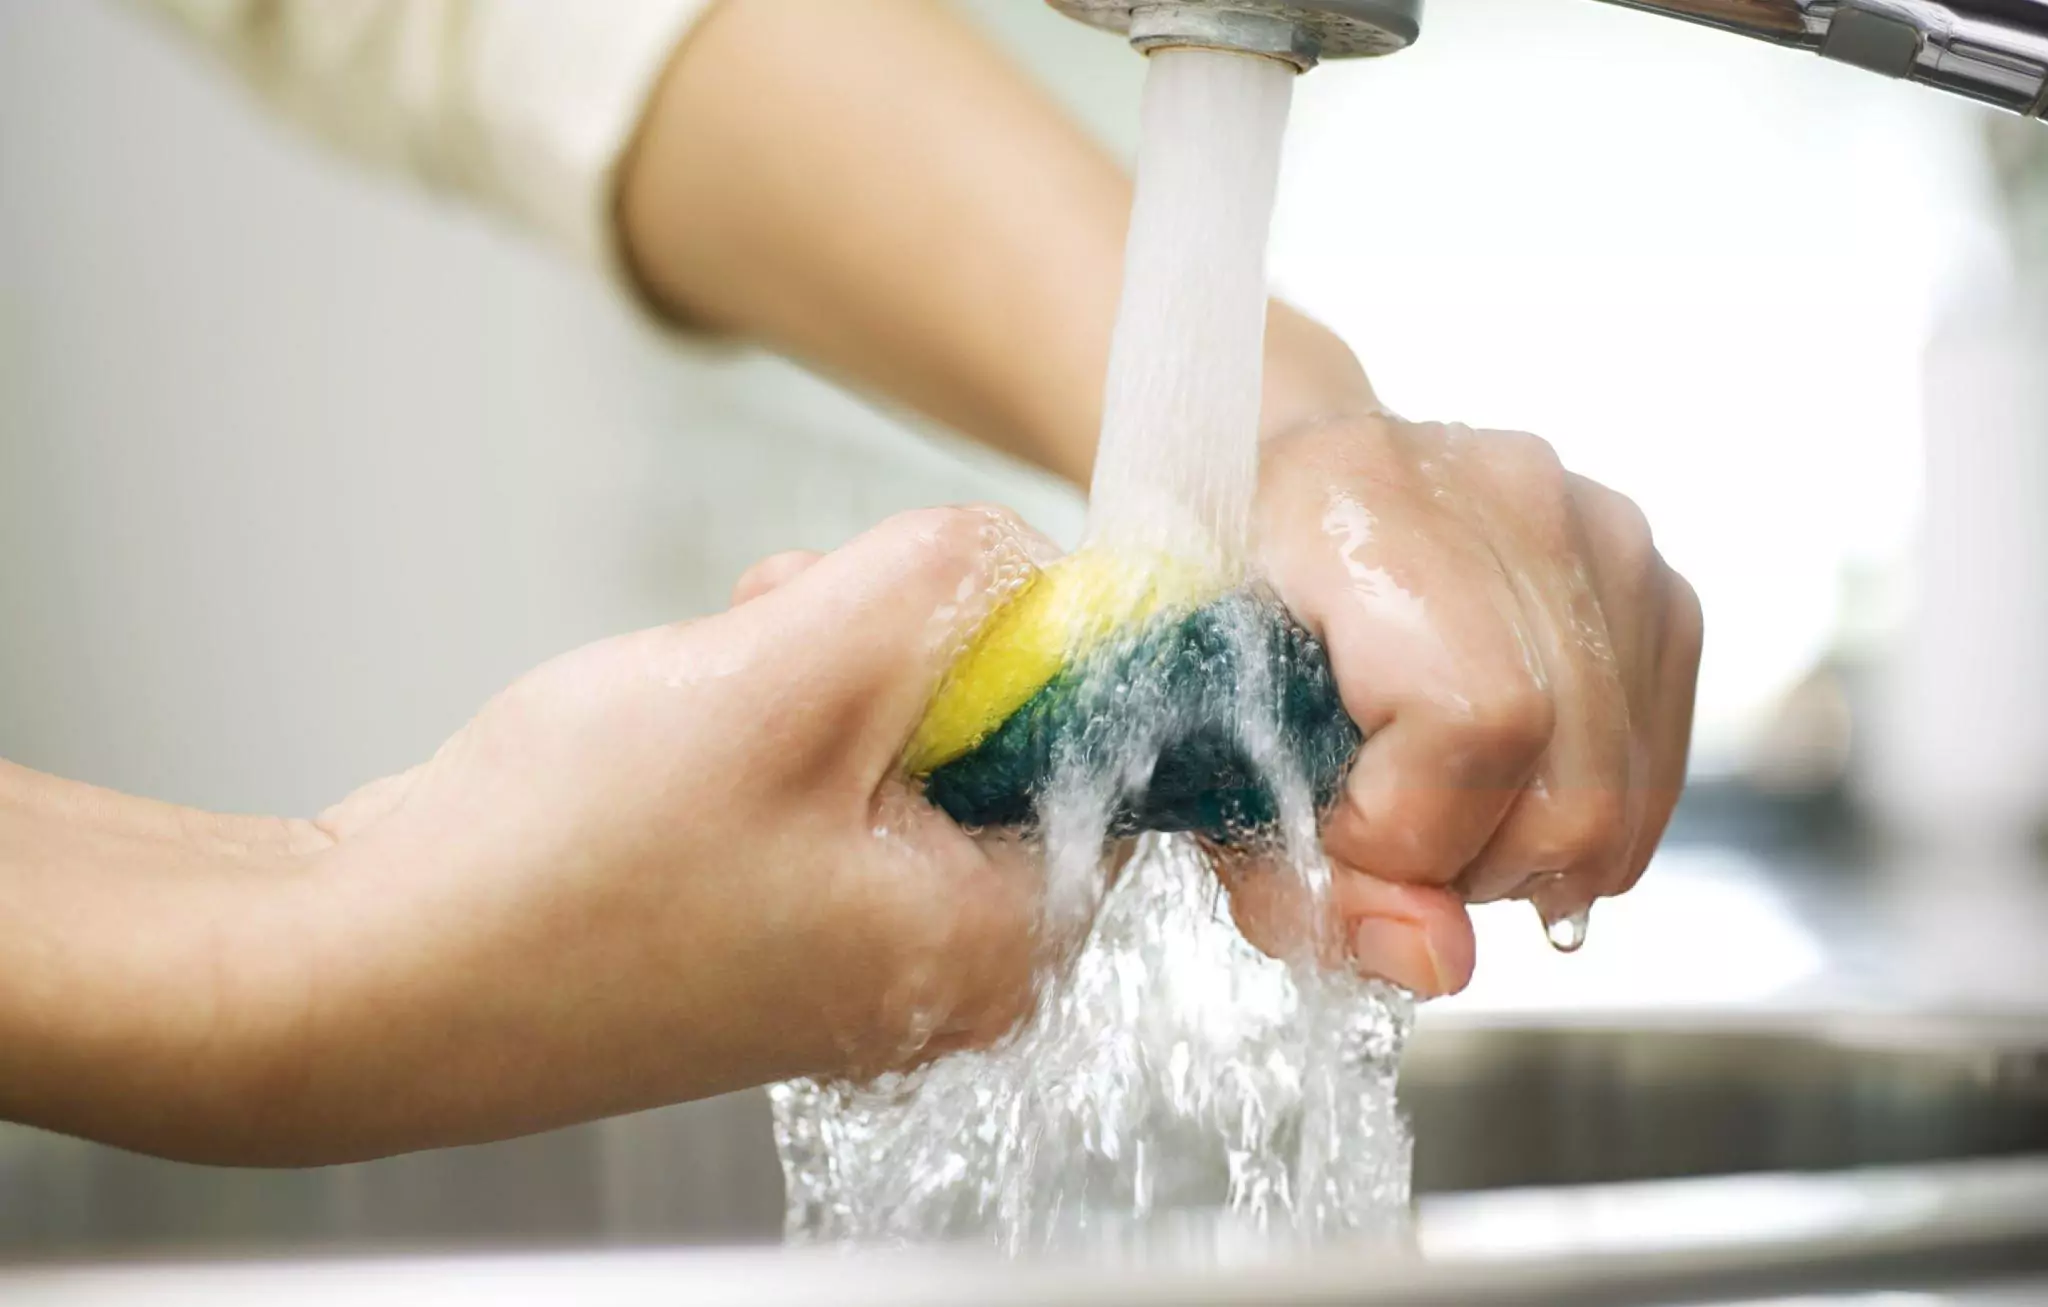
A dry sponge lasts longer. After each use, make sure to wring out excess water and leave it in a well-ventilated area. Consider using a rack or holder that allows air to circulate around the sponge.
Alternate Use
Have you ever thought about using different sponges for different tasks? Designate one sponge for dishes and another for countertops. This simple tactic prevents cross-contamination and wears them out less quickly.
Regular Cleaning
Frequently cleaning your sponge can drastically extend its life. You can toss it in the dishwasher on a hot cycle or microwave it for a minute when damp. These methods kill germs and keep your sponge in top shape.
Avoid Harsh Chemicals
Exposing your sponge to harsh chemicals can degrade it quickly. Instead, use natural cleaning agents like vinegar or baking soda. They are effective and gentle on your sponge.
Replace When Necessary
Even with the best care, all sponges have a lifespan. If your sponge smells or feels slimy, it's time to replace it. Keeping track of these signs can help you decide when to let go. Are these tips making a difference in your kitchen routine? By implementing these strategies, you can enjoy a cleaner, more efficient kitchen with minimal effort.
Alternative Tools For A Germ-free Sink
Kitchen sponges can harbor many germs, but alternatives like silicone scrubbers and dishcloths help keep sinks cleaner. Regularly washing these tools prevents bacteria buildup and keeps your kitchen hygienic.
Keeping your kitchen sink germ-free is crucial for maintaining a healthy home. While kitchen sponges are handy, they can harbor germs if not properly cleaned. Fortunately, there are alternative tools that can help you maintain a spotless and hygienic kitchen environment. Let's dive into these practical tools that can keep your sink and dishes clean without relying solely on sponges.
Silicone Scrubbers
Silicone scrubbers are a fantastic alternative to traditional sponges. They are non-porous, which means germs find it hard to stick around. After use, simply toss them in the dishwasher, and they're ready for the next round of dishwashing. Their durability and ease of cleaning make them an eco-friendly option.
Bamboo Dish Brushes
Bamboo dish brushes bring a touch of natural elegance to your kitchen. With their firm bristles, they tackle tough stains with ease. These brushes are not only great for cleaning, but they also dry quickly, reducing the chances of bacterial growth. Plus, they're biodegradable, making them a sustainable choice.
Microfiber Cloths
Microfiber cloths are versatile and effective for various cleaning tasks. They can be used wet or dry and are perfect for wiping down surfaces and cleaning dishes. Their fine fibers trap dirt and bacteria, leaving surfaces sparkling clean. With regular washing, they remain a hygienic choice for your kitchen.
Eco-friendly Dishcloths
Eco-friendly dishcloths are a great way to reduce waste in your kitchen. Made from natural materials like cellulose or cotton, they are biodegradable and compostable. These cloths are highly absorbent and can be washed and reused multiple times, making them both economical and environmentally friendly.
Dishwasher-safe Sponge Alternatives
For those who still love the convenience of a sponge-like tool, there are dishwasher-safe alternatives. These are designed to withstand high temperatures, ensuring a thorough clean. Look for options made from materials like cellulose or coconut husks, which provide effective scrubbing without compromising on cleanliness. Are you ready to explore these alternatives in your kitchen? By choosing tools that are easy to clean and maintain, you can ensure a germ-free sink and a healthier home.
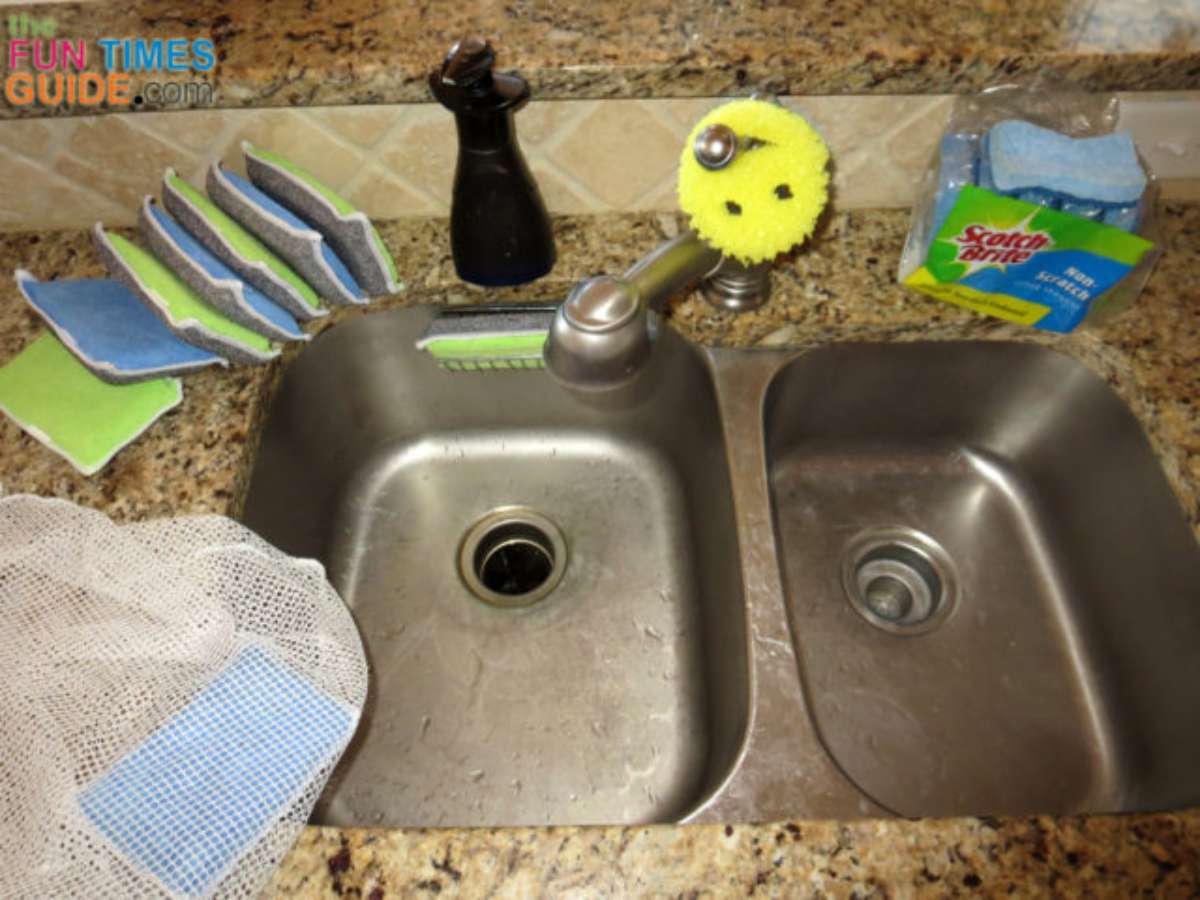
Credit: household-tips.thefuntimesguide.com
Frequently Asked Questions
How Often Should I Disinfect Kitchen Sponges?
Disinfect kitchen sponges at least once a week. Frequent cleaning helps prevent bacteria buildup and odors. Replace sponges monthly for best hygiene. Regular disinfecting keeps your kitchen safer and reduces contamination risks.
What Is The Best Method To Disinfect Kitchen Sponges?
Microwaving damp sponges for 1-2 minutes effectively kills most bacteria. Alternatively, soak sponges in diluted bleach or vinegar solution. Both methods sanitize well and are easy to do at home. Always ensure sponges are wet before microwaving to avoid fire hazards.
Can I Use Dishwasher To Clean Kitchen Sponges?
Yes, placing sponges on the top rack of a dishwasher can disinfect them. Use a hot water cycle with detergent. This method kills germs and removes food particles. However, it may not sanitize as thoroughly as microwaving or bleach soaking.
Are Natural Disinfectants Effective For Kitchen Sponges?
Natural disinfectants like vinegar and baking soda can reduce bacteria on sponges. They are safer and eco-friendly alternatives to chemicals. However, they may not eliminate all germs. For thorough cleaning, combine natural methods with regular sponge replacement.
Conclusion
Cleaning kitchen sponges keeps your kitchen safe and fresh. Use simple methods like microwaving or soaking in vinegar. Change sponges often to stop germs from growing. Dry sponges quickly to avoid bacteria buildup. A clean sponge helps keep your dishes and counters healthy.
Small daily steps make a big difference in kitchen hygiene. Stay consistent, and your kitchen will stay cleaner for longer. Remember, a little care goes a long way in keeping germs away.