
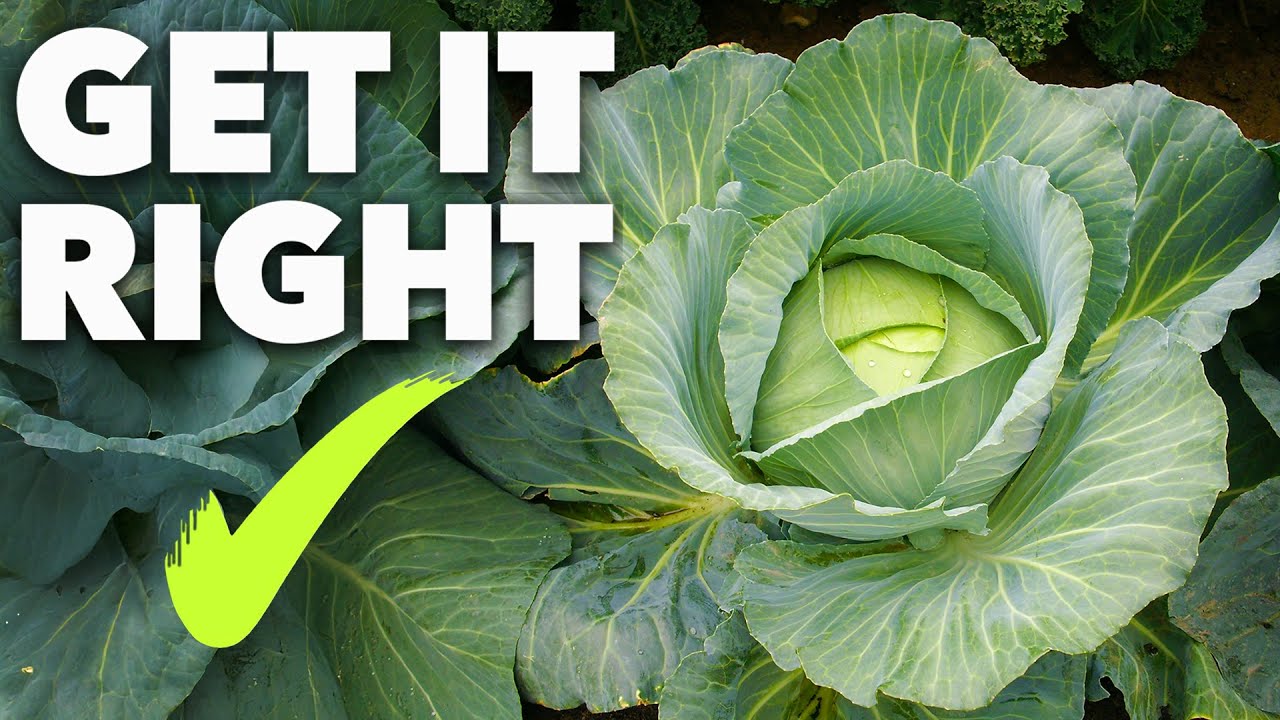
Have you ever wondered if you could turn your kitchen scraps into a fresh, crunchy cabbage right at home? Growing cabbage from scraps is easier than you think, and it’s a smart way to save money while reducing waste.
Imagine harvesting your own leafy greens without needing a big garden or fancy tools. You’ll discover simple steps to transform leftover cabbage pieces into thriving plants. Keep reading, and you’ll soon enjoy fresh cabbage grown by your own hands!
Choosing The Right Cabbage Scrap
Choosing the right cabbage scrap is key to successfully growing new cabbage from your kitchen leftovers. Not all scraps have the same potential to regrow, so picking the best part can save you time and effort. Understanding what makes a cabbage scrap ideal will give your new plant a strong start and better chances to thrive.
Selecting Healthy Leaves
Start by looking for cabbage leaves that are fresh and firm. Avoid any leaves that are wilted, yellowed, or have spots. These signs usually indicate damage or disease, which can hinder regrowth.
Try to pick leaves from the inner part of the cabbage head. These tend to be healthier and less exposed to pests or dirt. You want leaves that still have a good amount of the white base attached because this is where new growth will emerge.
Have you ever noticed how some scraps just refuse to sprout? Often, it's because the leaves were too old or damaged. Choosing vibrant, sturdy leaves gives you a better chance to see new roots and shoots quickly.
Preparing The Base For Regrowth
Once you have your healthy leaves, trim the base to about 1 to 2 inches thick. This base is the part that will be planted or placed in water to encourage new growth. Be precise—too thin, and it won’t have enough tissue to regrow; too thick, and it might rot.
Remove any excess leaves from the base so the plant can focus energy on new root and leaf development. You want a clean, even surface that will sit easily in water or soil. This simple preparation step can make a big difference in how quickly your cabbage scrap starts to grow again.
Would you expect a small change like trimming to affect growth so much? Try it yourself and watch how this small detail speeds up the regrowing process.
Preparing Your Kitchen Scrap For Planting
Preparing your kitchen scrap for planting is a crucial step to ensure healthy cabbage growth. This stage sets the foundation for new roots to develop and gives your cabbage a strong start. Taking a little extra time here can make a big difference in your garden’s success.
Trimming And Cleaning The Scrap
Start by cutting off any wilted or damaged outer leaves from your cabbage scrap. These parts won’t help your plant grow and can invite mold or pests.
Next, rinse the base of the cabbage scrap gently under cool water. Removing dirt and leftover food particles reduces the chance of bacterial growth and keeps your plant healthy.
Have you noticed that the cleaner the scrap, the less slimy it feels over time? That’s because cleanliness helps prevent rot right from the beginning.
Soaking And Root Encouragement
Place the trimmed cabbage base in a shallow bowl filled with about an inch of water. Make sure the water covers only the root end, not the whole scrap.
Change the water every couple of days to keep it fresh and oxygen-rich. This small effort encourages roots to sprout faster and stronger.
After about a week, watch closely for tiny white roots starting to emerge. This is your sign that the scrap is ready to be planted in soil and will soon grow into a new cabbage.
Planting Techniques For Cabbage Scraps
Growing cabbage from kitchen scraps is simple and rewarding. The key lies in planting techniques that help scraps develop roots and leaves quickly. Two popular ways exist to start growing cabbage scraps: using water and planting directly in soil. Each method suits different needs and spaces. Both encourage healthy growth if done correctly.
Using Water Method
Cut the base of the cabbage about 2 inches tall. Place it in a shallow bowl with the cut side down. Add enough water to cover the base but not the entire cabbage. Change the water every two days to keep it fresh. Within a week, small roots and new leaves will appear. Once roots grow about an inch long, transfer the cabbage to soil for stronger growth.
Planting In Soil
Choose a small pot or garden area with good drainage. Fill it with nutrient-rich soil. Plant the cabbage base with the cut side up, burying about 1 inch into the soil. Water gently to keep the soil moist but not soggy. Place the pot in a sunny spot with indirect sunlight. New leaves should start growing within a week. Keep soil moist and watch your cabbage scrap turn into a new plant.
Credit: www.gardenary.com
Caring For Your Regrowing Cabbage
Place the cabbage base in water and change it every few days to keep it fresh. Watch new leaves grow and transfer to soil once roots develop. Keep the plant in sunlight and water regularly for healthy growth.
Caring for your regrowing cabbage can be an incredibly rewarding experience. With some attention and a little patience, you can transform those kitchen scraps into a thriving plant. Let's dive into how you can nurture your cabbage to ensure healthy growth.
Light And Temperature Needs
Cabbage thrives in cooler temperatures, ideally between 60-70°F. Position your regrowing cabbage near a window where it can receive full sunlight for at least six hours a day. If natural sunlight is limited, consider using a grow light to supplement its light needs.
Watering Tips
Keep the soil consistently moist but not waterlogged. Check the top inch of soil; if it feels dry to the touch, it’s time to water. Use a spray bottle for even distribution, ensuring the water reaches the roots without overwhelming the plant.
Fertilizing Options
Your regrowing cabbage will benefit from a little nutrient boost. A simple homemade fertilizer, like diluted compost tea, can provide essential nutrients. Consider feeding your cabbage every two weeks to encourage robust growth, but be cautious not to over-fertilize, as this can harm the plant. By understanding these basic care needs, you're setting your regrowing cabbage up for success. Have you ever noticed how a little extra attention can make all the difference in your plants' growth?
Troubleshooting Common Issues
Growing cabbage from kitchen scraps is rewarding but comes with challenges. Common issues can slow growth or damage plants. Spotting problems early helps keep your cabbage healthy. Troubleshooting these issues ensures better results and a stronger harvest.
Dealing With Mold And Rot
Mold and rot often appear due to excess moisture. Avoid waterlogged soil by watering lightly. Ensure good air circulation around the cabbage scraps. Remove any slimy or discolored parts immediately. Use a clean container or pot to prevent contamination. Dry the cabbage base before planting to reduce mold risk.
Pest Prevention
Pests like aphids and caterpillars can harm young cabbage plants. Check leaves regularly for small insects or holes. Use natural pest deterrents such as neem oil or insecticidal soap. Introduce beneficial insects like ladybugs to control pests naturally. Keep the growing area clean and free from debris. Avoid overcrowding to reduce pest attraction.
Encouraging Strong Growth
Healthy growth needs enough light, water, and nutrients. Place cabbage scraps in a sunny spot for at least six hours daily. Water consistently but do not overwater. Use a balanced, diluted fertilizer to support growth. Thin seedlings if they become crowded to give space. Rotate planting locations to avoid soil depletion and disease.
Credit: www.gardenary.com
Harvesting Your Homegrown Cabbage
Harvesting your homegrown cabbage is the exciting moment when all your patience and care pay off. Knowing exactly when and how to pick your cabbage ensures the best flavor and texture. It also helps you avoid waste and encourages healthy regrowth if you plan to grow again.
Signs Of Readiness
Look for a firm, dense head that feels solid when gently squeezed. If the cabbage feels loose or soft, it needs more time to mature.
The outer leaves should be a vibrant green without yellowing or wilting. Check the size too—most cabbage varieties are ready when the head is about 4 to 8 inches in diameter.
Curious if your cabbage is ripe? Try pressing the head lightly; if it resists pressure and doesn’t give in easily, it’s time to harvest.
Best Harvesting Practices
- Use a sharp knife or garden shears to cut the cabbage head at the base, leaving some outer leaves on the plant for protection.
- Cut close to the stem but avoid damaging the surrounding leaves or the roots.
- Harvest in the morning when the cabbage is crisp and full of moisture for the best taste and shelf life.
After harvesting, remove any damaged or yellow leaves before storing your cabbage in a cool, humid place. This simple step can extend freshness by several weeks.
Have you ever noticed how harvesting at the right time makes a difference in taste? Your kitchen scraps can turn into a delicious and rewarding vegetable with just a little attention to these details.
Benefits Of Growing Cabbage From Scraps
Growing cabbage from kitchen scraps offers more than just a fun gardening experiment. It brings several practical benefits that can enhance your lifestyle and your garden’s health. Understanding these advantages might just inspire you to start regrowing your own cabbage at home.
Cost Savings
Using cabbage scraps to grow new plants cuts down your grocery bills. Instead of buying new seedlings or seeds, you reuse parts of vegetables you’d usually throw away. Over time, these small savings add up, especially if you grow multiple vegetables from scraps.
Think about how many times you toss the cabbage core after a meal. If you regrow it, you get fresh cabbage leaves without extra cost. Does saving money while gardening sound like a win to you?
Environmental Impact
Regrowing cabbage from scraps reduces food waste, which is a major environmental issue. Less waste means less trash in landfills and lower methane emissions, which harm the planet. Growing your own veggies also cuts down on packaging waste and transportation emissions tied to store-bought produce.
By turning scraps into plants, you create a mini cycle that supports the environment. Have you considered how your kitchen scraps could make a positive difference outside your home?
Enjoying Fresh Produce
Freshly grown cabbage tastes different from store-bought ones. When you grow it yourself, you can harvest leaves at their peak freshness. This freshness translates into better flavor and higher nutrient content.
Plus, growing cabbage scraps lets you experiment with gardening without needing a big space or fancy tools. You get to enjoy the satisfaction of eating something you nurtured from a simple piece of vegetable. How rewarding would it feel to bite into cabbage you grew from your kitchen leftovers?
:strip_icc()/bhg-cutting-lettuce-end_2ZRev9wCagGAGiHwW9Eef1-a66ffed870644628bb06a480ae4eb419.jpg)
Credit: www.bhg.com
Frequently Asked Questions
How Do I Regrow Cabbage From Kitchen Scraps?
Place the cabbage base in a shallow dish with water. Keep it in indirect sunlight. Change water every 2 days. New leaves will sprout within a week.
Can I Grow Cabbage Indoors From Scraps?
Yes, you can grow cabbage indoors. Use a pot with well-draining soil. Provide 6 hours of sunlight daily. Maintain moderate temperature and water regularly.
How Long Does Cabbage Take To Regrow From Scraps?
Cabbage takes about 2 to 4 weeks to regrow leaves. Full maturity for harvest can take 2 to 3 months depending on conditions.
What Is The Best Way To Care For Regrowing Cabbage?
Keep the soil moist but not soggy. Provide indirect sunlight for healthy growth. Avoid overwatering and watch for pests regularly.
Conclusion
Growing cabbage from kitchen scraps saves money and reduces waste. It takes just a few steps to start your own little garden. Watch your cabbage grow by giving it water and sunlight. This simple process brings fresh vegetables right to your home.
Anyone can try this, even without a big garden space. Enjoy the fun and satisfaction of growing food yourself. Give it a try and see how easy it can be!