
Are you ready to give your kitchen a fresh, stylish upgrade? Installing an apron kitchen sink can instantly add charm and function to your space.
But if the idea of tackling this project feels overwhelming, don’t worry—you’re in the right place. In this guide, you’ll find simple, step-by-step instructions that make the process clear and doable, even if you’re not a pro. By the end, you’ll know exactly how to install your new sink with confidence and ease.
Keep reading, and get ready to transform your kitchen!

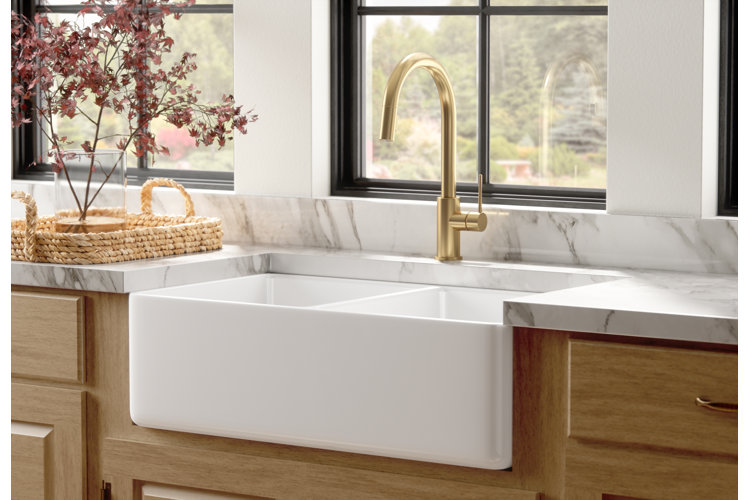
Credit: lovinghere.com
Tools And Materials Needed
Getting your apron kitchen sink installed right starts with having the right tools and materials at hand. Skipping this step can slow you down or even cause mistakes. Make sure you’re fully prepared before you begin to keep the process smooth and efficient.
Essential Tools For Installation
- Adjustable wrench:To tighten plumbing connections without damaging them.
- Pipe wrench:Useful for gripping and turning pipes securely.
- Drill and drill bits:Needed for making holes in the countertop or cabinet if required.
- Jigsaw or hole saw:For cutting the sink opening precisely if your countertop isn’t pre-cut.
- Screwdriver set:To secure mounting clips and hardware.
- Caulking gun:For applying sealant to prevent leaks and water damage.
- Measuring tape:To ensure proper placement and alignment of the sink.
- Level:To keep your sink perfectly horizontal during installation.
- Bucket and towels:To catch water spills and clean up as you work.
Materials You’ll Need
- Apron kitchen sink:Choose the right size and style for your space.
- Sink mounting clips:Usually included, but check to avoid surprises.
- Plumber’s putty or silicone sealant:To create a watertight seal around the sink edges.
- Supply lines:Flexible hoses to connect the faucet to your water supply.
- Drain assembly kit:Includes the drain, tailpiece, and necessary gaskets.
- Plumber’s tape (Teflon tape):To wrap threaded connections and prevent leaks.
Why Gathering Everything First Saves Time
I once started installing a sink without checking if I had the right mounting clips. Midway, I had to pause the entire project to run to the hardware store. It added hours to the job and broke my focus.
Have you ever been halfway through a project only to realize you’re missing a key tool? That frustration is avoidable. When you collect all your tools and materials upfront, you stay in control and finish faster.
Preparing The Sink Area
Preparing the sink area is a crucial step before installing your apron kitchen sink. Taking the time to carefully clear out and measure this space ensures a smooth installation process. It also helps you avoid common pitfalls like misaligned fittings or unexpected damage to your countertop.
Remove Old Sink
Start by turning off the water supply to avoid any leaks. Disconnect the plumbing fixtures carefully, loosening the nuts under the sink with a wrench. As you remove the old sink, watch for any signs of mold or water damage that might need attention before you install the new one.
Removing the old sink can be a bit tricky if it’s sealed tightly with caulk or adhesive. Use a utility knife to cut through these seals gently. Don’t rush—damaging your countertop can add time and cost to your project.
Clean And Measure Space
Once the old sink is out, clean the area thoroughly. Remove any leftover caulk, dirt, or debris that could affect the new sink’s fit and seal. A clean surface helps you spot any imperfections that need fixing.
Accurate measurements are key here. Measure the length, width, and depth of the sink opening carefully. Check the thickness of your countertop and the placement of plumbing fixtures. Have you double-checked these numbers? Even a slight miscalculation can cause installation headaches later on.
Taking these preparation steps seriously saves time and frustration. You want your apron sink to fit perfectly and look great, right from the start.
Installing The Faucet And Drain
Installing the faucet and drain is a key part of setting up an apron kitchen sink. These parts control water flow and drainage, so proper installation ensures smooth operation. Taking time to install them correctly will prevent leaks and water damage.
Start by preparing the sink and workspace. Make sure all parts are clean and within reach. Follow product instructions for your specific faucet and drain type. Tight connections and proper seals are essential for long-term use.
Preparing The Faucet For Installation
Check the faucet parts for damage. Remove any packaging and protective covers. Attach the mounting hardware to the faucet base as instructed. If your faucet has a spray hose or side sprayer, connect it now.
Insert the faucet into the sink holes carefully. Align it straight for a neat look. Secure the faucet underneath with mounting nuts. Tighten them by hand first, then use a wrench gently. Avoid overtightening to prevent damage.
Connecting Water Supply Lines
Attach the hot and cold water supply lines to the faucet. Use plumber’s tape on threaded connections for a tight seal. Connect supply lines to shutoff valves under the sink. Hand tighten connections, then use a wrench for a snug fit.
Turn on the water valves slowly. Check for leaks around connections. Tighten any loose fittings if needed. Leave the water running briefly to clear air from lines.
Installing The Drain Assembly
Remove the drain flange from the drain body. Apply plumber’s putty around the flange underside. Press the flange firmly into the drain hole from above. Place the rubber gasket and mounting nut under the sink.
Tighten the mounting nut by hand, then with a wrench. Wipe away excess putty that squeezes out. Attach the tailpiece to the drain body. Connect the tailpiece to the P-trap pipe using slip nuts. Tighten all connections securely.
Testing For Leaks And Functionality
Fill the sink with water and release it quickly. Watch for leaks under the sink around the drain and supply lines. Check faucet handles for smooth water flow. Tighten any loose parts immediately.
Make sure the drain clears water quickly. Fix slow drainage by checking the P-trap for clogs. Proper faucet and drain installation keeps your kitchen sink working well.
Positioning The Apron Sink
Positioning your apron kitchen sink correctly is crucial for both its look and function. You want it to sit perfectly aligned with your countertop and cabinets, creating a seamless flow. Poor positioning can lead to leaks, uneven surfaces, or even damage over time.
Aligning The Sink
Start by placing the sink into the cutout to check the fit. Ensure the front apron is flush with the cabinet face or slightly overlapping, depending on your design. Use a level to verify the sink sits evenly from side to side and front to back.
If the sink tilts or gaps appear, adjust the position by adding thin shims underneath. These small tweaks make a big difference in the final stability and appearance. Ask yourself, is the sink perfectly centered and balanced before moving forward?
Securing The Sink
Once aligned, you need to secure the sink firmly to prevent movement. Most apron sinks come with mounting clips—attach these underneath the countertop and tighten them gradually. Avoid overtightening, which can crack the sink or damage the countertop.
Double-check that the apron remains flush with your cabinets as you tighten the clips. You can also apply a bead of silicone sealant along the edges where the sink meets the countertop to ensure a water-tight seal. Have you tested the sink’s stability by gently pushing on it from different angles?
Connecting Plumbing
Installing an apron kitchen sink requires careful alignment and secure plumbing connections. Ensure the sink fits well, seal edges properly, and connect water lines tightly for leak-free use. Proper support under the sink prevents damage and keeps it stable.
Connecting plumbing for your apron kitchen sink is a crucial step that ensures everything functions smoothly and efficiently. Think of it as the backbone of your kitchen's functionality. With some careful attention and a little patience, you can complete this task confidently.
Attach Water Supply Lines
Begin by turning off the water supply. This simple yet essential step prevents any unwanted surprises, like water gushing out unexpectedly. Once the water is off, connect the flexible water supply lines to the faucet. Make sure the connections are snug to avoid leaks. A wrench can help tighten them, but be careful not to overtighten as this could damage the fittings. Hand-tightening followed by a quarter turn with the wrench is usually enough.
Install Drain Pipes
Align the drain pipes underneath the sink, ensuring they fit snugly into the drain opening. This part might seem tricky, but a little patience goes a long way. Use plumber's putty to create a watertight seal around the drain. Next, connect the P-trap. This U-shaped pipe is essential because it prevents sewer gases from entering your kitchen. As you tighten the connections, check for alignment and make sure everything is secure. Remember, double-checking your work can save you from future headaches. Does everything look aligned and tight? If yes, you’re ready to turn the water back on and enjoy your new apron kitchen sink!

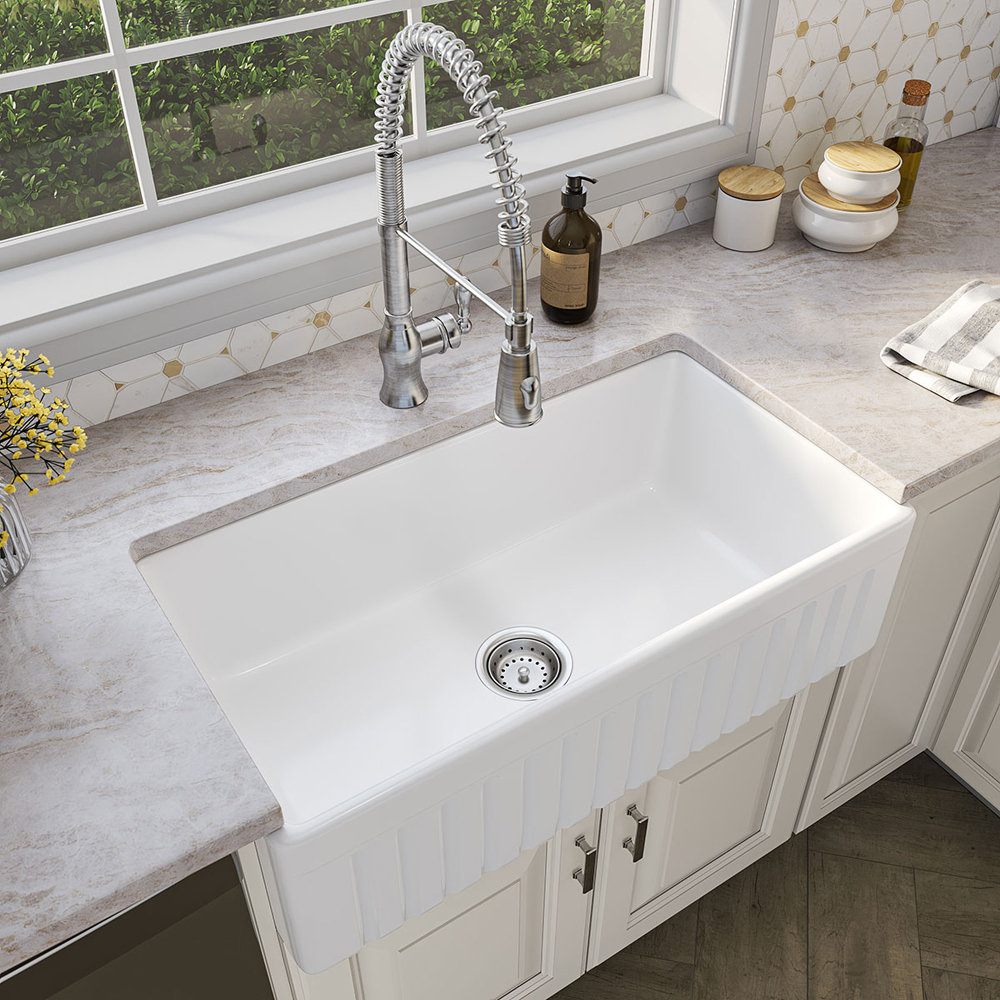
Credit: thesinkboutique.com
Sealing And Finishing Touches
Sealing and finishing touches are crucial to ensure your apron kitchen sink stays secure and leak-free. This step not only protects your countertop and cabinetry but also gives your sink installation a polished look. Taking your time here prevents future headaches and keeps everything functioning smoothly.
Apply Sealant
Start by choosing a high-quality silicone sealant designed for kitchen use. Apply a continuous bead of sealant around the edge where the sink meets the countertop. Use a wet finger or a caulk tool to smooth the bead, creating a neat, even seal that fills any gaps.
Don't rush this part—uneven or insufficient sealant can cause water to seep under the sink, damaging your cabinetry over time. If you have a backsplash, apply sealant along the seam where the sink meets the wall for extra protection. Remember, the goal is to create a watertight barrier without excess mess.
Check For Leaks
Once the sealant has cured, it’s time to test your work. Turn on the water and let it run through the faucet and drain. Watch carefully underneath for any signs of drips or moisture.
If you spot leaks, don’t panic. Tighten any loose connections and add more sealant where needed. Sometimes, a small adjustment is all it takes to fix the issue. Would you rather catch leaks now than deal with water damage later?
Tips For Maintenance
Maintaining your apron kitchen sink properly ensures it stays beautiful and functional for years. Simple care routines can prevent common issues like stains, scratches, and buildup. Let’s look at easy tips that keep your sink looking fresh and working smoothly.
Regular Cleaning With Gentle Products
Use mild dish soap and warm water for daily cleaning. Avoid harsh chemicals or abrasive pads that can damage the sink’s finish. A soft sponge or cloth works best to wipe down the surface without scratching it.
Have you noticed how stubborn stains appear quickly if you skip cleaning? Regular wiping helps prevent this and keeps your sink shiny.
Preventing And Removing Stains
To stop stains from setting, rinse your sink after every use, especially after handling acidic foods like tomatoes or citrus. For tougher stains, a paste of baking soda and water works wonders.
Apply the paste gently, let it sit for a few minutes, then rinse thoroughly. This method avoids harsh chemicals and keeps your sink’s finish intact.
Protecting Against Scratches And Dents
Place a protective grid or mat at the bottom of your sink to shield it from heavy pots or sharp utensils. Even durable materials can get scratched if you’re not careful.
Think about how often you drop something hard in your sink. Taking this simple precaution saves you from unexpected damage.
Dealing With Hard Water Deposits
Hard water can leave mineral deposits that dull your sink’s surface. Use a mixture of equal parts white vinegar and water to wipe these away gently.
Don’t soak the sink in vinegar for too long; a quick wipe followed by rinsing is enough to keep deposits under control.
Checking And Maintaining Seals
Inspect the seal around your apron sink regularly for cracks or leaks. A compromised seal can lead to water damage under the countertop.
If you spot any issues, reseal promptly with a high-quality silicone caulk designed for kitchen use. This small step protects your investment from costly repairs.
Credit: www.msisurfaces.com
Frequently Asked Questions
What Tools Are Needed To Install An Apron Kitchen Sink?
You need a jigsaw, drill, plumber’s putty, adjustable wrench, screwdriver, and silicone sealant. These tools help cut, secure, and seal the sink properly.
How Do You Prepare The Countertop For An Apron Sink?
Measure and mark the cutout area accurately. Cut the countertop using a jigsaw and smooth edges. Ensure a snug fit for the sink.
Can I Install An Apron Sink Myself?
Yes, with basic plumbing and DIY skills, you can install it. Follow instructions carefully and take safety precautions to avoid leaks or damage.
How Long Does Apron Kitchen Sink Installation Take?
Installation usually takes 2 to 4 hours depending on experience. Complex plumbing or countertop modifications may increase the time required.
Conclusion
Installing an apron kitchen sink can update your kitchen’s look. Follow each step carefully for best results. Take your time to measure and fit the sink correctly. Use proper tools to avoid damage and leaks. A well-installed sink lasts longer and works better.
Enjoy the new style and functionality in your kitchen. Keep maintenance simple by cleaning the sink regularly. Ready to try your own apron sink installation? You can do it with patience and care.