

Are you ready to upgrade your kitchen with a brand-new Kitchen Aid dishwasher? Installing it yourself might sound tricky, but with the right steps, you can do it smoothly and save money.
Imagine how satisfying it will be to enjoy sparkling clean dishes without the hassle. In this guide, you’ll find simple, clear instructions that anyone can follow. By the end, you’ll have your dishwasher ready to use, making your daily chores easier and faster.
Keep reading to discover exactly how to install your Kitchen Aid dishwasher with confidence and ease.

Credit: device.report
Tools And Materials Needed
Installing a Kitchen Aid dishwasher requires specific tools and materials. Having everything ready makes the process smooth and quick. Missing an item can cause delays or mistakes. Prepare all tools and parts before starting the installation.
Essential Tools For Installation
- Adjustable wrench
- Screwdrivers (flathead and Phillips)
- Drill with drill bits
- Level
- Measuring tape
- Wire stripper
- Bucket or small container for water
- Utility knife
- Pliers
Materials Needed For Kitchen Aid Dishwasher
- Dishwasher installation kit (includes drain hose, power cord, and fittings)
- Water supply line
- Teflon tape
- Wire nuts
- Dishwasher mounting brackets
- Silicone sealant (optional for waterproofing)
Safety Equipment And Accessories
- Work gloves to protect your hands
- Safety glasses to protect eyes
- Flashlight for better visibility under the sink
- Rag or towel to clean spills
Preparing The Installation Area
Preparing the installation area is a key step before setting up your Kitchen Aid dishwasher. A clean, organized space makes the process smooth and safe. Checking plumbing and electrical connections ensures the dishwasher will work properly without issues. Take time to prepare well and avoid delays during installation.
Clearing The Space
Remove any items near the dishwasher location. Clear cabinets, floor space, and counters around the area. This prevents damage and gives you room to work. Make sure the area is clean and dry. Check that the dishwasher opening matches the size of the new appliance. Measure width, height, and depth for a perfect fit.
Checking Plumbing And Electrical Connections
Verify that water supply lines are ready and leak-free. The dishwasher needs a cold water connection with good water pressure. Ensure the drain hose is in place and connected to the sink drain or garbage disposal. Check the electrical outlet near the dishwasher spot. It should match the dishwasher’s power needs and be grounded correctly. Confirm circuit breakers are off before starting any work. This keeps you safe during installation.
Removing The Old Dishwasher
Removing the old dishwasher is an important step before installing your new Kitchen Aid model. You need to ensure all connections are safely disconnected. Careful removal prevents damage to your kitchen and plumbing. Follow these steps to take out the old unit properly.
Disconnecting Power And Water
Start by turning off the dishwasher’s power supply. Locate the circuit breaker and switch it off. Confirm the power is off by trying to turn the dishwasher on.
Next, shut off the water supply. Find the water valve under the sink and close it completely. This stops water flow and prevents leaks during removal.
Disconnect the power cable from the dishwasher. Also, detach the water line carefully. Use a towel to catch any water left in the hose.
Taking Out The Old Unit
Remove the screws holding the dishwasher to the cabinet. Use a screwdriver to loosen them gently. Pull the dishwasher forward slowly.
Watch the water and drain lines as you pull it out. Disconnect these lines from the dishwasher once accessible.
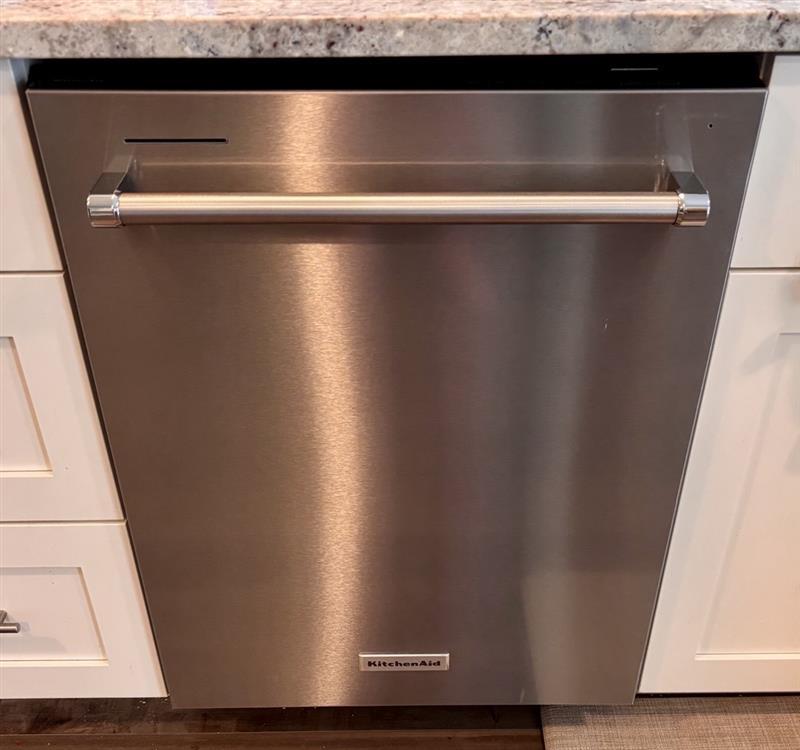
Lift the dishwasher out of the space carefully. Ask for help if the unit is heavy. Set the old dishwasher aside for recycling or disposal.
Credit: www.kitchenaid.com
Setting Up The New Dishwasher
Begin by turning off the power and water supply to the dishwasher area. Connect the water line, drain hose, and electrical wiring securely before sliding the Kitchen Aid dishwasher into place. Tighten all connections and test the appliance for leaks and proper operation.
Setting up your new KitchenAid dishwasher can feel like a significant task, but breaking it down into simple steps makes it manageable. Think of it as assembling a puzzle, where each piece has its place. You’ll need some basic tools, a bit of patience, and a willingness to learn. Once you have everything you need, let's dive into the key tasks required to get your dishwasher up and running smoothly.
Attaching The Mounting Brackets
First, locate the mounting brackets in your dishwasher package. These are essential for securing the dishwasher to your countertop or cabinet. Position the brackets on top of the dishwasher, aligning them with the pre-drilled holes. Use the screws provided to attach the brackets firmly. This step is crucial because it prevents the dishwasher from tipping or shifting during use. Imagine the peace of mind knowing your appliance is securely in place!
Connecting Water Supply
Locate the water supply line, which is usually under your sink, and ensure it's turned off before proceeding. Attach the water line to the dishwasher's intake valve. Use an adjustable wrench to tighten the connection, ensuring no leaks will occur. Test the connection by turning the water supply back on and checking for any drips. A snug fit ensures your dishwasher has a steady flow of water, essential for washing dishes effectively.
Wiring The Electrical Connections
Safety first—make sure the power is turned off at the circuit breaker before you begin wiring. Locate the electrical junction box on your dishwasher. Connect the wires according to the color-coded instructions, usually matching black to black and white to white. Secure the connections with wire nuts and ensure all wires are tucked safely inside the junction box. Power up the circuit to test your connections; a correctly wired dishwasher is safe and ready to use. Isn't it fascinating how these small yet critical tasks lead to a fully functioning appliance? With each step, you're ensuring your KitchenAid dishwasher will serve you efficiently for years to come. Don't you feel empowered knowing you’ve installed it yourself?
Positioning And Securing The Dishwasher
Positioning and securing your Kitchen Aid dishwasher correctly is crucial to ensure it operates smoothly and lasts longer. A poorly positioned dishwasher can cause leaks, noise, or even damage to your cabinetry. Taking the time to slide it in carefully, level it perfectly, and secure it firmly will save you headaches down the line.
Sliding The Dishwasher Into Place
Before sliding the dishwasher into the cabinet opening, double-check that all connections like water supply and drain hoses are ready and won't get kinked. Gently push the dishwasher straight back into the space, keeping it aligned with the cabinet edges.
Have you noticed how easily a dishwasher can shift if you push it at an angle? Keep it straight to avoid damaging the floor or the appliance itself.
Stop sliding when the dishwasher front is nearly flush with the cabinet face. This position allows for easier adjustments during leveling.
Leveling The Unit
Use a spirit level on the top and side edges of the dishwasher to check for evenness. Uneven installation can cause improper door sealing and drainage issues.
Adjust the leveling legs at the front and back by turning them clockwise or counterclockwise. Small tweaks can make a big difference here.
Ask yourself: Is the dishwasher perfectly horizontal and stable? If not, keep adjusting until it doesn’t rock or tilt.
Securing To The Cabinet
Once leveled, secure the dishwasher to the cabinet to prevent movement during operation. Use the mounting brackets provided with your Kitchen Aid model.
Attach brackets to the dishwasher’s sides or top, then screw them firmly into the cabinet frame. This step ensures your dishwasher stays put, even during heavy cycles.
Don’t skip this part—securing your dishwasher can prevent noise and reduce wear on connections, making your appliance last longer.
Testing The Installation
Testing the installation of your Kitchen Aid dishwasher is crucial. It confirms the appliance works correctly and there are no leaks. This step saves you from future damage and extra repairs. Follow these checks carefully for a smooth start.
Running A Test Cycle
Begin by closing the dishwasher door securely. Select a normal wash cycle to start. Listen closely to the sounds during operation. The dishwasher should run quietly and without interruption. Watch for water entering the tub through the spray arms. This shows the water supply is connected properly.
Allow the cycle to complete fully. This ensures all functions, like washing and draining, perform well. Interrupting the cycle might miss hidden issues.
Checking For Leaks And Proper Operation
After the cycle ends, open the dishwasher door slowly. Look around the base and under the unit for water puddles. Check the water supply and drain hose connections. Tighten any loose fittings to stop leaks.
Feel the door gasket to confirm it seals tightly. A loose gasket can cause water to drip outside. Also, test the dishwasher controls to verify they respond correctly. Proper operation means your installation is successful and ready for daily use.
Troubleshooting Common Issues
Troubleshooting common issues helps keep your Kitchen Aid dishwasher running smoothly. Problems can stop your dishwasher from working properly. Fixing small issues saves time and money. Understanding simple solutions makes the process easier.
Most problems come from simple causes. Checking these can restore your dishwasher’s function quickly. Use these tips to identify and solve common problems.
Checking Water Supply Problems
Dishwashers need a steady water supply to work well. Make sure the water valve is open. Look for kinks in the water hose. Clean the water inlet filter if it is dirty. Low water pressure can cause poor cleaning.
Fixing Drainage Issues
Water not draining can cause leaks or odors. Clear food debris from the drain area. Check the drain hose for clogs or bends. Make sure the drain pump works without noise. A blocked drain can stop the dishwasher from emptying.
Dealing With Door Lock Failures
The dishwasher won’t start if the door doesn’t lock. Clean the latch to remove dirt or grease. Inspect the door seal for damage. Replace broken door locks to ensure safety. A secure door lock helps the dishwasher run safely.
Resolving Spray Arm Problems
Spray arms must spin freely to clean dishes well. Remove and clean spray arms to clear blockages. Check for cracked or broken spray arms. Proper water flow depends on clean spray holes. Blocked spray arms reduce cleaning power.
Addressing Error Codes
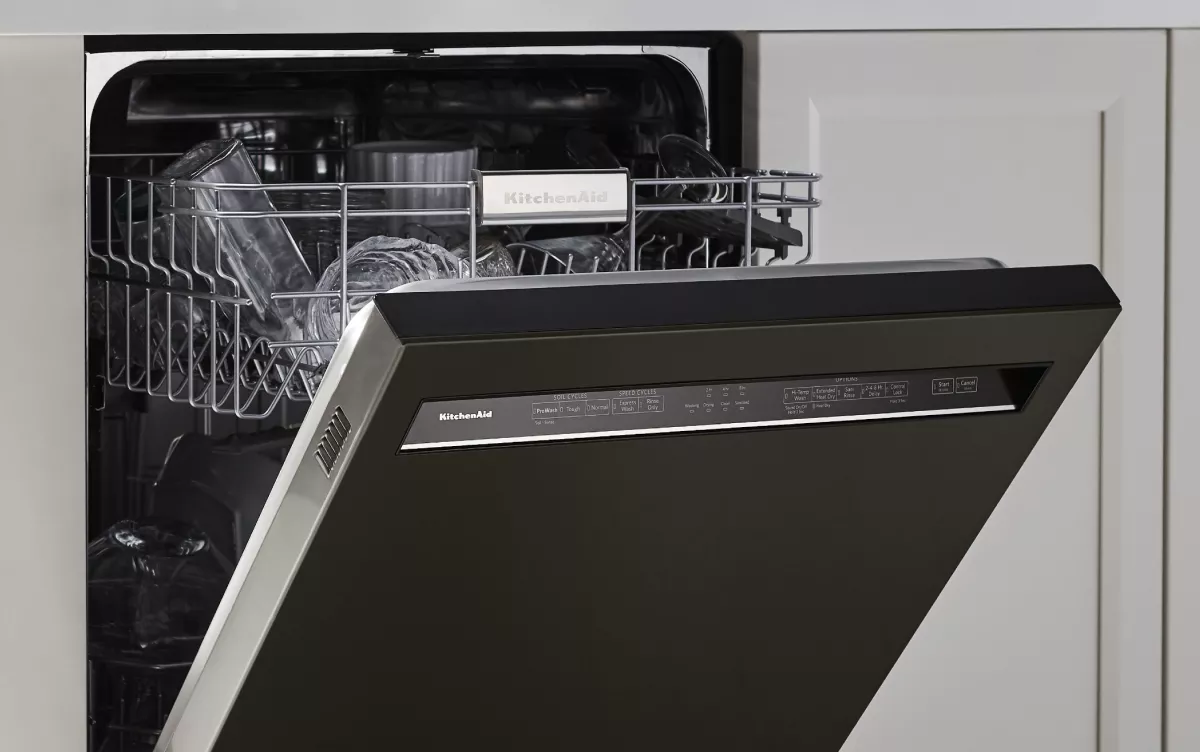
Kitchen Aid dishwashers show error codes for issues. Refer to the user manual for code meanings. Reset the dishwasher by turning it off and on. Call customer support if errors persist. Error codes help diagnose specific problems quickly.
Credit: www.kitchenaid.com
Frequently Asked Questions
How Do I Prepare My Kitchen For A Kitchen Aid Dishwasher?
Clear the installation area and remove old appliances. Ensure proper plumbing and electrical connections are ready. Measure space carefully for a perfect fit. Turn off water and power before starting installation. This preparation speeds up the process and avoids errors.
What Tools Are Needed To Install Kitchen Aid Dishwasher?
You need a screwdriver, adjustable wrench, pliers, and a drill. Also, have a level, tape measure, and wire stripper handy. These tools help connect plumbing, electrical wiring, and secure the dishwasher properly. Having the right tools ensures a smooth installation.
How Long Does It Take To Install A Kitchen Aid Dishwasher?
Installation usually takes 1 to 2 hours for most homeowners. Professionals may finish faster, around 45 minutes to 1 hour. Time depends on existing connections and experience level. Proper preparation helps reduce installation time significantly.
Can I Install A Kitchen Aid Dishwasher Myself Safely?
Yes, if you follow instructions carefully and turn off water and power. Basic plumbing and electrical skills are needed. Always consult the manual and local codes. When unsure, hire a professional to avoid damage or injury.
Conclusion
Installing a Kitchen Aid dishwasher is simple with clear steps. Follow each part carefully for the best results. Take your time to connect water and power safely. Test the dishwasher to ensure it works well. Enjoy a cleaner kitchen and save time.
This guide helps you install without stress. Now, you can handle the task confidently.