
Are you tired of messy soap bottles cluttering your kitchen sink? Installing a kitchen soap dispenser can make your countertop look neat and keep your soap within easy reach.
But you might wonder, “Is it hard to install one myself? ” The good news is—it’s easier than you think! In this guide, you’ll discover simple steps to install a kitchen soap dispenser quickly and without hassle. By the end, you’ll enjoy a cleaner, more organized kitchen that saves you time and effort every day.
Keep reading to find out how you can do it yourself!
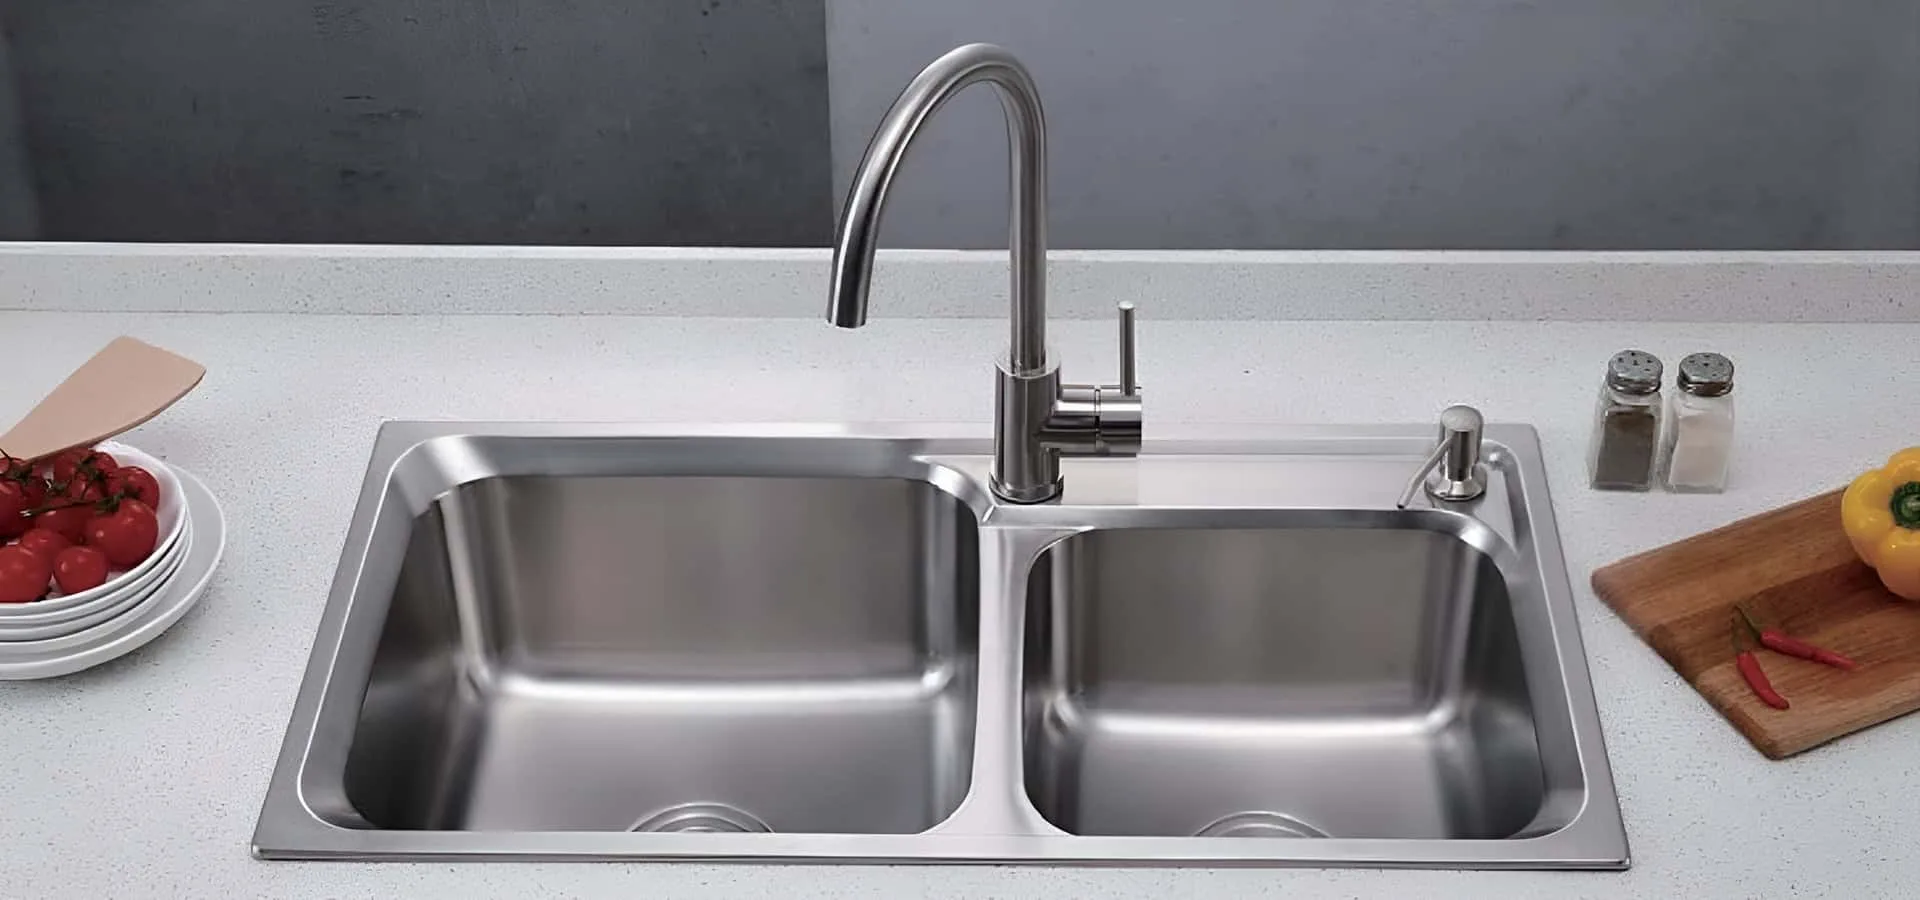
Credit: www.homedepot.com
Choose The Right Soap Dispenser
Choosing the right kitchen soap dispenser is key to a smooth installation. It affects how your kitchen looks and works every day. A good dispenser matches your sink, fits your space, and holds enough soap. This choice saves time and keeps your kitchen neat and clean.
Types Of Kitchen Soap Dispensers
- Built-in Dispensers:Installed through the sink or countertop. They save space and look neat.
- Countertop Dispensers:Sit on the counter. Easy to move and refill but take up space.
- Wall-mounted Dispensers:Fixed on the wall near the sink. Keep counters free and are easy to reach.
Materials And Finishes
- Stainless Steel:Durable and resists rust. Matches most kitchen styles.
- Plastic:Lightweight and affordable. Comes in many colors but may wear faster.
- Chrome:Shiny and modern. Easy to clean but can show fingerprints.
- Brushed Nickel:Soft, matte finish. Hides fingerprints and water spots well.
Size And Capacity Considerations
Choose a size that fits your kitchen space and soap needs. Small dispensers suit light use and tight spaces. Larger tanks need fewer refills and fit busy kitchens. Measure your sink area to ensure a perfect fit. Consider how often you want to refill the dispenser.

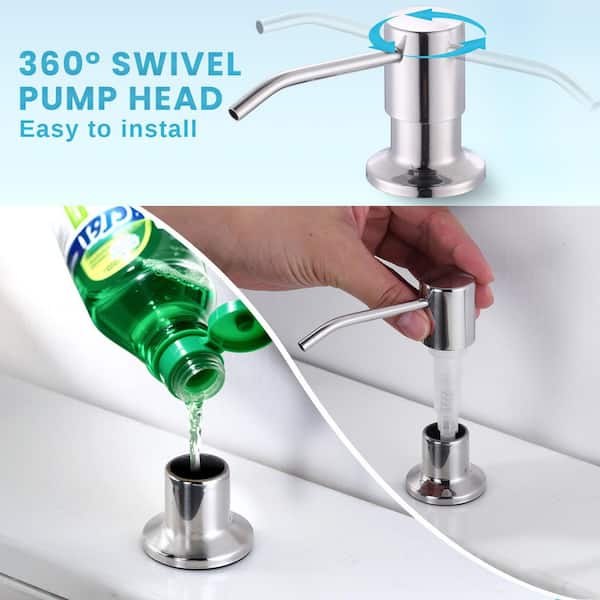
Credit: poormankitchen.com
Gather Necessary Tools And Materials
Gathering the right tools and materials makes installing a kitchen soap dispenser easier. Prepare everything before starting to avoid delays. Having the correct items ensures the installation goes smoothly.
Tools Required
- Adjustable wrench for tightening nuts
- Phillips screwdriver to secure screws
- Drill with a hole saw bit for creating a hole
- Measuring tape to check dimensions
- Utility knife for trimming edges
- Plumber’s putty to seal gaps
Additional Supplies
- Soap dispenser kit including pump and bottle
- Silicone sealant for waterproofing
- Cleaning cloth to wipe surfaces
- Teflon tape to prevent leaks
- Bucket to catch any water drips
Prepare The Installation Area
Clear the countertop and remove any items near the sink area. Wipe the surface clean to ensure a smooth installation process. Measure the sink hole to confirm it fits the soap dispenser size.
Preparing the installation area is a crucial first step in setting up your kitchen soap dispenser. This ensures a smooth installation process and a perfect fit. By carefully selecting the location and checking compatibility, you enhance functionality and aesthetics. Let’s dive into the key steps for preparing the installation area.
Select The Installation Spot
Choose a convenient spot near your kitchen sink. Ensure the location is easy to reach while washing dishes. Consider the space under the sink for the dispenser’s bottle. Avoid areas with obstacles like pipes or garbage disposals. A thoughtful choice makes usage hassle-free.
Clear And Clean The Surface
Remove items around the chosen spot. This makes the area accessible for installation. Use a mild cleaner to wipe the surface. Cleaning removes dirt and ensures the adhesive or sealant sticks well. Let the area dry completely to avoid moisture issues.
Check Existing Sink Compatibility
Ensure your sink has a pre-drilled hole for the dispenser. If not, you may need to drill one. Measure the hole size to match the dispenser’s fitting. Verify the sink material; some require special tools. Proper compatibility checks prevent installation problems.
Remove Old Dispenser Or Plug
Before you can install your new kitchen soap dispenser, you need to remove the old one or any plug covering the hole. This step is crucial because leftover parts or debris can interfere with the new dispenser's fit and function. Taking time to carefully remove the old dispenser sets a solid foundation for a smooth installation process.
Turn Off Water Supply
Start by turning off the water supply to avoid any unexpected leaks. Locate the valve under your sink and twist it clockwise until it stops. If you don’t find a local shutoff valve, turn off the main water supply for your home to be safe.
This simple action prevents water damage and keeps your workspace dry. Have you ever tried to remove a dispenser with water still flowing? It’s a frustrating mess you want to avoid.
Unscrew And Remove Old Dispenser
Use a wrench or pliers to loosen the mounting nut holding the dispenser in place under the sink. Sometimes this nut can be tight or stuck from years of use, so a little patience helps. Once it’s loose, carefully pull the dispenser up and out from the top of the sink.
If you encounter a plug instead of a dispenser, simply unscrew or pry it out gently. Be mindful not to damage the sink surface during removal. Have a container nearby to catch any residual soap or water that might drip out.
Clean The Mounting Hole
After removing the old dispenser or plug, clean the mounting hole thoroughly. Wipe away any soap scum, grime, or mineral buildup with a damp cloth and mild cleaner. This ensures the new dispenser seals properly and prevents leaks.
Check the hole for any rough edges or debris that could scratch or damage your new dispenser. Taking these few extra minutes to clean up will save you hassle later. What’s one cleaning trick you use to get tough spots spotless?
Install The New Soap Dispenser
Installing a new kitchen soap dispenser is simple and saves counter space. This guide covers the key steps to set it up correctly. Follow along to make your kitchen more functional and neat.
Insert Dispenser Pump
Start by placing the dispenser pump into the hole on your sink or countertop. Push it down firmly until it fits snugly. The pump should sit straight to work properly.
Secure Dispenser Under Sink
Under the sink, find the threaded collar attached to the dispenser. Twist it clockwise to tighten and hold the pump in place. Use your hand or a wrench for a secure fit.
Attach Soap Bottle
Screw the soap bottle onto the dispenser pump below the sink. Make sure it is tight to avoid leaks. Fill the bottle with your favorite liquid soap for easy refills.
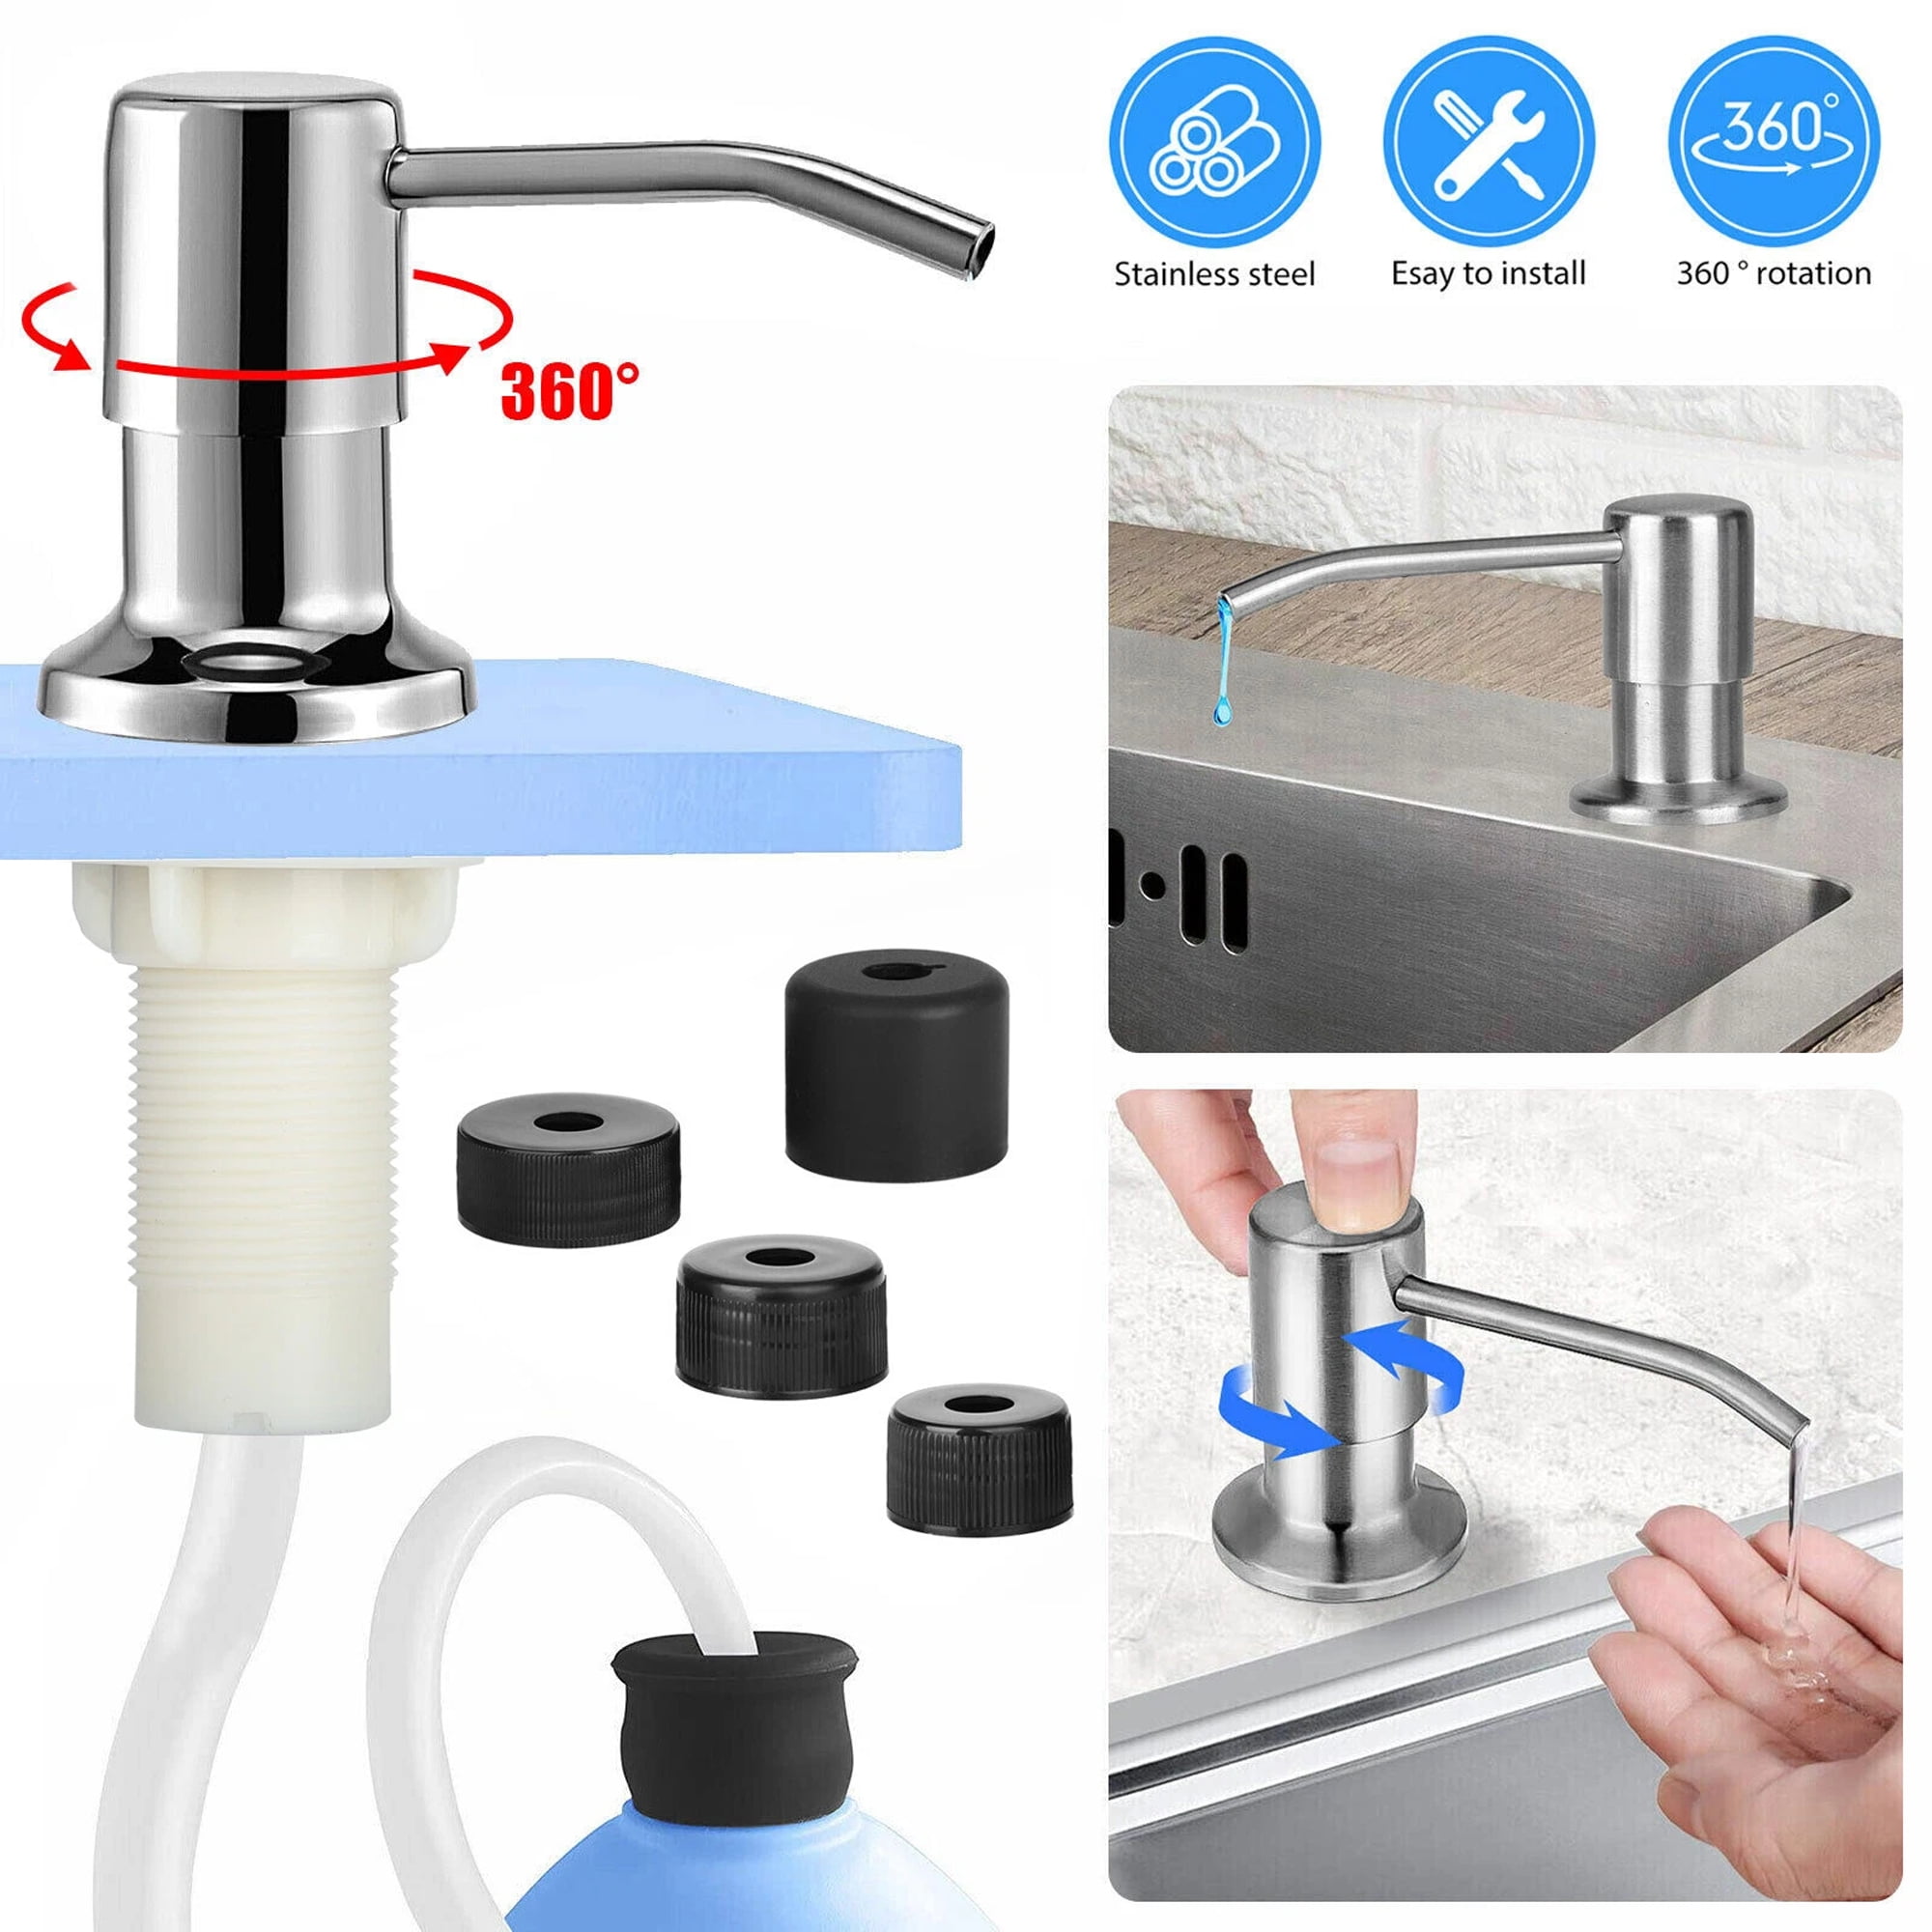
Credit: www.walmart.com
Fill And Prime The Dispenser
Filling and priming your kitchen soap dispenser is key for smooth operation. This process prepares the dispenser to deliver soap easily. Follow these steps to fill, prime, and check your dispenser properly.
Add Liquid Soap
Start by pouring liquid soap into the dispenser's reservoir. Use a funnel to avoid spills and mess. Fill the container until it is about three-quarters full. Avoid overfilling to prevent leaks or overflow.
Pump To Prime
Press the pump several times to start the soap flow. This action removes air inside the tube. Keep pumping until soap appears from the nozzle. The dispenser is now ready for use.
Check For Leaks
Inspect the dispenser and surrounding area carefully. Look for any soap drips or moisture outside the container. Tighten connections if leaks appear. Wipe away excess soap to keep the area clean.
Maintain Your Soap Dispenser
Maintaining your kitchen soap dispenser is key to keeping it working smoothly and looking great. A little care goes a long way in preventing clogs, leaks, and buildup that can turn a handy tool into a frustrating one. Regular attention helps you get the most out of your dispenser without constant repairs or replacements.
Regular Cleaning Tips
Soap dispensers can get gunky fast, especially if you use thick soap. Clean the pump head and nozzle every week by wiping them with a warm, damp cloth. This simple step stops soap from hardening and blocking the flow.
Once a month, remove the dispenser from the sink and soak it in warm water with a bit of vinegar. This helps dissolve any soap residue inside the tube. Make sure to rinse thoroughly before putting it back.
Refilling Best Practices
Refilling your soap dispenser properly avoids spills and mess. Use a funnel to pour soap into the dispenser to keep your countertop clean. Avoid overfilling; leave some space to prevent pressure buildup that can cause leaks.
Choose soaps designed for dispensers — thicker soaps or those with beads can clog the pump. If you notice resistance when pumping, the soap may be too thick or old. Have you checked your soap’s consistency lately?
Troubleshooting Common Issues
If your dispenser stops working, it’s often due to clogs or air trapped inside the pump. Try pressing the pump repeatedly to clear air bubbles. If that doesn’t work, soak the pump in warm water to loosen any dried soap.
Leaks around the base usually mean the dispenser isn’t tightened correctly or the seal is worn out. Check the connections and tighten the dispenser gently. Sometimes replacing the rubber gasket solves the problem quickly.
Frequently Asked Questions
How Do I Install A Kitchen Soap Dispenser?
To install, first drill a hole in your sink or countertop. Insert the dispenser pump and attach the bottle underneath. Secure tightly and fill with soap. Connect any tubes if required. Test the pump to ensure smooth soap flow before finalizing.
What Tools Are Needed For Installation?
You need a drill with an appropriate bit, a screwdriver, a wrench, and a measuring tape. A towel and soap bottle are also helpful. These tools will help you create the hole and secure the dispenser properly.
Can I Install A Soap Dispenser Myself?
Yes, most kitchen soap dispensers are DIY-friendly. Follow instructions carefully. Basic tools and a bit of patience are sufficient. If unsure, watch tutorial videos or consult a professional.
Where Should I Place The Soap Dispenser?
Place it near the kitchen sink for easy access. The spot should be convenient and allow enough space for soap refilling. Avoid cramped areas to ensure smooth operation.
Conclusion
Installing a kitchen soap dispenser is simple and saves space. Follow the steps carefully for a smooth setup. Choose the right spot and tools before starting. Tighten all parts to avoid leaks and spills. Test the dispenser to ensure it works well.
A well-installed soap dispenser keeps your kitchen neat. Enjoy the convenience of easy soap access every day. Maintenance is easy with regular cleaning and refills. Small projects like this improve your kitchen’s function. Give it a try—you’ll be glad you did.