
Are you tired of cluttered countertops and messy soap bottles around your kitchen sink? Installing a soap dispenser can make your space cleaner and more organized.
But maybe you’re unsure how to get started or worried it might be complicated. Don’t worry—this guide will show you exactly how to install a soap dispenser on your kitchen sink, step by step. By the end, you’ll have a sleek, convenient setup that saves you time and keeps your kitchen looking great.
Keep reading to find out how easy it really is!
Tools And Materials Needed
Before you start installing your soap dispenser on the kitchen sink, gathering the right tools and materials is crucial. Having everything ready saves time and reduces frustration. It also helps you avoid unnecessary trips to the hardware store.
Essential Tools For Installation
- Adjustable Wrench:This helps tighten or loosen nuts and bolts under the sink.
- Phillips and Flathead Screwdrivers:Different screws might be used in the dispenser assembly.
- Measuring Tape:To check the diameter of the hole and the length of hoses.
- Utility Knife:Useful for trimming any excess tubing or cutting sealants.
- Bucket or Bowl:To catch any water drips during removal or installation.
Materials Needed For A Smooth Setup
- Soap Dispenser Kit:Includes the pump, soap container, and connecting hoses.
- Plumber’s Putty or Silicone Sealant:This seals the dispenser base to your sink and prevents leaks.
- Mounting Nut and Washer:Usually come with the dispenser but double-check before starting.
- Teflon Tape:Helps create a watertight seal on threaded connections.
Why Having The Right Tools Matters
Have you ever started a project only to stop midway because a specific tool was missing? It’s more common than you think. I once began installing a soap dispenser without an adjustable wrench, and it turned a 15-minute task into an hour-long struggle.
Getting the right tools upfront keeps the process smooth and efficient. It also makes a difference in how secure and leak-free your installation will be. What’s the point of a quick fix if it doesn’t last?
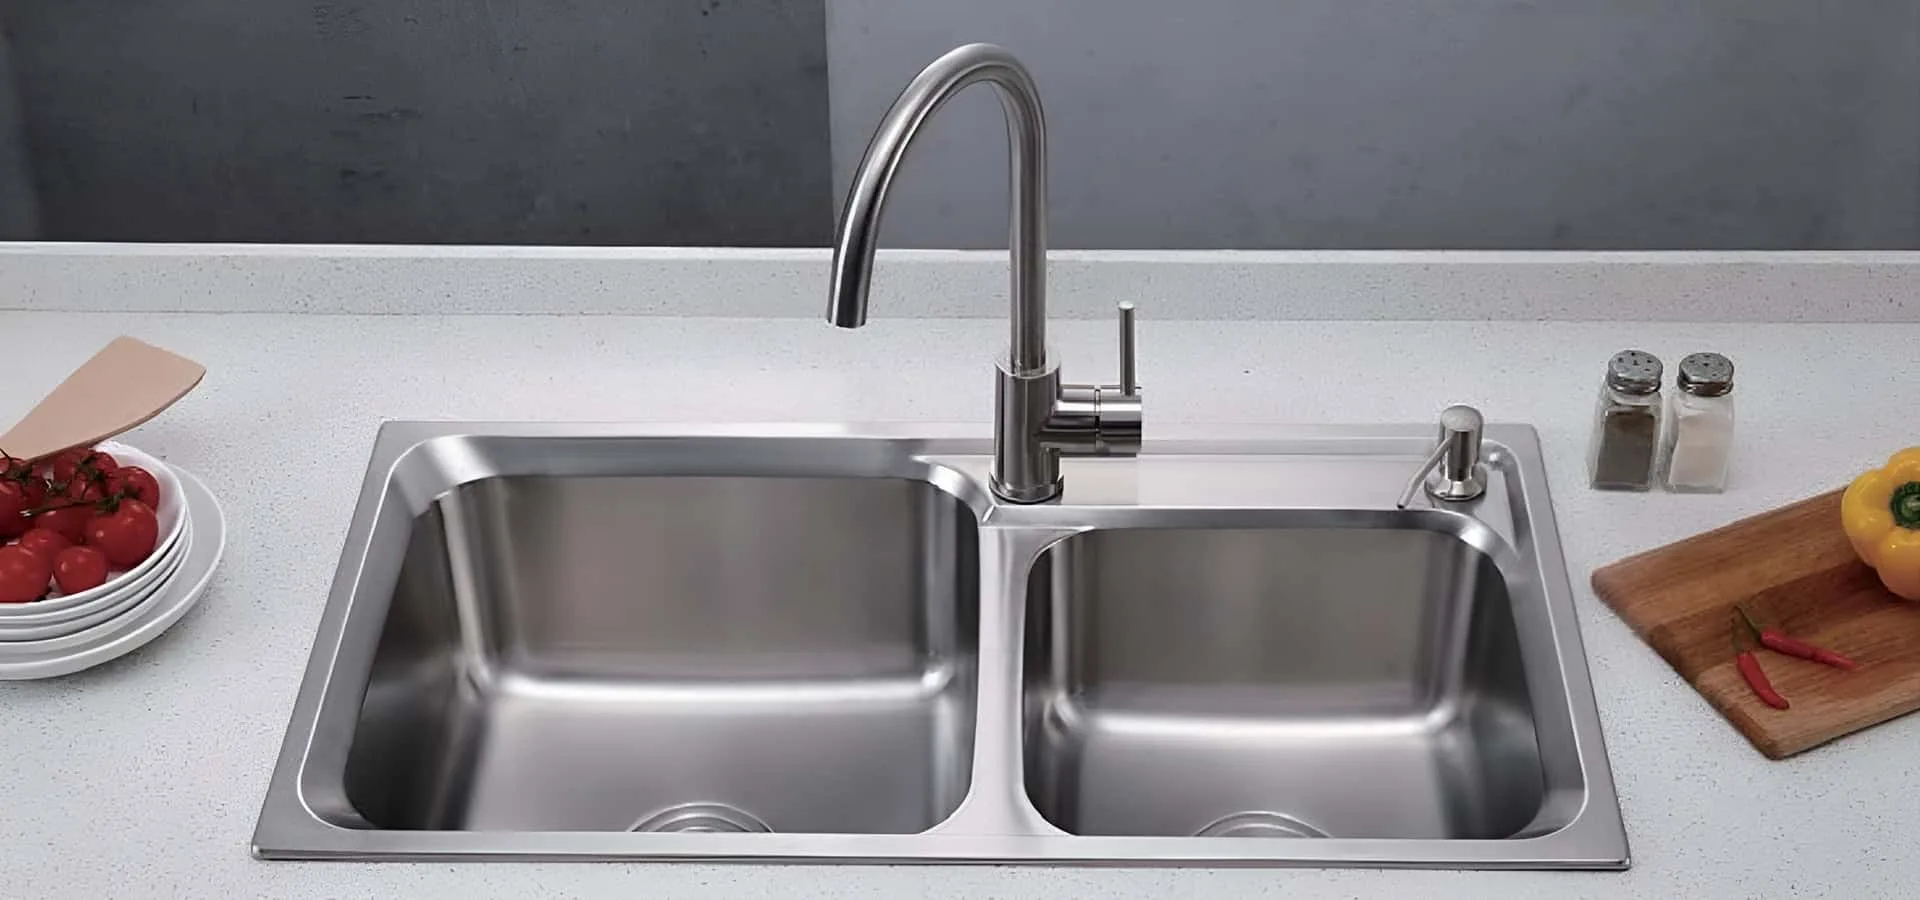
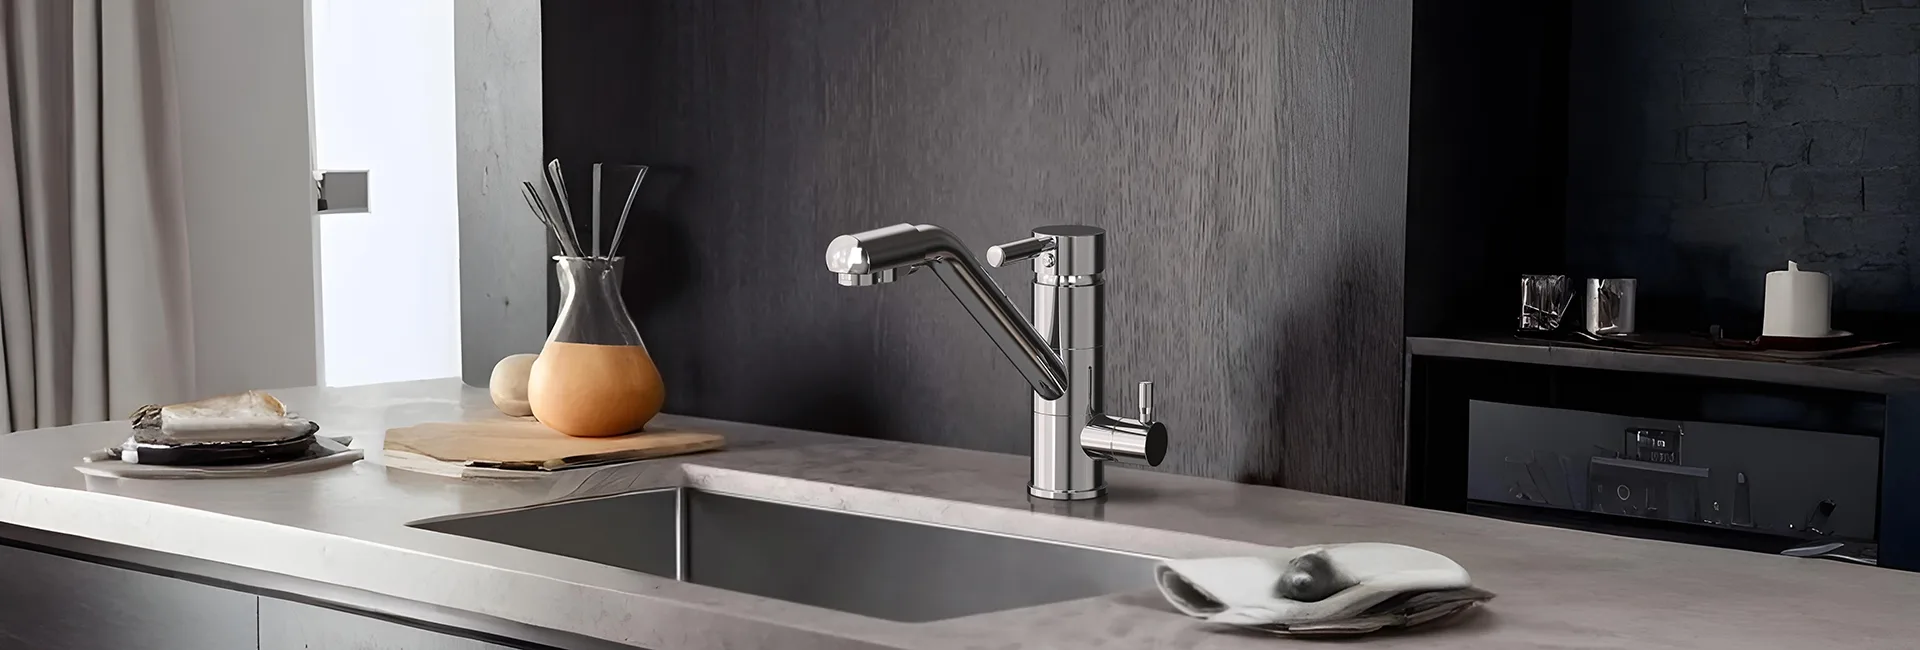
Choose The Right Soap Dispenser
Choosing the right soap dispenser for your kitchen sink is more important than you might think. It’s not just about looks—your choice affects convenience, durability, and even how clean your kitchen stays. Think about how often you cook and wash your hands; your dispenser should match your lifestyle and sink setup.
Consider The Type Of Soap Dispenser
There are several types to choose from, including pump-style, touchless, and built-in models. Pump-style dispensers are simple and budget-friendly but require manual pressing. Touchless options use sensors to dispense soap, which helps keep germs away but usually need batteries or a power source.
Built-in dispensers mount directly on your sink or countertop, saving space and looking sleek. Ask yourself: Do you want ease of use, or is a low-maintenance option better for your busy kitchen?
Match The Size And Capacity To Your Needs
Soap dispensers come in different sizes, from small refillable bottles to larger containers. A small dispenser might need frequent refills if your family cooks a lot. On the other hand, a large capacity dispenser can be bulky and harder to install.
Think about how often you want to refill the soap. If you prefer fewer refills, a larger container is worth considering. What’s your kitchen traffic like? High use calls for bigger capacity.
Pick A Material That Lasts
Soap dispensers can be made from plastic, stainless steel, or even glass. Plastic is affordable but can wear out quickly. Stainless steel looks stylish and resists rust and corrosion, making it ideal for a kitchen environment.
Glass dispensers can add a modern touch but are fragile. Imagine dropping one while washing dishes—it might not be worth the risk. Which material fits your kitchen’s vibe and durability needs?
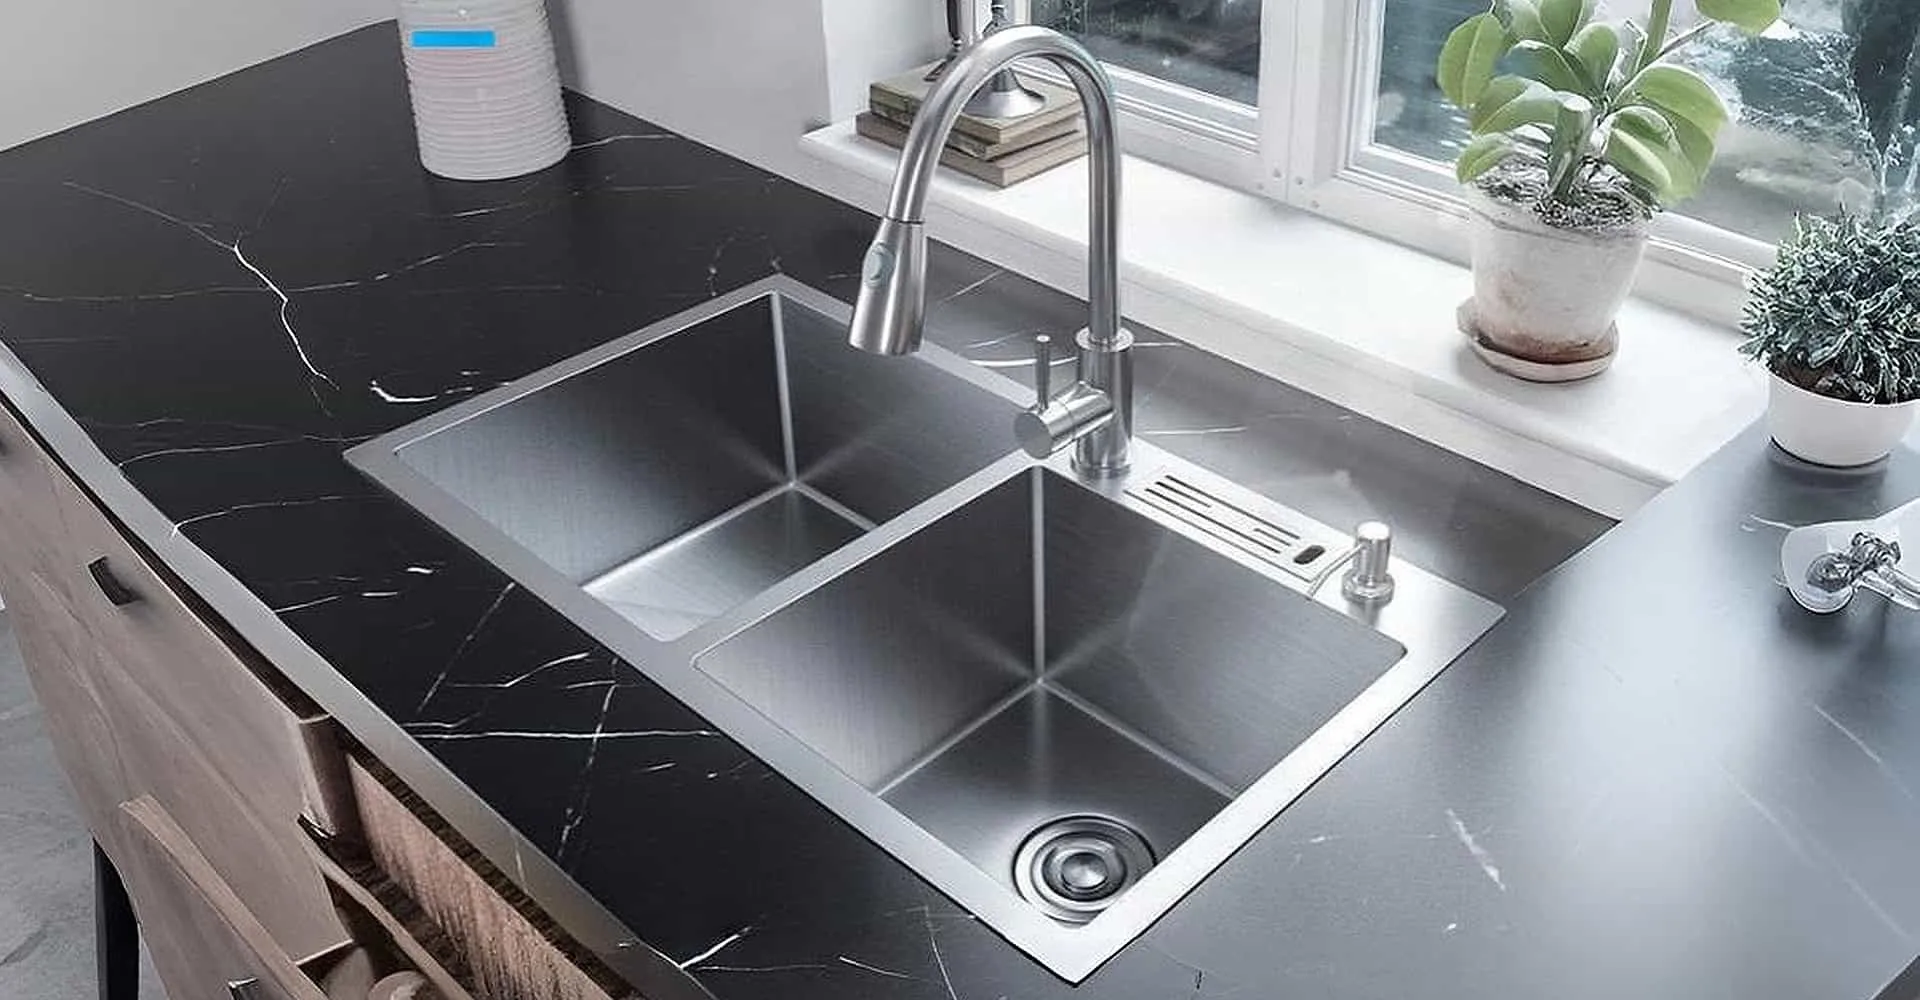
Check Compatibility With Your Sink
Not all soap dispensers fit every sink. Some sinks have pre-drilled holes designed for specific dispenser sizes. If your sink doesn’t have a hole, you might need to drill one, which could be tricky.
Measure the hole size and depth before buying a dispenser to avoid surprises. Have you ever bought a product that didn’t fit? It’s frustrating and wastes money. Avoid that by double-checking compatibility now.
Think About Soap Types You Want To Use
Some dispensers work better with liquid soap, while others are designed for thicker soaps or foaming soap. Using the wrong soap type can clog the pump or dispenser nozzle. This slows down soap flow and causes frustration.
Look for a dispenser that matches your preferred soap type. Do you like foaming soap or a thicker hand soap? Your choice affects how smoothly the dispenser works.
Prepare The Sink Area
Clear the sink area before installing a soap dispenser. Remove any items and clean the surface thoroughly. Ensure there's enough space for easy access and installation.
Installing a soap dispenser on your kitchen sink can be a game-changer for keeping your space tidy and organized. Before you dive into the installation, it's crucial to prepare the sink area properly. A little prep work goes a long way in ensuring a smooth installation process. Let’s explore how to get your sink area ready for this upgrade.
Clear The Area
First things first, clear your sink area of any clutter. Remove any items like dish racks, cleaning supplies, or personal items that may obstruct your workspace. This will give you ample room to maneuver and focus on installing your soap dispenser without any distractions.
Gather Necessary Tools
Before you start, make sure you have all the tools you need. Typically, you’ll need a wrench, a screwdriver, and possibly a drill. Having everything at your fingertips saves time and prevents unnecessary trips to the toolbox.
Identify The Installation Spot
Decide where on the sink you want the dispenser to be. It should be easily accessible but not in the way of your daily tasks. Consider the reach of your hand when you’re washing dishes or cleaning up. A well-thought-out location makes all the difference in usability.
Check For Pre-drilled Holes
Does your sink have pre-drilled holes? If so, you’re in luck! This makes the installation process much simpler. If not, don’t worry—you can still install your soap dispenser with a bit more effort. Just ensure you have the right drill bit to create a hole that fits the dispenser snugly.
Clean The Surface
A clean surface is essential for a sturdy installation. Wipe down the area where you’ll be installing the dispenser with a damp cloth. Removing any dirt or grease helps ensure that the dispenser sits flush against the sink, reducing the risk of leaks.
Consider Plumbing Layout
Take a moment to consider the plumbing under your sink. Ensure there’s enough space for the dispenser bottle and that it won’t interfere with any existing pipes. This foresight prevents any installation mishaps and ensures your plumbing remains intact.
Think About Future Maintenance
Finally, think ahead to future maintenance. Choose a spot that allows easy access for refilling the soap dispenser. It’s easy to overlook this step, but considering it now can save you a lot of hassle later on. By preparing your sink area thoughtfully, you set the stage for a successful installation. Have you ever faced unexpected challenges during a DIY project? Share your experiences and tips in the comments!
Remove The Old Dispenser Or Plug
Removing the old soap dispenser or plug is a key task before installing a new one on your kitchen sink. This step ensures a clean surface and prevents leaks or installation issues later. Taking your time here can save you from frustrating problems down the road.
Locate The Dispenser Or Plug Under The Sink
Start by crouching under your sink to find the base of the soap dispenser or the plug. It’s usually attached to the sink with a nut or a ring. You might need a flashlight to see clearly in the dim space.
Have you noticed how many kitchen sinks hide surprises underneath? You’ll often find water lines and other plumbing parts close by, so be careful not to disturb them.
Disconnect The Soap Bottle Or Remove The Plug
If your old dispenser has a refill bottle, unscrew it from the top. For a plug, simply pull it out if it’s loose. Sometimes, you might need to twist or wiggle gently to free it without damaging the sink surface.
Remember, forcing parts can cause scratches or cracks. Patience here helps maintain your sink’s condition.
Unscrew The Mounting Nut Or Clip
Use a wrench or pliers to loosen the mounting nut that holds the dispenser in place. Turn it counterclockwise until it’s free. If it’s stuck, applying a small amount of lubricant like WD-40 can help loosen rusted parts.
Have you ever struggled with a stuck nut only to realize a little oil was the missing trick? It’s a simple fix that saves a lot of frustration.
Clean The Sink Surface Thoroughly
Once the dispenser or plug is removed, clean the sink surface around the hole. Use a mild cleaner and a soft cloth to remove soap scum and debris. This prevents grime from interfering with the new dispenser’s seal.
Skipping this step might seem minor, but it often leads to leaks or loose fittings later.
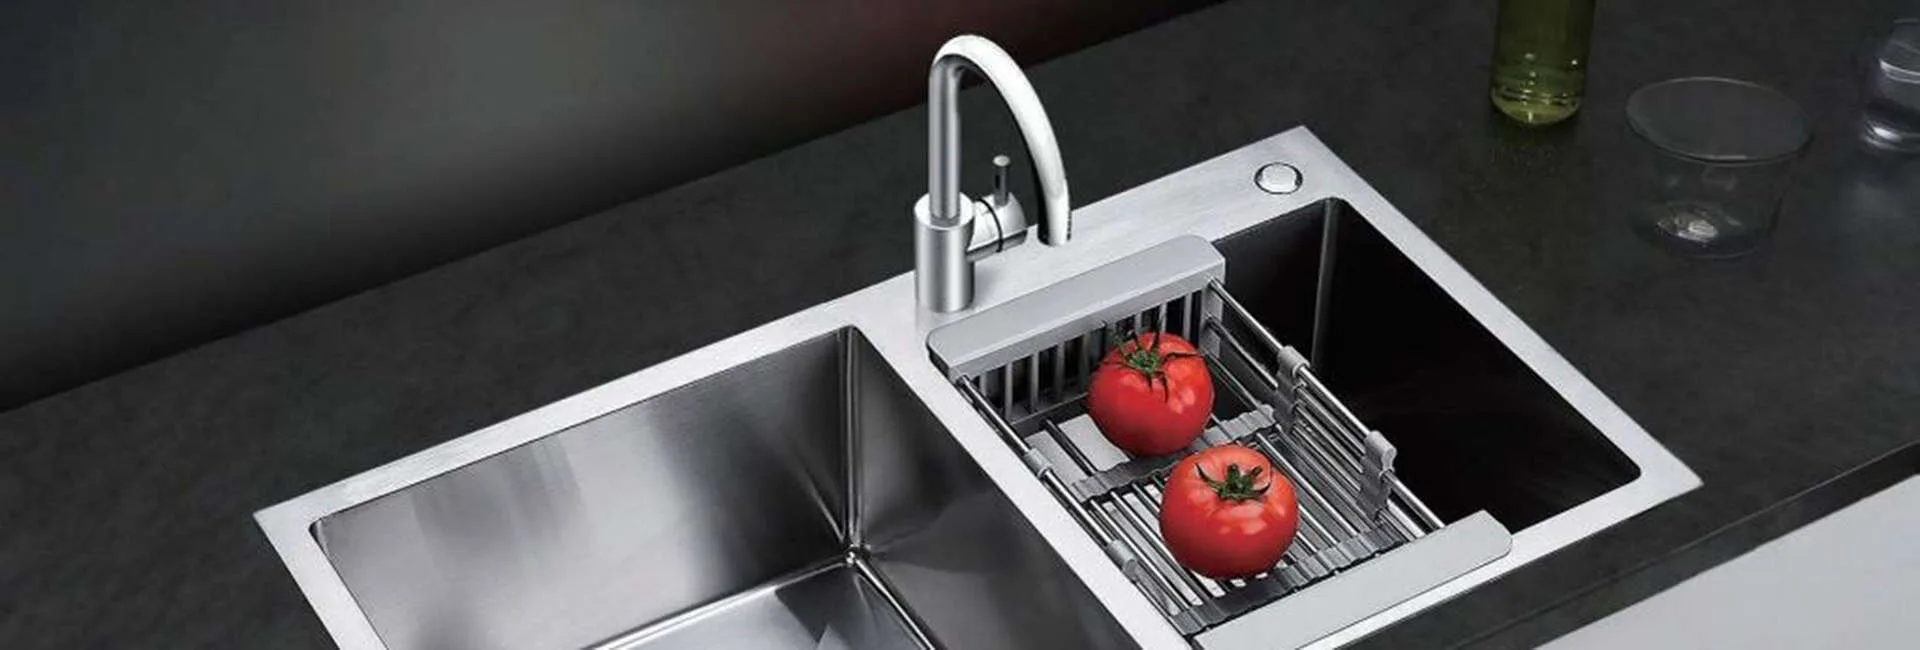
Install The Soap Dispenser Pump
Installing the soap dispenser pump is a key part of setting up your kitchen sink dispenser. It’s the component you interact with daily, so ensuring it’s properly placed and secured is essential. Let’s break down how to get this right without any hassle.
Insert The Pump Into The Hole
Start by sliding the pump through the hole on your kitchen sink or countertop. Make sure the nozzle faces outward, where you want the soap to dispense.
If the hole feels tight, gently wiggle the pump while pushing it down. This ensures a snug fit and prevents leaks later on.
Have you checked if the pump moves freely up and down? It should press smoothly without resistance—this means it’s correctly positioned.
Secure The Pump From Underneath
Once the pump is through the hole, head under the sink to tighten the mounting nut. This nut holds the pump firmly in place and stops it from shifting during use.
Use your hand or a wrench to twist the nut clockwise until it feels snug. Avoid overtightening, as it might crack the sink or the pump base.
Double-check by pressing the pump a few times from above. If it doesn’t wobble or move, you’re good to go.
Credit: www.luxuryhomefaucet.com
Attach The Soap Bottle
Attaching the soap bottle to your kitchen sink dispenser is the final step that brings everything together. It’s the part where your setup becomes fully functional, ready to deliver soap with a simple press. Getting this right ensures no leaks and smooth operation every time you wash your hands or dishes.
Check The Bottle For Compatibility
Before attaching, make sure the soap bottle fits the dispenser pump and the mounting hole snugly. Some bottles come with adjustable collars or adapters to match different sink thicknesses. If your bottle feels loose or too tight, it might cause spills or make pumping difficult.
Secure The Bottle To The Dispenser Pump
Twist the soap bottle onto the pump firmly but without forcing it. A loose connection can lead to leaks, while overtightening might strip the threads. If your dispenser came with a locking ring, use it to keep the bottle in place and avoid accidental unscrewing.
Fill The Bottle With Soap
Once attached, fill the bottle through the top opening or by removing the pump head if possible. Use liquid soap that matches the dispenser’s design—thicker soaps may clog some pumps. If you’ve ever faced a clogged dispenser, consider diluting your soap slightly with water for smoother flow.
Test For Proper Operation
Press the dispenser pump a few times to prime it and check if soap flows smoothly. If the pump feels stiff or the soap doesn’t come out, air might be trapped inside. Keep pressing gently until the soap flows freely, and make sure there are no drips around the bottle connection.
Adjust Bottle Position If Needed
If you notice leaks or awkward positioning, adjust the bottle’s angle or retighten the connection. Some kitchen sinks have limited space underneath, so you might need to reposition the bottle for easy refills. Have you checked if the bottle obstructs cabinet doors or cleaning supplies?
Fill And Test The Dispenser
Filling and testing your soap dispenser is the final step in the installation process. This step ensures the dispenser works smoothly and delivers soap correctly. Proper filling prevents leaks and clogs. Testing confirms the dispenser is ready for daily use.
Remove The Dispenser Pump
Start by unscrewing the pump from the top of the dispenser. Keep it aside carefully. This allows easy access to the soap reservoir below the sink.
Fill The Soap Reservoir
Pour liquid soap slowly into the reservoir. Use a funnel to avoid spills. Fill it about three-quarters full to prevent overflow.
Reattach The Pump
Screw the pump back onto the dispenser tightly. Check that it sits straight and secure. Loose fittings can cause leaks or poor soap flow.
Prime The Dispenser
Press the pump several times to draw soap up the tube. This removes air pockets inside. Soap should start coming out smoothly after a few presses.
Check For Leaks
Look under the sink for any soap drips. Tighten connections if you see leaks. A dry area ensures your dispenser is sealed well.
Adjust Pump Pressure
Press the pump gently to control soap amount. Avoid pressing too hard, which wastes soap. Find a comfortable pressure for daily use.
Troubleshooting Common Issues
Troubleshooting common issues with your soap dispenser saves time and frustration. Understanding simple fixes helps keep the dispenser working smoothly. Problems like the pump not dispensing or leaks are common but easy to solve.
Pump Not Dispensing
Check if the pump is clogged with dried soap. Clean the pump by soaking it in warm water. This softens any hardened soap inside.
Ensure the soap bottle is not empty. Refill it if needed. Press the pump several times to remove air bubbles.
Verify that the pump mechanism is properly aligned and not stuck. Gently twist or pull the pump to reset it.
Leaking Problems
Inspect the soap bottle and dispenser base for cracks or loose parts. Tighten any connections firmly.
Use plumber’s tape around the threads of the dispenser to create a better seal. This reduces leaks under the sink.
Make sure the soap container is seated correctly in the dispenser holder. Adjust it if it sits unevenly.
Clean any soap residue around the dispenser to prevent buildup that causes leaks.
Maintenance Tips
Proper maintenance keeps your kitchen soap dispenser working smoothly. Regular care prevents clogs and leaks. It also extends the dispenser's life and keeps it looking new.
Simple habits save time and avoid costly repairs. Clean the dispenser often and check parts for damage. Use gentle cleaning agents to protect the finish.
Cleaning The Soap Dispenser Regularly
Wipe the dispenser surface with a damp cloth weekly. Remove soap residue to stop buildup. Use mild soap and warm water for cleaning. Avoid harsh chemicals that damage the dispenser.
Flush the pump with warm water every month. This clears out any dried soap inside. Pump water several times until it flows smoothly.
Checking And Replacing The Pump
Test the pump action often. It should move freely without sticking. If the pump feels stiff or leaks, replace it. Most pumps unscrew easily for quick changes.
Keep a spare pump on hand. It saves time when the dispenser stops working. Follow manufacturer instructions for replacement parts.
Preventing Clogs And Blockages
Use liquid soap that suits your dispenser. Thick or gel soaps cause clogs. Dilute thick soap with a little water before refilling.
Rinse the soap container before refilling. This removes old soap and dirt. Avoid mixing different soap brands to prevent chemical reactions.
Protecting The Dispenser From Damage
Do not drop or bang the dispenser. Physical shocks damage the pump and bottle. Keep sharp objects away from the dispenser surface.
Check seals and gaskets periodically. Replace any worn parts to stop leaks. Tighten connections but avoid overtightening to prevent cracks.
Credit: www.luxuryhomefaucet.com
Credit: www.luxuryhomefaucet.com
Frequently Asked Questions
How Do I Install A Soap Dispenser On A Kitchen Sink?
First, remove the sink stopper. Insert the dispenser pump through the hole. Secure it underneath with the mounting nut. Attach the soap bottle and connect the tube. Fill the bottle with soap and test the pump.
What Tools Are Needed For Soap Dispenser Installation?
You need a screwdriver, adjustable wrench, and plumber’s putty. A drill may be required if no hole exists. Have a towel ready to catch drips. These tools make installation quick and easy.
Can I Install A Soap Dispenser Without Drilling?
Yes, if your sink has an existing hole. Use that hole to mount the dispenser. If no hole exists, drilling is necessary. Avoid drilling on fragile surfaces to prevent damage.
How Do I Refill A Kitchen Sink Soap Dispenser?
Simply unscrew the pump head from the top. Pour liquid soap into the reservoir carefully. Screw the pump back on tightly. Test the dispenser to ensure proper flow.
Conclusion
Installing a soap dispenser on your kitchen sink is simple and quick. Follow the steps carefully, and you will have it ready in no time. It helps keep your sink area neat and soap within easy reach. No need for extra bottles or clutter.
Just a few tools and some patience. Enjoy the convenience and cleaner space every day. You can handle this project easily, even without much experience. Give it a try and see the difference it makes.