

Are you tired of your kitchen sponge smelling bad no matter how often you clean it? That unpleasant odor not only makes your kitchen less inviting but can also harbor harmful bacteria.
Luckily, you don’t have to keep dealing with this problem. You’ll discover simple and effective ways to keep your kitchen sponges fresh and odor-free. Imagine reaching for a sponge that smells clean every time—you’ll feel better about your kitchen and cooking.
Keep reading to learn easy tips that will change how you care for your sponges forever.
Why Kitchen Sponges Smell
Kitchen sponges often develop unpleasant odors. This happens because they create a perfect place for germs and dirt to grow. Understanding why sponges smell helps keep them fresh longer. Three main reasons cause that bad smell.
Bacteria And Mold Growth
Sponges stay damp and warm. These conditions help bacteria and mold grow fast. They eat leftover food and multiply. This creates bad smells that spread quickly.
Moisture Retention
Sponges hold water inside their pores. This moisture does not dry out fast. Wet sponges keep germs alive. This moisture also makes the sponge smell musty and stale.
Food Particle Residue
Small food bits stick inside the sponge. These particles rot over time. Rotting food causes foul odors. Cleaning sponges well removes these residues and reduces smells.

Credit: blog.whogivesacrap.org
Daily Sponge Care Habits
Keeping kitchen sponges fresh requires simple daily habits. These small routines stop bad smells and keep sponges clean longer. Consistent care prevents germs and keeps your kitchen hygienic. Follow these easy steps every day for better sponge maintenance.
Rinse And Squeeze Thoroughly
Rinse your sponge with hot water after each use. Squeeze out all water to remove food and soap. A dry sponge smells better and stays cleaner. Avoid leaving sponges wet or full of residue.
Store In A Dry Place
Keep your sponge in a spot where air can reach it. Avoid closed containers or sinks where water collects. Use a sponge holder that drains well. Dry air stops bacteria growth and odor.
Replace Frequently
Change your sponge every one to two weeks. Old sponges hold bacteria and bad smells. Frequent replacement keeps your kitchen safe. Mark the date on the sponge to track usage.
Effective Cleaning Methods
Keeping your kitchen sponges from smelling is a battle many of us face. Sponges are notorious for harboring bacteria, which can lead to unpleasant odors. Yet, with effective cleaning methods, you can extend their life and keep your kitchen smelling fresh.
Microwave Sanitizing
Did you know that your microwave can be a powerful tool for disinfecting your sponge? Start by soaking the sponge in water—this step is crucial to prevent it from catching fire. Place the damp sponge in the microwave and heat it on high for one to two minutes.
This method kills most bacteria and germs. Be cautious as the sponge will be hot. Let it cool before handling, and marvel at the fresh, clean result.
Boiling Water Technique
Another effective way to sanitize your sponge is the boiling water technique. Fill a pot with water and bring it to a rolling boil. Submerge the sponge and let it sit for about five minutes.
This boiling process destroys bacteria effectively. Remember to use a pair of tongs to remove the sponge safely. The simplicity of this method often surprises people with its effectiveness.
Dishwasher Cleaning
If you’re already running your dishwasher, why not clean your sponge simultaneously? Place the sponge on the top rack along with your dishes. Select the hottest and longest cycle available.
The heat and detergent work together to sanitize your sponge thoroughly. It’s an effortless way to tackle two chores at once. Have you tried this simple yet effective method?
Each of these methods can be integrated into your regular cleaning routine. Which one will you try to keep your kitchen sponge fresh and odor-free?
Natural Deodorizing Solutions
Natural deodorizing solutions offer a safe and effective way to keep your kitchen sponges fresh without relying on harsh chemicals. These simple ingredients are often already in your pantry and can tackle odors while being gentle on the environment.
Using natural methods not only reduces waste but also prevents the buildup of bacteria that cause unpleasant smells. Have you ever noticed how a quick vinegar soak can completely change the scent of your sponge? Let’s dive into some easy solutions you can try today.
Vinegar Soak
Vinegar is a powerful natural deodorizer and disinfectant. To freshen your sponge, soak it in a bowl filled with equal parts white vinegar and water for about 5 to 10 minutes.
After soaking, rinse the sponge thoroughly and squeeze out the excess liquid. You’ll be surprised how this simple step neutralizes odors and helps remove stubborn grime.
Baking Soda Scrub
Baking soda acts as a natural abrasive and deodorizer. Sprinkle a generous amount of baking soda onto your damp sponge, then scrub it gently to lift away trapped food particles and odors.
Rinse well under warm water and let it dry completely. This method works great when you want a quick refresh without soaking the sponge.
Lemon Juice Rinse
Lemon juice contains natural acids that break down odor-causing bacteria. After cleaning your sponge, rinse it with fresh lemon juice and let it sit for a few minutes.
The citrus scent leaves your sponge smelling clean and bright. Plus, lemon juice adds a mild bleaching effect, helping to keep your sponge looking fresh longer.
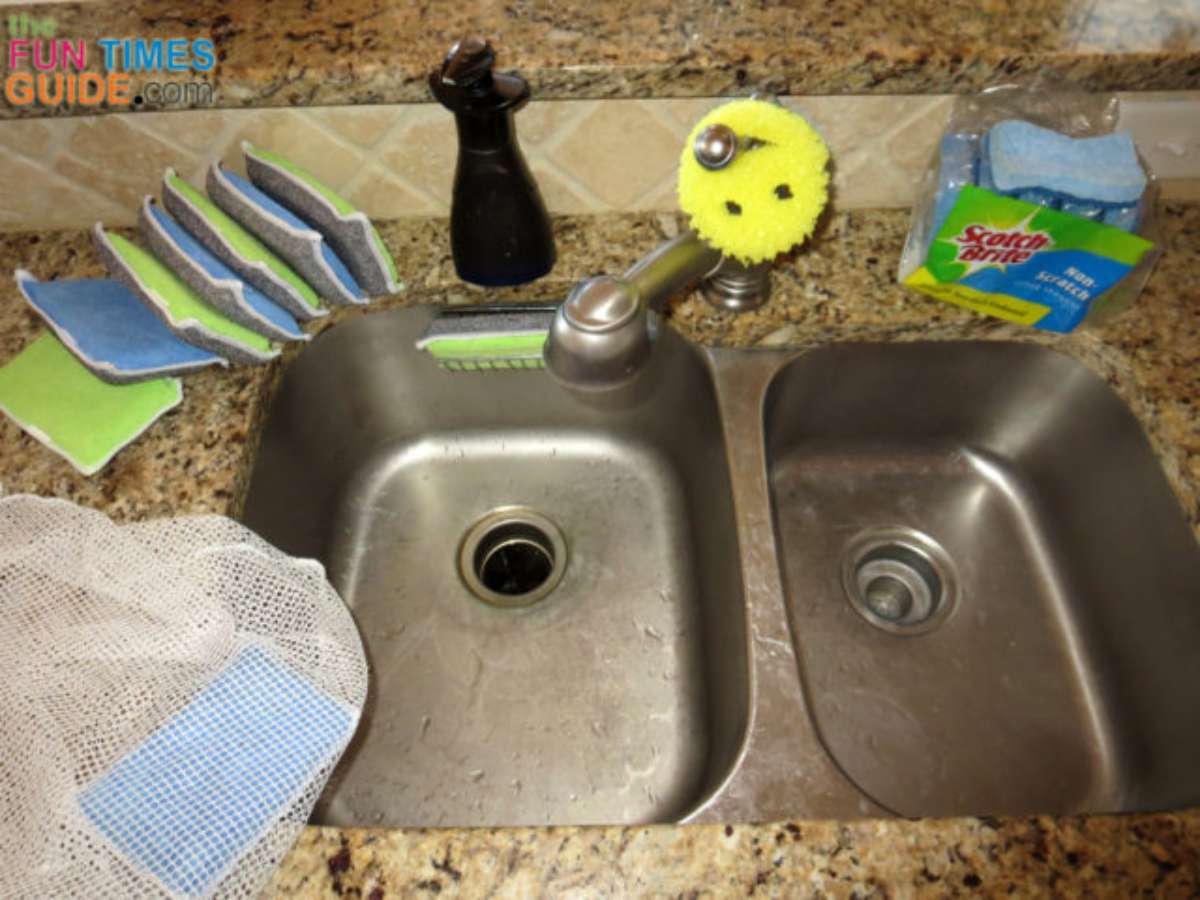
Alternative Sponge Options
Kitchen sponges often trap moisture and food particles. This causes bad smells and bacteria growth. Choosing alternative sponge options helps keep your kitchen fresh. These alternatives dry quickly and resist odors better than traditional sponges.
Silicone Sponges
Silicone sponges dry very fast. They do not hold water like regular sponges. This stops bacteria from growing. Silicone sponges are easy to clean. Just rinse and squeeze them dry. They last longer than normal sponges.
Antimicrobial Sponges
Antimicrobial sponges have special chemicals. These chemicals kill bacteria and prevent smells. They stay fresh even after many uses. Some antimicrobial sponges contain silver or copper. These metals fight germs naturally. They are a good choice for hygiene.
Reusable Cloths
Reusable cloths are another great option. They dry quickly and can be washed easily. Use cloths made from microfiber or cotton. These materials clean surfaces well. Wash them often to avoid bad odors. Cloths reduce waste and save money.
Credit: household-tips.thefuntimesguide.com
Preventing Odors Long-term
Preventing odors in your kitchen sponges over the long term requires more than just quick fixes. It demands consistent habits that keep bacteria from settling in and multiplying. You might be surprised how small changes in your sponge care routine can make a big difference in freshness.
Regular Deep Cleaning
Cleaning your sponge deeply at least twice a week helps kill odor-causing bacteria. You can microwave a damp sponge for one to two minutes or soak it in a mixture of bleach and water for a few minutes. These methods reach bacteria hiding inside the sponge’s pores, not just on the surface.
Have you noticed that surface cleaning only masks the smell temporarily? Deep cleaning tackles the root of the problem, keeping your sponge fresher longer. Make it a habit and watch how your kitchen smells improve.
Proper Drying Techniques
Moisture is bacteria’s best friend, so drying your sponge thoroughly after each use is crucial. Instead of leaving it crumpled in the sink, squeeze out excess water and place it somewhere with good air circulation. A sponge holder that allows airflow or a dish rack works well.
Think about how often your sponge stays wet overnight. That’s prime time for bacteria growth. By prioritizing drying, you cut off their environment before odors develop.
Avoiding Cross-contamination
Using the same sponge for all kitchen tasks spreads bacteria and odors faster. Assign different sponges for dishes, countertops, and raw meat cleanup. Label them or use different colors to keep track.
Does your sponge ever pick up smells from raw meat or strong spices? This cross-contamination not only causes unpleasant odors but also increases health risks. Keeping tasks separate keeps your sponge—and your kitchen—cleaner and fresher.

Credit: www.goodmorningamerica.com
Frequently Asked Questions
How Often Should I Clean Kitchen Sponges?
Clean kitchen sponges daily to prevent bacteria buildup. Rinse thoroughly, then microwave damp sponges for one minute or soak in bleach solution. Regular cleaning keeps sponges fresh and odor-free, ensuring hygiene in your kitchen.
What Is The Best Way To Dry Kitchen Sponges?
Dry kitchen sponges completely between uses by placing them in a well-ventilated area. Avoid leaving sponges in damp sinks. Proper drying prevents bacteria growth and eliminates unpleasant smells, extending the sponge’s lifespan.
Can Vinegar Help Remove Sponge Odors?
Yes, soaking sponges in vinegar for 5-10 minutes neutralizes odors and kills bacteria. Vinegar is a natural, effective deodorizer and disinfectant, making it a safe option to keep kitchen sponges smelling fresh.
Should I Replace Kitchen Sponges Regularly?
Replace kitchen sponges every 1-2 weeks or sooner if they smell or break down. Frequent replacement minimizes bacterial contamination and maintains a clean, hygienic kitchen environment.
Conclusion
Keeping kitchen sponges fresh is simple with small daily habits. Rinse sponges well after use and let them dry completely. Clean them often using safe methods like microwaving or soaking in vinegar. Replace sponges regularly to avoid bad smells and germs.
These easy steps help keep your kitchen clean and healthy. A fresh sponge makes washing dishes less unpleasant and keeps your home smelling nice. Try these tips and notice the difference in your kitchen today.