
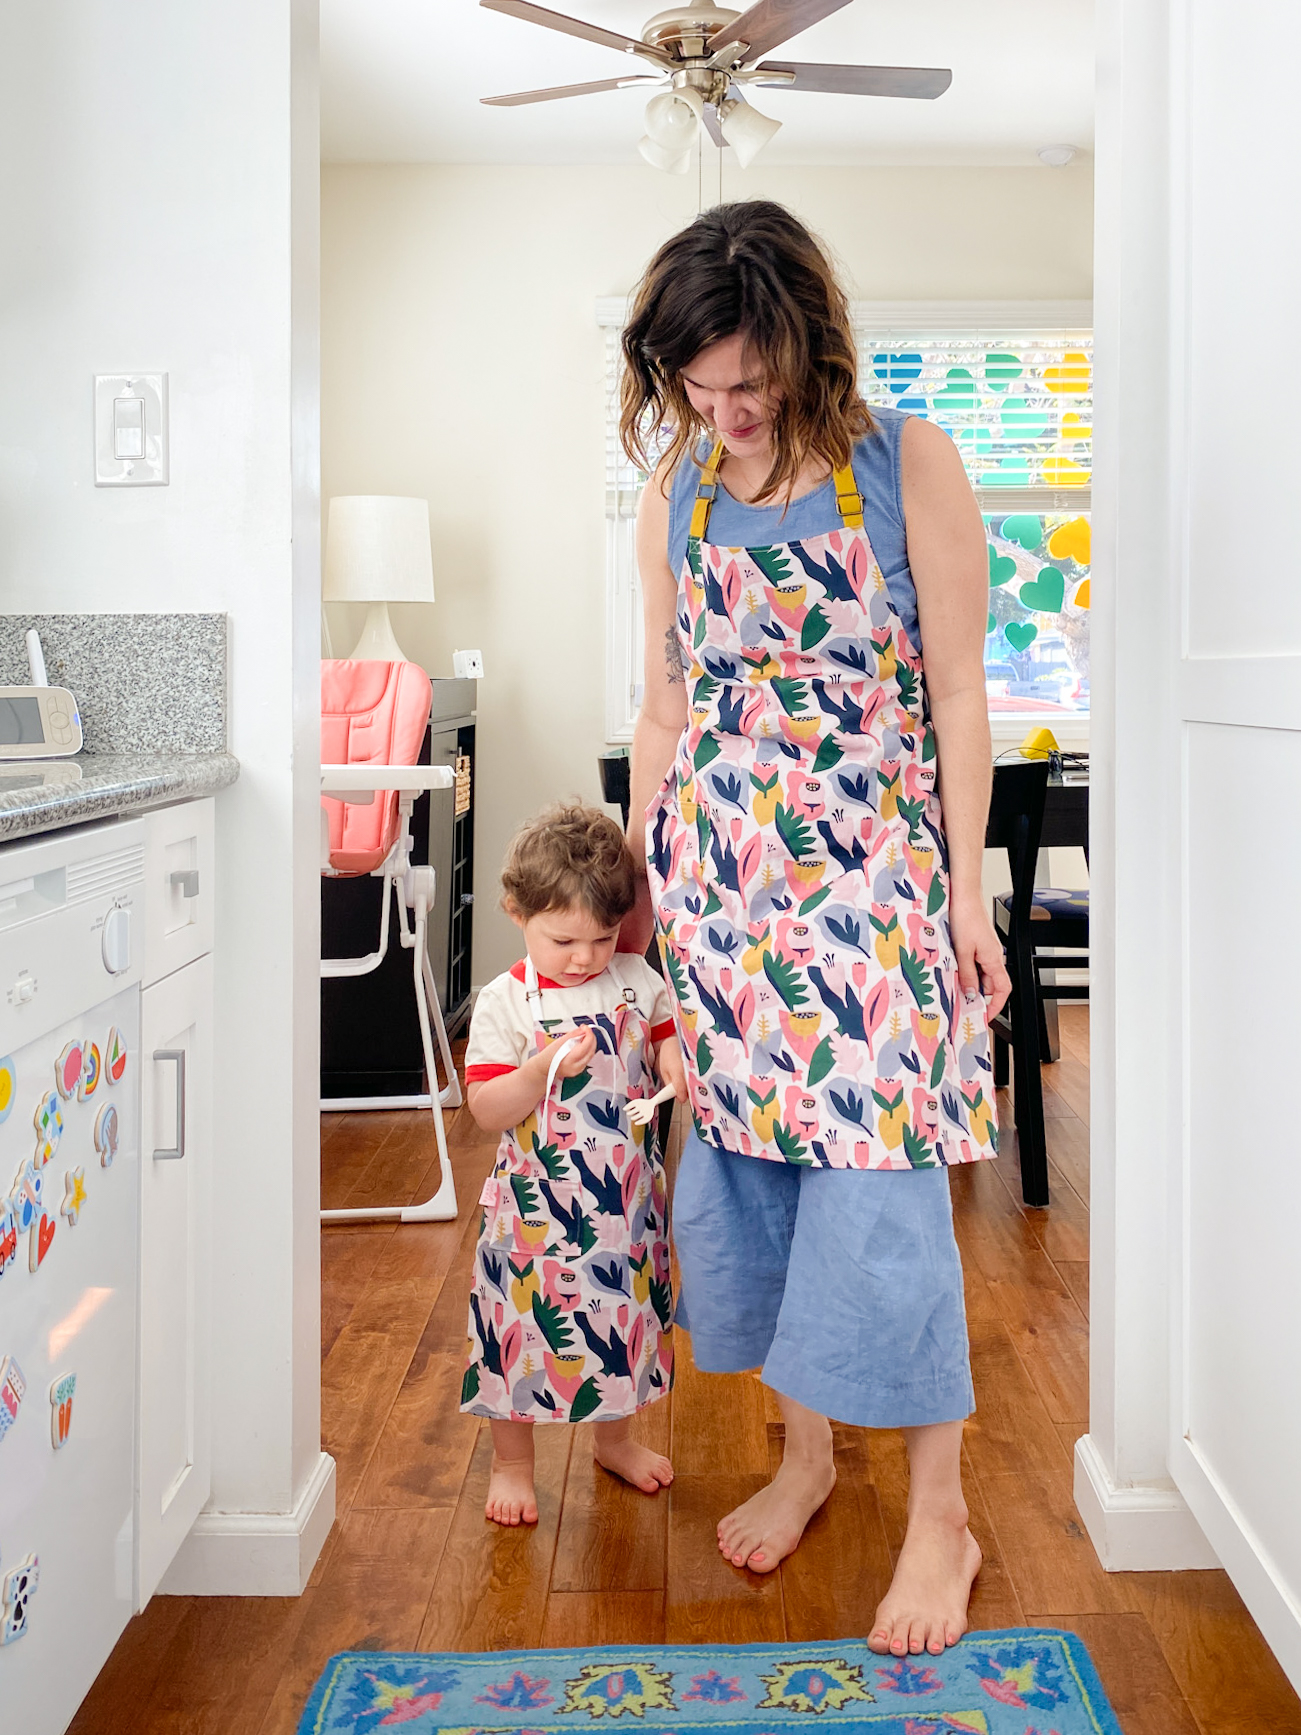
Have you ever wanted a kitchen apron that fits you perfectly and shows off your personal style? Making your own kitchen apron at home is easier than you think.
Not only will you save money, but you’ll also enjoy the satisfaction of wearing something you created yourself. Imagine cooking or baking with an apron tailored just for you—comfortable, practical, and unique. In this guide, you’ll discover simple steps and helpful tips to create your perfect kitchen apron.
Ready to get started? Let’s dive in!

Credit: myfavoritequiltstore.com
Choosing Fabric
Choosing the right fabric is a key step in making a kitchen apron that lasts and feels comfortable. The fabric not only affects the look but also the durability and ease of cleaning. Think about how you use your apron and what qualities matter most to you before picking a material.
Best Materials For Aprons
Durability and ease of maintenance are top priorities for kitchen aprons. Cotton is a popular choice because it’s breathable and easy to wash. You might find that a cotton-polyester blend offers extra strength and wrinkle resistance.
If you prefer something heavier, denim stands up well to spills and stains. Canvas is another sturdy option, perfect if you want an apron that can handle tough kitchen tasks. For a softer feel, linen is great, but it may require more careful washing.
- Cotton:Breathable, washable, comfortable
- Cotton-polyester blend:Durable, wrinkle-resistant
- Denim:Heavy-duty, stain-resistant
- Canvas:Tough, long-lasting
- Linen:Soft, stylish but delicate
Fabric Patterns And Colors
Choosing the right pattern or color adds personality to your apron. Solid colors are classic and hide stains well, especially darker shades like navy, black, or deep green. Bright colors can lift your mood while cooking, but keep in mind they may show stains more easily.
Patterns like stripes, checks, or florals can make your apron stand out. Consider how busy a pattern is—too complex might hide spills but can make the apron look cluttered. You might want to choose a pattern that matches your kitchen decor or your personal style.
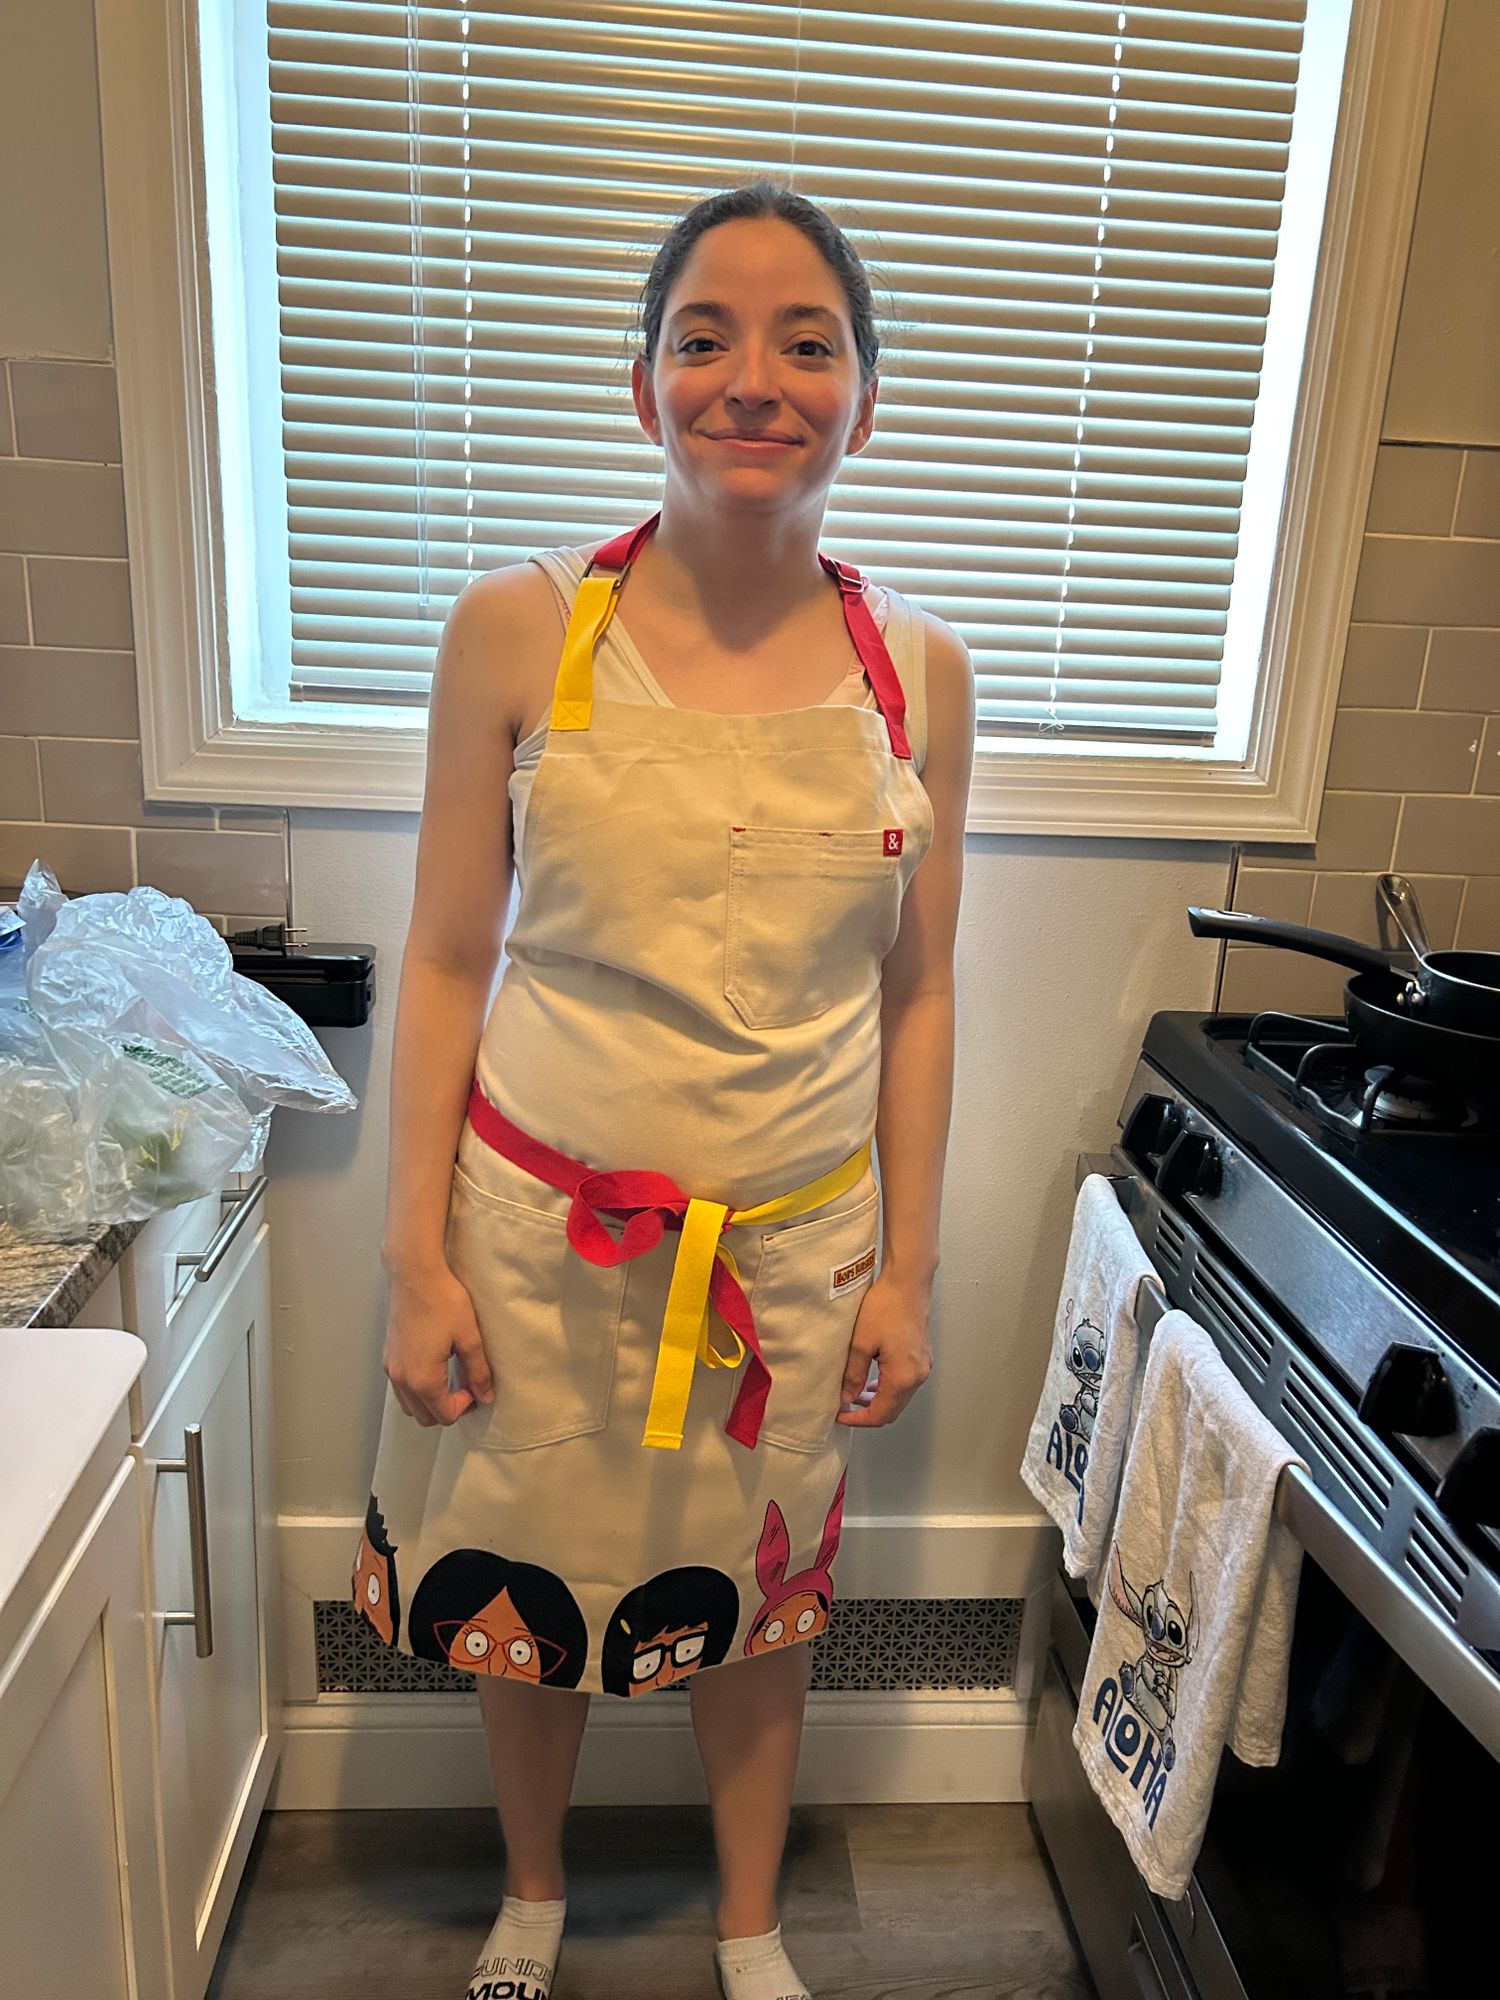
Have you thought about mixing fabrics? Using a solid color for the main apron body and patterned fabric for pockets or straps can create a unique look. This also allows you to add style without compromising practicality.
Credit: www.hedleyandbennett.com
Gathering Supplies
Gathering the right supplies is the first step to making a kitchen apron at home. Having everything ready helps the project go smoothly. It also ensures your apron looks good and lasts long.
Focus on quality materials and tools. Choose items that match your style and comfort. Prepare your workspace with enough room to cut and sew safely.
Essential Tools
- Fabric (cotton or linen works best)
- Scissors or rotary cutter
- Measuring tape or ruler
- Pins or clips to hold fabric
- Sewing machine or needle and thread
- Iron and ironing board
- Chalk or fabric marker for marking
Optional Accessories
- Pocket fabric for extra storage
- Bias tape or ribbon for edging
- Buttons or snaps for closures
- Decorative patches or embroidery thread
- Adjustable straps or buckles
Measuring And Cutting
Start by measuring your body to fit the apron comfortably. Use sharp scissors to cut the fabric according to your measurements for neat edges.
Creating a kitchen apron at home can be a fun and rewarding project. The process begins with two crucial steps: measuring and cutting. These steps lay the foundation for a well-fitted and stylish apron. With precision and a bit of creativity, you'll be on your way to crafting a unique apron that suits your style.
Taking Accurate Measurements
Taking precise measurements is key to a perfect fit. Start by measuring around your waist, where the apron will tie. Next, measure from your chest to just above your knee to determine the length of the apron. Don't forget to measure the width across your chest for a comfortable fit. Consider adding an extra inch or two for seam allowances and ease. A well-measured apron ensures comfort and functionality while cooking.
Cutting Fabric Pieces
Once you have your measurements, it's time to cut the fabric. Lay out your chosen fabric on a flat surface. Use a fabric chalk or pencil to mark the dimensions based on your measurements. Cut out the main body of the apron first, followed by the straps and pockets if desired. Remember to cut along the marked lines carefully. Sharp scissors can make a big difference in achieving clean, precise edges. Cutting fabric can feel intimidating, but with confidence and a steady hand, you can create perfectly sized pieces. Are you ready to transform those fabric pieces into a beautiful apron?
Sewing The Apron
Sewing the apron is where your creativity meets craftsmanship. This part brings your fabric pieces together and shapes the apron into something functional and personal. Whether you're a beginner or have some sewing experience, focusing on stitching quality will make your apron durable and comfortable.
Basic Stitching Techniques
Start with straight stitches to join your apron pieces. Use a sewing machine if you have one; it speeds up the process and gives a neat finish. If you sew by hand, keep your stitches even and tight to avoid gaps.
Try practicing on a scrap piece of fabric before working on your apron. It helps you get the tension and stitch length just right. Remember, a simple backstitch can strengthen seams where you expect more wear.
Attaching Straps And Pockets
Straps give your apron its shape and hold it in place. Cut them slightly longer than you think you'll need. This extra length lets you adjust for comfort once you try it on.
Secure straps by folding the ends and stitching them firmly onto the apron’s top corners or waistband. Double stitching here adds durability, so your straps won’t tear off during heavy use.
Adding pockets is practical and easy. Decide on pocket size based on what you plan to carry—spoons, recipe cards, or phone. Pin pockets onto the apron front, then sew around the edges. Leave the top open and reinforce the corners with extra stitches to prevent ripping.
Adding Personal Touches
Adding personal touches to your kitchen apron transforms it from a simple protective garment into a reflection of your style and personality. These unique details make the apron more enjoyable to wear and can even spark conversations in the kitchen. How will you make your apron stand out and feel truly yours?
Decorative Elements
Start by choosing decorations that speak to your taste. You could sew on colorful patches, use fabric paint to create patterns, or attach buttons and ribbons for a playful look.
Think about adding embroidered initials or a favorite quote to give it a custom flair. Small details like lace trims or contrasting pocket fabrics can elevate the apron’s appearance without overwhelming the design.
Customizing Fit
Ensuring your apron fits perfectly is key to comfort and usability. Adjust the neck strap with a buckle or tie it with fabric ties to find the ideal length.
Consider adding side ties or elastic panels to make the apron snug but flexible around your waist. Have you tried adjusting straps or adding darts to improve fit on your other clothes? The same ideas work wonders here.

Credit: myfavoritequiltstore.com
Care And Maintenance
Taking good care of your kitchen apron keeps it fresh and long-lasting. Regular cleaning removes stains and odors. Proper storage prevents wrinkles and damage. Follow simple steps to maintain its look and feel.
Washing Instructions
Check the fabric type before washing. Use cold or warm water to avoid shrinking. Mild detergent works best for apron fabrics. Avoid bleach to keep colors bright. Hand wash or use gentle machine cycles. Hang to dry or lay flat to prevent creases. Iron if needed on a low heat setting.
Storage Tips
Store aprons in a dry, cool place. Avoid damp areas to stop mold growth. Hang aprons on hooks or hangers to keep shape. Fold aprons neatly if drawer storage is preferred. Keep away from direct sunlight to prevent fading. Regularly air out aprons to keep them fresh.
Frequently Asked Questions
What Materials Are Needed To Make A Kitchen Apron At Home?
You need fabric, thread, scissors, measuring tape, pins, and a sewing machine or needle. Cotton fabric is ideal for aprons.
How Long Does It Take To Sew A Kitchen Apron?
It typically takes 1 to 2 hours to sew a simple apron. Time varies based on design complexity.
Can Beginners Easily Make A Kitchen Apron?
Yes, apron patterns are beginner-friendly. Basic sewing skills and simple stitches are enough to complete the apron.
How To Customize A Kitchen Apron Design?
Use fabric paint, patches, or embroidery to personalize your apron. Choose colors and patterns that suit your style.
Conclusion
Making a kitchen apron at home is simple and fun. You only need a few materials and some basic skills. Personalize your apron to fit your style and needs. It saves money and gives you a special item to use daily.
Try different fabrics and colors for a unique look. Enjoy the process and wear your creation with pride. Now, you can cook with confidence and keep your clothes clean. Give it a try and see how easy it is!