
Are you tired of using harsh chemicals that leave your kitchen smelling strange and feeling sticky? What if you could make your own kitchen cleaning spray that’s safe, effective, and inexpensive?
Imagine having a spray that cuts through grease, fights germs, and smells fresh—all made from simple ingredients you probably already have at home. You’ll discover easy steps to create your own powerful kitchen cleaner. Keep reading, and you’ll never want to buy commercial sprays again!

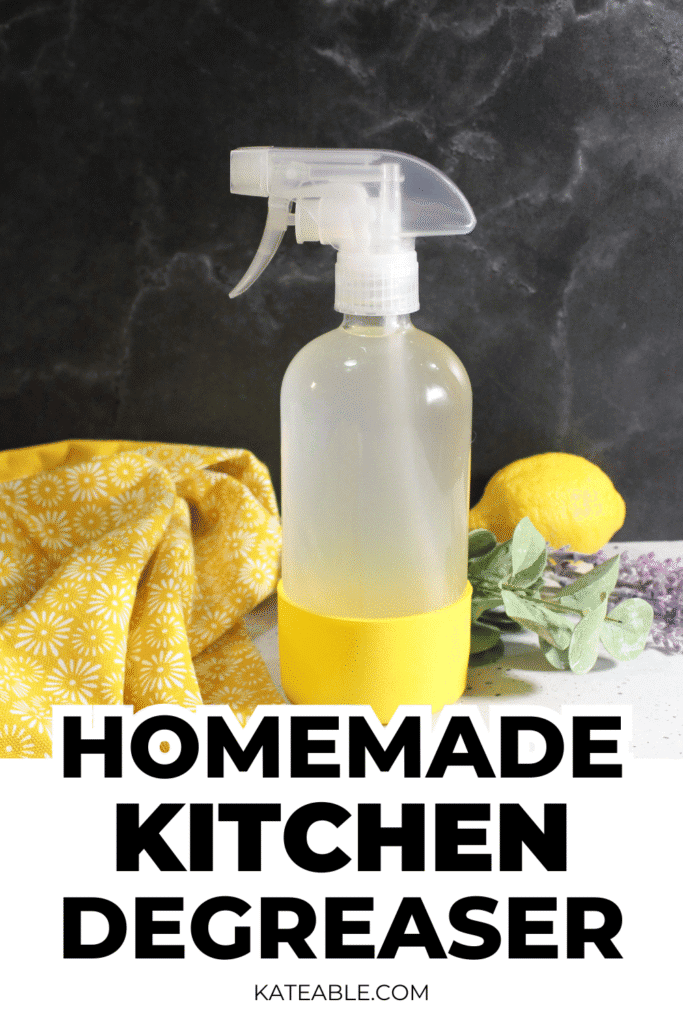
Credit: www.aol.com
Ingredients Needed
To make an effective kitchen cleaning spray, gather the right ingredients. These components clean surfaces without harsh chemicals. They are safe for daily use and help keep your kitchen fresh.
Natural Cleaning Agents
- White vinegar: cuts grease and removes stains
- Baking soda: acts as a gentle scrub
- Liquid castile soap: cleans without harsh chemicals
- Water: dilutes and mixes ingredients
Essential Oils For Fragrance
- Lemon oil: adds a fresh, citrus scent
- Tea tree oil: provides antibacterial properties
- Lavender oil: offers a calming aroma
- Orange oil: boosts cleaning power and scent
Additional Supplies
- Spray bottle: for easy application
- Measuring cups or spoons: ensure correct amounts
- Funnel: helps pour liquids without spills
- Mixing bowl: to combine ingredients before pouring
Step-by-step Preparation
Preparing your own kitchen cleaning spray is easier than you think. It just takes a few simple ingredients and a bit of care during the mixing process. Let’s break down the preparation into clear, manageable steps so you can create an effective, natural cleaner right at home.
Measuring Ingredients
Accurate measurement is key to making a cleaning spray that works well without wasting ingredients. Use standard measuring cups or spoons for precision. For example, mixing 1 cup of water with 1/2 cup of white vinegar and a few drops of essential oil creates a balanced cleaner.
Have you ever guessed amounts and ended up with a spray that was too strong or weak? Taking a moment to measure can save you time and improve results every time.
Mixing Process
Combine your measured ingredients in a clean spray bottle or bowl. Start by adding liquids first, then add powders like baking soda if your recipe calls for it. Stir or shake gently to blend everything thoroughly without causing fizz or overflow.
Mixing well ensures your spray is consistent and effective. A quick tip: mix in a well-ventilated area, especially if using vinegar, to avoid strong smells overwhelming your kitchen.
Storage Tips
Store your homemade spray in a dark, cool place away from direct sunlight to keep it fresh longer. Use a labeled spray bottle to avoid confusion and keep it out of reach of children. If you notice any change in color or smell, it’s time to make a fresh batch.
Have you ever kept a homemade cleaner too long and found it less effective? Regularly refreshing your spray guarantees it stays potent and safe for your kitchen surfaces.
Benefits Of Diy Kitchen Spray
DIY kitchen spray saves money and reduces chemicals at home. It’s easy to make with simple ingredients and cleans surfaces effectively. Using homemade spray helps keep your kitchen fresh and safe for your family.
Making your own kitchen cleaning spray can transform your cleaning routine in unexpected ways. Not only does it save you money, but it also allows you to be more environmentally conscious and offers the chance to personalize your cleaning experience. Let's dive into the benefits that a DIY kitchen spray can offer.
Cost Savings
Creating your own kitchen spray at home is a fantastic way to cut down on expenses. Store-bought cleaning products can quickly add up, especially if you're buying specialty or eco-friendly brands. With a few simple ingredients like vinegar, water, and essential oils, you can whip up a powerful cleaner for a fraction of the cost. Have you ever thought about the long-term savings? Consider how often you purchase cleaning products. With DIY solutions, you're not just saving today; you're investing in future savings.
Eco-friendly Advantages
By making your own kitchen spray, you contribute to a greener planet. Commercial cleaners often come in plastic bottles that end up in landfills. By reusing a spray bottle, you're reducing waste. Additionally, homemade sprays are free from harsh chemicals that can harm the environment. Using natural ingredients means fewer toxins are washed into our water systems, making your cleaning routine kinder to the earth.
Customizable Scents
One of the joys of DIY kitchen spray is the ability to tailor the scent to your liking. Why settle for generic fragrances when you can have a personalized aroma? Essential oils like lavender, lemon, or peppermint can be added for a fresh and inviting scent. Experiment with different combinations to find your perfect blend. Imagine walking into a kitchen that smells exactly how you love. What essential oil will you try first?
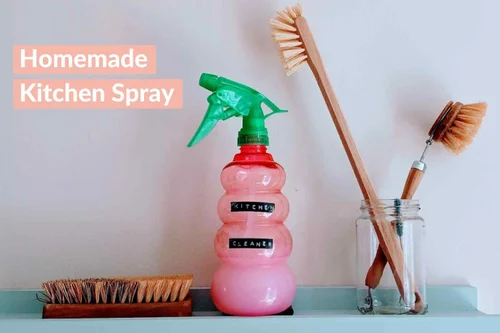
Credit: www.sustainablylazy.com
Safe Usage And Precautions
Using homemade kitchen cleaning spray safely is very important. It keeps your home clean and protects your surfaces. Following simple precautions avoids damage and accidents. Safe use helps keep your family healthy and your kitchen spotless.
Avoiding Harmful Surfaces
Some surfaces react badly to homemade sprays. Avoid using sprays on natural stone like granite or marble. Acidic ingredients can cause dull spots or damage. Test a small hidden area before full use. Use gentle wipes for delicate surfaces to prevent harm.
Proper Labeling
Label your spray bottles clearly. Write the ingredients and date made. This helps you know what is inside and when to replace it. Proper labels prevent confusion and accidental misuse. Keep labels easy to read and waterproof if possible.
Child And Pet Safety
Keep cleaning sprays out of reach of children and pets. Store bottles in high cabinets or locked areas. Use child-proof caps for extra safety. Avoid spraying near pet food or bedding. Always wash hands after use to avoid accidental ingestion.
Tips For Effective Cleaning
Getting the most out of your homemade kitchen cleaning spray requires more than just mixing ingredients. How you apply it, how often you use it, and what other cleaning habits you combine it with can make a big difference. These tips will help you clean smarter, not harder, while keeping your kitchen fresh and safe.
Application Techniques
Spray your cleaning solution directly onto the surface rather than onto a cloth first. This ensures even coverage and saves product.
Let the spray sit for a minute or two before wiping. This short wait helps break down grease and grime more effectively.
Use a microfiber cloth or sponge for wiping to avoid scratching surfaces. Circular motions work well to lift dirt without spreading it around.
Frequency Of Use
Clean high-touch surfaces like countertops and handles daily to prevent buildup. This small habit saves you from tougher cleaning sessions later.
Deep clean less-used areas weekly or biweekly. This keeps your kitchen hygienic without wasting effort on spotless spots.
Pay attention to spills and stains immediately. Prompt action stops stains from setting and reduces the need for harsh scrubbing.
Combining With Other Cleaning Methods
Pair your spray with regular wiping and occasional scrubbing for best results. Some messes need a bit more elbow grease.
Use steam or hot water on stubborn spots before applying your spray. Heat loosens dirt, making your spray’s job easier.
Don’t forget to rinse or wipe surfaces with clean water after cleaning. This removes residue and keeps your kitchen safe for food prep.
Troubleshooting Common Issues
Making your own kitchen cleaning spray is rewarding, but sometimes small problems can get in the way. These issues might seem frustrating, but they usually have simple fixes. Let’s look at some common problems you might face and how to solve them quickly.
Spray Clogging
If your spray bottle stops working or sprays unevenly, the nozzle might be clogged. This often happens when particles from homemade ingredients settle or if oils build up inside the nozzle.
To fix this, remove the spray head and soak it in warm water mixed with a little vinegar for about 10 minutes. Use a toothpick or a pin to gently clear any debris from the nozzle hole. Before putting it back, rinse thoroughly with clean water to avoid any vinegar smell in your spray.
Scent Fading
You might notice that the fresh scent of your spray fades quickly after making it. Essential oils can lose their strength when exposed to air, light, or if mixed with the wrong ingredients.
Try storing your spray in a dark-colored bottle and keep it in a cool place away from direct sunlight. Adding a small amount of vodka or rubbing alcohol can help preserve the scent longer by acting as a natural preservative.
Streaks And Residue
After using your homemade spray, you might see streaks or a sticky residue on surfaces. This usually happens if the cleaning mixture has too much oil or if you didn’t dilute it enough.
Adjust your recipe by reducing the amount of oil or vinegar and adding more water. Also, use a clean microfiber cloth to wipe surfaces, as it helps avoid streaks better than paper towels or regular rags. Have you tried wiping in circular motions instead of straight lines? It can make a surprising difference.

Credit: wellnessmama.com
Frequently Asked Questions
What Ingredients Are Needed For Kitchen Cleaning Spray?
You need water, white vinegar, rubbing alcohol, dish soap, and essential oils. These ingredients clean, disinfect, and deodorize kitchen surfaces effectively and naturally.
How Do I Make A Natural Kitchen Cleaning Spray?
Mix equal parts water and vinegar, add a few drops of dish soap and essential oils. Shake well and store in a spray bottle for easy use.
Is Homemade Kitchen Spray Safe For All Surfaces?
Homemade sprays are safe for most surfaces but avoid using vinegar on natural stone like granite. Always test on a small area before full use.
How Often Should I Use Kitchen Cleaning Spray?
Use the spray daily or after cooking to maintain cleanliness and prevent bacteria buildup. Regular use keeps your kitchen fresh and hygienic.
Conclusion
Making your own kitchen cleaning spray saves money and reduces chemicals. You control what goes into the spray, keeping it safe for your home. This simple recipe uses common ingredients you likely have. Clean your kitchen surfaces quickly and easily with this spray.
A fresh, clean kitchen helps keep your family healthy. Try making this spray today for a cleaner kitchen tomorrow. Small changes make a big difference in your home’s cleanliness. Easy, safe, and effective—just what every kitchen needs.