
Keeping your kitchen clean and safe is something you care deeply about. But with so many products out there, how do you know what’s truly effective and safe for your family?
What if you could make your own sanitizing solution right at home, using simple ingredients you already have? You’ll discover easy steps to create a powerful kitchen sanitizer that kills germs without harsh chemicals. By the end, you’ll feel confident that your kitchen surfaces are not just clean, but truly sanitized—helping protect your loved ones every day.
Ready to take control of your kitchen’s cleanliness? Let’s get started.
Choosing Safe Ingredients
Choosing safe ingredients for your kitchen sanitizing solution is crucial. The right ingredients protect your health and keep your kitchen clean. Avoid harsh chemicals that can cause irritation or damage surfaces. Use ingredients known for their safety and effectiveness.
Common Sanitizing Agents
Several safe sanitizing agents work well in the kitchen. These include:
- White vinegar: Natural and effective against many germs.
- Hydrogen peroxide: Kills bacteria without leaving harmful residues.
- Isopropyl alcohol (70%): Quick drying and strong against viruses.
- Bleach (diluted): Powerful but must be used carefully and sparingly.
These agents disinfect surfaces without toxic side effects when used properly.
Avoiding Harmful Chemicals
Many store-bought cleaners contain harsh chemicals. These can irritate skin and lungs. Avoid ingredients like:
- Ammonia: Causes strong fumes and can irritate eyes and throat.
- Phosphates: Harmful to the environment and can leave residues.
- Chlorine in high concentrations: Dangerous if not diluted correctly.
- Fragrances and dyes: Often cause allergic reactions or sensitivities.
Choose simple, natural ingredients to keep your kitchen safe for everyone.
Credit: www.aosom.com
Essential Tools And Supplies
Creating an effective sanitizing solution for your kitchen requires having the right tools and supplies on hand. These essentials help ensure accurate mixing and safe storage, which are crucial for maintaining cleanliness and preventing contamination. Without the proper equipment, even the best recipe can fall short.
Measuring Equipment
Accurate measurement is key when making a sanitizing solution. Using measuring cups or spoons designed for liquids helps you get the right ratios every time. A small digital scale can also be useful if you prefer weighing ingredients for precision.
Choose tools made of materials that won’t react with your solution, like glass or food-grade plastic. Avoid using containers that have been used for food or chemicals to prevent cross-contamination. Have you ever guessed measurements and ended up with a solution that didn’t work? Using proper measuring tools eliminates that guesswork.
Storage Containers
Once your sanitizing solution is ready, storing it correctly is vital for maintaining its effectiveness. Use airtight containers made from materials like glass or high-quality plastic that won’t degrade or leach chemicals.
Label your containers clearly with the contents and preparation date to keep track of freshness. Dark or opaque bottles can protect the solution from light, which can reduce its potency over time. Think about where you will keep the container—does it need to be childproof or easy to access during kitchen cleanup?
Step-by-step Mixing Process
Combine water and bleach carefully in a clean container. Stir gently to mix without splashing. Store the solution safely for kitchen use.
Creating a sanitizing solution for your kitchen is a simple yet effective way to maintain hygiene. With the right ingredients and a careful approach, you can ensure that your kitchen surfaces are free from harmful bacteria. Let's dive into the step-by-step mixing process to help you craft a safe and efficient sanitizing solution.
Preparing The Workspace
Before you begin, ensure your workspace is clean and clutter-free. This reduces the risk of contamination and makes the process smoother. Gather all necessary materials, such as a spray bottle, measuring tools, and the ingredients you’ll be using. Wash your hands thoroughly to avoid introducing any bacteria to the solution. This is a crucial step that often gets overlooked. Once your hands are clean, you're ready to proceed.
Combining Ingredients Safely
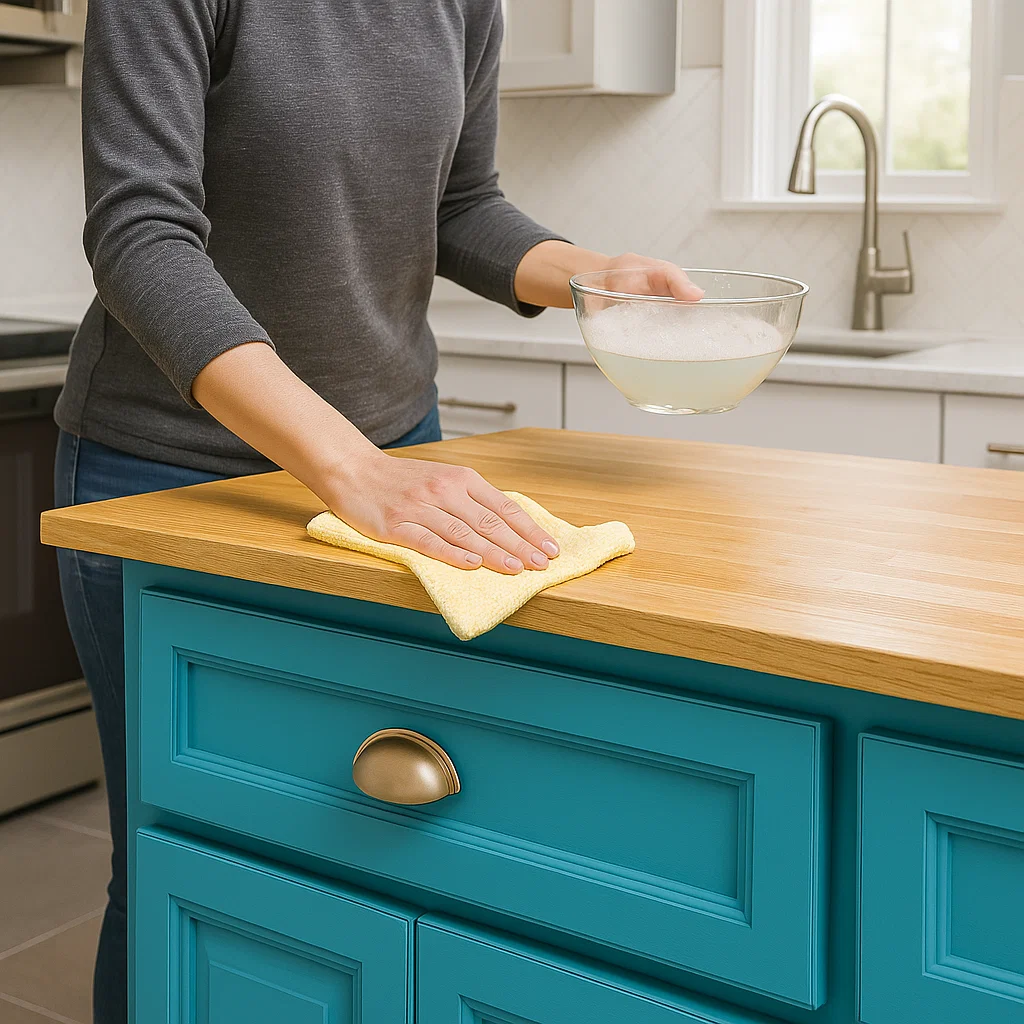
Start by measuring your ingredients accurately. A basic kitchen sanitizing solution can be made with water and white vinegar in equal parts. For added disinfecting power, consider adding a small amount of hydrogen peroxide or a few drops of essential oils like tea tree or lavender. Carefully pour the measured ingredients into your spray bottle. Do this over the sink to avoid any spills that could make your workspace slippery. Once all the ingredients are in, securely attach the spray nozzle and give the bottle a gentle shake to mix everything evenly. Remember, using the solution immediately ensures its effectiveness. Have you considered how often you’ll need to make fresh batches? Regularly mixing a new solution ensures you’re always using a potent disinfectant. By following these steps, you can maintain a clean and healthy kitchen environment. What are some other homemade solutions you've tried in your kitchen?

Credit: www.youtube.com
Proper Usage And Application
Using a sanitizing solution correctly ensures your kitchen stays clean and safe. Applying the solution properly helps remove harmful germs effectively. Understanding the right way to use it protects surfaces and keeps your kitchen hygienic.
Effective Contact Time
Allow the sanitizing solution to sit on surfaces long enough to kill germs. Most solutions need at least 30 seconds to work well. Avoid wiping it off too soon. Let the solution air dry for best results. This time helps destroy bacteria and viruses effectively.
Surface Compatibility
Check if the sanitizing solution is safe for your kitchen surfaces. Some solutions can damage wood, stainless steel, or painted areas. Test on a small hidden spot first. Use gentle solutions on delicate surfaces. Follow manufacturer instructions for each surface type to avoid damage.
Storage And Shelf Life
Storing your homemade sanitizing solution correctly is just as important as making it right. Proper storage ensures the solution stays effective and safe for use in your kitchen. Understanding how long the solution lasts and recognizing when it’s no longer good can save you from using ineffective or potentially harmful mixtures.
Ideal Storage Conditions
Keep your sanitizing solution in a clean, airtight container to prevent contamination and evaporation. A dark-colored bottle or a spot away from direct sunlight helps maintain the solution’s strength by protecting it from light damage.
Store the container in a cool place, ideally between 50°F and 70°F (10°C to 21°C). Avoid places like near the stove or windows where heat and sunlight fluctuate. These conditions help preserve the active ingredients for longer.
Signs Of Expired Solution
Check your solution regularly for changes in color or smell. If the solution turns cloudy, develops a strange odor, or shows particles floating, it’s time to discard it.
Also, if the sanitizing solution loses its usual sharp scent or seems less effective when you use it, don’t risk it. Using expired sanitizer can give you a false sense of cleanliness and may allow bacteria to survive.

Credit: vocal.media
Safety Precautions
Handling sanitizing solutions in your kitchen requires care to keep yourself and your family safe. Even though these solutions help kill germs, improper use or disposal can cause accidents or damage surfaces. Understanding the right safety precautions ensures that your cleaning routine protects without creating new risks.
Handling And Disposal
Always measure ingredients carefully when making your sanitizing solution. Too strong a mix can irritate skin or damage kitchen surfaces. Pour liquids slowly and avoid splashing to prevent accidental contact with eyes or skin.
After use, never pour leftover sanitizing solution down the drain without diluting it first. This helps protect plumbing and the environment. Store any unused solution in a clearly labeled container, out of reach of children and pets.
Protective Measures
Wear gloves to protect your hands while mixing and applying the solution. Some people also find it helpful to wear safety glasses to avoid accidental splashes to the eyes. Make sure the area is well-ventilated to reduce inhaling any fumes.
Keep your work surface clear and clean before starting. This avoids mixing the sanitizer with other substances that might cause harmful reactions. Have a clean towel or cloth ready for wiping up spills immediately.
Troubleshooting Common Issues
Making your own sanitizing solution for kitchen use can be rewarding, but sometimes things don’t go as planned. You might notice the solution isn’t working as expected or worry about it damaging your kitchen surfaces. Tackling these common issues head-on will save you time, money, and frustration.
Solution Ineffectiveness
If your sanitizing solution isn’t killing germs effectively, check the concentration. Too weak, and it won’t sanitize properly; too strong, and it could harm surfaces or leave residues. Measure your ingredients carefully—using a kitchen scale or measuring spoons can make a big difference.
Another cause of ineffectiveness is the age of your solution. Homemade mixtures lose strength over time, especially if exposed to light or heat. Store your solution in a dark, cool place and label it with the date you made it. If it’s older than a week, consider mixing a fresh batch.
Think about how you apply the solution. Are you letting it sit on surfaces long enough? Most sanitizers need at least 30 seconds to work properly. Rushing this step can leave germs behind. Try timing it next time and see if that changes the results.
Surface Damage Prevention
Protect your kitchen surfaces by testing the sanitizing solution on a small, hidden area first. Some materials like wood, stone, or certain plastics can react badly. Spot testing helps you avoid costly damage.
Using the right dilution is key to preventing surface damage. Overly strong solutions can strip finishes or cause discoloration. If you notice any changes in texture or color, reduce the concentration or switch to a gentler formula.
Also, avoid mixing your sanitizing solution with other cleaners or chemicals. This can create harmful reactions or residues that damage surfaces. Stick to one solution at a time and rinse surfaces if needed to keep them safe.
Frequently Asked Questions
What Ingredients Are Needed To Make Kitchen Sanitizing Solution?
To make a kitchen sanitizing solution, use water, bleach, and sometimes vinegar. Mix one tablespoon of bleach with one gallon of water. This combination effectively kills germs and bacteria on kitchen surfaces safely.
How To Safely Use Sanitizing Solution In Kitchens?
Always wear gloves when handling sanitizing solutions. Apply the solution to clean surfaces and let it sit for at least one minute. Rinse with water if using bleach, and ensure good ventilation to avoid harmful fumes.
Can Homemade Sanitizing Solution Kill Kitchen Germs Effectively?
Yes, a properly mixed bleach solution kills most kitchen germs and bacteria. It is crucial to use the correct bleach concentration and contact time for effectiveness. Avoid mixing bleach with other cleaners to prevent toxic reactions.
How Often Should I Sanitize Kitchen Surfaces?
Sanitize kitchen surfaces daily or after handling raw meat. High-touch areas like cutting boards and countertops need frequent cleaning to prevent cross-contamination and foodborne illnesses.
Conclusion
Making your own kitchen sanitizing solution is simple and safe. Use common ingredients like bleach or vinegar carefully. Always measure and mix the right way. Store the solution in a clean, labeled container. Clean your kitchen surfaces regularly to keep germs away.
This small step helps protect your family’s health. Remember, clean kitchens mean safer meals. Try making your own solution today. Keep your kitchen fresh and healthy every day.