
Your kitchen floor faces constant wear and tear—from spilled drinks to dropped crumbs. Keeping it spotless might feel like a chore, but what if mopping your kitchen floor could be quick, easy, and even satisfying?
In this guide, you’ll discover simple steps to mop your kitchen floor like a pro, saving you time and effort while leaving your space sparkling clean. Ready to transform your cleaning routine and enjoy a fresher kitchen? Let’s dive in!
Credit: www.housedigest.com
Choosing The Right Mop
Choosing the right mop is key to keeping your kitchen floor clean and shiny. The mop you pick affects how well you remove dirt and how easy the job feels. Some mops work better on certain floor types. Others save time and effort. Understanding mop types helps you decide which one suits your kitchen best.
Types Of Mops
- String Mop:Traditional mop with cotton strings. Good for heavy spills but can hold a lot of water.
- Sponge Mop:Features a sponge head. Easy to wring out and works well on smooth floors.
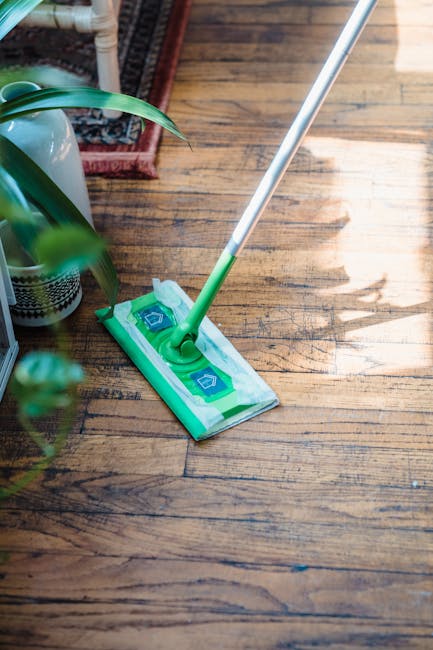
- Flat Mop:Has a flat, rectangular head with a microfiber pad. Great for quick cleaning and reaching corners.
- Steam Mop:Uses steam to clean and sanitize floors. Ideal for deep cleaning without chemicals.
- Spray Mop:Comes with a built-in spray bottle. Allows controlled application of cleaning solution.
Best Mop For Kitchen Floors
Microfiber flat mops are popular for kitchen floors. They absorb dirt well and dry fast. Their slim design fits under cabinets easily. Flat mops reduce effort and clean effectively.
Steam mops work well for tile and sealed floors. They kill germs without harsh chemicals. Be careful using steam mops on wood floors to avoid damage.
Choose a mop that matches your floor type and cleaning needs. A mop with a good wringer helps control water amount. Lightweight mops make cleaning less tiring.
:max_bytes(150000):strip_icc()/SPR-should-you-mop-with-hot-or-cold-water-11785902-8034a4fa718143caa9fb087a9d1cf7f7.jpg)
Credit: www.thespruce.com
Preparing The Kitchen Floor
Clear the floor of any debris and sweep thoroughly to remove dust and crumbs. Make sure the floor is dry and free from sticky spots before mopping.
Preparing the kitchen floor is a crucial step before you start mopping. It's like setting the stage for a flawless performance, ensuring that the cleaning process is smooth and effective. A well-prepared floor allows the mop to glide effortlessly, picking up dirt and grime efficiently. Let's dive into how you can properly prepare your kitchen floor for mopping.
Clearing The Area
Begin by removing any items that may obstruct your cleaning. Chairs, floor mats, and small appliances should be moved to a different room or placed on a countertop. This not only gives you more space to work but also prevents any damage to these items from water or cleaning solutions. Think about the last time you tripped over a stray chair leg while mopping. Annoying, right? Clearing the area helps you avoid such mishaps. Plus, it ensures that every inch of your floor gets the attention it deserves.
Sweeping And Vacuuming
Once the area is clear, grab a broom or vacuum cleaner. Sweeping loosens dirt and crumbs that have settled on the floor, making it easier to mop later. If you have pets, this step is particularly important to gather all those stray hairs. Using a vacuum can be more effective, especially for corners and tight spaces where brooms can't reach. Have you ever noticed how a vacuum seems to find those hidden dust bunnies you didn't know existed? It’s a satisfying pre-mop ritual that ensures you're not just spreading dust around when you get to mopping. By diligently preparing your kitchen floor, you set the foundation for a truly clean and inviting space. Are you ready to see the difference it makes?
Selecting Cleaning Solutions
Choosing the right cleaning solution is key to a spotless kitchen floor. The cleaner must remove grease and dirt without harming the floor’s surface. Some solutions work better for certain floor types like tile, wood, or laminate. Consider your floor material before picking a cleaner. Safe and effective products help keep your kitchen fresh and shiny.
Homemade Cleaners
Homemade cleaners are affordable and easy to make. They use common household ingredients. Vinegar, baking soda, and lemon juice are popular choices. These natural items cut through grease and kill bacteria gently. You can mix vinegar with warm water for a simple mop solution. Add a few drops of dish soap for extra cleaning power.
- 1 cup vinegar + 1 gallon warm water
- 2 tablespoons baking soda + warm water
- Juice of 1 lemon + warm water
Homemade cleaners avoid harsh chemicals. They are safe around children and pets. Always test on a small area first to check for damage.
Commercial Products
Commercial products offer strong cleaning power. They are made for specific floor types and stains. Many come in ready-to-use bottles or concentrates. Look for labels that match your floor type, such as hardwood or tile. Some products add shine or protect the floor surface.
- Choose pH-neutral cleaners for wood floors
- Avoid abrasive products that can scratch
- Use degreasers for tough kitchen messes
Follow the instructions carefully. Using too much product can leave residue. Always rinse the floor with clean water after mopping.
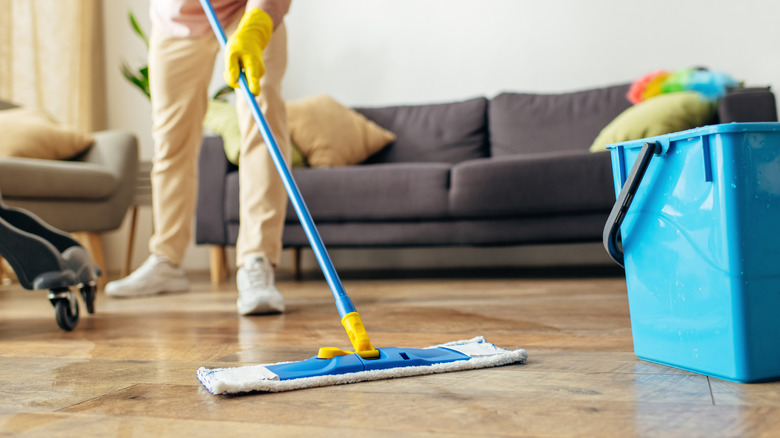
Step-by-step Mopping Process
Mopping your kitchen floor might seem straightforward, but doing it right makes all the difference. A proper mopping process removes grime effectively without leaving streaks or excess water behind. Let’s break down the essential actions that will help you achieve a spotless, fresh kitchen floor.
Dampening The Mop
Start by soaking your mop in a bucket filled with warm water mixed with a suitable floor cleaner. Make sure the mop is wet but not dripping—too much water can damage your floor and make drying longer.
Press the mop firmly against the bucket’s side to remove excess water. Think about how a mop feels when it’s just right—not too wet to leave puddles, but moist enough to pick up dirt smoothly.
Mopping Technique
Use long, even strokes to cover the floor surface. Push the mop forward and pull it back in a straight line rather than scrubbing randomly.
Focus on high-traffic areas and spots with visible stains. You might find it easier to mop in sections, especially if your kitchen floor is large, so you don’t miss any spots.
Rinsing And Wringing
After each pass, rinse the mop in the bucket to get rid of the dirt it picked up. This prevents dirt from spreading back onto the floor.
Wring the mop thoroughly before the next swipe. If your mop is too dirty or wet, it won’t clean effectively. Ask yourself: Are you rinsing and wringing enough to keep the mop clean and ready for the next section?
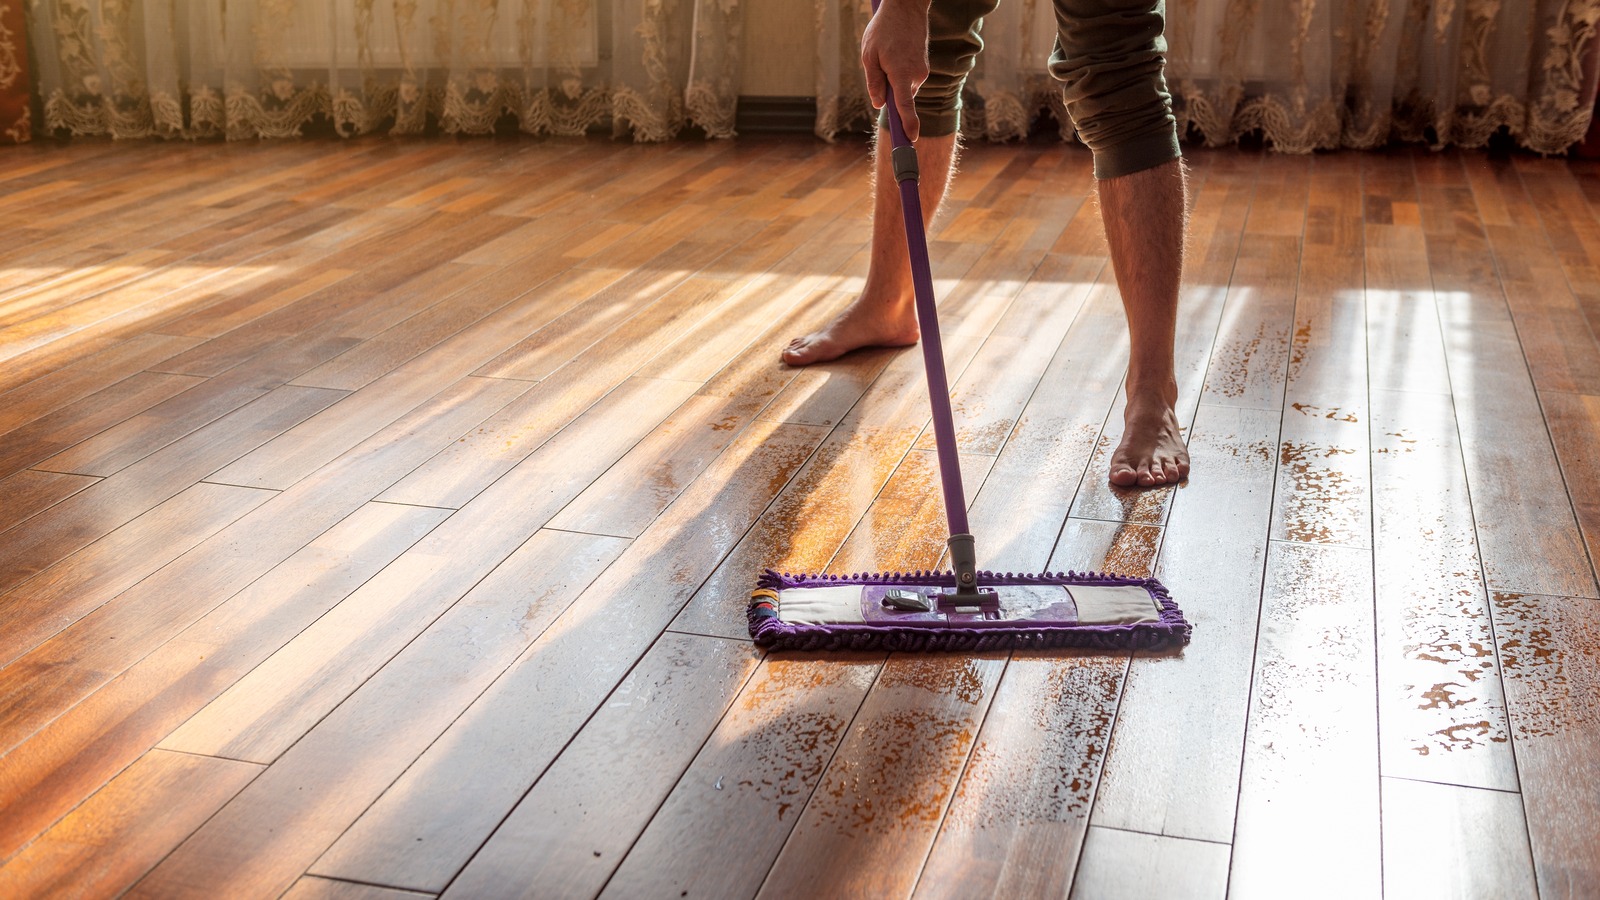
Drying The Floor
Drying the kitchen floor after mopping is a crucial step that many overlook. Leaving a wet floor can lead to slippery surfaces and attract more dirt. Ensuring your floor dries properly not only keeps it safe but also maintains its shine and cleanliness.
Air Drying Tips
Allowing your kitchen floor to air dry is the simplest way to avoid streaks and residue. Open windows or doors to create airflow that speeds up the drying process. If your kitchen lacks natural ventilation, you might want to use other drying aids.
Think about how quickly you want the floor to dry. If you have guests coming over soon, air drying alone might not be enough. But if time isn’t a factor, it’s a hands-free and effective approach.
Using Towels Or Fans
Using clean towels to dry spots on the floor can prevent puddles and reduce slip hazards quickly. Microfiber towels work best because they absorb water efficiently without leaving lint behind.
If you have a fan, position it to blow across the floor’s surface. This increases evaporation and cuts down drying time significantly. You can even combine towels and fans for stubborn wet areas.
Have you noticed how some floors dry faster in certain parts of your kitchen? Using fans strategically can help target those damp zones, especially near sinks or dishwashers.
Maintaining A Spotless Shine
Keeping your kitchen floor shining isn’t just about quick mops after spills. It takes consistent care and smart habits to maintain that spotless look. The secret lies in how often you clean and avoiding mistakes that dull the surface over time.
Regular Cleaning Schedule
Set a realistic cleaning routine that fits your lifestyle. Mopping once or twice a week usually keeps dirt and grime from building up.
If your kitchen sees heavy traffic or lots of cooking, consider a quick mop with a damp cloth daily. This stops stains before they set and keeps your floor looking fresh.
Remember, skipping days can mean more elbow grease later. Do you find yourself avoiding mopping because it feels like a big chore? Breaking it into small, regular tasks makes it easier to maintain.
Avoiding Common Mistakes
Using too much water can damage certain floor types and leave streaks. Always wring out your mop until it’s damp, not soaking wet.
Harsh chemicals might clean quickly but can strip your floor’s finish. Stick to gentle, pH-neutral cleaners designed for your flooring.
Don’t forget to rinse your mop frequently to avoid spreading dirt around. Dirty water only makes the floor look worse.
Have you ever noticed a sticky film after mopping? That’s usually leftover detergent. Try rinsing the floor with clean water after mopping to keep it clear and shiny.
Credit: www.housedigest.com
Frequently Asked Questions
How Often Should I Mop My Kitchen Floor?
Mop your kitchen floor at least once a week to maintain cleanliness. Increase frequency if spills occur frequently or you have pets. Regular mopping prevents dirt buildup and keeps your floor hygienic and fresh.
What Is The Best Mop For Kitchen Floors?
A microfiber mop is ideal for kitchen floors. It effectively traps dirt and requires less water. It is gentle on surfaces and dries quickly, reducing slip hazards and preventing floor damage.
How Do I Prepare The Floor Before Mopping?
First, sweep or vacuum the floor to remove loose dirt and debris. This prevents scratches and makes mopping more effective. Ensure the floor is dry before applying the mop solution.
Which Cleaning Solution Is Safe For Kitchen Floors?
Use a mild detergent mixed with warm water for most kitchen floors. Avoid harsh chemicals that can damage finishes. For natural stone, use a pH-neutral cleaner to protect the surface.
Conclusion
Mopping your kitchen floor keeps it clean and safe. Use the right mop and cleaning solution for best results. Clean regularly to avoid stains and dirt buildup. Dry the floor well to prevent slips and damage. Small steps make a big difference in kitchen care.
Keep your floor fresh and shiny with simple mopping. A clean kitchen floor feels good and looks great. Try these easy tips to make mopping quick and effective.