
If you’ve ever wondered how to open your kitchen exhaust fan cover, you’re not alone. Whether you need to clean it, fix a problem, or just take a closer look, knowing the right steps can save you time and frustration.
You’ll learn simple, clear instructions to help you open the cover safely and easily. By the end, you’ll feel confident handling this task yourself—and keep your kitchen running smoothly. Ready to get started? Let’s dive in.
Tools Needed
Before you start opening your kitchen exhaust fan cover, gathering the right tools is essential. Using improper tools can damage the cover or make the task harder. Having everything ready saves time and reduces frustration.
Screwdrivers
Screwdrivers are the most common tool you'll need. Most kitchen exhaust fan covers are held by screws, which can be either Phillips or flathead types. Check your cover first to know which screwdriver fits best.
Sometimes, screws may be tight or slightly rusted. In that case, a screwdriver with a comfortable grip and good torque can make a big difference.
Flashlight Or Headlamp
Visibility inside the fan cover can be limited. A flashlight or headlamp helps you see screws and components clearly. This is especially useful if your kitchen has low lighting or if you're working in a tight space.
Having both hands free while using a headlamp speeds up the process and avoids fumbling with tools.
Gloves
Don’t skip protective gloves. Exhaust fans can accumulate grease and dust, which might irritate your skin. Gloves also protect you from sharp edges on the fan cover.
Choosing gloves with good grip ensures you handle screws and parts safely without dropping them.
Putty Knife Or Flat Pry Tool
Sometimes the fan cover is clipped or sealed in place. A putty knife or a flat pry tool helps gently loosen these without bending or breaking the cover. Use it carefully to avoid damaging surrounding surfaces.
Having this tool handy prevents you from using makeshift items that might cause harm.
Magnet Or Screw Holder
Small screws can easily get lost during removal. Using a magnet or a dedicated screw holder keeps them secure. This prevents the hassle of searching for dropped screws later.
Keeping screws organized also speeds up reassembly after cleaning or maintenance.
Safety Precautions
Always turn off the power before opening the kitchen exhaust fan cover to avoid electric shock. Use a sturdy ladder and wear gloves to protect your hands. Ensure the area is well-lit and clear of any obstacles for safe access.
Opening a kitchen exhaust fan cover can seem straightforward, but ensuring your safety while doing so is crucial. Many overlook the potential risks involved, such as electrical hazards or sharp edges. By following some simple safety precautions, you can avoid common mishaps and protect yourself during the process.
Wear Protective Gear
Before you begin, equip yourself with basic protective gear. Wear gloves to protect your hands from sharp edges and a dust mask to avoid inhaling any accumulated dust or debris. Safety goggles are also a good idea to protect your eyes from unexpected particles.
Turn Off The Power
Always switch off the power supply to the exhaust fan before attempting to open the cover. Locate the circuit breaker for the kitchen and ensure the fan is not receiving any power. This simple step significantly reduces the risk of electrical shock.
Use The Right Tools
Having the right tools on hand makes the job easier and safer. A screwdriver, ladder, and flashlight are commonly needed. Ensure your tools are in good condition and suitable for the task to avoid accidents.
Ensure Stable Positioning
If you need to use a ladder, make sure it is stable and positioned correctly. Place it on a flat surface and have someone hold it steady if possible. This minimizes the risk of falls and injuries.
Handle With Care
Once the cover is removed, handle it gently. Exhaust fan covers can be surprisingly fragile. Avoid dropping or bending it to prevent damage to the cover or injury to yourself.
Check For Loose Parts
Inspect the exhaust fan for any loose parts before you start. Tighten any screws or components that seem loose to ensure they do not fall out during the process. This precaution helps maintain the fan's integrity and your safety. Taking these safety measures can make a world of difference. Have you ever skipped a safety step only to regret it later? Prioritizing safety not only protects you but ensures a smooth and effective fan maintenance.
Locate The Exhaust Fan Cover
Locating the kitchen exhaust fan cover is the first step to opening it safely. The cover protects the fan and keeps grease and dust from spreading. Knowing exactly where it is helps you work faster and avoid damage.
The exhaust fan cover usually sits above the cooking area. It is often found on the wall or ceiling, near the stove or cooktop. The cover can be a metal grille, a mesh screen, or a solid panel.
Check Above The Stove Or Cooktop
The exhaust fan cover is most often right above the stove. Look for a vent or grille that matches the size of your exhaust fan. It may blend with the kitchen hood or cabinet.
Look For A Removable Panel Or Grille
Exhaust fan covers are designed to come off for cleaning. Find screws, clips, or tabs around the cover’s edges. These hold the cover in place but allow removal.
Identify The Fan Housing
The fan housing is the box or frame inside the vent area. The cover sits on the outside of this housing. Spotting the housing helps confirm the cover’s location.
Use A Flashlight For Dark Or Hidden Spots
Some kitchen exhaust fans are tucked away behind cabinets or in ceilings. Shine a flashlight into dark corners to see the cover better. This helps find hard-to-see fasteners or edges.

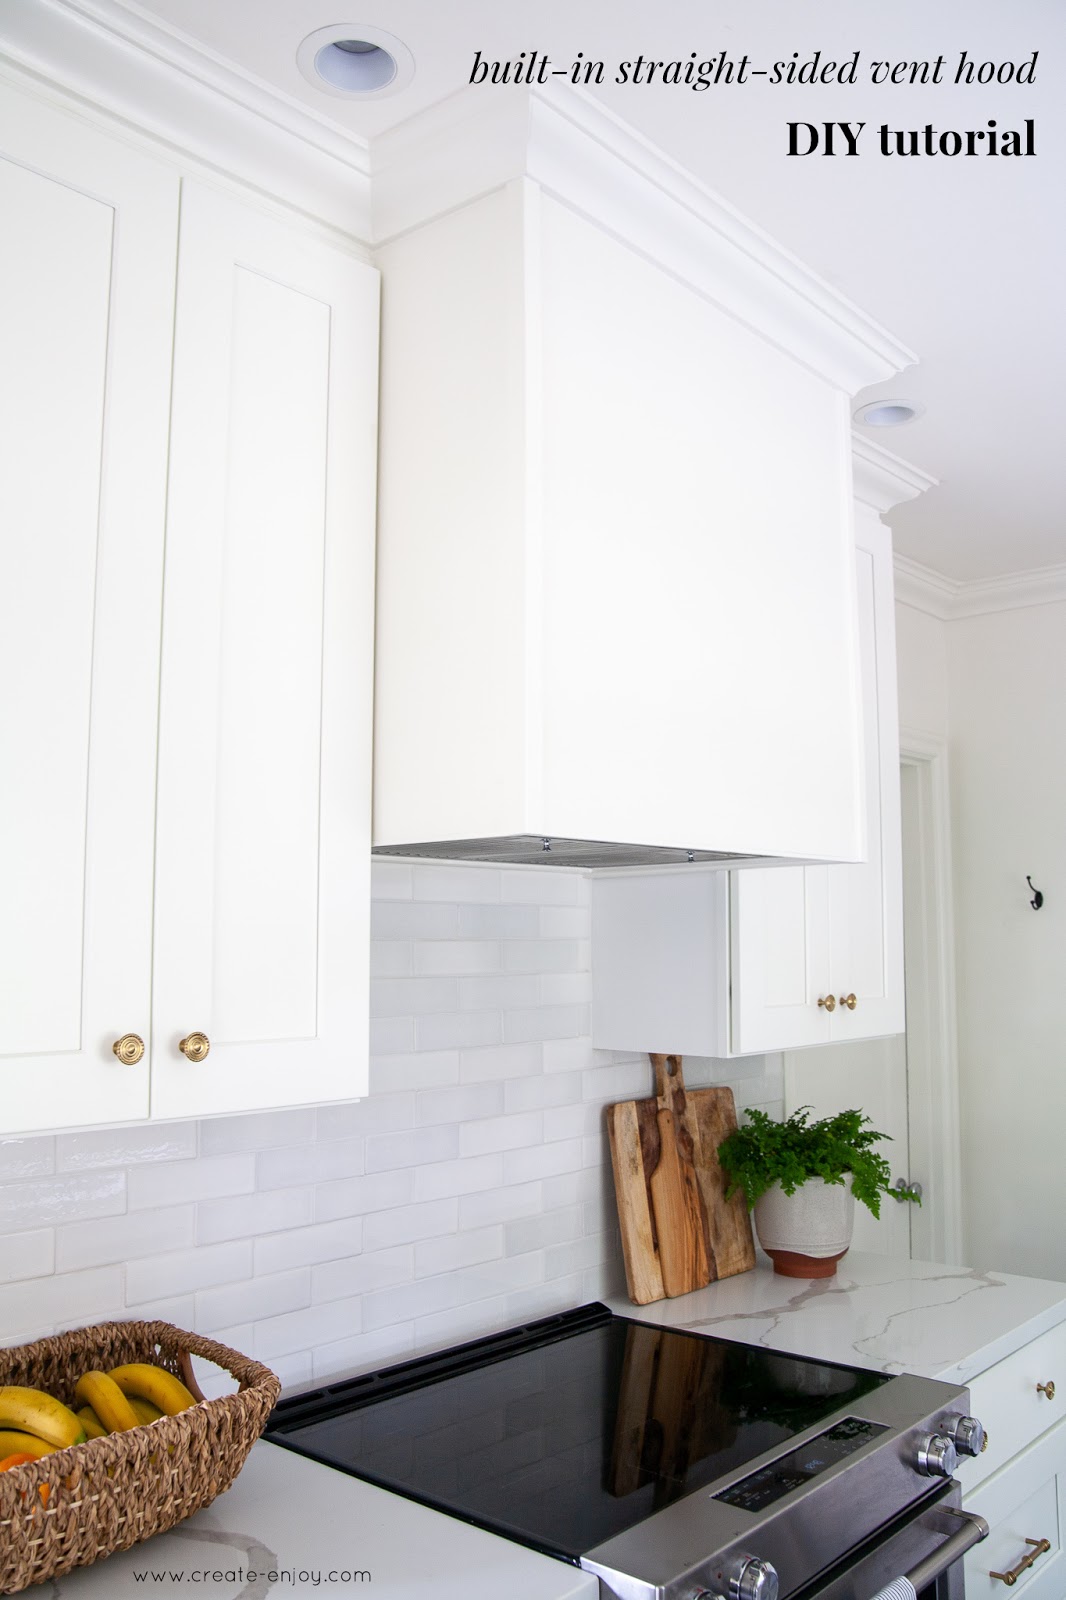
Credit: www.create-enjoy.com
Turn Off Power Supply
Turning off the power supply is the safest way to start opening a kitchen exhaust fan cover. It stops electricity flow and lowers the risk of electric shock. This step protects you from injury and keeps your kitchen safe.
Always treat electrical parts with care. Even a small electric current can cause harm. Make sure the fan is not running before touching any part of it.
Locate The Circuit Breaker
Find the main electrical panel in your home. Look for the breaker that controls the kitchen exhaust fan. It often has a label like "Kitchen" or "Exhaust Fan."
Switch Off The Correct Breaker
Flip the breaker switch to the off position. This cuts power to the fan completely. Confirm the power is off before proceeding.
Verify Power Is Off
Try turning on the fan to check. The fan should not start. Use a voltage tester if you have one for extra safety.
Identify Fasteners
Before you can open your kitchen exhaust fan cover, you need to identify the fasteners holding it in place. These fasteners come in different shapes and sizes, and knowing which ones you’re dealing with can save you time and frustration. Sometimes, the fasteners are hidden under grease or grime, so a careful inspection is key.
Common Types Of Fasteners
Look closely at the edges of the exhaust fan cover. You might find:
- Screws:Usually Phillips or flathead, screws require a matching screwdriver.
- Clips:These snap on and off without tools but can be tricky if stuck.
- Bolts and Nuts:These need a wrench or socket to remove.
- Tabs or Locks:Some covers have built-in tabs you press or slide to release.
Have you ever tried to remove a cover only to find a hidden clip? It’s a common surprise that slows down the process.
Tools You Might Need
Once you identify the fasteners, gather the right tools. A basic screwdriver set is often enough, but sometimes pliers, a socket set, or even a putty knife can help.
Keep your tools close by before you start. You don’t want to pause halfway through to look for a wrench.
Tips For Inspecting Fasteners Safely
Turn off the exhaust fan and disconnect power to avoid accidents. Grease can make fasteners slippery, so wipe the area gently with a cloth before you touch anything.
Work in a well-lit area or use a flashlight to see fasteners clearly. Have you noticed how small details become obvious with better lighting?
Remove Screws Or Clips
Removing screws or clips is often the first and most important step in opening a kitchen exhaust fan cover. These fasteners hold the cover firmly in place to prevent any grease or debris from escaping. Knowing how to handle them properly ensures you avoid damage and keep the process smooth.
Identify The Type Of Fasteners
Kitchen exhaust fan covers can have different types of fasteners like screws, clips, or a combination of both. Take a close look at your fan cover to determine whether you need a screwdriver or simply need to unclip the cover. This saves time and prevents unnecessary frustration.
Gather The Right Tools
Before you start, make sure you have the right tools handy. A Phillips head screwdriver is common, but some fans might require a flathead or even a specialty bit. Clips might need pliers or just your hands, so prepare accordingly.
Remove Screws Carefully
Loosen each screw slowly, keeping a firm grip to avoid dropping them inside the fan housing. If screws feel stuck, apply a little penetrating oil and wait a few minutes. This can make the removal easier and protect your tools from slipping.
Handle Clips With Caution
Clips can be springy and might snap if pulled too hard. Gently press or pry them open using a flathead screwdriver or your fingers. Pay attention to how the clips are attached so you can reattach them correctly later.
Keep Track Of All Parts
Once all screws or clips are removed, place them in a small container or on a magnetic tray. Losing even one screw can delay your cleaning or repair work. Keeping everything organized helps you reassemble the fan cover without hassle.
Have you ever tried removing fan cover fasteners only to find out you needed a different tool halfway through? Taking a moment to identify and prepare can save you that extra trip to the hardware store.
Lift The Fan Cover
Lifting the kitchen exhaust fan cover is the first and most crucial step to access the internal components for cleaning or maintenance. It may seem straightforward, but doing it carefully prevents damage and ensures safety. Let’s focus on how to lift the cover smoothly and what to watch out for during the process.
Locate The Release Mechanism
Most exhaust fan covers have a release mechanism such as clips, screws, or latches. Check the edges of the cover closely to find these points. If screws are involved, grab the right screwdriver before you start to avoid frustration halfway through.
Prepare Your Workspace
Clear the area under the fan to avoid dropping dust or grease on your kitchen surfaces. Lay down some old newspapers or a cloth for easy cleanup. Wearing gloves can protect your hands from dirt and sharp edges.
Lift The Cover Gently
After releasing the clips or screws, hold the cover firmly with both hands. Lift it slowly and steadily to avoid bending or snapping any parts. If it feels stuck, double-check for any hidden fasteners you might have missed.
Support The Cover While Working
Once lifted, prop the cover securely against the wall or ceiling. Some covers have built-in hinges or hooks—use them to keep the cover stable. If not, find a nearby support to hold it so your hands stay free for cleaning or repairs.
Recognize Common Obstacles
You might find grease buildup making the cover sticky or hard to lift. Use a little force, but never rush or yank the cover. If it resists, apply a gentle cleaner around the edges and wait a few minutes before trying again.
Have you ever struggled to open a fan cover only to realize a hidden latch was holding it tight? Paying close attention to these details saves you time and avoids damage. What challenges have you faced with kitchen exhaust fans that made you hesitant to open the cover?

Credit: www.create-enjoy.com
Clean Or Inspect Fan Components
Cleaning or inspecting your kitchen exhaust fan components is essential to keep your kitchen safe and your fan running efficiently. Dirt and grease buildup can reduce airflow and even cause unpleasant odors or fire hazards. Taking time to carefully check each part can save you money on repairs and improve your cooking environment.
Remove And Examine The Fan Blades
Start by carefully detaching the fan blades from the motor shaft. Check for any buildup of grease, dust, or debris on each blade. Wiping them down with a mild detergent and a soft cloth usually does the trick, but avoid soaking the blades if they are made of metal to prevent rust.
Inspect The Motor And Bearings
The motor is the heart of your exhaust fan. Look for signs of wear, unusual noises, or overheating. If the motor feels hot or the fan wobbles, the bearings might need lubrication or replacement. Using a few drops of light machine oil can often quiet noisy bearings and extend their life.
Check The Fan Cover And Housing
Don’t forget to clean the fan cover and housing where dust and grease accumulate. These areas can restrict airflow if clogged. Use a vacuum or a damp cloth to remove grime, and pay close attention to any cracks or damage that could affect performance.
Look For Loose Or Damaged Wiring
Safety is crucial when dealing with electrical appliances. Inspect all visible wiring for fraying or loose connections. If you spot any issues, it’s best to contact a professional electrician rather than attempting repairs yourself.
Test The Fan Operation After Cleaning
Once everything is cleaned and reassembled, turn the fan on and listen closely. Does it run smoothly without strange sounds or vibrations? If not, double-check your work or consider scheduling a maintenance check with a technician.
Reattach The Cover
Reattaching the kitchen exhaust fan cover is a simple process that keeps your kitchen safe and clean. After cleaning or maintenance, placing the cover back correctly is important. It ensures the fan works well and stops dust or grease from spreading.
Follow these steps carefully to secure the cover without damage or loose fitting.
Align The Cover With The Fan Frame
Hold the cover close to the fan frame. Match the edges and screw holes carefully. Proper alignment prevents gaps and helps the cover fit tightly.
Secure The Screws Or Clips
Use the original screws or clips to attach the cover. Tighten them gently but firmly. Avoid overtightening to prevent cracks or damage.
Check The Stability Of The Cover
After attaching, gently press the cover to check its stability. It should not move or feel loose. A stable cover improves safety and fan efficiency.
Clean The Surrounding Area
Wipe any fingerprints or dust around the fan cover. Clean edges help the cover seal better. This step also keeps your kitchen neat and tidy.

Credit: www.create-enjoy.com
Restore Power
Begin by turning off the power to ensure safety while working on the kitchen exhaust fan. Locate the screws or clips holding the cover and gently remove them to open the fan cover.
Restoring power to your kitchen exhaust fan is crucial. Without power, the fan remains inactive. This step follows after cleaning and reassembling the fan cover. Ensure all parts are securely in place. Restoring power incorrectly can cause damage or hazards.
Check The Power Source
First, inspect the power source. Ensure the switch is off before starting. This prevents accidents. Look for any visible damage to wires or plugs. Damaged components need immediate attention. Contact an electrician if unsure.
Reconnect The Power
Once the inspection is complete, reconnect the fan to the power source. Use the switch to turn on the power. Listen for any unusual noises. The fan should operate smoothly. If not, there may be underlying issues.
Test The Fan
After restoring power, test the fan's functionality. Turn it on and off a few times. Ensure it operates at all settings. A properly functioning fan will be quiet and efficient. If issues persist, consult a professional. Safety is paramount when dealing with electricity. Wear rubber gloves during the process. Avoid working with wet hands or tools. Always prioritize your safety and the safety of others.
Frequently Asked Questions
How Do I Safely Open A Kitchen Exhaust Fan Cover?
Turn off the power supply before starting. Use a screwdriver to remove screws gently. Handle the cover carefully to avoid damage or injury.
What Tools Are Needed To Open The Exhaust Fan Cover?
You typically need a screwdriver, usually Phillips or flathead. Sometimes, a wrench or pliers may be required. Always check your fan model for specific tools.
How Often Should I Clean The Kitchen Exhaust Fan Cover?
Clean the cover every 3 to 6 months. Frequent cleaning prevents grease buildup and improves fan efficiency. Regular maintenance extends the fan’s lifespan.
Can I Open The Exhaust Fan Cover Without Professional Help?
Yes, most covers are user-friendly and easy to open. Follow safety instructions and use proper tools. Seek professional help if unsure or if complicated parts exist.
Conclusion
Opening a kitchen exhaust fan cover is easier than it seems. Follow clear steps and use simple tools. Always stay safe and turn off power first. Regular cleaning keeps your kitchen air fresh and clear. Take your time and be gentle with parts.
Now, you can check and clean your fan without stress. Keep your kitchen healthy and free from smoke or grease. Simple care helps your fan work better and last longer. Give it a try—you’ll see the difference soon.