
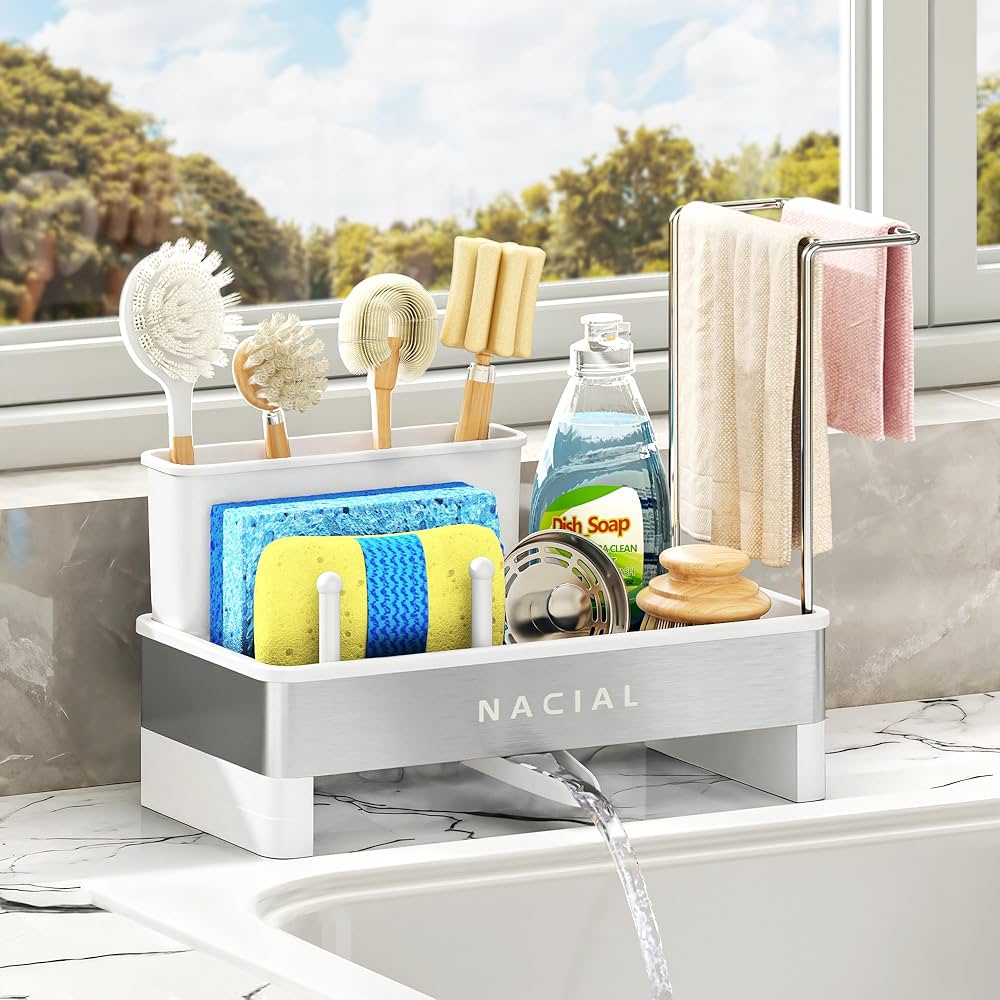
Your kitchen sponge is one of the hardest-working tools in your home. But have you ever stopped to think about where you keep it?
A cluttered, damp sponge spot can lead to germs, bad smells, and a messy sink area. Imagine reaching for a clean, dry sponge every time you wash dishes—how much easier and more pleasant your kitchen routine would be. You’ll discover simple and effective ways to organize your kitchen sponges, keeping them fresh, accessible, and out of the way.
Ready to transform your kitchen cleanup? Let’s dive in!
Credit: www.amazon.com
Choosing The Right Sponge
Choosing the right kitchen sponge affects cleaning efficiency and hygiene. Different sponges suit various tasks and surfaces. Picking the best sponge keeps your kitchen cleaner and your dishes spotless. Consider sponge types, materials, and durability to make a smart choice.
Types Of Kitchen Sponges
- Cellulose sponges absorb water well and are soft on dishes.
- Synthetic sponges resist odors and dry faster.
- Scrubbing sponges have a rough side to remove tough stains.
- Silicone sponges dry quickly and resist bacteria growth.
Material Considerations
Natural cellulose sponges come from wood fibers. They are eco-friendly but may wear out faster.
Synthetic sponges use plastic-based materials. They last longer but may trap odors.
Silicone sponges resist mold and bacteria. They clean gently and dry fast.
Durability And Lifespan
- Cellulose sponges last about one to two weeks with regular use.
- Synthetic sponges can last up to a month if kept dry.
- Silicone sponges last several months and are easy to clean.
- Replace sponges frequently to avoid bacteria buildup.

Credit: www.amazon.com
Effective Sponge Storage
Effective sponge storage keeps your kitchen clean and your sponges dry. Wet sponges can grow bacteria quickly. Organizing sponges properly helps them last longer and stay hygienic.
Using Sponge Holders
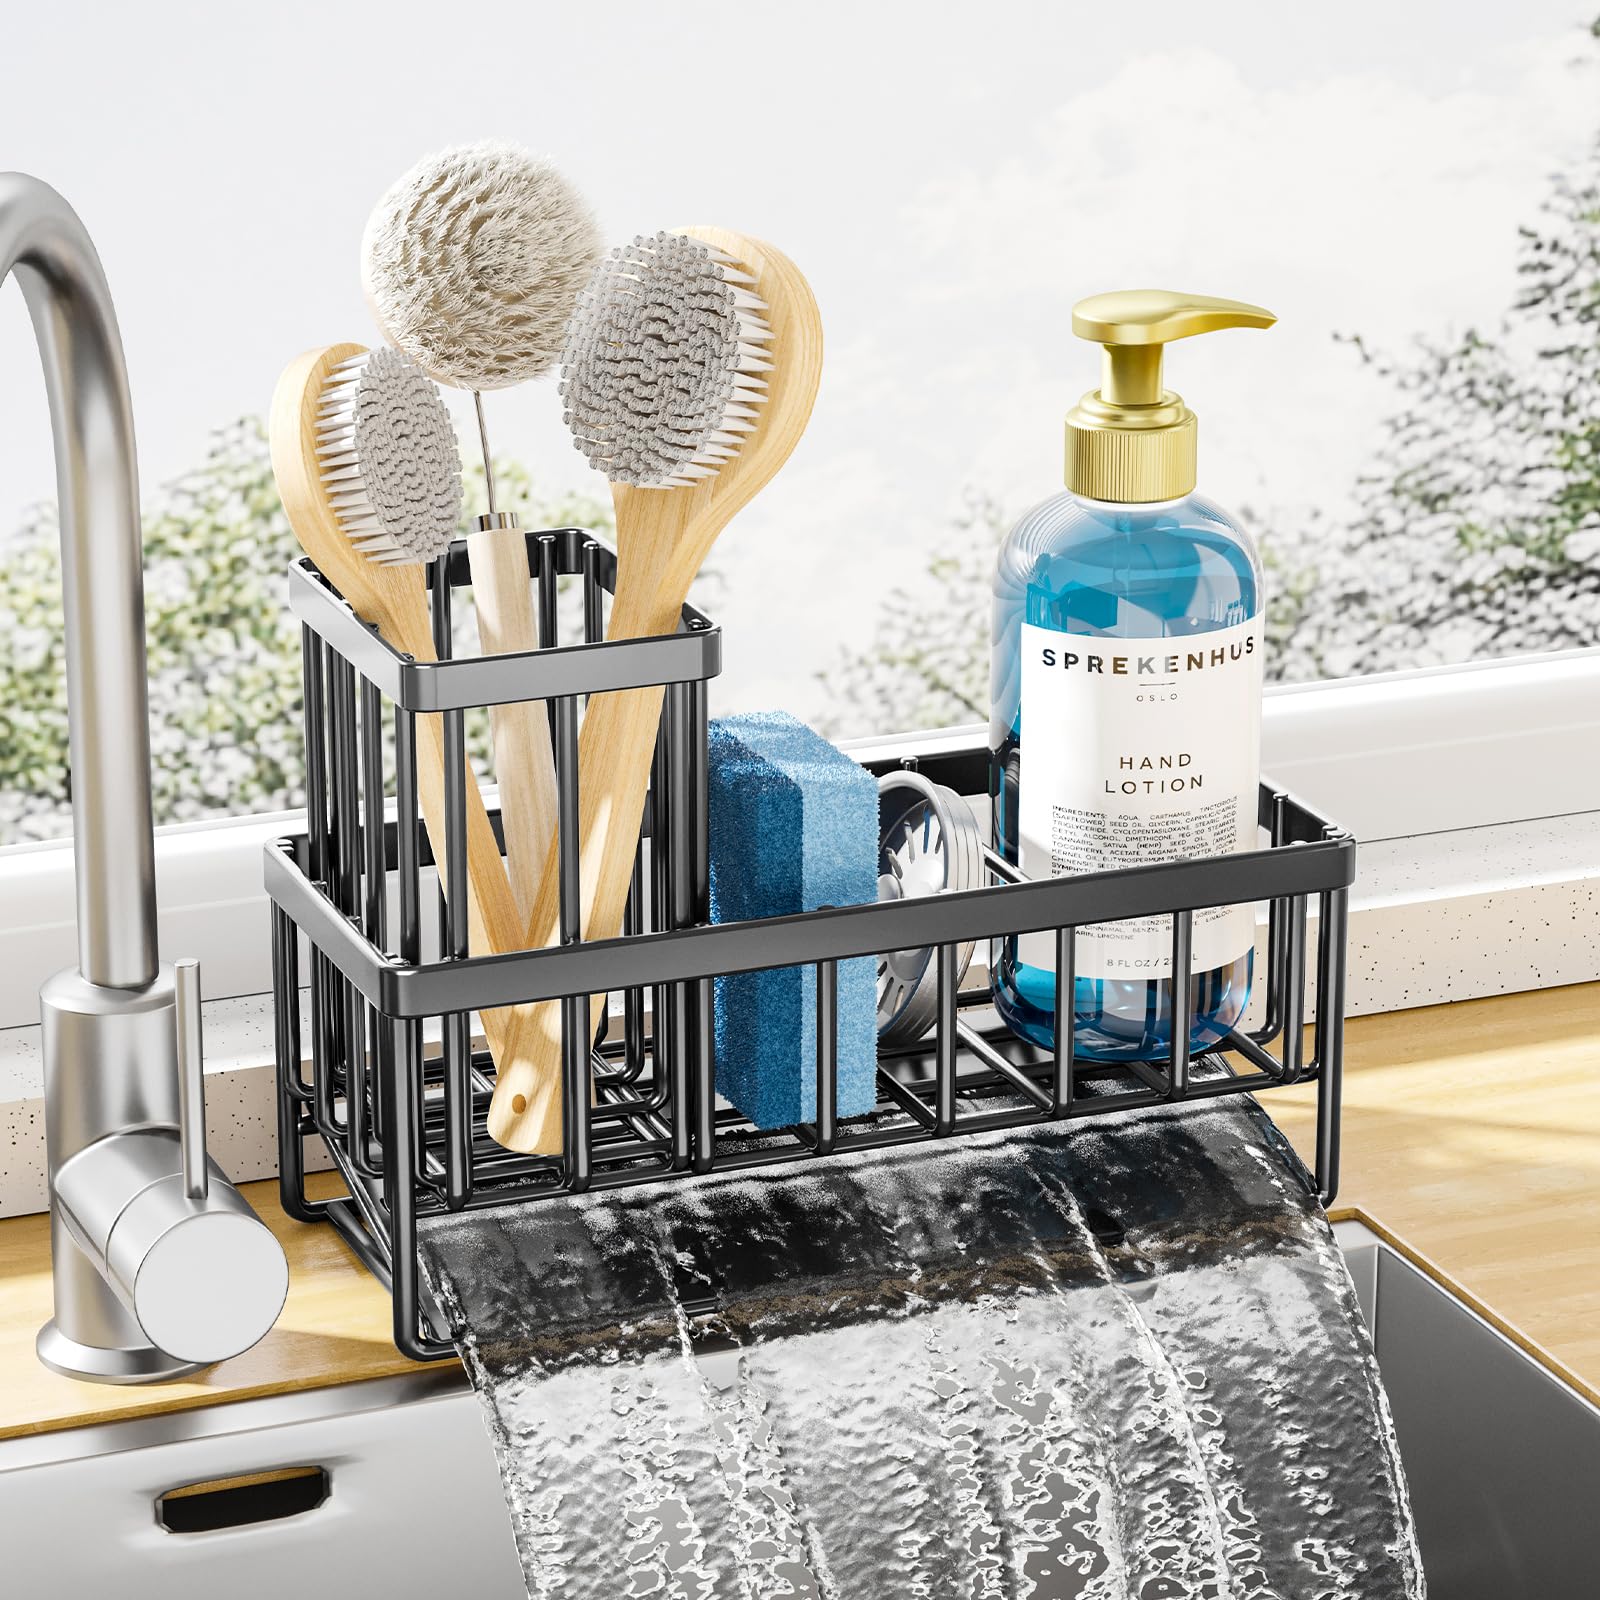
Sponge holders keep sponges off the sink surface. They allow air to circulate around the sponge. Many holders have drainage holes to let water escape. Some attach to the sink or wall with suction cups. This saves counter space and keeps sponges neat.
Diy Storage Solutions
Simple DIY ideas work well for sponge storage. Use a small dish rack or a clean jar. You can also repurpose a soap dish or an old container. Make sure the container has holes or gaps for airflow. Personalize your storage to fit your kitchen style.
Placement For Quick Drying
Place sponges where they can dry fast. Avoid leaving sponges inside the sink or in closed containers. Put them near a window or a well-ventilated area. Dry sponges resist bacteria better and stay fresher. Rotate sponges regularly to keep your kitchen healthy.
Cleaning And Maintenance
Organizing kitchen sponges involves more than just finding a spot for them. Proper cleaning and maintenance ensure they stay hygienic and last longer. Sponges are vital tools in the kitchen, but they can harbor bacteria if not cared for correctly. Let's explore some essential cleaning and maintenance tips.
Daily Cleaning Tips
Rinse sponges thoroughly after each use. Squeeze out excess water to prevent bacteria growth. Leave them to dry in a well-ventilated area. This helps keep them fresh and odor-free. You can also microwave damp sponges for 1 minute to kill germs. Be careful, as they will be hot.
Deep Cleaning Methods
Deep clean sponges weekly to ensure they remain sanitary. Boil them in water for 5 minutes. This kills lingering bacteria. Alternatively, soak them in a vinegar solution for 5 minutes. Rinse thoroughly afterward. You can also use a dishwasher. Place sponges on the top rack during a hot cycle.
When To Replace Sponges
Monitor the condition of your sponges regularly. Replace sponges every two weeks. If they smell bad or look worn, replace them sooner. Regular replacement prevents bacteria buildup and ensures cleanliness in your kitchen. A clean sponge equals a healthy home.
Keeping The Sink Area Tidy
Keeping the sink area tidy is key to maintaining a clean and efficient kitchen. Sponges, while essential, can quickly turn into clutter if not organized properly. Creating a neat space around your sink not only improves hygiene but also makes your kitchen feel more welcoming and easier to use.
Decluttering Around The Sink
Start by removing any unnecessary items that crowd your sink area. Only keep essentials like your sponge, dish soap, and perhaps a scrub brush. Too many products can make the space feel chaotic and harder to clean.
Think about what you really use every day. Could some items be stored elsewhere? Clearing the clutter will help your sponge have a designated spot and reduce the risk of germs spreading.
Using Trays And Mats
Place a small tray or mat next to your sink to hold your sponge and scrubbers. This keeps water from pooling directly on your countertop and helps your sponge dry faster. A tray with ridges or holes improves airflow, which is great for preventing bacteria buildup.
Look for trays made from easy-to-clean materials like silicone or plastic. You might find a stylish tray that matches your kitchen decor, making your sink area both functional and attractive.
Regular Sink Maintenance
Make it a habit to rinse your sink and sponge area daily. Wiping down surfaces after use prevents grime and soap scum from building up. This routine keeps your sink area fresh and ready for the next task.
Have you noticed how a quick wipe can change the whole feel of your kitchen? Regular maintenance doesn't take much time but pays off by keeping your sponge storage clean and your kitchen inviting.
Eco-friendly Sponge Alternatives
Eco-friendly sponge alternatives help reduce plastic use and waste. These options last longer and break down naturally. Switching to them supports a cleaner kitchen and planet.
Reusable Options
Reusable sponges come in materials like silicone and cloth. They dry quickly and resist odors. Many can be washed in the dishwasher or washing machine. This saves money and cuts down on trash.
Compostable Materials
Sponges made from natural fibers break down in compost bins. Materials such as cellulose, cotton, and hemp work well. They clean effectively without chemicals. After use, they return nutrients to the soil instead of polluting landfills.
Reducing Waste In The Kitchen
Using eco-friendly sponges reduces plastic waste from disposable ones. They can be reused many times before replacing. Store sponges properly to extend their life. Dry them between uses to prevent bacteria growth and bad smells.

Credit: www.amazon.com
Frequently Asked Questions
How Often Should I Replace Kitchen Sponges?
Replace kitchen sponges every 1 to 2 weeks to prevent bacteria buildup. Frequent replacement ensures hygiene and keeps your kitchen safe.
What Is The Best Way To Dry Kitchen Sponges?
Squeeze out excess water and place sponges in a well-ventilated area. Allowing them to air dry prevents mold and odors.
Can I Sanitize Kitchen Sponges Effectively?
Yes, microwave damp sponges for 1-2 minutes or soak in bleach solution. Sanitizing kills most bacteria and extends sponge usability.
Where Should I Store Kitchen Sponges To Stay Organized?
Store sponges in a dedicated holder with drainage near the sink. This keeps sponges dry, clean, and easy to access.
Conclusion
Organizing kitchen sponges keeps your space clean and tidy. It helps sponges dry faster and stay fresh. Simple storage ideas save you time and effort daily. Clean sponges mean less bacteria in your kitchen. A small change can improve your cooking area a lot.
Start organizing today and enjoy a neater kitchen tomorrow.