
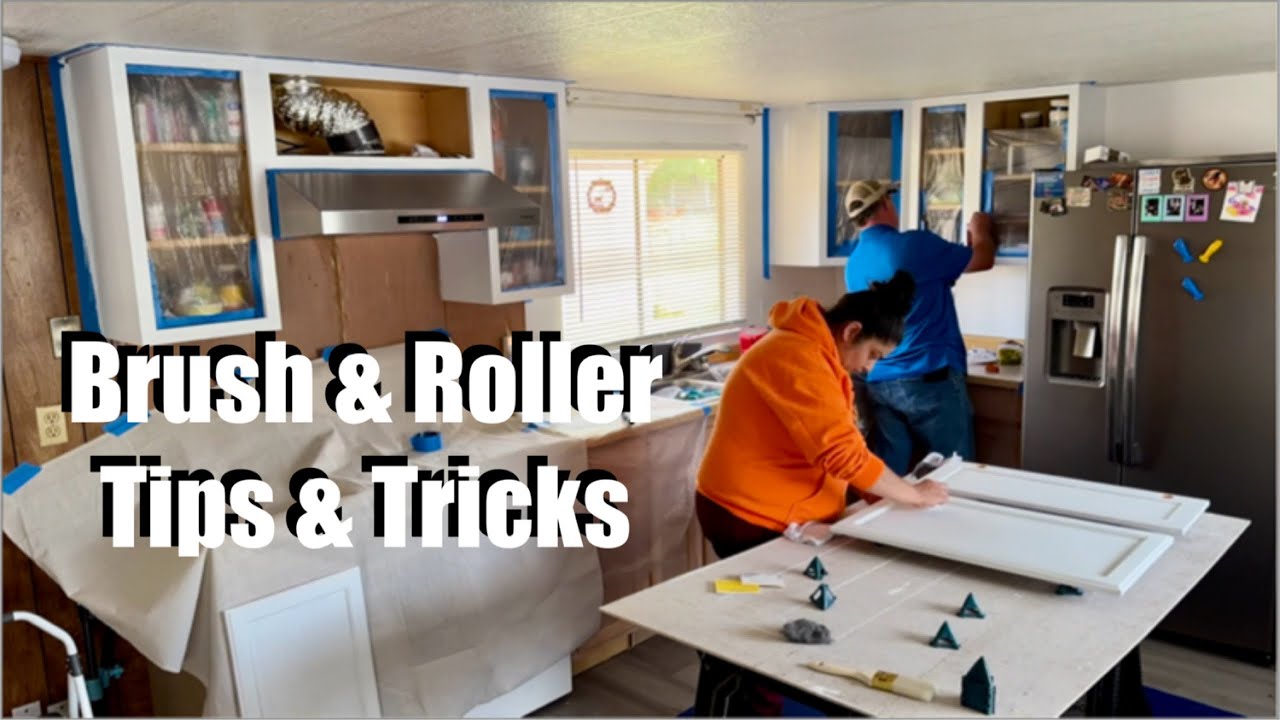
Are your kitchen cabinets looking dull or outdated? Painting them yourself can give your kitchen a fresh, new look without spending a fortune.
But if you’re worried about using a brush and getting messy, don’t be. With the right steps and a little patience, you can achieve smooth, professional-looking results that will make your cabinets stand out. Keep reading to discover how to paint your kitchen cabinets with a brush easily and effectively—your dream kitchen makeover starts here!
Credit: www.cabinetnow.com
Choosing The Right Paint And Brush
Choosing the right paint and brush is key to a smooth kitchen cabinet painting project. The right materials help you get an even finish and save time. Picking poor quality paint or a wrong brush can cause streaks and drips. This section guides you through selecting the best paint type and brush for your cabinets.
Best Paint Types For Cabinets
Cabinets need paint that is tough and easy to clean. Here are top choices:
- Semi-gloss or gloss enamel:Durable and shiny. Resists stains and moisture well.
- Oil-based paint:Smooth finish and hard surface. Dries slowly, so take your time.
- Water-based acrylic paint:Low odor and quick drying. Easy to clean brushes with water.
Choose paints labeled for cabinets or trim for best results. They hold up better against daily use.
Selecting The Ideal Brush
Brush type affects the final look of your cabinets. Use brushes designed for smooth finishes.
- Synthetic bristle brushes:Great for water-based paints. Stay firm and hold paint well.
- Natural bristle brushes:Best for oil-based paints. Provide a smooth coat without brush marks.
- Brush size:Use a 2 to 2.5-inch angled brush. It fits cabinet corners and edges perfectly.
Pick a high-quality brush for fewer streaks and better control. Avoid cheap brushes that shed bristles.
Preparing Cabinets For Painting
Preparing your kitchen cabinets for painting is a crucial step that often determines the final look and durability of your work. Skipping or rushing this stage can lead to peeling paint or uneven surfaces that quickly show wear. Taking the time to carefully prepare ensures your cabinets look fresh and last longer.
Removing Hardware And Doors
Start by taking off all cabinet doors, drawers, and hardware such as handles and hinges. Use a screwdriver to remove screws carefully and keep them in labeled containers or bags to avoid losing any pieces. This step gives you full access to all surfaces and prevents paint from getting on hardware, which can be tricky to clean later.
Have you noticed how much easier painting is when you work on flat surfaces? Removing doors and drawers lets you lay them on a stable workbench, making it simpler to paint neatly and evenly.
Cleaning And Sanding Surfaces
Next, clean every cabinet surface thoroughly. Use a degreaser or a mixture of warm water and dish soap to remove kitchen grease, dirt, and grime. Wipe the surfaces with a clean cloth and let them dry completely before moving on.
Sanding is essential to create a smooth base for your paint to stick. Use medium-grit sandpaper (around 120-150 grit) to gently roughen the surface without damaging the wood or veneer. Focus on any glossy spots or old paint patches to ensure better adhesion.
Have you ever painted over a slick surface only to see the paint peel off weeks later? Sanding solves this problem by giving the paint a texture to grip onto, making your effort last much longer.
Setting Up Your Workspace
Before you dip your brush into that can of paint, it's crucial to set up your workspace effectively. The right preparation can make the difference between a smooth painting process and a messy disaster. A well-organized space not only enhances your efficiency but also protects your kitchen and tools. Let's dive into setting up your workspace for painting kitchen cabinets with a brush.
Protecting Surrounding Areas
Ensuring your kitchen remains spotless is key. Use painter's tape to cover the edges of walls and countertops. This prevents any accidental splashes from staining surfaces.
Lay down a drop cloth or plastic sheeting on the floor to catch drips and spills. This simple step saves you from a tedious clean-up later.
Consider removing appliances or covering them with old sheets. You wouldn’t want a splash of paint on your shiny refrigerator!
Organizing Tools And Materials
Having everything you need within arm’s reach can be a game-changer. Arrange your brushes, paint cans, sandpaper, and cleaning cloths on a nearby table or countertop.
Use a small container or tray to hold screws and hinges after removing cabinet doors. This ensures you don’t lose any small parts in the process.
Keep a garbage bag handy for any waste. It’s surprising how much scrap paper and tape accumulate during a painting project!
How do you ensure your workspace remains tidy and efficient? Share your tips in the comments below!
Credit: www.familyhandyman.com
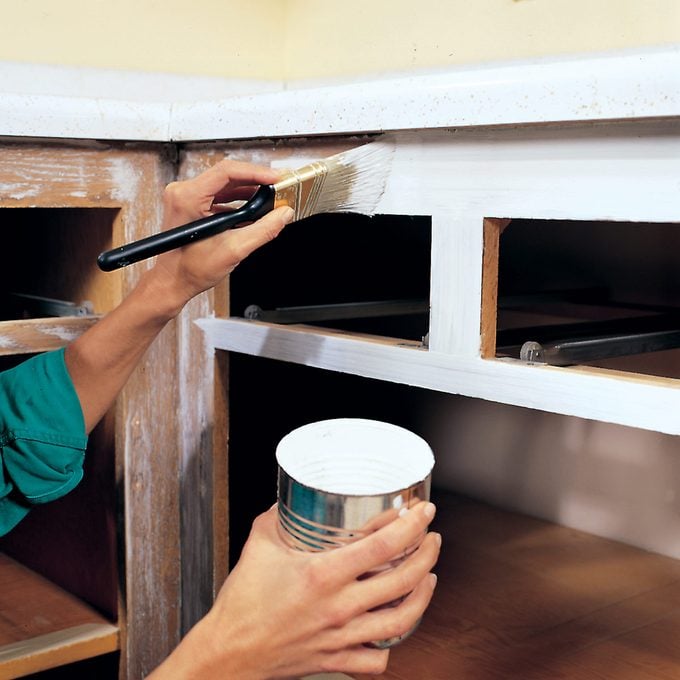
Applying Primer Correctly
Applying primer correctly is a crucial step in painting kitchen cabinets with a brush. It sets the stage for a smooth and long-lasting finish. Skipping or rushing this step often leads to peeling or uneven paint that can ruin your hard work.
Choosing The Right Primer
Not all primers are created equal. For kitchen cabinets, pick a primer designed for wood or laminate surfaces to ensure proper adhesion.
Consider these points when choosing your primer:
- Oil-based primerswork well on raw wood and stain-blocking but take longer to dry.
- Water-based primersdry faster and have less odor, making them ideal for indoor use.
- Bonding primersare perfect if your cabinets have a glossy finish or are laminated.
Have you checked the label for compatibility with your paint type? Using the wrong primer can cause bubbling or peeling later.
Techniques For Smooth Application
Applying primer with a brush can be tricky if you don’t use the right technique. Always start with a clean, dry surface to avoid trapping dust or grease under the primer.
Here are some tips that helped me get a smooth coat:
- Use a high-quality synthetic brush for even strokes.
- Apply thin coats instead of one thick coat to prevent drips.
- Brush in the direction of the wood grain for a natural finish.
- Let each coat dry fully before adding the next to avoid tackiness.
Do you feel your primer coats are uneven or brush marks show up? Try lightly sanding between coats with fine-grit sandpaper; it makes a big difference.
Brush Painting Techniques
Mastering brush painting techniques can transform your kitchen cabinets from dull to stunning. The key lies in how you handle the brush and apply the paint. Small adjustments in your approach can save you from frustrating brush marks and uneven finishes.
Loading The Brush Properly
Loading your brush correctly is the foundation of smooth painting. Dip the brush about one-third into the paint, then gently tap it against the side of the can to remove excess. Overloading the brush causes drips, while underloading forces multiple strokes that waste time.
Think about your last painting session—did you have to stop frequently to reload? Adjusting how much paint you pick up can reduce interruptions and create a continuous flow.
Using Smooth, Even Strokes
Apply paint with long, steady strokes moving in the same direction. This approach helps the paint lay flat and reduces the chance of visible brush lines. Keep your wrist relaxed to maintain control and avoid uneven pressure.
Imagine painting a cabinet door and ending up with patchy areas. Using slow, even strokes ensures consistent coverage and a professional look.
Avoiding Brush Marks
Brush marks often appear when paint starts to dry before you finish spreading it. Work quickly but carefully, blending each stroke into the previous one while the paint is still wet. Lightly feather the edges to create a seamless finish.
Have you noticed rough patches or streaks after your last paint job? Try not to press too hard or overbrush an area; instead, let the paint do the work while you guide it gently.
Applying Multiple Coats
Applying multiple coats of paint is key to achieving a smooth, durable finish on your kitchen cabinets. It helps cover any imperfections and builds up a rich, even color that lasts. But it’s not just about slapping on paint—how you space out and prepare each coat makes all the difference in the final look.
Drying Time Between Coats
Waiting long enough for each coat to dry is crucial. Rushing this step can cause the paint to peel or bubble later on.
Typically, you’ll want to wait at least 4 to 6 hours before applying the next coat, but check the paint can for specific instructions. Some paints dry faster, others need more time.
Remember, a fully dry surface means better adhesion for the next layer. Have you ever noticed paint lifting after a few days? That’s usually because the previous coat wasn’t dry enough.
Sanding Between Layers
Sanding between coats might feel like extra work, but it smooths out any bumps or dust that settled while drying. It also helps the new layer stick better.
Use fine-grit sandpaper (around 220 grit) and sand gently. You don’t want to strip the paint, just dull the surface slightly.
After sanding, wipe the cabinets with a damp cloth to remove all dust. Skipping this step can leave your cabinets rough or with uneven texture. Have you tried sanding between coats before? It can transform your results from amateur to professional quality.
Finishing Touches
Finishing touches bring your kitchen cabinet painting project to life. They create a polished look and ensure durability. Take time to complete these steps carefully. A neat finish makes your cabinets look professional and fresh.
Reattaching Hardware
Wait until the paint is fully dry before reattaching handles and knobs. Use a screwdriver to tighten screws gently. Avoid over-tightening to prevent damage to the wood or paint. Check each piece for alignment to keep the doors and drawers functioning well. Replace any worn or broken hardware for a fresh appearance.
Cleaning Up Tools
Clean your brushes and tools immediately after painting. Use warm, soapy water for water-based paints. For oil-based paints, use the recommended solvent. Remove all paint from the bristles to keep brushes soft and ready for next use. Dry tools completely before storing them away. Proper care saves money and keeps tools in good shape.
Tips For Long-lasting Results
Painting kitchen cabinets with a brush can refresh your space beautifully. To keep that fresh look for years, some care and attention are key. Small habits and smart choices make a big difference in durability. Follow these simple tips for long-lasting results that protect your work and keep cabinets looking great.
Maintaining Painted Cabinets
Clean cabinets gently to protect the paint. Use a soft cloth with mild soap and water. Avoid harsh chemicals or abrasive scrubbers that can damage the finish. Wipe spills quickly to prevent stains. Regular dusting helps keep surfaces smooth and fresh. Check for chips or scratches and touch up paint as needed. This small care keeps cabinets looking new longer.
Common Mistakes To Avoid
- Skipping primer can cause paint to peel faster.
- Using a brush with rough bristles leaves marks on the surface.
- Applying thick paint layers leads to drips and uneven drying.
- Not allowing enough drying time between coats weakens the finish.
- Ignoring cabinet cleaning before painting reduces paint adhesion.
- Opening doors or drawers too soon can cause smudges.

Credit: www.youtube.com
Frequently Asked Questions
How Do I Prepare Kitchen Cabinets Before Painting?
Start by removing cabinet doors and hardware. Clean surfaces with degreaser. Sand lightly to smooth imperfections. Wipe away dust with a damp cloth. Proper prep ensures paint adhesion and a smooth finish.
What Type Of Paint Is Best For Cabinets?
Use high-quality, durable paint like acrylic latex or oil-based enamel. These paints resist stains and wear. They provide a smooth, long-lasting finish perfect for kitchen cabinets.
Can I Use A Brush Instead Of A Sprayer?
Yes, a brush works well for detailed cabinet work. Choose a high-quality synthetic brush for smooth strokes. Brushes allow better control in tight spaces and corners.
How Many Coats Of Paint Do Kitchen Cabinets Need?
Apply at least two coats for full coverage and durability. Allow each coat to dry completely before applying the next. Multiple coats ensure a professional, even finish.
Conclusion
Painting kitchen cabinets with a brush takes patience and care. Clean and sand the surface well before you start. Use smooth, even strokes to avoid brush marks. Let each coat dry fully for the best finish. Take your time, and don’t rush the process.
The results will make your kitchen look fresh and new. Small steps lead to great changes. Now, enjoy your beautifully painted cabinets!