
Is your kitchen sink clogged and causing you frustration? You’re not alone, and the good news is, you don’t need to call a plumber right away.
Learning how to plunge your kitchen sink is a simple skill that can save you time, money, and stress. In this guide, you’ll discover easy, step-by-step tips to clear that blockage quickly and effectively. Keep reading, and you’ll have your sink draining smoothly before you know it.
Tools Needed
Before you start plunging your kitchen sink, gathering the right tools is crucial. Having everything on hand can save you time and frustration. You don’t want to be halfway through the job only to realize you’re missing something important.
Choosing The Right Plunger
Not all plungers are created equal. For kitchen sinks, a cup-shaped plunger with a flat rim works best because it creates a tight seal over the drain. Avoid toilet plungers with a flange; they won't form a proper seal on flat surfaces like your sink.
Think about the size of your sink drain too. If the plunger is too big or too small, it won’t generate enough pressure. Have you checked if your plunger feels comfortable and fits snugly over the drain opening?
Additional Supplies
Besides the plunger, there are a few other tools that can make your job easier. A pair of rubber gloves protects your hands from dirty water and grime, while an old towel or rag helps contain any spills.
You might also want a bucket to catch water if you decide to remove the sink trap later. If the clog is stubborn, having a plumbing snake or wire hanger can provide extra help. Have these ready before you dive in to avoid interruptions.
Preparing The Sink
Before you start plunging your kitchen sink, getting the area ready can save you time and frustration. Proper preparation ensures the plunger works effectively and prevents any mess from spreading. Let’s look at how to get your sink ready for plunging.
Clearing The Area
Remove any dishes, soap bottles, or cleaning tools around your sink. A clear workspace helps you move freely and avoids accidental spills. Plus, it gives you better access to the sink and the plunger, making the task smoother.
Have you noticed how clutter can slow you down during home fixes? Clearing the area is a simple step that often gets overlooked but makes a big difference.
Removing Excess Water
If your sink is filled with standing water, use a small container or cup to scoop out most of it. Leaving too much water in the sink can reduce the plunger’s suction power. Aim to keep just enough water to cover the plunger’s cup for a tight seal.
This small adjustment can improve your plunging results dramatically. It’s all about creating the right pressure to push through the clog.
Plunging Techniques
Plunging a kitchen sink clears clogs by creating pressure to push blockages through pipes. Use a tight seal around the drain and pump firmly to remove the clog. Repeat until water flows smoothly.
Plunging a kitchen sink might seem like a daunting task, but with the right techniques, you can tackle the problem efficiently. Understanding the nuances of creating a proper seal and mastering the plunging motion are crucial steps. Let’s break down these techniques to make sure your kitchen remains a clog-free zone.
Creating A Seal
To achieve a successful plunge, the first step is creating a solid seal. Place the plunger over the drain, ensuring it's fully covered. If there's a double sink, seal the other drain with a wet cloth to maintain pressure. A firm seal is essential for the plunger to work effectively. You might need to add some water to the sink to submerge the plunger’s cup completely. This added water helps create the necessary vacuum for removing the clog.
Proper Plunging Motion
Once the seal is secured, it's time to focus on your plunging motion. Use both hands to grip the plunger firmly, applying even pressure. Push down gently, then pull up sharply, maintaining the seal throughout the process. The motion should be rhythmic and consistent. This action causes a pressure change that can dislodge the blockage. Remember, patience is key; sometimes it takes a few tries to notice a difference.
When To Repeat
After a few plunges, check if the water drains away. If it does, you've likely cleared the clog. However, if the water remains, it might be time to repeat the process. Don’t rush; give it another round of plunging. If after several attempts the sink is still clogged, it might be time to consider other methods or seek professional help. Taking the time to master these techniques can save you from unnecessary stress and costly repairs. Have you ever faced a stubborn clog that required multiple attempts? How did you handle it? Share your stories and tips for a clog-free kitchen!
:max_bytes(150000):strip_icc()/SPR-why-you-should-never-use-baking-soda-and-vinegar-to-unclog-a-drain-8778242-04-b8b62e09cdf346b2b518932e28287d15-2e295bf98be3404fb37ab5c4db04e5fd.jpg)
Credit: www.thespruce.com
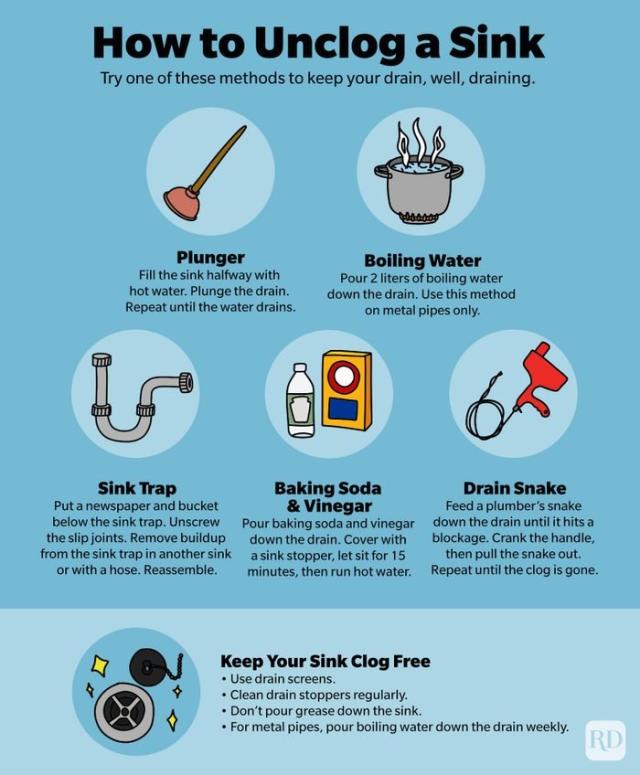
Troubleshooting Stubborn Clogs
Stubborn clogs in a kitchen sink can stop water flow and cause frustration. These blockages often resist simple plunging. Troubleshooting requires a few careful checks and natural solutions. Some clogs hide deeper in pipes, needing special tools. Understanding basic steps can save time and prevent costly repairs.
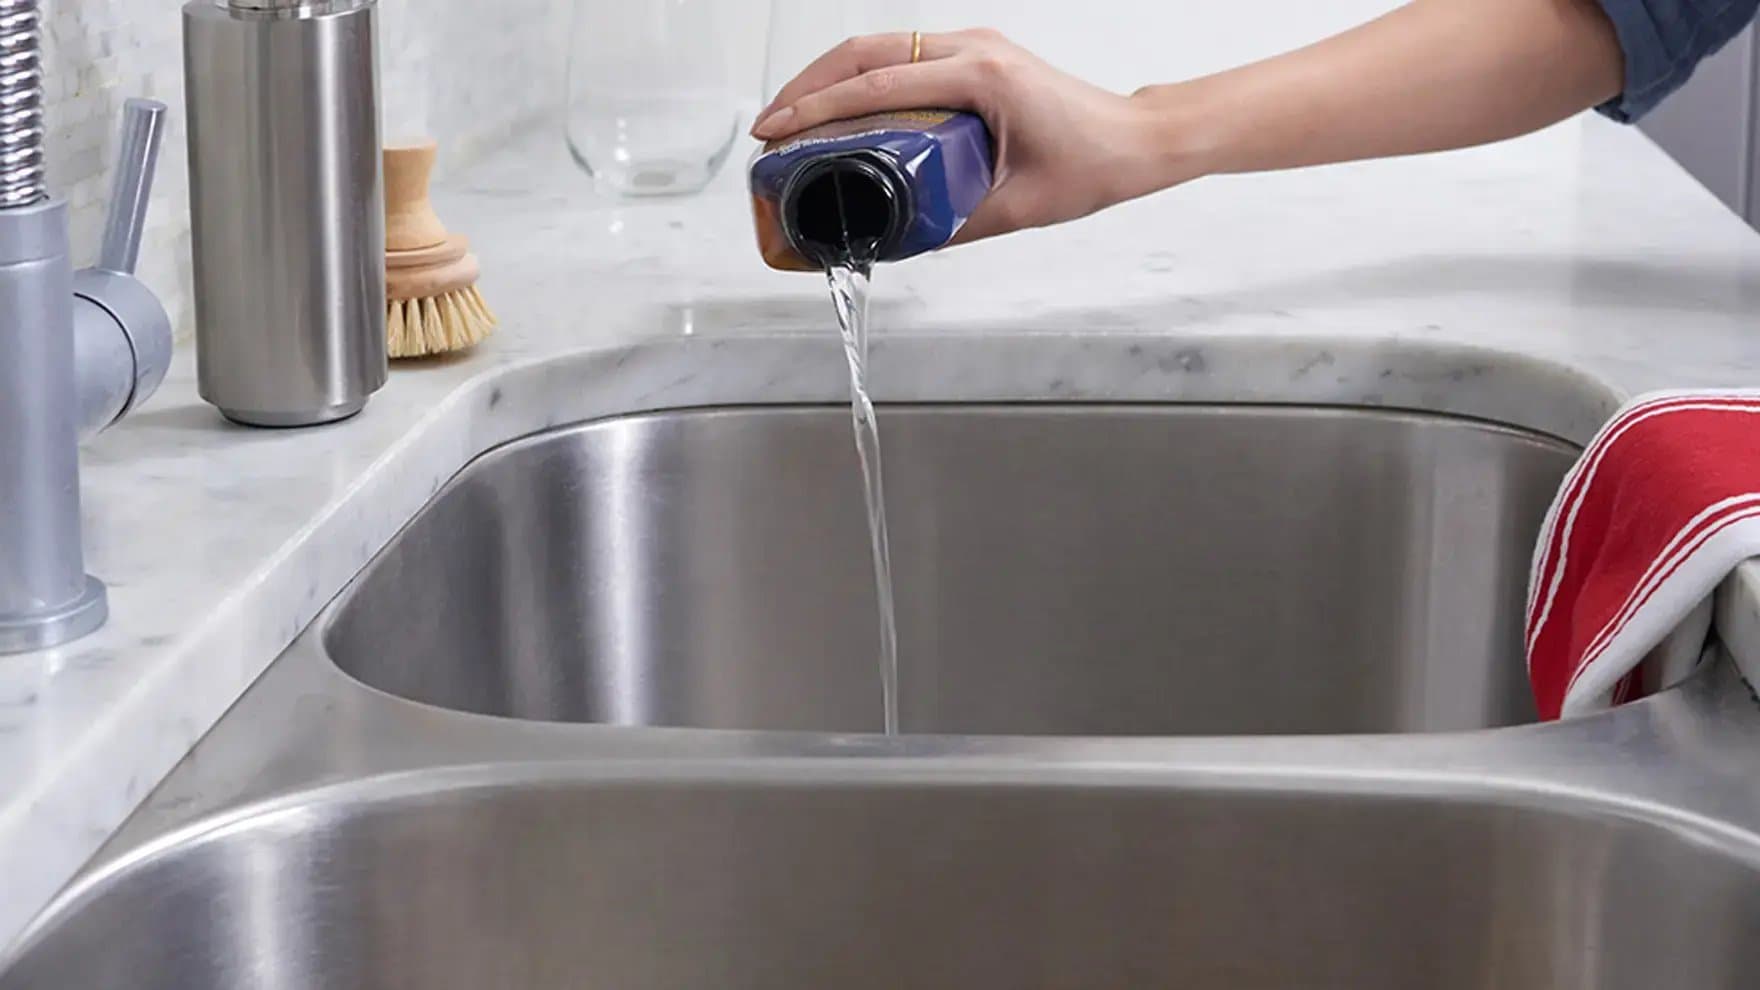
Using Baking Soda And Vinegar
Baking soda and vinegar create a natural cleaning reaction. Pour half a cup of baking soda into the drain first. Follow with one cup of vinegar. Cover the drain with a plug or cloth to keep the reaction inside. Wait for 15 to 30 minutes. Flush the drain with hot water to clear loosened debris. This method works well for mild clogs and removes odors.
Checking The Trap
The trap under the sink can collect food and grease, causing clogs. Place a bucket under the trap to catch water. Use a wrench to loosen the slip nuts on both ends. Remove the trap carefully. Clean out any debris inside using a brush or cloth. Reassemble the trap and test the drain by running water. This step often fixes stubborn blockages near the sink.
When To Use A Drain Snake
A drain snake reaches deeper clogs that a plunger cannot clear. Insert the snake into the drain slowly and turn the handle clockwise. Push it further until resistance is felt. Rotate the snake to break up or hook the clog. Pull the snake out carefully to remove debris. Run water to check if the drain flows freely. Use a drain snake when other methods fail or clogs persist.
Preventing Future Clogs
Preventing future clogs in your kitchen sink saves you time and stress. It keeps your plumbing running smoothly and avoids the hassle of repeated plunging. Small daily habits can make a big difference in stopping blockages before they start.
Regular Maintenance Tips
Clean your sink strainers often to catch food scraps and debris before they enter the drain. A quick rinse after every meal can prevent buildup that leads to clogs. Using boiling water once a week helps dissolve grease and soap residue lining the pipes.
Try pouring half a cup of baking soda followed by half a cup of vinegar down the drain monthly. Let it sit for 15 minutes, then flush with hot water. This natural method keeps your pipes fresh and clear without harsh chemicals.
Check under your sink for leaks or slow drainage regularly. Early signs of trouble let you fix small problems before they become big blockages. Remember, a smooth-running sink depends on consistent care.
Avoiding Common Mistakes
Don’t pour grease or oil down the drain—they solidify and cause stubborn clogs. Instead, collect grease in a container and toss it in the trash. It’s a simple change that prevents major plumbing headaches.
Avoid flushing large food scraps or fibrous materials like onion skins or coffee grounds. These can get trapped and slow water flow. Use a compost bin or trash can for these leftovers.
Be cautious about what you flush down the garbage disposal. Hard items like bones or fruit pits can damage blades and cause blockages. Ask yourself, “Is this something my disposal can handle?” If not, dispose of it another way.
Have you noticed any habits that might be harming your sink? Identifying and stopping these habits is your best defense against future clogs.
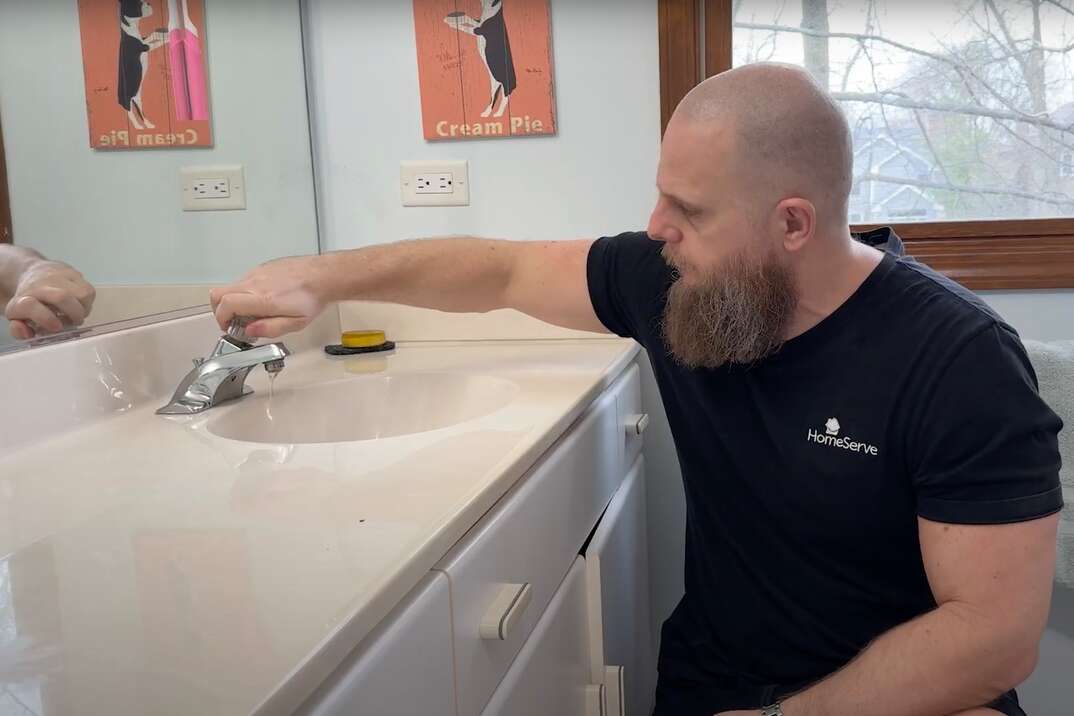
Credit: www.homeserve.com
Credit: www.aol.com
Frequently Asked Questions
How Do I Properly Plunge A Kitchen Sink?
To plunge a kitchen sink, fill it with some water. Place the plunger over the drain. Push down and pull up rapidly several times. This creates pressure to dislodge the clog. Repeat if necessary until water drains freely.
What Tools Are Needed To Plunge A Kitchen Sink?
A standard cup plunger is best for kitchen sinks. Avoid toilet plungers as they are too large. You may also need a bucket to catch water, gloves for hygiene, and a cloth to seal overflow openings.
Can Plunging Damage Kitchen Sink Pipes?
Proper plunging rarely damages pipes if done gently. Avoid excessive force which can loosen pipe joints. Use a plunger designed for sinks. If unsure, consider alternative methods or call a plumber to prevent damage.
How Long Should I Plunge To Unclog A Sink?
Plunge for about 15-20 seconds per attempt. Take breaks to check if water drains. Repeat plunging 3-5 times if needed. Persistent clogs may require other methods or professional help.
Conclusion
Plunging your kitchen sink can fix many common clogs fast. Use steady pressure and follow the steps carefully. Avoid harsh chemicals that can damage pipes. Regular care helps keep drains clear and working well. Don’t wait too long to tackle slow drains.
A little effort now saves bigger problems later. Keep your sink clean and free of food scraps. Simple tools like a plunger work wonders at home. You can handle this task with ease and confidence.