

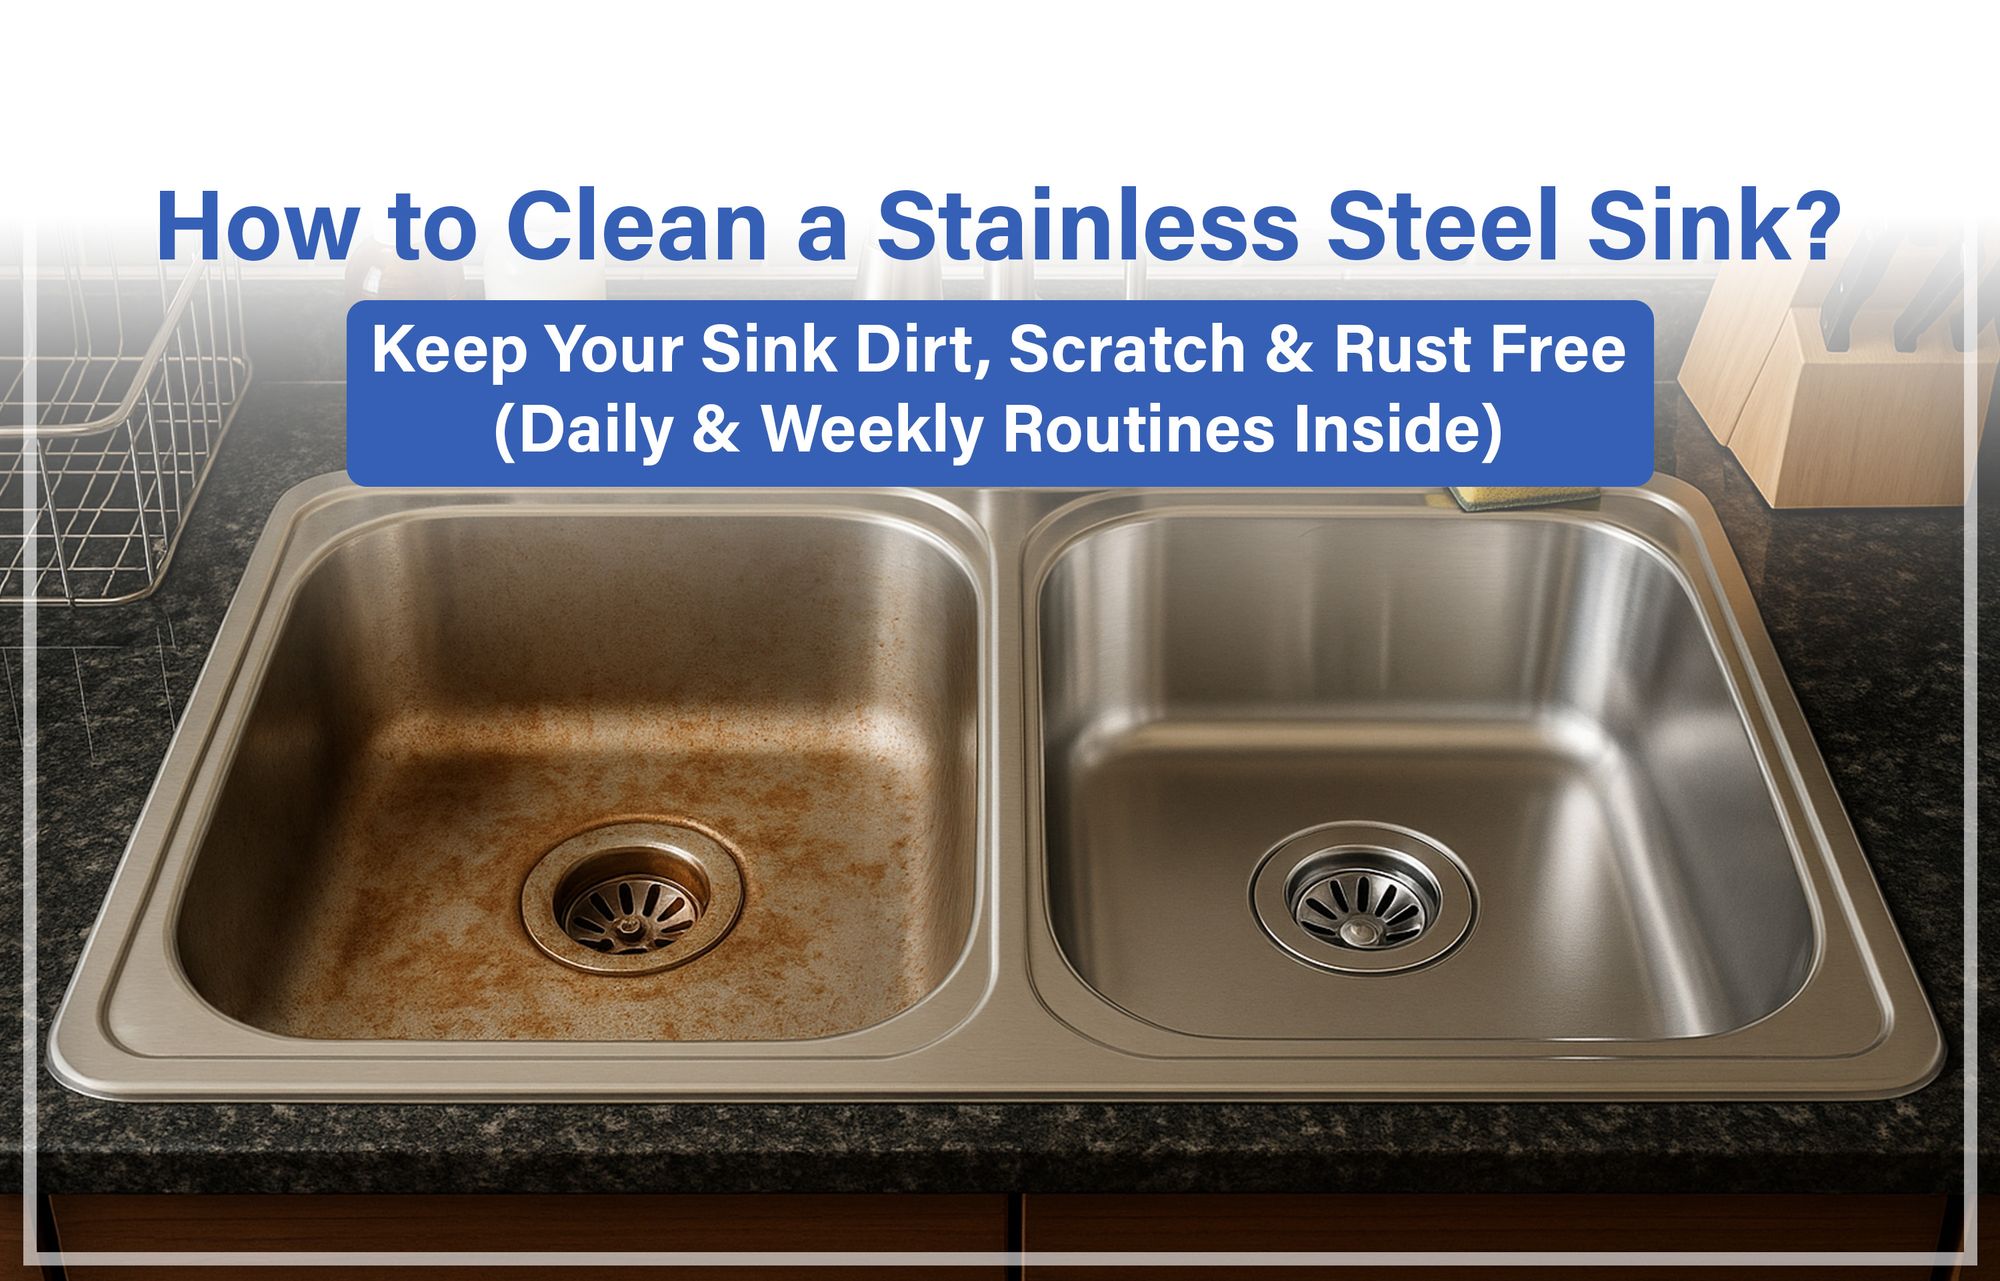
Your stainless steel kitchen sink is one of the busiest spots in your home. Over time, it can lose its shine and start to look dull or scratched.
But don’t worry—restoring that gleaming finish is easier than you think. In this guide, you’ll discover simple, effective ways to polish your stainless steel sink and make it look brand new again. Ready to bring back that sparkle and impress everyone who sees it?
Keep reading, and you’ll learn exactly how to do it step by step.
Choosing The Right Polish
Choosing the right polish for your stainless steel kitchen sink is key to achieving a spotless, shiny finish without causing damage. The market offers a variety of products, each designed for different needs and levels of cleaning power. Knowing which polish fits your sink’s condition and your personal preferences saves time and keeps your sink looking brand new.
Types Of Polishing Products
Polishing products come in several forms, including creams, sprays, and pastes. Creams are thick and provide good control, making them ideal for focused polishing. Sprays are convenient for quick touch-ups but may lack the deep cleaning power of creams or pastes.
Some polishes contain additional ingredients like protective coatings or anti-fingerprint agents. These can help maintain the shine longer and reduce the frequency of cleaning. Think about whether you want a polish that simply cleans or one that also protects.
Natural Vs Commercial Options
Natural options like baking soda, vinegar, or lemon juice offer a gentle, chemical-free way to polish your sink. These are safe, inexpensive, and easy to find. However, they might require more elbow grease and may not deliver a high-gloss finish compared to commercial products.
Commercial polishes are formulated specifically for stainless steel and often include mild abrasives and sealants. They work faster and provide a more durable shine. But, some contain chemicals that could irritate sensitive skin or damage certain finishes if misused.
Have you tried both types? You might find that using natural products regularly and switching to commercial polish for occasional deep cleaning gives you the best results. What balance works for your kitchen routine?

Credit: www.youtube.com
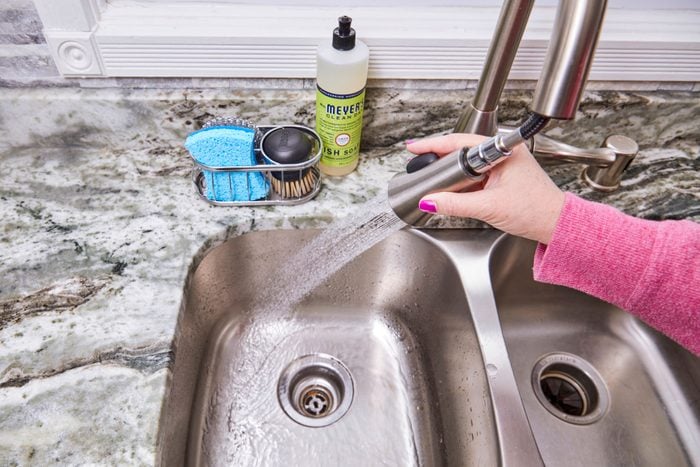
Preparing The Sink
Preparing your stainless steel kitchen sink before polishing is essential for achieving that smooth, shiny finish. Skipping this step can leave residues that dull the surface and reduce the effectiveness of your polish. Let’s break down how to get your sink ready so your polishing efforts really pay off.
Cleaning And Removing Debris
Start by clearing out any dishes, sponges, or items from your sink. Use a gentle dish soap mixed with warm water to scrub the entire surface thoroughly. Pay attention to corners and edges where grime tends to build up unnoticed.
Stubborn spots like water stains or food particles might need a bit more effort. You can apply a paste made of baking soda and water, scrubbing gently with a soft cloth or sponge. This helps lift debris without scratching your sink’s surface.
Have you ever noticed how tiny bits of debris left behind can make a polished sink look dull? Removing every speck ensures your polishing will truly shine through.
Drying The Surface Properly
Once your sink is clean, drying it completely is crucial. Use a soft, lint-free towel to wipe away all moisture. Leaving even small water droplets can cause streaks or spots after polishing.
If you’ve ever polished a wet surface, you know it can leave streaks that are hard to fix later. Taking the time to dry your sink thoroughly sets the stage for a flawless finish.
Consider using a microfiber cloth, which absorbs moisture quickly and won’t leave fibers behind. This small step can make a big difference in how your sink looks after polishing.
Polishing Techniques
Clean the sink thoroughly before polishing to remove dirt and stains. Use a soft cloth with a stainless steel cleaner or baking soda paste. Buff in small circular motions to restore shine and remove scratches.
Polishing your stainless steel kitchen sink not only enhances its shine but also extends its lifespan. Whether you’re tackling stubborn stains or simply refreshing the look, the right polishing technique makes a world of difference. Let's dive into two effective methods: applying polish by hand and using a polishing machine.
Applying Polish By Hand
Polishing your sink by hand allows you to have precise control over the process. Begin by cleaning your sink thoroughly to remove any debris or grease. Use a mild dish soap and a soft sponge, then rinse well. Once the sink is clean, dry it completely with a microfiber cloth. This prevents water spots from forming as you polish. Apply a small amount of stainless steel polish to a clean, soft cloth. In circular motions, gently buff the polish into the sink's surface. Pay special attention to areas that see the most use or have visible scratches. As you work, you'll notice a gleaming finish starting to emerge. Finally, wipe away any excess polish with a dry cloth. Step back and admire your handiwork. Isn’t it satisfying to see that mirror-like shine return to your sink?
Using A Polishing Machine
For those who prefer a faster approach, a polishing machine can be a game-changer. Before you begin, ensure your sink is free of any dirt or grease by cleaning it with dish soap and water. Once clean and dry, attach a soft polishing pad to your machine. Apply a small amount of polish directly onto the pad or the sink surface. Start the machine at a low speed to avoid splattering. Gently guide the machine across the sink in overlapping motions. Focus on evenly distributing the polish without applying too much pressure. The machine’s power will do most of the work for you. After you've covered the entire surface, use a clean cloth to remove any excess polish. You'll be amazed at how effortlessly the machine brings out that pristine shine in your sink. Have you ever wondered how much time and effort you can save with the right tool? A polishing machine might just be your new favorite kitchen gadget.
Credit: www.rd.com
Removing Stubborn Stains
Removing stubborn stains from your stainless steel kitchen sink can feel like a tough challenge. These marks often build up over time and resist regular cleaning. But with the right approach, you can restore your sink’s shine and keep it looking brand new.
Using Baking Soda Paste
Baking soda is a powerful yet gentle cleaner for stainless steel. To tackle tough stains, mix baking soda with a little water to form a thick paste. Apply it directly to the stained areas and let it sit for about 10 minutes.
After waiting, scrub the paste gently using a soft cloth or sponge. The mild abrasiveness of baking soda helps lift stains without scratching the surface. Rinse thoroughly with warm water and dry with a clean towel to prevent water spots.
Dealing With Hard Water Marks
Hard water marks can leave cloudy, white stains that dull your sink’s finish. To remove them, soak a cloth in white vinegar and lay it over the affected areas for 5 to 10 minutes.
The acidity of vinegar breaks down mineral deposits, making it easier to wipe away stubborn spots. After removing the cloth, scrub gently with a sponge and rinse well. Do you notice how this simple trick brings back the sink’s natural shine?
Maintaining The Shine
Maintaining the shine of a stainless steel kitchen sink keeps your kitchen looking fresh and clean. Regular care prevents dullness and water spots. It also protects the surface from stains and damage. Small daily habits can make a big difference over time.
Keeping your sink polished is easier with simple routines. Avoid harsh treatments that harm the steel. Focus on gentle cleaning and smart use to keep the bright look.
Regular Cleaning Tips
- Use mild dish soap and warm water for daily cleaning.
- Wipe the sink with a soft cloth or sponge to avoid scratches.
- Rinse well after each use to remove soap and food residue.
- Dry the sink with a microfiber towel to prevent water spots.
- Apply a small amount of olive oil or baby oil to shine the surface.
- Buff gently with a soft cloth following the grain of the steel.
- Clean the sink weekly with a baking soda paste for deeper shine.
Avoiding Damage And Scratches
- Do not use steel wool or abrasive scrubbers on the sink.
- Avoid harsh chemicals like bleach or ammonia that can dull the finish.
- Use a sink grid or mat to protect the bottom from heavy pots.
- Do not leave acidic foods or liquids in the sink for long.
- Wipe away spills immediately to prevent stains and corrosion.
- Handle sharp utensils carefully to avoid scratching the surface.
- Rinse after using cleaners to remove any residue that might cause damage.
Safety Tips
Polishing your stainless steel kitchen sink can bring back its shine and make your kitchen look spotless. However, handling polishing products and tools without proper precautions can lead to accidents or skin irritation. Paying attention to safety tips is key to protecting yourself while achieving a brilliant finish.
Protecting Your Hands
Always wear gloves before you start polishing. Polishing creams and powders often contain chemicals that can dry out or irritate your skin.
Choose gloves that fit well and allow for good grip. This prevents slipping and accidental contact with harsh substances.
If you notice any redness or itching during the process, stop immediately and rinse your hands with water. Your skin’s health is more important than a quick shine.
Ventilation And Product Handling
Work in a well-ventilated area to avoid inhaling fumes from polishing agents. Open windows or use a fan to keep fresh air circulating.
Keep polishing products away from children and pets. Store them in a safe place with clear labels to prevent accidental ingestion.
Before applying any product, read the instructions carefully. Some may require dilution or specific handling to reduce risks.
Credit: www.dkhardware.com
Frequently Asked Questions
How Do I Polish A Stainless Steel Kitchen Sink?
Clean the sink thoroughly with mild soap and water. Dry it completely. Apply a stainless steel polish with a soft cloth. Rub gently in the sink’s grain direction. Rinse and buff with a dry microfiber cloth for a shiny finish.
What Household Items Can Polish Stainless Steel Sinks?
Baking soda, white vinegar, and olive oil are effective. Baking soda removes stains, vinegar disinfects, and olive oil adds shine. Use a soft cloth to apply and buff these items gently on the sink surface.
How Often Should I Polish My Stainless Steel Sink?
Polish your sink every two weeks for best results. Regular polishing keeps the surface shiny and prevents water spots. Frequent care extends the sink’s life and maintains its aesthetic appeal.
Can Polishing Remove Scratches From Stainless Steel Sinks?
Light scratches may fade with proper polishing using a non-abrasive cleaner. Deep scratches require professional repair or replacement. Always polish gently following the grain to avoid worsening scratches.
Conclusion
Polishing your stainless steel sink keeps it bright and clean. Regular care stops stains and dullness from building up. Use gentle cleaners and soft cloths for best results. Small efforts make a big difference in your kitchen’s look. Keep polishing often to enjoy a shiny, fresh sink every day.
Simple steps bring lasting beauty and easy maintenance. Your kitchen will feel cleaner and more inviting too.