
Your kitchen sponge is one of the dirtiest items in your home, but you probably use it every day without thinking twice. What if I told you that your sponge could be a breeding ground for harmful bacteria that put your health at risk?
Knowing how to sanitize your kitchen sponge properly can keep your kitchen cleaner and protect you and your family from illness. You’ll learn simple, effective ways to disinfect your sponge quickly and easily. Keep reading to discover how a few small changes can make a big difference in your kitchen hygiene.

Credit: tidyhere.com
Why Sanitize Your Sponge
Kitchen sponges are a staple in every household. They clean dishes, wipe counters, and soak up spills. Despite their usefulness, they can harbor many germs. Cleaning your sponge regularly helps keep your kitchen safe and healthy.
Sanitizing your sponge reduces bacteria growth. This stops bad smells and cross-contamination. A clean sponge means cleaner dishes and surfaces.
Health Risks Of Dirty Sponges
Dirty sponges carry bacteria that cause illness. These bacteria spread to food and utensils. This can lead to stomach pain, vomiting, and diarrhea. People with weak immune systems are at higher risk.
Sponges stay wet and warm, perfect for germs. Using a dirty sponge can make your family sick. Regular sanitizing lowers these health dangers.
Common Germs Found In Sponges
- E. coli:Causes food poisoning and severe stomach cramps.
- Salmonella:Leads to fever, diarrhea, and abdominal pain.
- Staphylococcus aureus:Can cause skin infections and food poisoning.
- Listeria:Dangerous for pregnant women and elderly people.
These germs thrive in damp sponges. They multiply quickly without cleaning. Sanitizing kills these harmful microbes effectively.
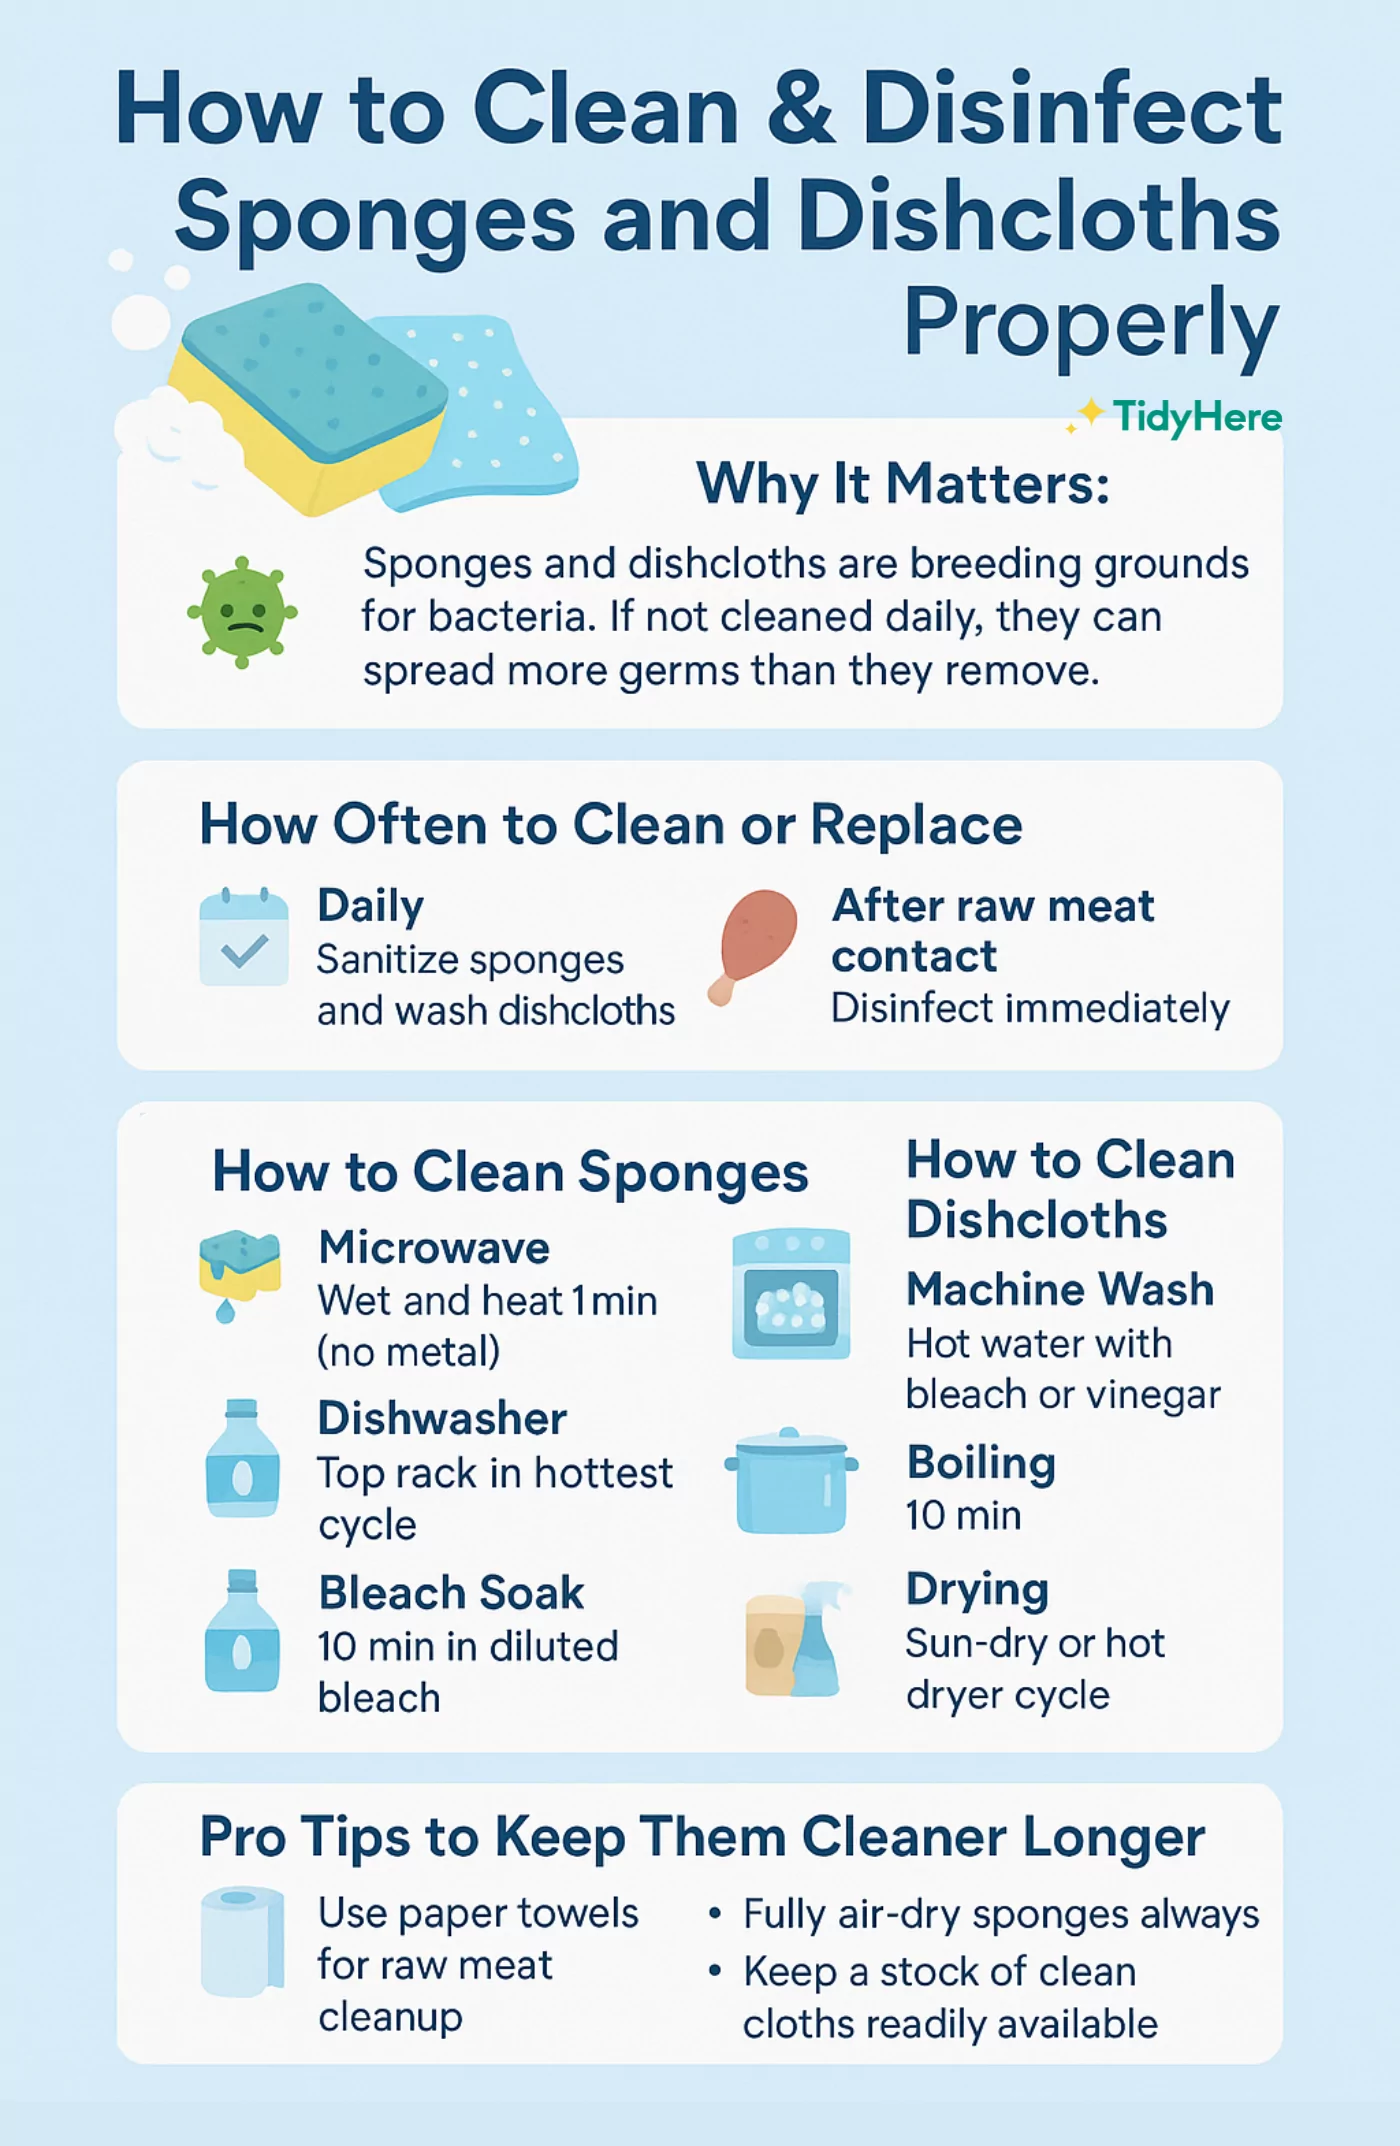
Simple Ways To Sanitize
Keeping your kitchen sponge clean is important for a healthy home. Sponges collect germs fast. Regular sanitizing helps stop bacteria from spreading. You can use simple ways to sanitize your sponge effectively. These methods use items you already have at home. They are quick, easy, and safe to do.
Microwave Method
Wet the sponge fully before placing it in the microwave. Heat on high for about 1-2 minutes. Be careful removing the sponge; it will be hot. This method kills most bacteria and germs quickly. Never microwave a dry sponge to avoid fire risk.
Dishwasher Method
Place the sponge on the top rack of your dishwasher. Run a full cycle with heated dry. The heat and detergent clean and sanitize the sponge well. This is a hands-off way to keep your sponge fresh.
Boiling Water Method
Boil a pot of water on the stove. Submerge the sponge in boiling water for 5 minutes. Remove carefully and let it air dry. Boiling kills germs and removes odors effectively. This method is simple and requires no special tools.
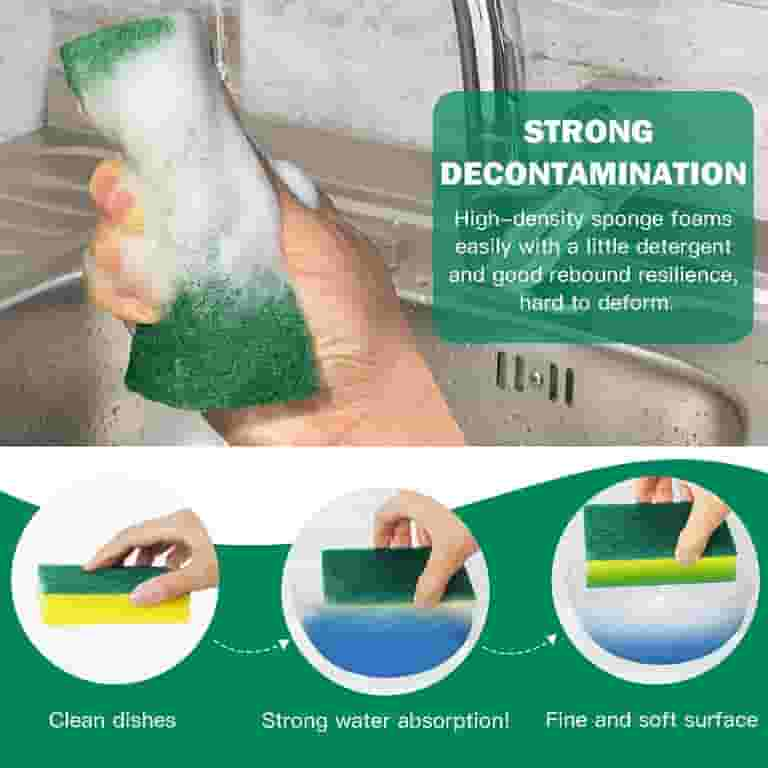
Natural Cleaning Solutions
Natural cleaning solutions offer a safe and eco-friendly way to sanitize kitchen sponges. They are gentle yet effective, removing bacteria without harsh chemicals. Using common household ingredients, you can ensure your sponges remain clean and fresh.
Vinegar Soak
Vinegar is a powerful disinfectant. To sanitize your sponge, soak it in a bowl of white vinegar for at least 5 minutes. The acidic nature of vinegar kills bacteria and eliminates odors. Rinse the sponge thoroughly with water after soaking.
Baking Soda Paste
Baking soda is another excellent natural cleaner. Create a paste by mixing baking soda with a little water. Apply this paste to your sponge and let it sit for a few minutes. The abrasive texture helps scrub away grime and bacteria. Rinse well with water to finish.
Lemon Juice Rinse
Lemon juice is known for its antibacterial properties. Squeeze fresh lemon juice over your sponge and leave it for about 5 minutes. Its natural acidity helps break down germs and leaves a fresh scent. Rinse the sponge under running water to remove the juice.
Credit: www.walmart.com
How Often To Replace Sponges
Knowing how often to replace your kitchen sponge is key to keeping your kitchen clean and safe. Sponges can harbor bacteria quickly, so regular replacement helps prevent germs from spreading. But how do you know when it’s time to toss that sponge and what types last longer?
Signs It's Time To Toss
Look closely at your sponge every few days. If it starts to smell bad or feels slimy, it’s a clear warning. Discoloration or visible mold spots are also signs that the sponge has outlived its usefulness.
Even if your sponge looks okay, think about how often you use it. If you scrub dishes daily, replacing it every one to two weeks is wise. This keeps your kitchen hygienic and avoids unwanted bacteria buildup.
Choosing Long-lasting Sponges
Not all sponges are created equal. Some are designed to resist odors and bacteria better than others. Look for options with antimicrobial properties or those made from durable materials like cellulose or synthetic fibers.
Microfiber sponges, for example, dry faster and reduce bacterial growth. You might spend a bit more upfront, but they can last longer and save you from frequent replacements. How often do you find yourself tossing sponges? Maybe it’s time to invest in one that stands up to your kitchen routine.
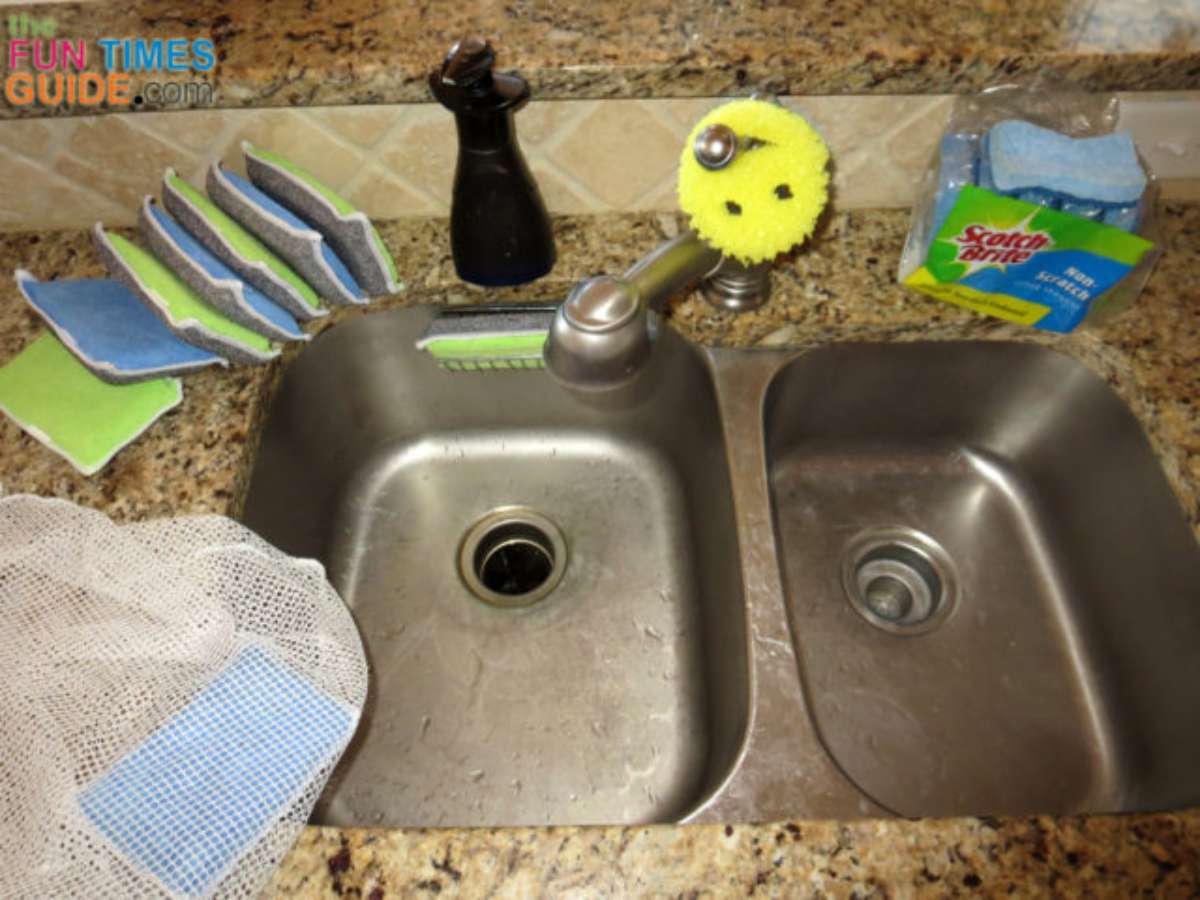
Tips To Keep Sponges Cleaner
Keeping kitchen sponges cleaner helps reduce bacteria and bad smells. Simple daily habits can make a big difference. Follow these tips to keep your sponges fresh and safe for use.
Proper Drying Techniques
Sponges stay wet after use, which helps germs grow. Dry them quickly to prevent bacteria buildup. Squeeze out water after washing dishes. Leave sponges in a place with good air flow. Avoid keeping sponges in a closed container.
- Place sponges upright to let air reach all sides.
- Use a sponge holder with drainage holes.
- Replace sponges often if they stay wet too long.
Storage Ideas To Reduce Germs
Where you keep your sponge affects its cleanliness. Store sponges in spots that stay dry and clean. Avoid placing sponges near the sink drain or on dirty surfaces. Choose storage options that promote drying and prevent mold.
- Use a sponge caddy that drains water.
- Keep sponges away from dish racks and food prep areas.
- Consider using a microwave-safe container to sanitize sponges safely.
Credit: household-tips.thefuntimesguide.com
Frequently Asked Questions
How Often Should I Sanitize My Kitchen Sponge?
Sanitize your kitchen sponge at least once a week. Frequent sanitizing reduces bacteria buildup and prevents odors. If heavily used, consider sanitizing daily to maintain hygiene and prolong sponge life.
What Are The Best Methods To Sanitize A Kitchen Sponge?
Microwaving, boiling, and soaking in bleach are effective sanitizing methods. Each method kills harmful bacteria and germs. Choose a method based on convenience and safety for your sponge material.
Can I Use A Dishwasher To Sanitize Kitchen Sponges?
Yes, placing sponges in the dishwasher with a heated dry cycle effectively sanitizes them. This method kills most bacteria while preserving sponge integrity. Ensure the sponge is dishwasher-safe before use.
Is It Safe To Microwave A Wet Kitchen Sponge?
Microwaving a wet sponge for 1-2 minutes safely kills bacteria. The moisture creates steam, disinfecting the sponge thoroughly. Never microwave a dry sponge to avoid fire hazards.
Conclusion
Sanitizing your kitchen sponge keeps your kitchen clean and safe. Regular cleaning stops germs from spreading. Use simple methods like microwaving or soaking in vinegar. Replace sponges often to avoid bad smells and bacteria buildup. A clean sponge helps you wash dishes better and protects your family’s health.
Small habits make a big difference in your kitchen hygiene. Keep your sponge fresh and your kitchen healthier every day.