
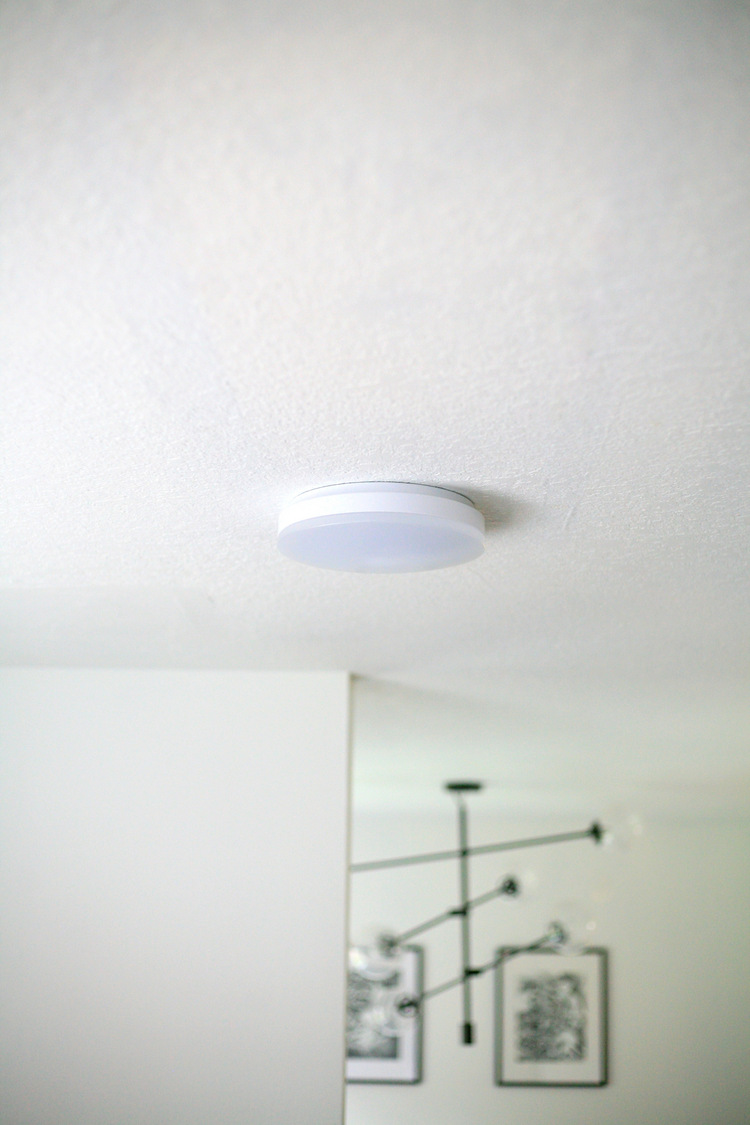
Are you staring up at your kitchen light cover, wondering how to take it off without causing a mess or breaking anything? Removing a kitchen light cover might seem tricky, but with the right steps, you can do it quickly and safely.
Whether you need to clean it, replace a bulb, or upgrade your lighting, this guide will walk you through the process. Keep reading to discover simple tips that will save you time and frustration, so your kitchen shines bright again in no time.

Credit: www.reddit.com
Tools Needed
Removing a kitchen light cover requires a few simple tools. Having the right tools makes the process easier and safer. These tools help protect the fixture and avoid damage.
Gathering the necessary tools before starting saves time. Most of these tools are common and easy to find at home.
Screwdriver
A screwdriver is often needed to remove screws holding the light cover. Flathead or Phillips types work depending on the screws. Choose the correct size for a secure grip.
Ladder Or Step Stool
A ladder or step stool helps reach ceiling fixtures safely. Make sure it is sturdy and placed on a flat surface. This tool prevents accidents during the removal process.
Gloves
Wearing gloves protects hands from sharp edges and dust. It also keeps the light cover clean. Use lightweight gloves for better grip and comfort.
Soft Cloth Or Towel
A soft cloth or towel cushions the light cover when removing it. It prevents scratches and damage. Place it on a nearby surface to set the cover down safely.
Safety Precautions
Safety should always come first when removing a kitchen light cover. This task involves electricity and fragile parts. Taking the right precautions helps prevent accidents and damage. Follow these safety steps to protect yourself and your home.
Turn Off The Power
Switch off the light at the wall switch. For extra safety, turn off the circuit breaker. This stops electricity from flowing to the fixture. Use a non-contact voltage tester to check if power is off.
Use A Stable Ladder Or Step Stool
Choose a ladder or stool that is sturdy and tall enough. Place it on a flat surface. Avoid standing on chairs or unstable objects. This reduces the risk of falls or injuries.
Wear Protective Gear
- Put on gloves to protect your hands from sharp edges.
- Wear safety glasses to shield your eyes from dust and debris.
Handle Glass Covers Carefully
Light covers often have glass parts that can break easily. Hold the cover firmly but gently. Avoid applying too much force. If the cover is stuck, try loosening screws or clips first.
Keep The Area Clear
Remove any objects or clutter under the light. This gives you space to work safely. It also prevents damage if the cover falls.
Identify Light Cover Type
Knowing the type of kitchen light cover helps in removing it safely. Each cover has a unique design and removal method. Identifying the cover prevents damage to the fixture or glass. It also saves time and effort during the process.
Glass Dome Covers
Glass dome covers are round and smooth. They often have a metal ring holding them to the base. Usually, you can twist or unscrew the metal ring to release the dome. Some domes simply lift off after loosening. Handle with care to avoid breaking the glass.
Plastic Snap-on Covers
Plastic snap-on covers are lightweight and flexible. They click into place on the fixture. Pressing the edges or pushing clips gently releases the cover. Avoid pulling hard to prevent cracking the plastic. These covers are common in modern kitchens.
Metal Frame Covers
Metal frame covers have a rigid structure around the glass or bulb. The frame may have screws or clips holding it in place. Use a screwdriver to remove screws carefully. Some frames open by unlatching small clips. Metal covers provide sturdy protection for the bulb inside.
Turn Off Power
Turning off the power is the most crucial step before you start removing a kitchen light cover. It protects you from electric shock and prevents any accidental damage to your lighting fixture. Many people underestimate this step, but I once learned the hard way when a small spark startled me because I skipped turning off the power.
Locate The Correct Circuit Breaker
First, find your home's electrical panel. It usually has a label or list identifying which breaker controls each room or area.
If you’re unsure, turn off the main breaker to cut power to the entire house. This guarantees safety but be prepared for a temporary loss of power in other rooms.
Use A Voltage Tester
Even after flipping the breaker, confirm the power is off by testing the light switch or fixture with a voltage tester.
This simple tool tells you if electricity is still flowing. It’s a small step that can save you from a painful shock.
Inform Others In Your Home
Before working on the light, tell anyone else in your home that you’ve turned off the power.
This prevents someone from accidentally turning the breaker back on while you’re still working. Safety works best when everyone is aware.
Double-check The Light Switch
Flip the wall switch off and on to make sure the light doesn’t turn on. If it does, the power isn’t fully off.
Sometimes, lights are controlled by multiple switches or a different circuit. Take your time to confirm everything is safe.
Remove Screws Or Clips
Gently loosen screws or clips holding the kitchen light cover in place. Use a screwdriver or your hands to carefully remove them without causing damage. This step allows easy access to the light bulb or fixture beneath.
Removing a kitchen light cover may seem tricky. Often, it involves either screws or clips. These components hold the cover securely in place. Understanding how to handle them can make the process smoother. Let's explore how you can safely remove screws or release clips.
Using A Screwdriver
Start by identifying the screws on the light cover. They are usually located around the edges. Use a suitable screwdriver for the task. Turn the screws counterclockwise to loosen them. Ensure you hold the cover with one hand as you remove the screws. This prevents it from falling. Place the screws in a safe spot for later use.
Releasing Clips Gently
Some light covers use clips instead of screws. Locate the clips around the edge of the cover. Gently push or pull the clips to release them. Take care to avoid breaking them. Hold the cover securely as you work. Once all clips are released, carefully remove the cover. Keep the clips in a safe place for reassembly.

Credit: www.reddit.com
Twist And Pull Method
The twist and pull method works well for many kitchen light covers. This technique uses a simple motion to remove the cover safely. It requires no special tools and is easy to try.
Start by gently twisting the light cover. Most covers are designed to turn a small amount to unlock. This step helps loosen the cover from its fixture.
After twisting, pull the cover straight down or outward. Do this carefully to avoid breaking the glass or plastic. If it feels stuck, twist a little more before pulling.
Check The Type Of Twist
- Some covers twist clockwise to unlock.
- Others twist counterclockwise.
- Try both directions gently to find the right one.
Support The Cover Firmly
- Use both hands to hold the cover.
- Grip the edges firmly but gently.
- Keep your hands dry to avoid slipping.
Apply Even Pressure
- Twist slowly with steady force.
- Pull straight without tilting.
- Uneven pressure can cause damage.
Handle With Care After Removal
- Place the cover on a soft surface.
- Clean or replace as needed.
- Inspect for cracks or chips before reinstalling.
Cleaning And Maintenance Tips
Keeping your kitchen light cover clean not only brightens your space but also extends the life of your fixture. Regular maintenance prevents dust buildup and grime, which can dull the light and make your kitchen look less inviting. You’ll find that a little effort goes a long way in maintaining that fresh, clean glow above your cooking area.
Preparing Your Workspace Safely
Before you start cleaning, switch off the light and let the bulb cool down. This avoids burns and electrical hazards. Lay down a towel or cloth on your countertop to catch any dust or accidental drips during cleaning.
Choosing The Right Cleaning Materials
Use a soft cloth or sponge to avoid scratching the cover. Mild soap mixed with warm water works well for most plastic or glass covers. Avoid harsh chemicals that can damage the finish or cause discoloration over time.
Cleaning Techniques For Different Materials
- Glass covers:Use a vinegar and water solution for extra shine and to cut through grease.
- Plastic covers:Stick to mild soap and water, as harsh chemicals can cause cloudiness.
- Metal fixtures:Wipe gently with a damp cloth and dry immediately to prevent rust.
Regular Maintenance Tips
Dust your light cover weekly using a microfiber cloth or a duster with an extendable handle. This simple habit prevents layers of dirt from building up. How often do you check your kitchen lights? Setting a monthly reminder can help keep your cleaning on track.
Reassembling And Testing
Once cleaned, dry the cover completely before putting it back. Moisture trapped inside can cause electrical issues or promote mold growth. After reassembly, test the light to ensure everything is working properly—your effort should pay off with brighter, safer lighting.
Troubleshooting Stuck Covers
Stuck kitchen light covers can be frustrating, especially when you need to replace a bulb or clean the fixture. Often, these covers hold tight due to dust buildup, paint, or old adhesive. Understanding how to troubleshoot them can save you time and prevent unnecessary damage to your light fixture.
Lubrication Techniques
Applying lubrication can help loosen a stuck kitchen light cover without forcing it. Use a small amount of WD-40 or a silicone-based spray around the edges where the cover meets the fixture. Let it sit for a few minutes to penetrate the tight spots.
After waiting, gently twist or wiggle the cover to see if it loosens. Avoid pouring lubricant directly onto electrical components; instead, apply it carefully with a cotton swab or cloth. If the cover still resists, repeat the application once more before trying other methods.
Avoiding Damage
When dealing with stuck covers, the last thing you want is to crack glass or break plastic. Use soft cloths or rubber gloves to improve grip and prevent slips. Never use excessive force or sharp tools, as these can scratch or shatter the cover.
If the cover is painted over, score gently around the edges with a utility knife to break the paint seal. This simple step often makes removal easier without harming the surface. Remember, patience beats pressure—slow, steady efforts reduce the risk of damage.
Credit: www.diychatroom.com
Frequently Asked Questions
How Do I Safely Remove A Kitchen Light Cover?
First, turn off the power to the light fixture. Use a sturdy ladder and gently twist or unclip the cover. If screws hold it, unscrew them carefully. Handle the cover with both hands to avoid dropping or breaking it.
What Tools Are Needed To Take Off A Kitchen Light Cover?
Most kitchen light covers require no special tools. A screwdriver may be needed for screw-mounted covers. Sometimes, a ladder or step stool helps reach the fixture safely. Always have a soft cloth handy to grip slippery covers.
How Can I Avoid Breaking The Light Cover During Removal?
Handle the cover gently with both hands. Avoid forcing it if it resists. Use slow, steady pressure when twisting or unclipping. If screws are tight, loosen them completely before removing. Place the cover on a soft surface after removal.
Why Won’t My Kitchen Light Cover Come Off?
The cover may be held by hidden clips or screws. It could be stuck due to paint or dirt. Always check for locking mechanisms before applying force. If unsure, consult your light fixture’s manual or a professional.
Conclusion
Removing a kitchen light cover is easier than it seems. Start by turning off the power for safety. Use the right tools and follow steps carefully. Gently twist or unclip the cover without rushing. Clean the cover while it’s off to keep it bright.
Taking your time prevents damage and saves effort. Now, you can replace or clean your light cover with confidence. Simple steps lead to great results. Ready to brighten your kitchen space?