
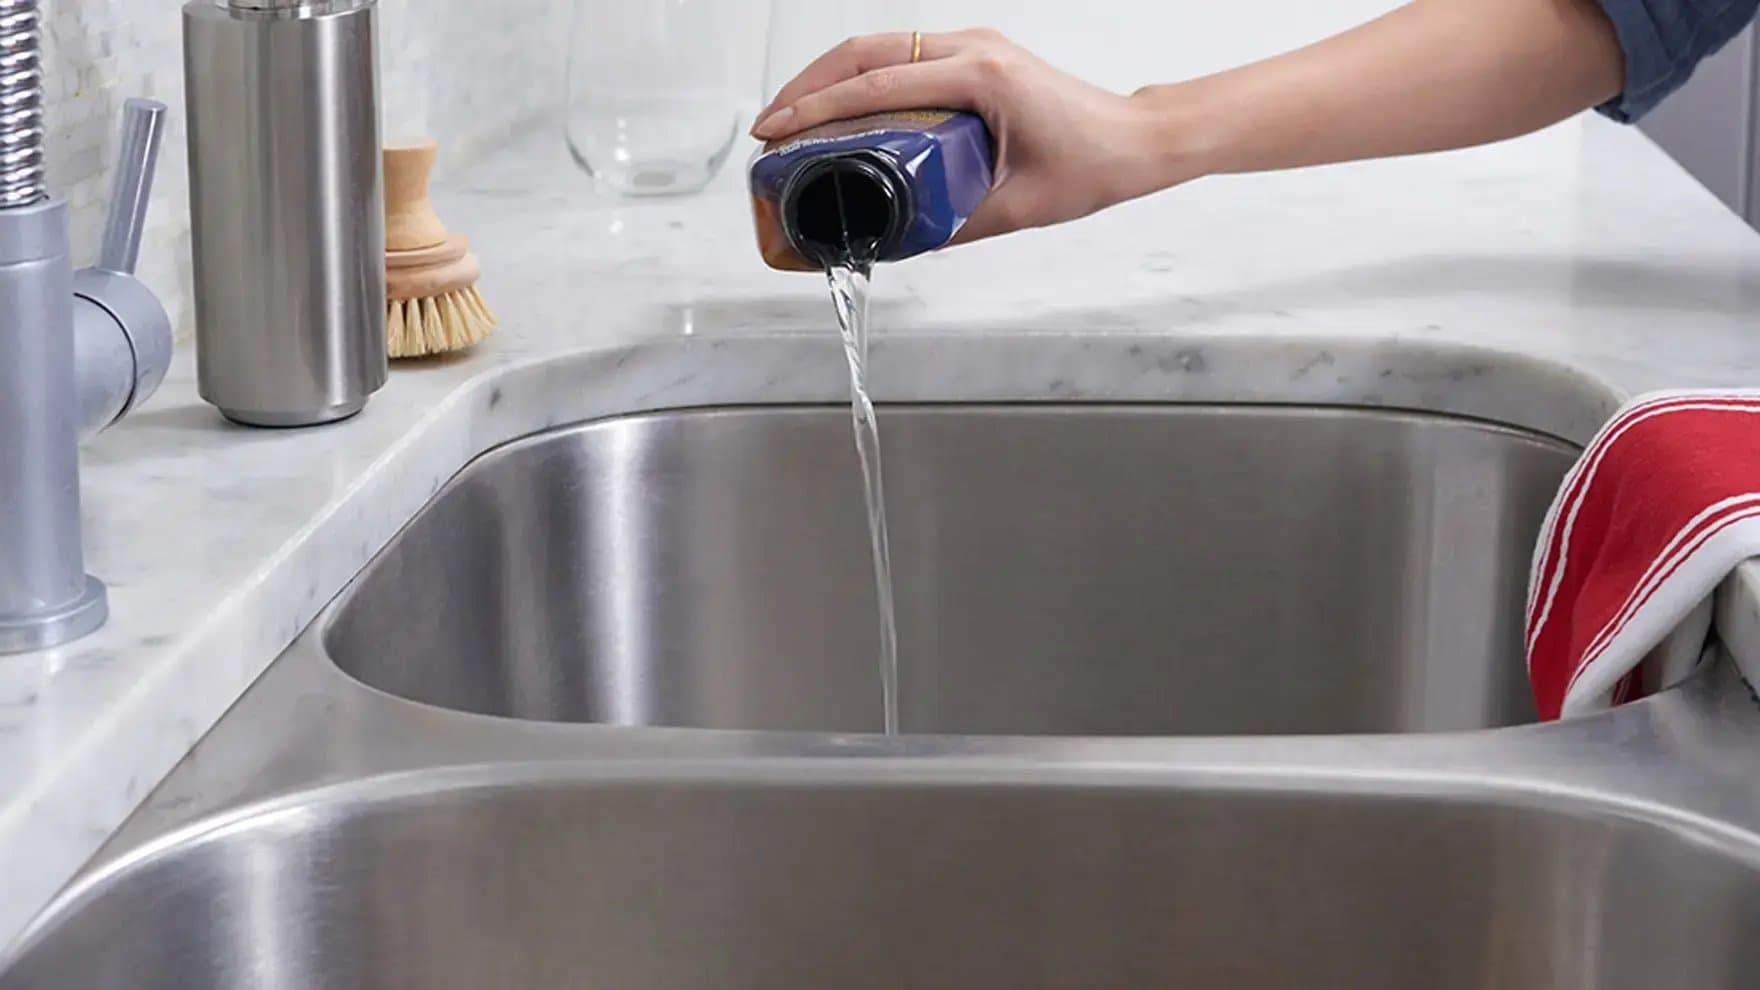
Is your kitchen sink clogged and causing you frustration? You’re not alone.
A blocked drain can stop your daily routine in its tracks, making simple tasks feel like a hassle. But before you call a plumber or reach for harsh chemicals, there’s a simple tool you already have that can fix the problem quickly: a plunger.
You’ll learn easy, step-by-step tips on how to unclog your kitchen sink with a plunger—saving you time, money, and stress. Keep reading, and you’ll be back to a flowing sink in no time.
Tools Needed
Before you dive into unclogging your kitchen sink with a plunger, it's important to gather the right tools. Having everything ready can save you time and frustration. Plus, the right tools make the job much easier and more effective.
Essential Tools For Unclogging A Kitchen Sink
- Plunger: A standard cup plunger works best for kitchen sinks. Its design creates the suction needed to dislodge blockages.
- Bucket: Use this to catch any water that might spill when you’re working under the sink.
- Rubber gloves: Protect your hands from dirty water and grime.
- Old towels or rags: These come in handy to wipe up spills and keep your workspace clean.
Optional But Helpful Tools
- Drain snake or auger: If the plunger can’t clear the clog, this tool helps reach deeper blockages.
- Flashlight: Use it to inspect the drain opening and the area under the sink.
- Wrench: Useful if you need to loosen the drain pipes to clear stubborn clogs manually.
Why Having The Right Tools Matters
Trying to unclog your sink without the right tools can turn a simple fix into a messy ordeal. I once tried plunging without gloves and regretted it—wet, grimy hands are no fun. Making sure you have a proper plunger and gloves can save you from unnecessary discomfort and help get the job done faster.
Are you ready to grab these tools and tackle that clog? Having them on hand means you’re prepared for whatever’s causing the blockage.

Credit: ca.style.yahoo.com
Prepare The Sink
Preparing the sink is an important first step before using a plunger. It ensures the process is smooth and effective. Taking time to get the area ready can save frustration and help clear the clog faster.
Clear The Area
Remove any dishes, utensils, or items around the sink. This creates space to work comfortably. It also prevents objects from falling into the sink or getting wet. Keep cleaning supplies handy but out of the way.
Remove Standing Water
Use a small container or cup to scoop out excess water from the sink. Too much water can reduce the plunger’s suction. Leave just enough water to cover the plunger’s cup for a good seal. Dry the sink’s edges to help the plunger grip better.
Choose The Right Plunger
Selecting a plunger with a flat, wide rubber cup fits kitchen sinks best. Avoid toilet plungers, as they don’t create a proper seal. A good plunger ensures strong suction to clear clogs quickly.
Choosing the right plunger can make all the difference when tackling a clogged kitchen sink. Not all plungers are created equal, and using the wrong type can lead to frustration and wasted effort. Understanding the differences between cup plungers and flange plungers is essential for effectively clearing that stubborn blockage.
Cup Plunger Vs. Flange Plunger
A cup plunger is what most people picture when they think of a plunger. It has a simple rubber cup attached to a wooden handle. This design is perfect for flat surfaces, making it ideal for sinks and tubs. The wide rim of the cup creates a strong seal over the drain, allowing you to generate significant pressure to dislodge the clog. On the other hand, a flange plunger has an additional soft rubber flap that extends from the bottom of the cup. This extra feature is specifically designed for toilets, as it fits snugly into the toilet drain. However, this versatile plunger can also be used for sinks if the clog is particularly stubborn and the sink has a more unique shape.
When To Use Each
If your kitchen sink is flat-bottomed, a cup plunger will usually do the trick. Its straightforward design makes it easy to use, and it’s typically the first choice for most kitchen sink clogs. You might recall that satisfying feeling of the clog giving way after just a few solid pumps with a cup plunger. But what if your sink has an unusual shape or the clog is proving to be more resilient? This is where a flange plunger comes in handy. The additional flap can help create a better seal on uneven surfaces, providing the extra force needed to clear the blockage. Have you ever thought about how much easier it could be with the right tool? So next time you're faced with a clogged kitchen sink, consider what type of plunger you need. It might just save you time and effort, getting your kitchen back to normal faster than you expected.

Credit: www.popularmechanics.com
Plunging Technique
The plunging technique is key to clearing a clogged kitchen sink fast. Using the right motions creates pressure to push blockages away. A good seal and steady pumping work together to get water flowing again. Follow simple steps for the best results.
Seal The Drain
Place the plunger cup over the drain opening. Make sure it covers the hole completely. A tight seal traps air and water inside. This seal helps build pressure to push clogs out. If your sink has two basins, block the other drain with a wet cloth.
Apply Steady Pressure
Hold the plunger handle firmly and press down gently. Avoid lifting the cup off the drain. Keep the seal intact during plunging. Apply steady pressure to force water into the pipe. This steady force helps loosen the clog.
Pump Correctly
Push the plunger down slowly at first, then pull up quickly. Repeat this up-and-down motion in a controlled way. Avoid breaking the seal by lifting too far. Pump about 10 to 15 times in a row. Check if the water drains after each set of pumps.
Test The Drain
After you’ve used the plunger on your clogged kitchen sink, it’s time to test the drain. This step helps you see if the water is flowing smoothly or if the blockage is still causing trouble. Testing the drain gives you instant feedback and tells you what to do next.
Check Water Flow
Turn on the faucet and watch how the water moves down the drain. Does it disappear quickly, or does it pool and drain slowly? If the water flows freely without any backup, your plunging worked well.
If the water still drains slowly or not at all, don’t worry. This means the clog might need more attention.
Repeat If Necessary
Sometimes, one round of plunging isn’t enough to clear the blockage completely. If the water flow isn’t ideal, plunge the drain again with firm, steady pressure.
After each try, check the water flow again. This cycle helps break up stubborn clogs bit by bit.
Have you noticed that some clogs need several attempts before clearing? Patience is key here. Keep testing and plunging until the drain runs smoothly or consider other options if the problem persists.

Credit: www.yahoo.com
Prevent Future Clogs
Preventing future clogs is just as important as fixing the current one. A clogged kitchen sink disrupts your daily routine and can cause unpleasant odors or even water damage. Taking simple steps regularly helps keep your drains clear and your kitchen running smoothly.
Regular Maintenance Tips
Keep your sink flowing freely by making small habits part of your routine. Flush your drain with hot water once a week to dissolve grease buildup before it hardens. Use a mixture of baking soda and vinegar monthly to naturally clean and deodorize your pipes.
Clean your sink strainer after every meal to catch food scraps before they enter the drain. Avoid pouring cooking oil or grease down the sink—they solidify and cause blockages. Try to run cold water while using your garbage disposal to help move debris through the pipes efficiently.
Avoid Common Mistakes
Many people unknowingly worsen clogs by making simple mistakes. Never use chemical drain cleaners frequently; they can damage your pipes over time and harm the environment. Instead, opt for natural cleaning methods or a plunger to clear minor blockages.
Don’t ignore slow drainage—it often signals a developing clog. Address it promptly before it becomes a bigger problem. Also, avoid putting fibrous foods like celery or coffee grounds down the drain; these materials tangle and stick inside pipes.
Have you noticed any habits in your kitchen that might be contributing to slow drains? Changing just one small behavior can save you from costly repairs and headaches later.
Frequently Asked Questions
How Do I Use A Plunger To Unclog A Kitchen Sink?
First, fill the sink with some water to cover the plunger’s cup. Place the plunger over the drain and push down firmly. Pump it up and down several times to create suction and dislodge the clog. Then, remove the plunger and check if water drains freely.
What Type Of Plunger Works Best For Kitchen Sinks?
A cup plunger, also called a sink plunger, works best for kitchen sinks. It has a flat bottom and is smaller than a flange plunger. This design creates a better seal over flat surfaces like sink drains, helping to effectively clear blockages.
Can Plunging Damage My Kitchen Sink Pipes?
No, plunging is generally safe for kitchen sink pipes when done correctly. Avoid excessive force or harsh chemicals before plunging. Gentle, steady pressure helps clear clogs without damaging pipes or fittings.
How Long Should I Plunge A Clogged Kitchen Sink?
Plunge for about 15 to 20 seconds in short, steady bursts. If the clog persists, wait a few minutes and try again. Over-plunging can cause fatigue and won’t necessarily clear tougher blockages faster.
Conclusion
Unclogging a kitchen sink with a plunger is simple and quick. Just follow the right steps and use some patience. A few plunges can clear most blockages without extra tools. Keep your plunger handy for future clogs. This easy method saves time and money.
Clean water will flow freely again. Everyone can do it with a little practice. No need to call a plumber right away. Try these tips and enjoy a smooth-running sink.