
Is your kitchen sink clogged and slowing you down? You don’t have to call a plumber just yet.
With a simple tool you probably already have—a plunger—you can fix the problem quickly and save yourself time and money. Imagine turning that stubborn clog into clear water flowing freely again in just a few easy steps. Keep reading, and you’ll learn exactly how to use a plunger to unclog your kitchen sink like a pro.
This straightforward guide is designed to help you take control and get your sink back to working perfectly—fast.
Tools Needed
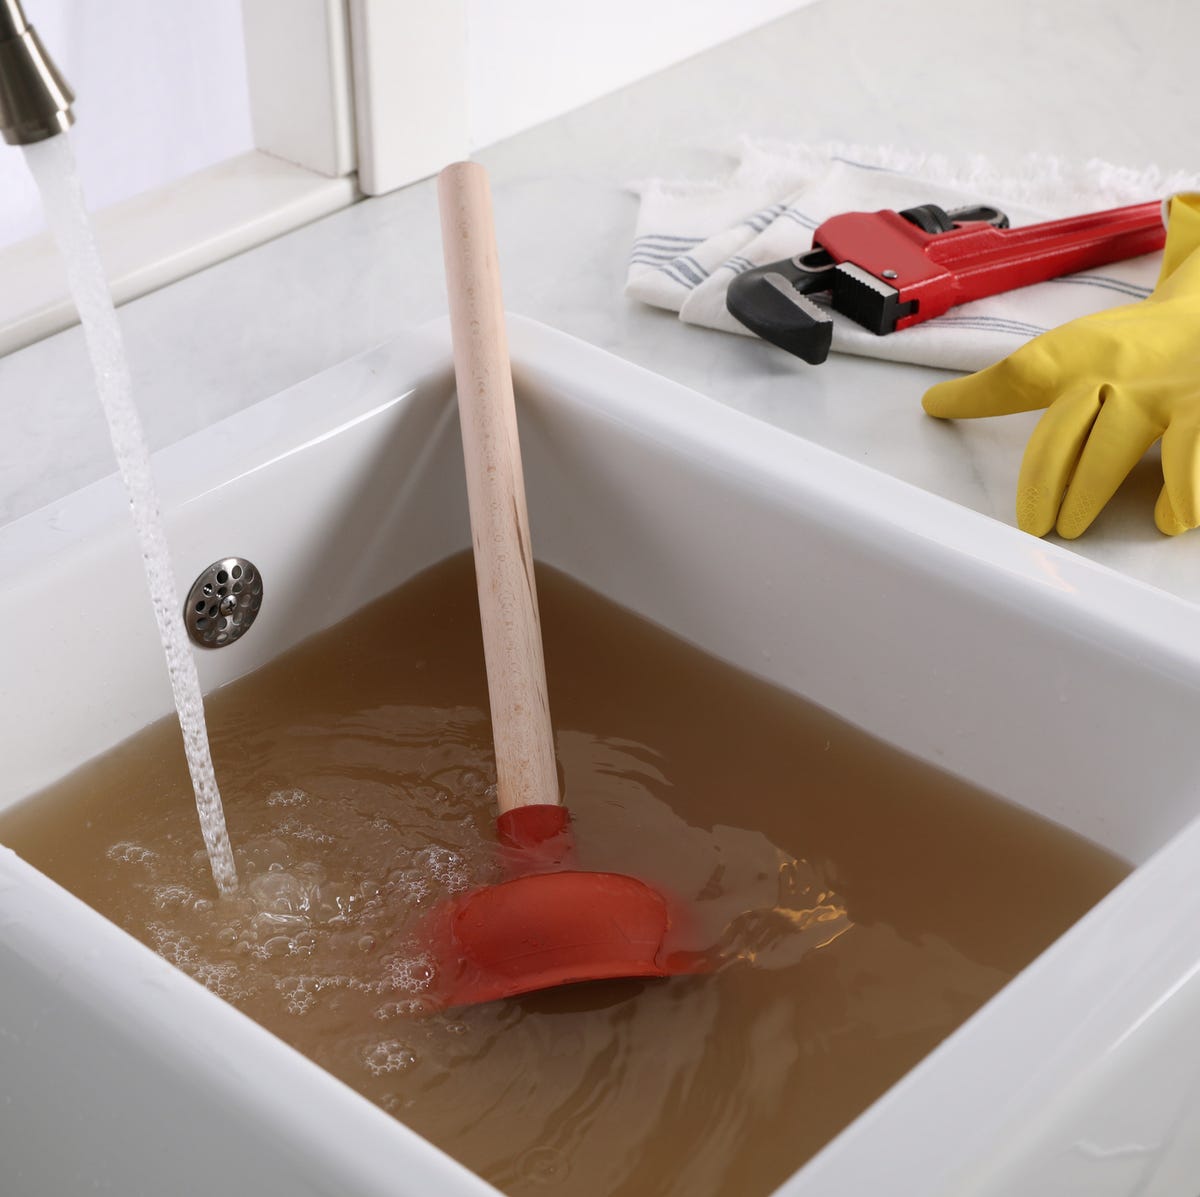
Having the right tools makes unclogging your kitchen sink with a plunger much easier and faster. Without the proper equipment, you might waste time and effort on a task that should be straightforward. Let’s look at the key tools you need to handle this common kitchen problem effectively.
Choosing The Right Plunger
Not all plungers are made the same. For kitchen sinks, a cup-shaped plunger works best because it creates a tight seal around the drain opening. Avoid toilet plungers with a flange, as they are designed for different shapes and won’t provide the suction you need.
Look for a plunger with a sturdy handle and flexible rubber cup. If you’ve ever tried to unclog a sink with a worn-out plunger, you know how frustrating it can be when it doesn’t create enough suction. Investing in a quality plunger saves you time and effort.
Additional Supplies
Besides the plunger, keep these handy:
- Rubber gloves:Protect your hands from dirty water and grime.
- Bucket or container:Catch any water that might spill during plunging.
- Old towels or rags:Clean up any mess and keep the area dry.
- Drain stopper or wet cloth:Use to seal the overflow hole if your sink has one, improving suction.
Do you know your sink’s layout well enough to identify the overflow hole? If not, it’s worth checking before plunging. Small details like these can change how effective your plunging will be.
Credit: qualitycool.com
Preparing The Sink
Preparing the sink properly makes unclogging easier and more effective. A clean and accessible workspace allows the plunger to work better. Take time to get everything ready before plunging. This reduces mess and speeds up the process.
Clearing The Area
Remove any dishes, soap, or sponges from around the sink. Clear the countertop to avoid spills or accidents. Keep towels or rags nearby to catch any water that splashes out. A tidy area helps you focus on the task without distractions.
Removing Standing Water
Standing water can make plunging less effective. Use a cup or small container to scoop out excess water. Leave enough water to cover the plunger’s cup for a good seal. Too much water slows the process, and too little breaks the suction.
Using The Plunger
Plunging is a simple and effective way to clear a clogged kitchen sink. It’s a method many people overlook. Yet, using a plunger can save you time and money. Here’s how to get it right.
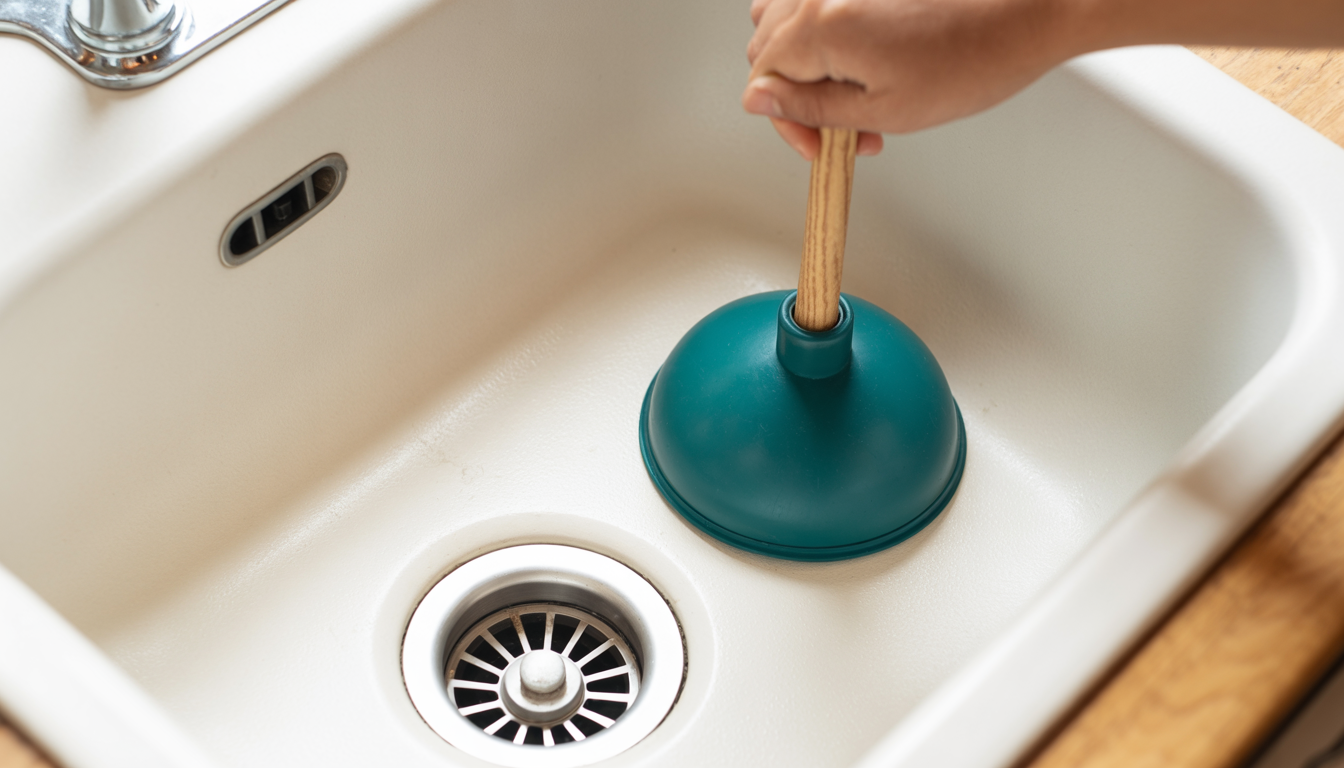
Positioning The Plunger
Start by placing the plunger directly over the drain. Ensure it covers the hole completely. This creates a strong seal. Remove any standing water. Too much water can make plunging harder. If your sink has two basins, block the other drain with a wet cloth. This helps focus the force.
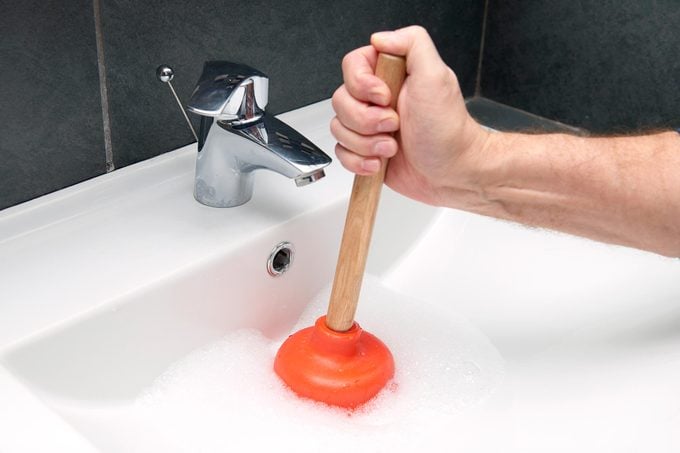
Effective Plunging Techniques
Grip the handle firmly. Push down gently to expel air. Then, pull up sharply without breaking the seal. Repeat this motion several times. You need a rhythm. Check if water drains away. If not, continue plunging. Be patient. Some clogs take time to break up. Once cleared, run hot water to flush away debris.

Credit: www.drano.com
When To Repeat
Knowing when to repeat plunging is key to unclogging your kitchen sink efficiently. Too few attempts might leave the clog partially cleared. Too many can cause damage or waste time. Watch your sink’s behavior carefully after each plunge to decide your next move.
Signs Of Partial Drainage
Partial drainage means water moves slowly but does not fully flow. You might notice these signs:
- Water level drops slowly after plunging
- Drain sounds gurgling or bubbling
- Water pools but eventually drains over time
Partial drainage suggests the clog is loosening. Repeating the plunging can help clear the blockage completely.
Avoiding Overuse
Plunging too many times can harm your pipes or sink. Avoid overuse by following these tips:
- Stop if water level rises sharply or splashes out
- Limit plunging to 5-7 times per session
- Wait a few minutes between attempts to let water settle
- Use other methods if plunging fails after several tries
Careful plunging protects your plumbing and saves time.
Alternative Methods
Sometimes, a plunger might not be the best fit for every kitchen sink clog. You may need to try different approaches to get your water flowing smoothly again. These alternative methods can offer simple, effective solutions without needing expensive tools or harsh chemicals.
Using Baking Soda And Vinegar
This natural combo can break down grease and food particles blocking your drain. Start by pouring about half a cup of baking soda directly into the clogged sink drain. Follow it with half a cup of white vinegar.
You’ll notice fizzing—that’s the reaction working to loosen the clog. Wait about 15 minutes before flushing the drain with hot water. This method is gentle but surprisingly powerful for minor blockages.
Have you ever wondered why this simple kitchen staple pair works so well? It’s the acid-base reaction that helps dissolve buildup without damaging your pipes.
Manual Removal Options
If you prefer hands-on solutions, manually removing the clog can be very effective. First, place a bucket under the sink’s trap to catch any water or debris when you loosen the pipes.
Use a wrench to carefully unscrew the trap and inspect it for blockages like food scraps or grease. Clear out any debris and rinse the trap thoroughly before reattaching it.
Sometimes, your fingers or a flexible wire hanger can reach deeper clogs beyond the trap. Just be cautious to avoid scratching or damaging your pipes. Would you try this method before calling a plumber?
Preventing Future Clogs
Preventing future clogs in your kitchen sink is just as important as knowing how to fix them. Taking simple, consistent actions can save you from the frustration and mess of a blocked drain. Think about how small habits add up over time and impact your plumbing’s health.
Proper Disposal Habits
What you put down your kitchen drain matters more than you might think. Avoid pouring grease, coffee grounds, or food scraps into the sink. These substances often stick to pipes and cause buildup that leads to clogs.
Instead, scrape food leftovers into the trash or compost bin. Use a sink strainer to catch bits of food before they enter the drain. It’s a small step that can make a big difference in keeping your pipes clear.
Regular Maintenance Tips
Even with good disposal habits, regular maintenance helps prevent clogs from forming. Pouring boiling water down the drain once a week can help dissolve minor grease and soap residues. Alternatively, a mixture of baking soda followed by vinegar can naturally clean your pipes without harsh chemicals.
Consider checking your sink’s trap for trapped debris every few months. Taking a few minutes to clear it can prevent slow drains and stubborn blockages. Are you making time for these simple maintenance tasks in your routine?
Credit: www.rd.com
Frequently Asked Questions
How Do I Use A Plunger To Unclog A Kitchen Sink?
Place the plunger over the drain, ensuring a tight seal. Push and pull with force for 20 seconds. Repeat if needed. This creates suction to dislodge the clog effectively.
What Type Of Plunger Works Best For Kitchen Sinks?
A cup-shaped plunger without a flange works best for kitchen sinks. It fits over flat surfaces and creates strong suction, helping to clear common sink clogs.
Can A Plunger Damage My Kitchen Sink Pipes?
Using a plunger gently will not damage pipes. Avoid excessive force to prevent pipe or seal damage. Proper plunger use is safe and effective for clearing clogs.
How Often Should I Plunge My Kitchen Sink?
Plunge your kitchen sink only when you notice slow drainage or a clog. Regular plunging is unnecessary and could cause wear on seals.
Conclusion
A clogged kitchen sink can cause big trouble. Using a plunger is quick and easy. Just follow the steps carefully and stay patient. This tool can clear most blockages without chemicals. Keep your sink clean to avoid future clogs. Regular checks help catch problems early.
Remember, safety matters—wear gloves and work gently. Now you know how to fix your sink fast. No need to call a plumber right away. Save time and money with simple care. Your kitchen will stay clean and working well.