
Is your kitchen sink clogged and causing you frustration? You don’t need to call a plumber right away.
With just a plunger and a little know-how, you can fix the problem yourself quickly and easily. Imagine clearing that stubborn blockage without making a mess or spending a fortune. You’ll learn simple, step-by-step tips to use a plunger on your kitchen sink effectively.
Keep reading to regain control of your sink and save time and money!

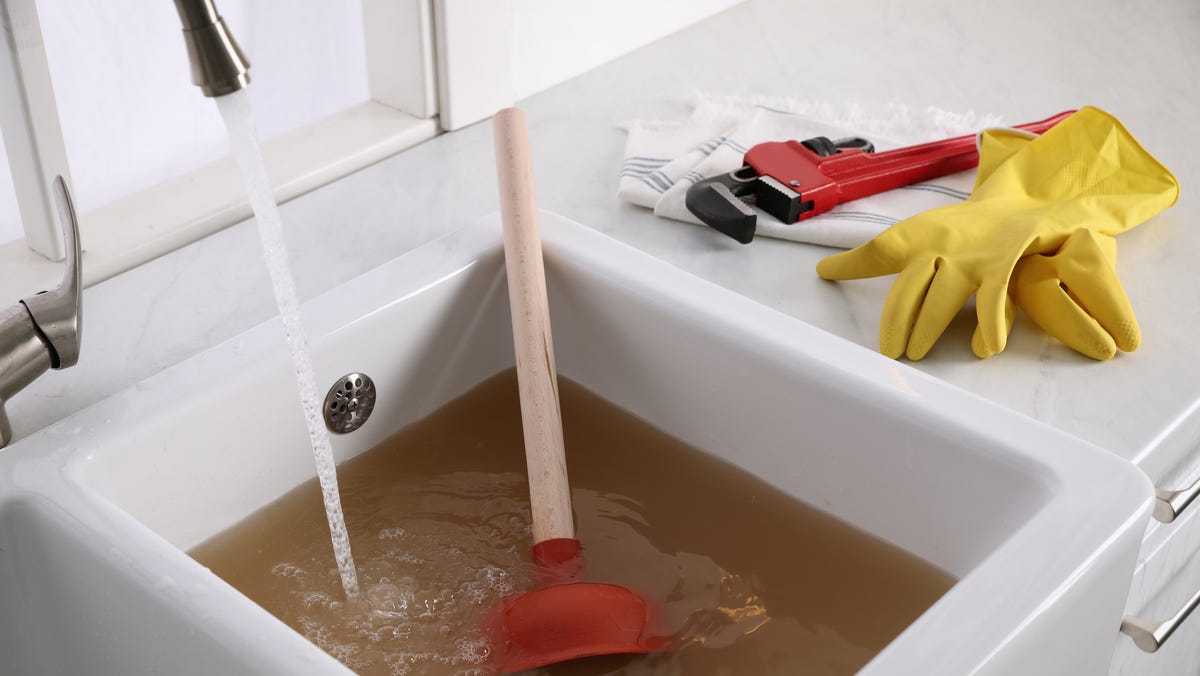
Credit: www.drano.com
Choosing The Right Plunger
Choosing the right plunger is key for clearing a kitchen sink clog effectively. A plunger that fits well and matches the clog type works best. The wrong plunger might waste your time or even damage the sink. Understanding the types, materials, and sizes helps pick the perfect one for your needs.
Types Of Plungers
- Cup Plunger:Flat-bottomed, designed for sinks and flat surfaces.
- Flange Plunger:Has an extra rubber flap for toilets but can work on deep drains.
- Accordion Plunger:Made of hard plastic, provides strong suction for tough clogs.
Materials And Sizes
- Rubber:Flexible, creates a good seal on sink drains.
- Plastic:Durable but less flexible, better for stubborn clogs.
- Size:Choose a plunger slightly larger than the sink drain opening.
- Handle:Look for a sturdy handle that feels comfortable in hand.
Preparing The Sink
Preparing the sink properly makes plunging easier and more effective. It helps create a tight seal needed for strong suction. Taking a few simple steps before using the plunger can save time and effort. These steps ensure the plunger works correctly and clears the clog faster.
Clearing The Area
Remove all items around the sink. Clear dishes, soap, and sponges to avoid mess. This gives enough space to work safely and comfortably. It also stops anything from falling into the sink or drain.
Removing Excess Water
Check the water level in the sink basin. Too much water can make plunging messy and less effective. Use a small container or cup to scoop out extra water. Leave enough water to cover the plunger cup for a good seal.
Plunging Techniques
Unclogging a kitchen sink with a plunger is a straightforward process. Understanding the correct plunging techniques ensures effectiveness. This guide will walk you through the essential steps to master this task.
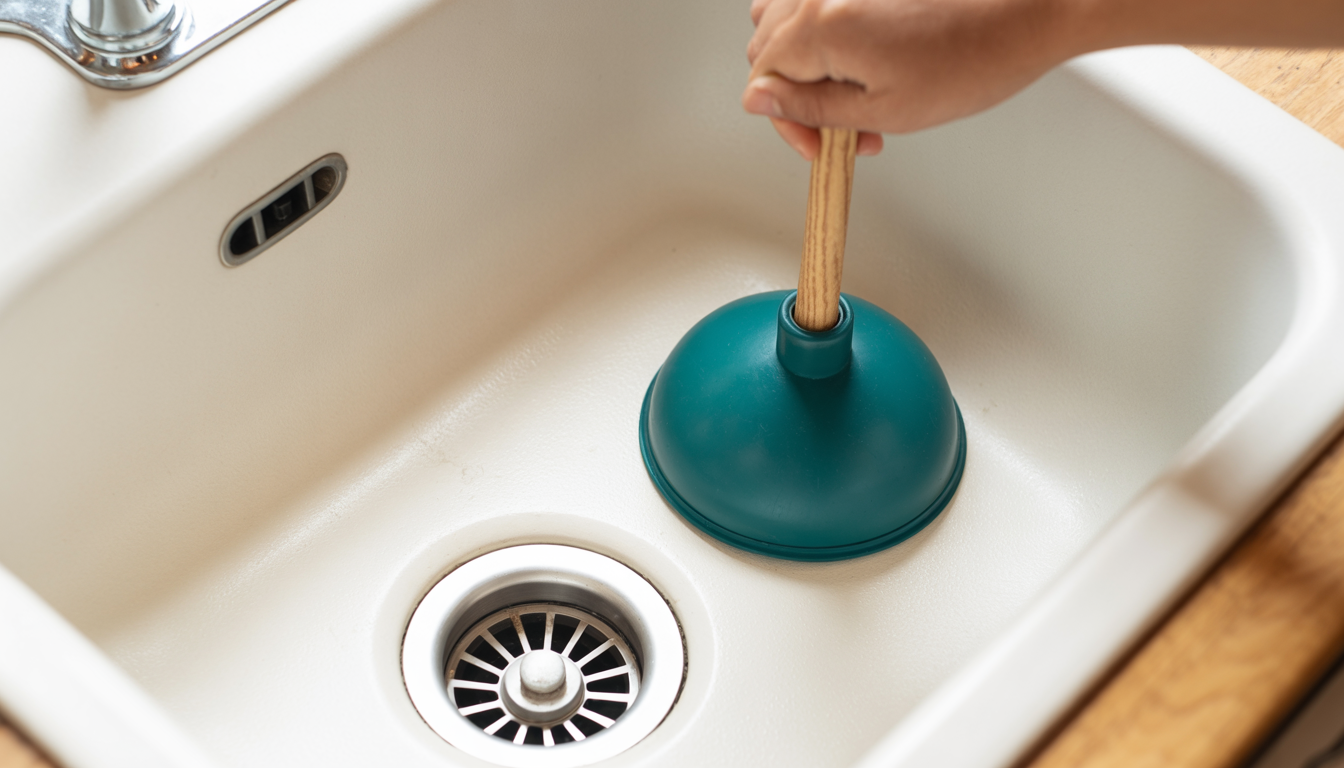
Creating A Seal
Begin by covering any other openings with a wet rag. This helps create a seal. Place the plunger cup directly over the sink drain. Ensure no air escapes. A tight seal is crucial for successful plunging.
Proper Pumping Motion
With the seal in place, use a steady pumping motion. Push down firmly, then pull up quickly. Repeat this motion several times. Consistency is key. Do not break the seal during this process.
When To Stop
Listen for water draining or gurgling sounds. This indicates the clog is clearing. If water begins to drain, you can stop plunging. If not, repeat the process. Persistent clogs may require additional attention.
Credit: qualitycool.com
Dealing With Stubborn Clogs
Stubborn clogs in a kitchen sink can block water flow and cause frustration. These clogs often contain grease, food particles, or soap buildup. A plunger can help clear them, but sometimes extra steps are necessary. Using hot water, dish soap, and repeating the plunging can break down tough blockages. This section explains how to tackle stubborn clogs effectively.
Using Hot Water
Pouring hot water into the sink helps soften grease and food stuck in pipes. Use water as hot as you can safely handle. Let the hot water sit in the drain for a few minutes. This warms the clog and makes it easier to move. Avoid boiling water if your pipes are old or plastic.
Adding Dish Soap
Dish soap acts as a lubricant and breaks down grease. Pour a generous amount of liquid dish soap into the drain. Give it a few minutes to work on the clog. The soap coats the blockage and pipe walls. This reduces friction and helps the plunger work better.
Repeating The Process
Repeat plunging several times after applying hot water and soap. Each plunge pushes and pulls the clog, loosening it more. Use steady, strong strokes with the plunger. Check if water drains faster between attempts. Repeat until the clog clears or water flows freely again.
Preventing Future Clogs
Preventing future clogs in your kitchen sink saves time and stress. Small actions every day keep drains clear and flowing smoothly. Regular care stops buildup that blocks pipes and causes backups.
Use your plunger properly and combine it with smart habits. Avoid letting grease, food scraps, and debris go down the drain. A clean sink means fewer plunges and less mess later.
Routine Maintenance Tips
- Run hot water for 30 seconds after each use.
- Pour baking soda and vinegar down the drain monthly.
- Use a drain strainer to catch food and particles.
- Clean the sink drain area regularly with mild soap.
- Flush the drain with boiling water weekly to dissolve grease.
- Check under the sink for leaks or moisture that cause clogs.
Avoiding Common Mistakes
- Do not pour grease or oil down the drain.
- Avoid dumping large food scraps or coffee grounds into the sink.
- Never use harsh chemical drain cleaners frequently; they damage pipes.
- Do not plunge without enough water in the sink basin.
- Avoid using the plunger too forcefully to prevent pipe damage.
- Do not ignore slow drains; act before a full clog forms.
When To Call A Professional
Knowing when to call a professional plumber is key to avoiding bigger problems. Some blockages are too tough or risky to fix with a plunger alone. Acting quickly can save your sink and pipes from damage.
Signs Of Serious Blockages
- Water drains very slowly or not at all
- Gurgling noises come from the drain
- Foul odors persist after plunging
- Multiple drains in the house are clogged
- Water backs up into other fixtures
- Visible damage or leaks under the sink
These signs show the clog is deep or severe. A professional has the tools to clear it safely.
Safety Considerations
- Avoid using harsh chemicals with a plunger
- Wear gloves to protect your hands
- Do not force the plunger too hard
- Turn off water supply if leaks occur
- Stop plunging if water starts to overflow
- Call a plumber if unsure about the clog
Ignoring safety can worsen damage or cause injury. Professionals know how to handle risks properly.

Credit: www.yahoo.com
Frequently Asked Questions
How Do I Use A Plunger On A Kitchen Sink?
Place the plunger over the drain, ensuring a tight seal. Push down and pull up vigorously several times. This pressure breaks up clogs, allowing water to flow freely. Repeat if necessary until the sink drains properly.
What Type Of Plunger Is Best For Kitchen Sinks?
A cup-shaped plunger works best for kitchen sinks. It creates a strong seal over the drain. Avoid flange plungers, which are designed for toilets. Choose a sturdy plunger with a wooden or plastic handle for better grip.
Can Plunging Damage My Kitchen Sink Pipes?
Proper plunging won’t damage pipes if done carefully. Avoid excessive force or metal tools in the drain. Use a rubber cup plunger with controlled pressure. If unsure, consult a plumber to prevent pipe damage.
How Often Should I Use A Plunger For Sink Maintenance?
Use a plunger only when the sink drains slowly or clogs. Regular plunging is unnecessary and could cause wear. Prevent clogs by avoiding grease and food scraps down the drain. Maintain your sink with proper cleaning and care.
Conclusion
Using a plunger on your kitchen sink is simple and effective. Press the plunger firmly to seal the drain. Push and pull with steady pressure to clear the blockage. Repeat if needed, but avoid harsh force. Clean the plunger after use to keep it ready.
Regular care helps prevent future clogs. With these easy steps, you can fix sink clogs quickly at home. No need to call a plumber right away. Try this method next time your sink gets slow or stops draining.