
You want your kitchen floor to look spotless and feel fresh, but choosing the right mop solution can be confusing. Using the wrong cleaner might leave streaks, damage your floor, or even make it sticky.
What if there was a simple way to get your kitchen floor shining without all the guesswork? You’ll discover exactly what to mop your kitchen floor with to keep it clean, safe, and looking great every time. Keep reading—you’ll never worry about mopping your kitchen the wrong way again.
Best Cleaning Solutions
Choosing the right cleaning solution makes kitchen floor mopping easier and more effective. The best cleaning solutions remove dirt and grease without damaging your floor. Some solutions work better on certain floor types. Knowing your options helps keep your kitchen fresh and safe.
Natural Ingredients
Natural ingredients clean gently and are safe for most floors. They reduce exposure to harsh chemicals. Common natural cleaners include:
- White vinegar: cuts grease and kills germs
- Baking soda: removes stains and deodorizes
- Lemon juice: brightens and adds a fresh scent
- Castile soap: mild and effective for dirt
Mixing these with warm water creates a simple, eco-friendly mop solution.
Commercial Cleaners
Commercial cleaners offer strong cleaning power for tough messes. They often come in formulas made for specific floor types like tile or hardwood. Choose products labeled safe for your floor to avoid damage. Features may include:
- Grease-cutting agents
- Antibacterial properties
- Streak-free finishes
- Fresh fragrances
Follow the instructions carefully to get the best results.
Diy Mixtures
DIY mixtures combine household items for a budget-friendly clean. They allow control over ingredients and strength. Popular DIY recipes include:
| Ingredients | Benefits |
|---|---|
| 1 cup vinegar + 1 gallon warm water | Removes grime and disinfects |
| 2 tablespoons baking soda + 1 gallon water | Neutralizes odors and cleans stains |
| 1 teaspoon castile soap + 1 gallon water | Gentle on floors and effective on dirt |
Test mixtures on a small area first to ensure floor safety.
Choosing The Right Mop
Choosing the right mop for your kitchen floor is important. The right mop helps keep floors clean without damage. It also makes cleaning faster and easier. Different floors need different mops. Consider your floor type before picking a mop.
Types Of Mops
- String Mops:Good for heavy-duty cleaning. Absorbs a lot of water.
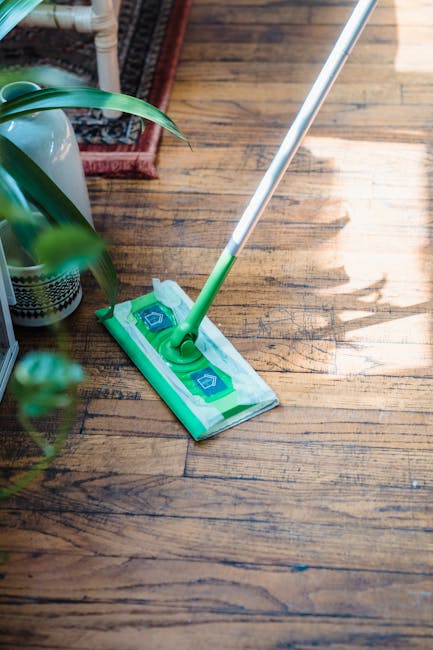
- Flat Mops:Easy to use on smooth floors. Often comes with a removable pad.
- Sponge Mops:Works well on small spills. Not best for large areas.
- Steam Mops:Cleans and sanitizes with steam. Best for sealed floors.
Material Matters
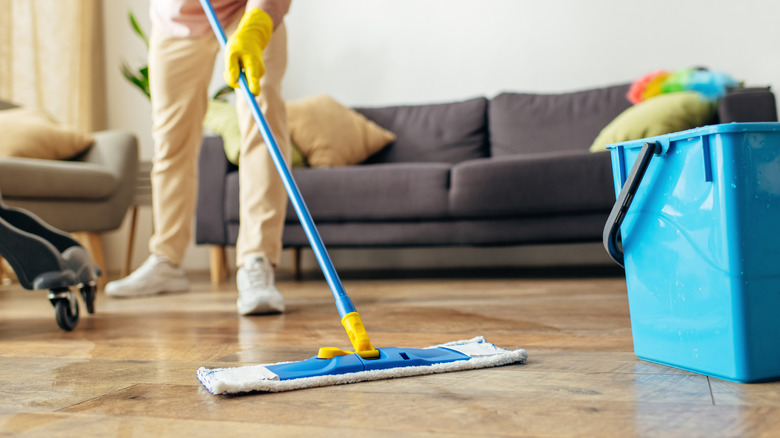
The mop head material affects cleaning power. Cotton mops soak up water well. Microfiber mops pick up dust and dirt better. Synthetic fibers dry quickly and resist odors. Choose material based on how often you mop and floor type.
Mop Maintenance
- Rinse mop heads after each use.
- Wash removable mop pads regularly.
- Allow mop to dry fully to avoid mold.
- Replace mop heads when worn out.
Proper care keeps mops effective and hygienic longer.
Floor Types And Care
Choosing the right mop and cleaning solution depends on your kitchen floor type. Each floor needs special care to stay clean and last longer. Using the wrong mop or cleaner can damage the surface or leave stains. Understanding your floor material helps you pick the best way to mop. This guide covers common kitchen floors and how to care for each.
Tile Floors
Tile floors are tough and water-resistant. Use a mop with warm water and mild detergent. Avoid harsh chemicals that can wear down the grout. Clean grout lines separately with a soft brush and a baking soda paste. Rinse the floor well to remove soap residue. Dry with a clean cloth to prevent water spots.
Wood Floors
Wood floors need gentle cleaning to avoid warping or scratches. Use a damp mop, not soaking wet. Choose a cleaner made for hardwood or a mix of water and vinegar. Avoid harsh soaps and abrasive tools. Wipe spills quickly to protect the wood. Regular cleaning keeps the floor shiny and smooth.
Vinyl And Laminate
Vinyl and laminate floors are easy to clean but can peel or swell with too much water. Use a microfiber mop with a gentle cleaner. Avoid soap that leaves a sticky film. Dry floors after mopping to prevent damage. Spot clean stains with a soft cloth and mild detergent for best results.

Credit: www.amazon.com
Step-by-step Mopping Process
Choose a mild detergent or a mixture of warm water and vinegar for mopping kitchen floors. Use a soft mop to avoid damaging the surface. Rinse the mop frequently and let the floor dry naturally for best results.
The kitchen floor sees a lot of action daily. Keeping it clean is crucial. A proper mopping routine ensures hygiene and a sparkling surface. Here's a detailed step-by-step mopping process.
Preparation Tips
Start by gathering all necessary supplies. You'll need a mop, bucket, and a suitable cleaning solution. Clear the floor of any chairs or rugs. This makes mopping easier and more efficient. Sweep or vacuum the floor to remove loose dirt and debris. This prevents scratches and makes mopping more effective. Fill your bucket with warm water. Add the recommended amount of cleaning solution.
Mopping Techniques
Dip the mop into the solution, then wring out excess water. Too much water can damage floors. Begin at one corner, working your way to the opposite side. Use back-and-forth strokes for thorough cleaning. Pay extra attention to sticky or stained areas. Rinse the mop frequently to avoid spreading dirt.
Drying Tips
After mopping, ensure the floor dries quickly. Open windows or turn on a fan to speed up drying. Use a dry mop or towel for any leftover moisture. Wet floors can be slippery, so be cautious. Your kitchen floor should now be clean and fresh.
Avoiding Common Mistakes
Mopping your kitchen floor might seem straightforward, but avoiding common mistakes can make all the difference in keeping it clean and lasting longer. Small errors, like using the wrong amount of water or harsh chemicals, can actually damage your floor or leave it looking worse. Let’s look at a few key missteps you should watch out for to protect your kitchen flooring and achieve the best results.
Using Too Much Water
Excess water can be a silent enemy to many kitchen floors, especially wood or laminate. When you pour too much water on the floor, it seeps into cracks and seams, causing swelling or warping over time.
I once used a bucket full of water thinking more was better, only to find my wooden floor developing bubbles weeks later. Instead, use a damp mop with just enough moisture to clean without leaving puddles. Have you noticed water pooling after mopping? That’s a sign to reduce how much you soak your mop.
Harsh Chemicals
Many cleaning products contain strong chemicals that can strip your floor’s finish or cause discoloration. Avoid bleach, ammonia, or abrasive cleaners unless your floor manufacturer specifically approves them.
Choosing a gentle, pH-neutral cleaner or one made for your floor type helps maintain its original shine. You don’t want to trade a dirty floor for one that looks dull or worn. What cleaner do you use that keeps your floor looking fresh without damage?
Ignoring Floor Damage
Spotting scratches, cracks, or loose tiles before mopping can save you headaches later. Dirt and water can worsen existing damage if not addressed.
Take a moment to inspect your floor regularly and repair minor issues promptly. If you mop over damaged areas without care, you might spread debris or cause water to penetrate deeper. Do you check your floor’s condition before cleaning, or do you discover damage only afterward?

Credit: www.kitchendeepcleaninglondon.co.uk
Enhancing Shine And Freshness
Enhancing shine and freshness on your kitchen floor makes the space inviting. Clean floors reflect light and brighten the room. Fresh scents create a pleasant cooking atmosphere. Simple steps can keep your floor sparkling and smelling great.
Polishing Tips
Use a microfiber mop for a smooth finish. Choose a floor polish suitable for your floor type. Apply polish in small sections and buff gently. Avoid over-wetting the floor to prevent streaks. Regular polishing keeps floors looking new and shiny.
Adding Fragrance
Add a few drops of essential oil to your mop water. Lavender, lemon, or eucalyptus offer fresh, natural scents. Avoid strong synthetic fragrances that may irritate. Use scented floor cleaner for lasting freshness. Open windows after mopping to air out the room.
Routine Maintenance
- Sweep or vacuum daily to remove dirt and crumbs.
- Mop floors weekly with mild detergent and warm water.
- Dry floors quickly to avoid water spots and damage.
- Spot clean spills immediately to prevent stains.
- Use floor mats to reduce dirt tracked inside.
Credit: www.housedigest.com
Frequently Asked Questions
What Is The Best Solution To Mop Kitchen Floors?
The best solution is warm water mixed with mild dish soap. Avoid harsh chemicals to protect floor finish and ensure safety.
Can Vinegar Be Used To Mop Kitchen Floors?
Yes, diluted vinegar is effective for cleaning. Mix one cup vinegar with a gallon of warm water for a natural clean.
How Often Should You Mop Kitchen Floors?
Mop kitchen floors at least once a week. Increase frequency if spills or dirt accumulate quickly to maintain cleanliness.
Is A Microfiber Mop Better For Kitchen Floors?
Yes, microfiber mops pick up dirt effectively and are gentle on all floor types. They also require less water and cleaning solution.
Conclusion
Choosing the right mop and cleaner keeps your kitchen floor fresh and clean. Use gentle solutions to avoid damage and maintain shine. Regular mopping stops dirt and germs from building up. Remember to rinse your mop often for best results.
Clean floors make cooking safer and your kitchen look great. Simple care makes a big difference every day. Keep your kitchen floor spotless with easy, smart steps.