
Where do you keep your kitchen sponge right now? It might seem like a small detail, but where you store your sponge can make a big difference in your kitchen’s cleanliness and your family’s health.
If your sponge stays wet and hidden away, it could be a breeding ground for germs. But don’t worry—finding the best spot for your kitchen sponge is easier than you think. Keep reading, and you’ll discover simple, smart ways to store your sponge so it stays fresh, dry, and ready to tackle any mess.
Best Spots To Store Your Sponge
Choosing the right spot to store your kitchen sponge helps keep it clean and dry. A good location can reduce bacteria growth and extend the sponge’s life. Consider places that allow air to circulate and avoid moisture buildup.
Near The Sink
Keeping the sponge close to the sink makes it easy to grab when needed. Use a small dish or tray to hold the sponge. This prevents the sponge from sitting in water and keeps the area tidy.
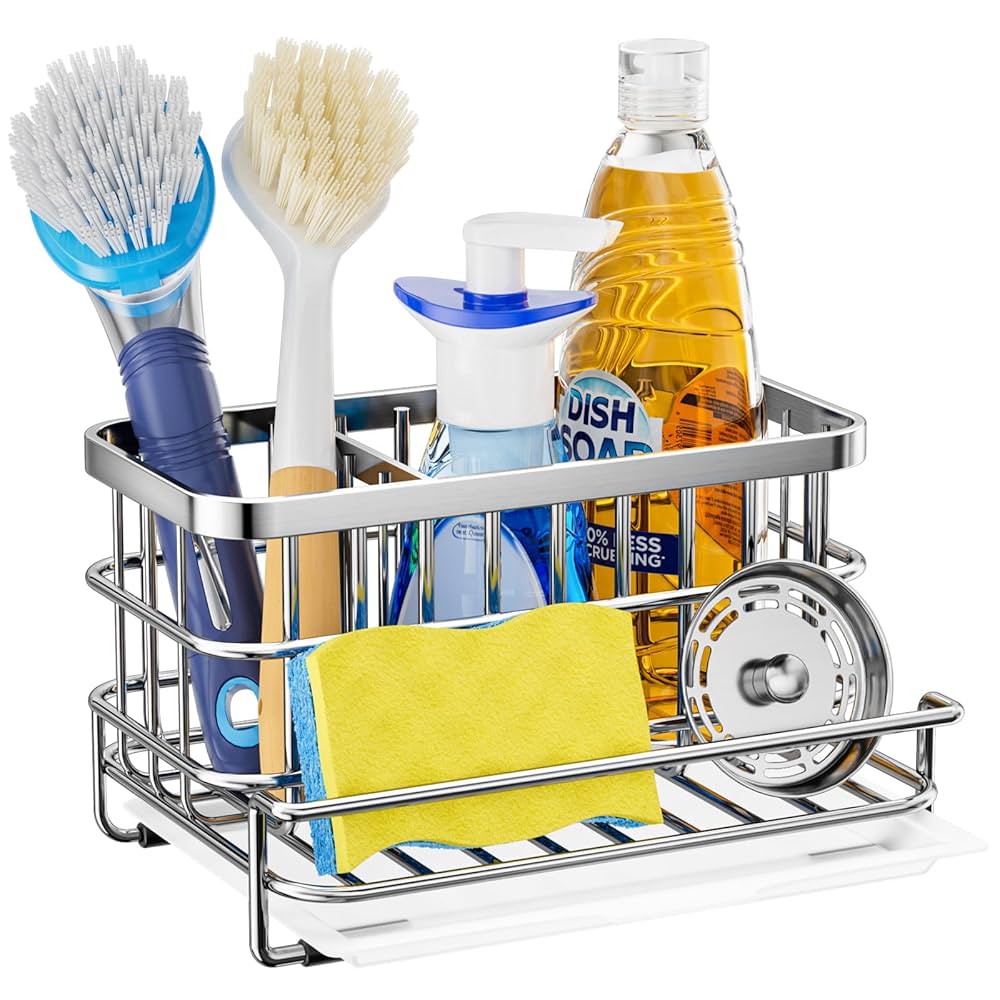
In A Sponge Holder
Sponge holders are designed to keep sponges dry and clean. They often have holes or slits for air flow. Many holders attach to the sink or countertop, saving space and improving hygiene.
On A Dry Surface
Place the sponge on a dry surface between uses. A countertop or dish rack works well if it stays dry. Avoid leaving the sponge on a wet surface to stop mold growth.
Inside A Cabinet
Storing the sponge inside a cabinet keeps it away from germs and clutter. Use a small container or basket to keep the sponge dry. Make sure the cabinet is well-ventilated to prevent moisture buildup.

Credit: www.amazon.com
Avoiding Common Storage Mistakes
Storing your kitchen sponge might seem straightforward, but small mistakes can turn it into a breeding ground for bacteria. Avoiding common storage errors not only keeps your sponge fresh longer but also protects your health. Let’s look at some frequent missteps and how you can easily fix them.
Leaving Sponge Wet
Do you often leave your sponge sitting wet on the sink? This habit creates a perfect environment for germs to multiply quickly. Instead, wring out the sponge thoroughly and place it somewhere it can dry completely between uses.
Consider using a sponge holder with good airflow. This simple change made a huge difference in my kitchen—no more unpleasant smells or slimy textures. Your sponge will last longer and stay cleaner when it’s dry.
Storing In Closed Containers
It might seem tidy to keep your sponge inside a closed container, but this traps moisture and heat. These conditions encourage bacterial growth and unpleasant odors. Open holders or racks that allow air circulation are better choices.
Think about how a wet sponge feels inside a sealed box after a day. It’s like a sauna for bacteria. Instead, use a holder with drainage holes or place the sponge on a dish rack where it can breathe.
Placing Near Garbage
Have you noticed your sponge stored near the trash bin? This is a major hygiene risk. Garbage attracts germs and odors, which can easily transfer to your sponge and then to your dishes.
Try to keep your sponge at a distance from the garbage area. Even moving it a few feet away can reduce contamination risks. This small adjustment helps maintain a cleaner kitchen environment.
Keeping Your Sponge Fresh Longer
Keeping your kitchen sponge fresh longer helps prevent bad smells and bacteria build-up. A clean sponge lasts more and works better. Using simple cleaning habits can make a big difference. Below are easy ways to keep your sponge fresh and safe for daily use.
Regular Cleaning Techniques
Rinse your sponge well after every use. Squeeze out water to avoid dampness. Let it dry in an open, airy place. Avoid keeping it in a closed container. Change the sponge every two weeks for best results.
Using Vinegar Or Bleach
Soak your sponge in vinegar for five minutes to kill germs. Vinegar is natural and safe. Alternatively, use a bleach solution: mix one tablespoon of bleach with one cup of water. Soak the sponge for two minutes. Rinse well before using again.
Microwaving For Sanitization
Wet your sponge before microwaving to avoid fire risk. Microwave the damp sponge on high for one to two minutes. This kills most bacteria and germs. Let the sponge cool before handling. Repeat this process two times a week for freshness.

Credit: www.amazon.com
Signs Your Sponge Needs Replacing
Keeping your kitchen clean is essential for a healthy home. A kitchen sponge is a vital tool in this mission. But a worn-out sponge can spread germs instead of cleaning them. Recognize the signs your sponge needs replacing to maintain a clean environment.
Unpleasant Odor
A bad smell is a clear warning sign. If your sponge smells, it's time to toss it. Bacteria thrive in damp environments. A foul odor means bacteria have set up camp.
Visible Wear And Tear
Check your sponge for visible damage. Frayed edges and holes mean it's no longer effective. A damaged sponge cannot clean properly. Replace it before it becomes a cleaning hazard.
Reduced Cleaning Effectiveness
A worn sponge fails to produce lather. It struggles to remove grime and dirt. If cleaning takes longer, your sponge may be the culprit. Swap it for a new one to regain cleaning efficiency.
Eco-friendly Alternatives To Traditional Sponges
Choosing eco-friendly alternatives to traditional kitchen sponges can make a big difference in reducing waste and keeping your kitchen hygienic. Many conventional sponges contain synthetic materials that don’t break down easily, leading to environmental harm. Switching to greener options not only helps the planet but often offers better durability and easier cleaning.
Biodegradable Options
Biodegradable sponges break down naturally after use, minimizing landfill impact. These sponges are often made from plant-based materials like cellulose or coconut fibers. They absorb water well and clean effectively, yet you can compost them once they wear out.
Have you noticed how quickly some sponges start to smell? Biodegradable sponges tend to resist odors better because they dry faster and don’t trap bacteria as easily. Plus, they give you peace of mind knowing they won’t linger in the environment for years.
Reusable Cloths
Reusable cloths are a versatile alternative to sponges and can be washed repeatedly. Microfiber cloths, cotton dishcloths, or even old t-shirts serve well for scrubbing and wiping. You can toss them in the washing machine, making them a hygienic and cost-effective choice.
One thing I learned is that having several cloths on hand helps—rotate them daily to prevent germs from settling in. They dry quickly and, if cared for properly, last much longer than disposable sponges. What’s your current system for keeping cleaning tools fresh?
Natural Fiber Sponges
Sponges made from natural fibers like loofah or hemp offer a scratch-free and biodegradable option. Loofah sponges, for instance, provide gentle scrubbing and are great for delicate surfaces. They dry quickly, reducing the risk of bacterial growth.
Natural fiber sponges often feel sturdier and don’t break down mid-cleaning like some synthetic ones. They also add a rustic, simple touch to your kitchen aesthetics. Have you tried swapping out your sponge for a natural fiber one to see how it performs?

Credit: www.amazon.com
Frequently Asked Questions
Where Is The Best Place To Store A Kitchen Sponge?
Store your kitchen sponge in a dry, well-ventilated spot. Avoid leaving it in a wet sink to prevent bacteria growth. A sponge holder with drainage or a countertop rack works best to keep it clean and dry between uses.
How To Keep A Kitchen Sponge Dry And Clean?
Keep your sponge dry by squeezing out excess water after use. Place it on a ventilated holder that allows air circulation. Regularly sanitize your sponge by microwaving or soaking in bleach to reduce germs and maintain cleanliness.
Can Storing Sponges In The Sink Cause Problems?
Yes, storing sponges in the sink causes constant moisture. This environment promotes bacteria and mold growth. It also leads to unpleasant odors. Always store sponges outside the sink in a dry area to keep them hygienic.
Should Kitchen Sponges Be Replaced Regularly?
Yes, replace kitchen sponges every 1 to 2 weeks. Frequent replacement prevents bacteria buildup and cross-contamination. If a sponge smells bad or looks worn, replace it immediately for better kitchen hygiene.
Conclusion
Storing your kitchen sponge properly keeps it clean and lasts longer. Choose a dry, well-ventilated place to stop bacteria growth. Avoid leaving sponges in wet sinks or closed containers. Rinse and squeeze out water after each use. Regularly replace sponges to keep your kitchen safe.
Simple steps help maintain hygiene and prevent bad smells. Clean sponges make your kitchen a healthier place. Remember, a small change can make a big difference in kitchen care.