
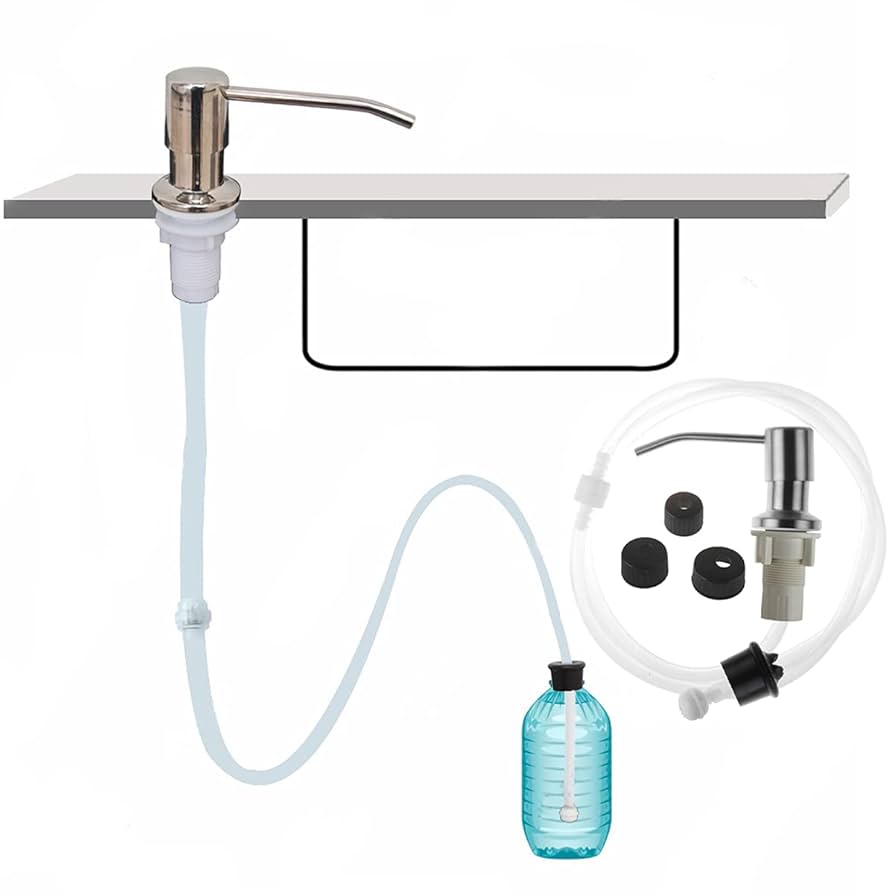
Is your kitchen sink soap dispenser pump stuck or not working right? It’s frustrating when you need soap, and the pump just won’t cooperate.
But don’t worry—you can fix it yourself without calling a plumber or buying a new dispenser. In this guide, you’ll learn simple, step-by-step tricks to get your soap pump working smoothly again. Keep reading, and you’ll save time, money, and a lot of hassle.
Your kitchen routine will be back on track in no time!
Common Soap Dispenser Issues
Soap dispensers are handy additions to any kitchen sink, but they can develop issues that disrupt your daily routine. Understanding common problems helps you fix them quickly without needing a plumber. Let’s look at some frequent soap dispenser troubles and how to identify them.
Clogged Pump Mechanism
If your soap dispenser pump feels stiff or doesn’t pump at all, the pump mechanism might be clogged. Dried soap residue often builds up inside the pump tube, blocking the flow. You can try soaking the pump in warm water to dissolve the dried soap and clear the blockage.
Have you checked if the soap you use is too thick? Thicker soaps can cause clogs more easily, so switching to a thinner liquid might help prevent future problems.
Leaking Dispenser
Leaks around the base or under the sink are common signs of a faulty soap dispenser. A loose or damaged gasket or seal often causes leaks. Tightening connections or replacing worn-out seals usually stops the dripping.
Sometimes, overfilling the dispenser causes leaks too. Try filling it only up to the recommended level and see if the leak stops.
Pump Not Returning
When the pump doesn’t spring back after pressing, it can be frustrating. This happens if the internal spring is stuck or broken. Removing the pump head and rinsing out any gunk can free the spring, or you might need to replace the pump if it’s damaged.
Ask yourself if you’ve noticed any resistance or unusual sounds before the pump stopped returning. These clues can point to where the problem started.
Soap Not Dispensing
Sometimes pressing the pump produces no soap at all. Besides clogs, air bubbles trapped inside the tube can block soap flow. Try pumping several times to push out the air or gently squeeze the soap bottle if detachable.
Check if the soap bottle inside is empty or the dispenser tube is disconnected. Fixing these simple issues often restores normal operation quickly.

Credit: www.amazon.co.uk
Tools And Materials Needed
Fixing your kitchen sink soap dispenser pump requires the right tools and materials to make the process smooth and efficient. Having everything ready before you start saves time and frustration. Let’s look at what you’ll need to get your dispenser working like new again.
Basic Tools
- Screwdrivers:Both flathead and Phillips types are essential to remove and reattach parts.
- Pliers:Useful for gripping and twisting small components, especially if they’re stuck.
- Adjustable Wrench:Helps loosen or tighten nuts under the sink.
- Utility Knife:Handy for cutting tubing or removing damaged seals.
Think about how many times you’ve struggled to find the right screwdriver mid-repair. Having a set ready makes your job easier and faster.
Cleaning Supplies
- Warm Soapy Water:Ideal for rinsing parts and removing soap scum buildup.
- White Vinegar:Great for dissolving hard water deposits and mineral buildup.
- Toothbrush or Small Brush:Helps scrub tight spots and narrow openings effectively.
- Cloth or Paper Towels:Useful for drying parts and wiping spills.
Soap dispensers often clog due to residue buildup. Cleaning supplies help restore smooth pump action without replacing the entire unit.
Replacement Parts
- Pump Mechanism:If your pump is broken or worn out, having a compatible replacement is key.
- O-Rings or Seals:These small parts prevent leaks and ensure a tight fit.
- Soap Dispenser Bottle:Occasionally the reservoir cracks or becomes damaged and needs swapping.
- Tubing:Replacement tubing might be required if the original is clogged or broken.
Not all soap dispensers are the same, so check your model before buying parts. Do you know exactly which part is causing your dispenser to fail?
Cleaning The Pump
Remove the pump from the dispenser and soak it in warm water to dissolve soap clogs. Clean the nozzle and tube with a small brush for better flow. Rinse thoroughly before reassembling to ensure smooth pumping action.
Cleaning a kitchen sink soap dispenser pump might seem like a daunting task, but it's actually straightforward and rewarding. If you've ever experienced frustration with a pump that refuses to dispense soap, you're not alone. A clean pump can restore its functionality and save you from unnecessary replacements.
Disassemble The Pump
Start by removing the pump from the soap dispenser. Gently twist and pull the pump to detach it. Be careful not to force it, as this can cause damage. Once removed, separate the pump into its individual components. Typically, this includes the pump head, straw, and spring mechanism. Keep these parts organized to make reassembly easier.
Soak And Rinse Components
Fill a bowl with warm, soapy water. Submerge the pump components into the water and let them soak for about 15 minutes. This will help loosen any dried soap or grime. After soaking, rinse each part thoroughly under running water. Make sure all soap residue is removed to prevent future clogs.
Clear Blockages
Inspect each component for blockages. The pump head and straw are common culprits. Use a thin wire or a toothpick to gently clear out any obstructions. Be cautious not to scratch or puncture the parts. If blockages persist, consider using a vinegar solution to dissolve stubborn soap deposits. Have you ever thought about the importance of a clean pump? It might just be the secret to a hassle-free kitchen experience.
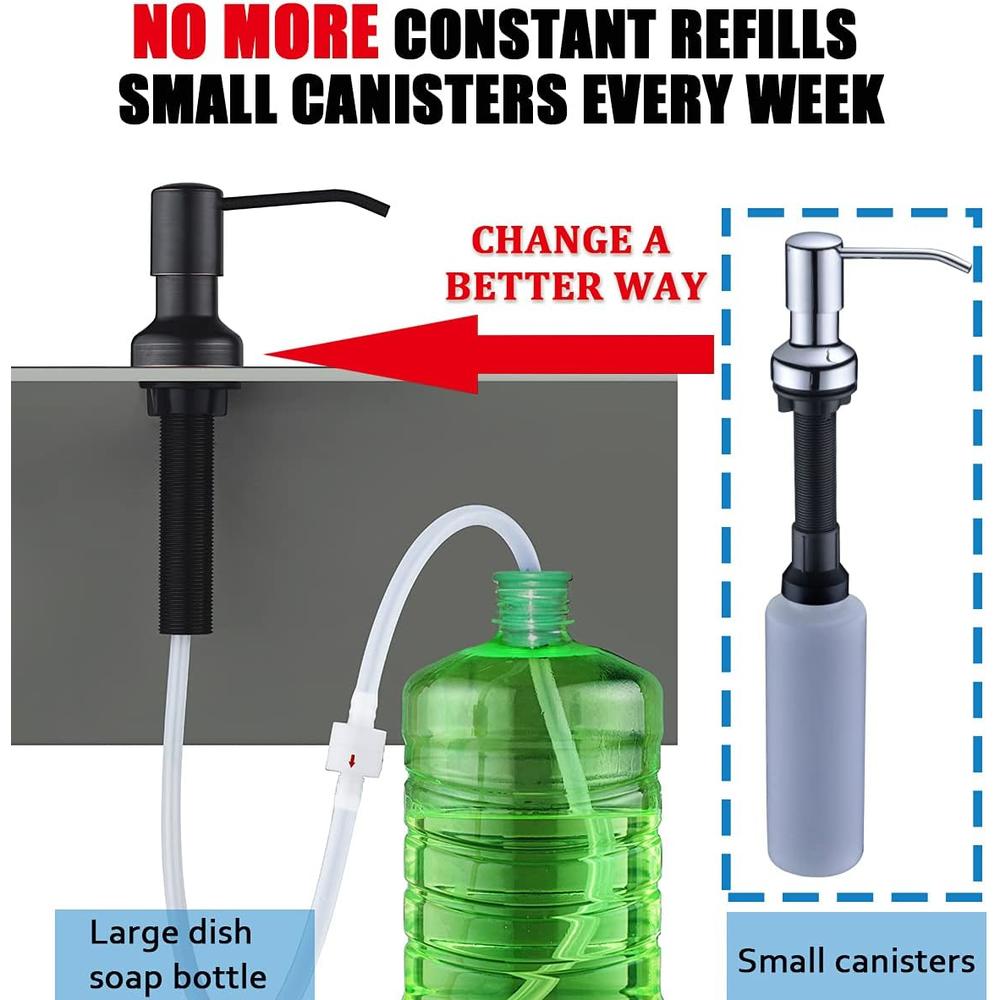
Credit: majlont.cz
Fixing Pump Return Issues
Fixing pump return issues in your kitchen sink soap dispenser can save you from constant frustration and extra expenses. A pump that doesn’t return properly often causes the dispenser to stick or not refill the soap chamber correctly. Addressing this problem involves a few simple checks and adjustments that you can easily do yourself.
Check The Spring
The spring inside the pump plays a crucial role in pushing the pump back to its starting position. Over time, the spring can become weak or misaligned, causing the pump to stay pressed down.
Remove the pump head and inspect the spring for any visible damage or deformation. If the spring looks stretched or broken, replacing it can restore smooth pump action instantly.
Have you noticed your pump feels loose or doesn’t pop back up? That’s often a sign the spring isn’t doing its job.
Lubricate Moving Parts
Dirt and soap residue can build up around the moving parts of the pump, making it sticky and slow to return. Adding a small amount of lubricant can reduce friction and improve the pump’s movement.
Use a food-safe silicone lubricant or a bit of petroleum jelly on the spring and the pump’s shaft. Avoid harsh oils that can degrade plastic parts.
Applying lubricant regularly keeps your dispenser working smoothly and extends its life. When was the last time you cleaned or lubricated your dispenser?
Replace Damaged Components
Sometimes, parts like the pump head, spring, or seals wear out beyond repair. If cleaning and lubricating don’t fix the problem, you might need to replace these components.
Check for cracks, worn edges, or broken pieces. Many replacement kits are available online and come with easy instructions.
Replacing a small broken part can be much cheaper than buying a whole new dispenser. Are you ready to give your soap dispenser a second life with a few new parts?
Sealing Leaks
Sealing leaks in your kitchen sink soap dispenser pump prevents soap waste and water damage. Fixing leaks keeps your sink area clean and dry. It also improves the pump’s function and lifespan. Follow simple steps to find and seal leaks effectively.
Inspect For Cracks
Look closely at the pump for any visible cracks or damage. Check the nozzle, pump head, and base. Small cracks cause leaks and reduce pressure when dispensing soap. Use a flashlight to see hidden cracks. If you find cracks, note their size and location for repair.
Tighten Connections
Loose connections often cause leaks around the pump. Check where the pump connects to the soap bottle and sink. Use your hand or a wrench to tighten these parts gently. Avoid over-tightening to prevent breaking plastic threads. Ensure all parts fit snugly and securely to stop leaks.
Apply Sealant
Use waterproof silicone sealant to close small gaps and cracks. Clean the area well before applying sealant. Apply a thin layer around leaking spots and connections. Let it dry fully according to the sealant instructions. This creates a strong, flexible barrier against leaks. Reapply if needed after testing the pump.
Reassembling And Testing
Reassembling and testing the kitchen sink soap dispenser pump is a vital step. It ensures the pump works smoothly and prevents leaks. Careful assembly and thorough testing save time and avoid frustration later.
Proper Assembly Tips
- Align the pump parts carefully before snapping them together.
- Make sure the spring and piston fit snugly inside the pump body.
- Check that the dispenser tube connects firmly to the pump head.
- Tighten screws or nuts by hand, avoiding overtightening.
- Keep the dispenser upright while assembling to prevent parts from falling out.
Testing For Functionality
Press the pump head slowly to check for smooth movement. It should move freely and return to its original position.
Fill the soap reservoir with liquid soap and press the pump multiple times. Soap should flow steadily without sputtering.
Watch for leaks around the pump base or under the sink. Soap drips indicate loose connections.
Adjustments If Needed
- Tighten loose parts if the pump feels wobbly or leaks appear.
- Remove and re-seat the spring or piston if the pump sticks.
- Trim the dispenser tube if soap flow is slow or blocked.
- Clean any soap buildup that may clog the pump mechanism.
- Test again after each adjustment to confirm improvement.
Preventive Maintenance Tips
Maintaining your kitchen sink soap dispenser pump can save you from frequent repairs and frustrating clogs. Small habits and regular care make a big difference in keeping the pump working smoothly. Let’s look at some practical tips you can start using today.
Regular Cleaning Routine
Cleaning the soap dispenser pump regularly prevents soap buildup that can block the mechanism. Rinse the pump parts with warm water every couple of weeks to remove residue. If you notice the pump getting sticky, soak it briefly in a mixture of warm water and vinegar to break down hardened soap.
Don’t forget to wipe the nozzle and the surrounding area to avoid grime buildup. A clean pump not only works better but also lasts longer. How often do you take a moment to clean this small but important kitchen tool?
Using Suitable Soap Types
Thick or gel-based soaps can clog the pump quickly, while very thin soaps might leak. Choose liquid soaps with a balanced consistency designed for dispensers. Avoid soaps with added exfoliants or particles, as these can jam the pump mechanism.
If you’ve ever experienced a clogged pump, check the soap label next time. Switching to a pump-friendly soap might save you time and hassle. Have you considered how the soap type affects your dispenser’s performance?
Avoiding Common Mistakes
Pressing the pump too hard or too fast can damage the spring inside, leading to malfunction. Use gentle, steady pressure when dispensing soap. Also, never force the pump if it feels stuck; this can cause breakage.
Leaving soap in the pump unused for long periods can cause it to dry and clog. If you plan not to use the dispenser for a while, clean and dry it thoroughly. What habits could you change to avoid these common pitfalls?

Credit: www.amazon.com
Frequently Asked Questions
How Do I Unclog A Kitchen Sink Soap Dispenser Pump?
To unclog, remove the pump head and soak it in warm water. Use a toothpick to clear blocked holes gently. Reassemble and test the dispenser for smooth operation.
Why Is My Soap Dispenser Pump Not Dispensing Soap?
Soap dispenser pumps may stop working due to clogs, airlocks, or worn-out springs. Cleaning or replacing parts usually fixes the issue quickly.
Can I Fix A Leaking Kitchen Sink Soap Dispenser Pump?
Yes, check for loose connections or worn seals. Tighten fittings or replace gaskets to stop leaks and restore proper function.
How Do I Clean A Soap Dispenser Pump Effectively?
Disassemble the pump and soak parts in warm, soapy water. Use a soft brush to remove buildup, then rinse and dry before reassembling.
Conclusion
Fixing a kitchen sink soap dispenser pump is simpler than it seems. Start by cleaning the pump and checking for blockages. Tighten or replace parts if needed. Small issues often cause the pump to stop working. Regular care helps keep it running smoothly.
A working dispenser makes kitchen tasks easier and cleaner. Try these steps before calling a professional. You can save time and money with some basic fixes. Keep your kitchen efficient and hassle-free.