

Is your kitchen drawer sticking, wobbling, or refusing to slide smoothly? It’s frustrating when a simple drawer becomes a daily hassle.
But don’t worry—you don’t need to call a professional or replace the entire cabinet. With just a few easy steps, you can fix your kitchen drawer slide yourself. Imagine opening your drawers effortlessly every time, saving you time and stress.
Keep reading, and you’ll learn exactly how to make your kitchen drawers glide like new again.
Identify Drawer Slide Type
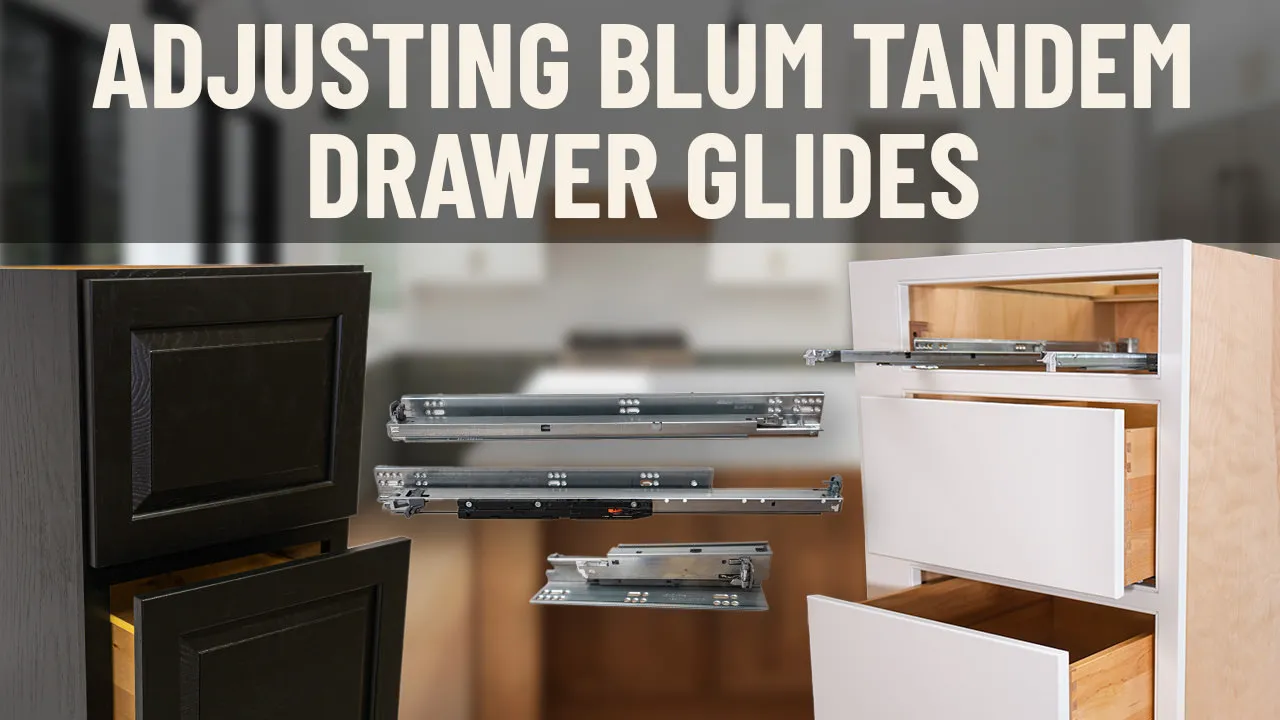
Identifying the type of drawer slide is the first step in fixing a kitchen drawer. Different slides require different repair methods. Knowing the slide type helps choose the right tools and parts. It also prevents damage during repair. Take a close look inside the drawer and the cabinet frame. Pay attention to the shape, size, and mechanism of the slide. This simple check saves time and effort in the repair process.
Common Slide Mechanisms
Several types of drawer slides exist. The most common include:
- Side-mount slides:Attached on the sides of the drawer and cabinet.
- Under-mount slides:Fixed beneath the drawer, hidden from view.
- Center-mount slides:One slide runs under the drawer center.
- Wooden slides:Simple wooden runners instead of metal tracks.
Each type moves differently and has unique fixing points. Side-mount slides often have ball bearings. Under-mount slides may have soft-close features. Wooden slides slide on grooves or wooden runners. Identify these features to classify the drawer slide correctly.
Tools Needed For Inspection
Gather a few basic tools to inspect the drawer slides properly:
- Flashlight – to see inside dark cabinet areas.
- Screwdriver – to remove screws and panels.
- Measuring tape – to note slide length and width.
- Magnifying glass – to spot small parts or damage.
- Camera or phone – to take pictures for reference.
Use the flashlight to check both sides and underneath the drawer. Remove screws carefully with the screwdriver. Measure the slides to find exact replacements. Taking pictures helps remember slide setup and parts. These tools make identifying the drawer slide type easier and more accurate.
Credit: www.cabinetjoint.com
Remove The Drawer Safely
Removing a kitchen drawer safely is the first crucial step in fixing a drawer slide. If you rush or skip important precautions, you risk damaging the drawer or the cabinet. Taking time to remove the drawer carefully ensures that the repair process goes smoothly and prevents unnecessary frustration.
Clearing The Drawer Contents
Before you attempt to remove the drawer, empty it completely. A heavy or cluttered drawer can make removal awkward and increase the chance of dropping or damaging it.
Sort through the items quickly and place them in a nearby basket or container. This also gives you a chance to check if anything inside might have contributed to the drawer sticking or misalignment.
Have you ever tried lifting a packed drawer only to have things spill everywhere? Clearing the contents first saves you from that mess and keeps your workspace organized.
Techniques For Drawer Removal
Different drawers use various slide mechanisms, so identifying the type is key before pulling. Some slides have levers or clips that you need to press or lift to release the drawer.
Try gently pulling the drawer straight out. If it resists, look underneath or on the sides for release tabs. Press or lift these tabs while pulling the drawer forward to disengage the slides safely.
If your drawer has ball-bearing slides, you might need to tilt the drawer slightly upward while pulling it out. This small adjustment often frees the drawer without forcing it.
Have you noticed how some drawers come out smoothly, while others feel stuck? Understanding the slide type changes the entire removal experience and prevents damage.
Clean And Lubricate Slides
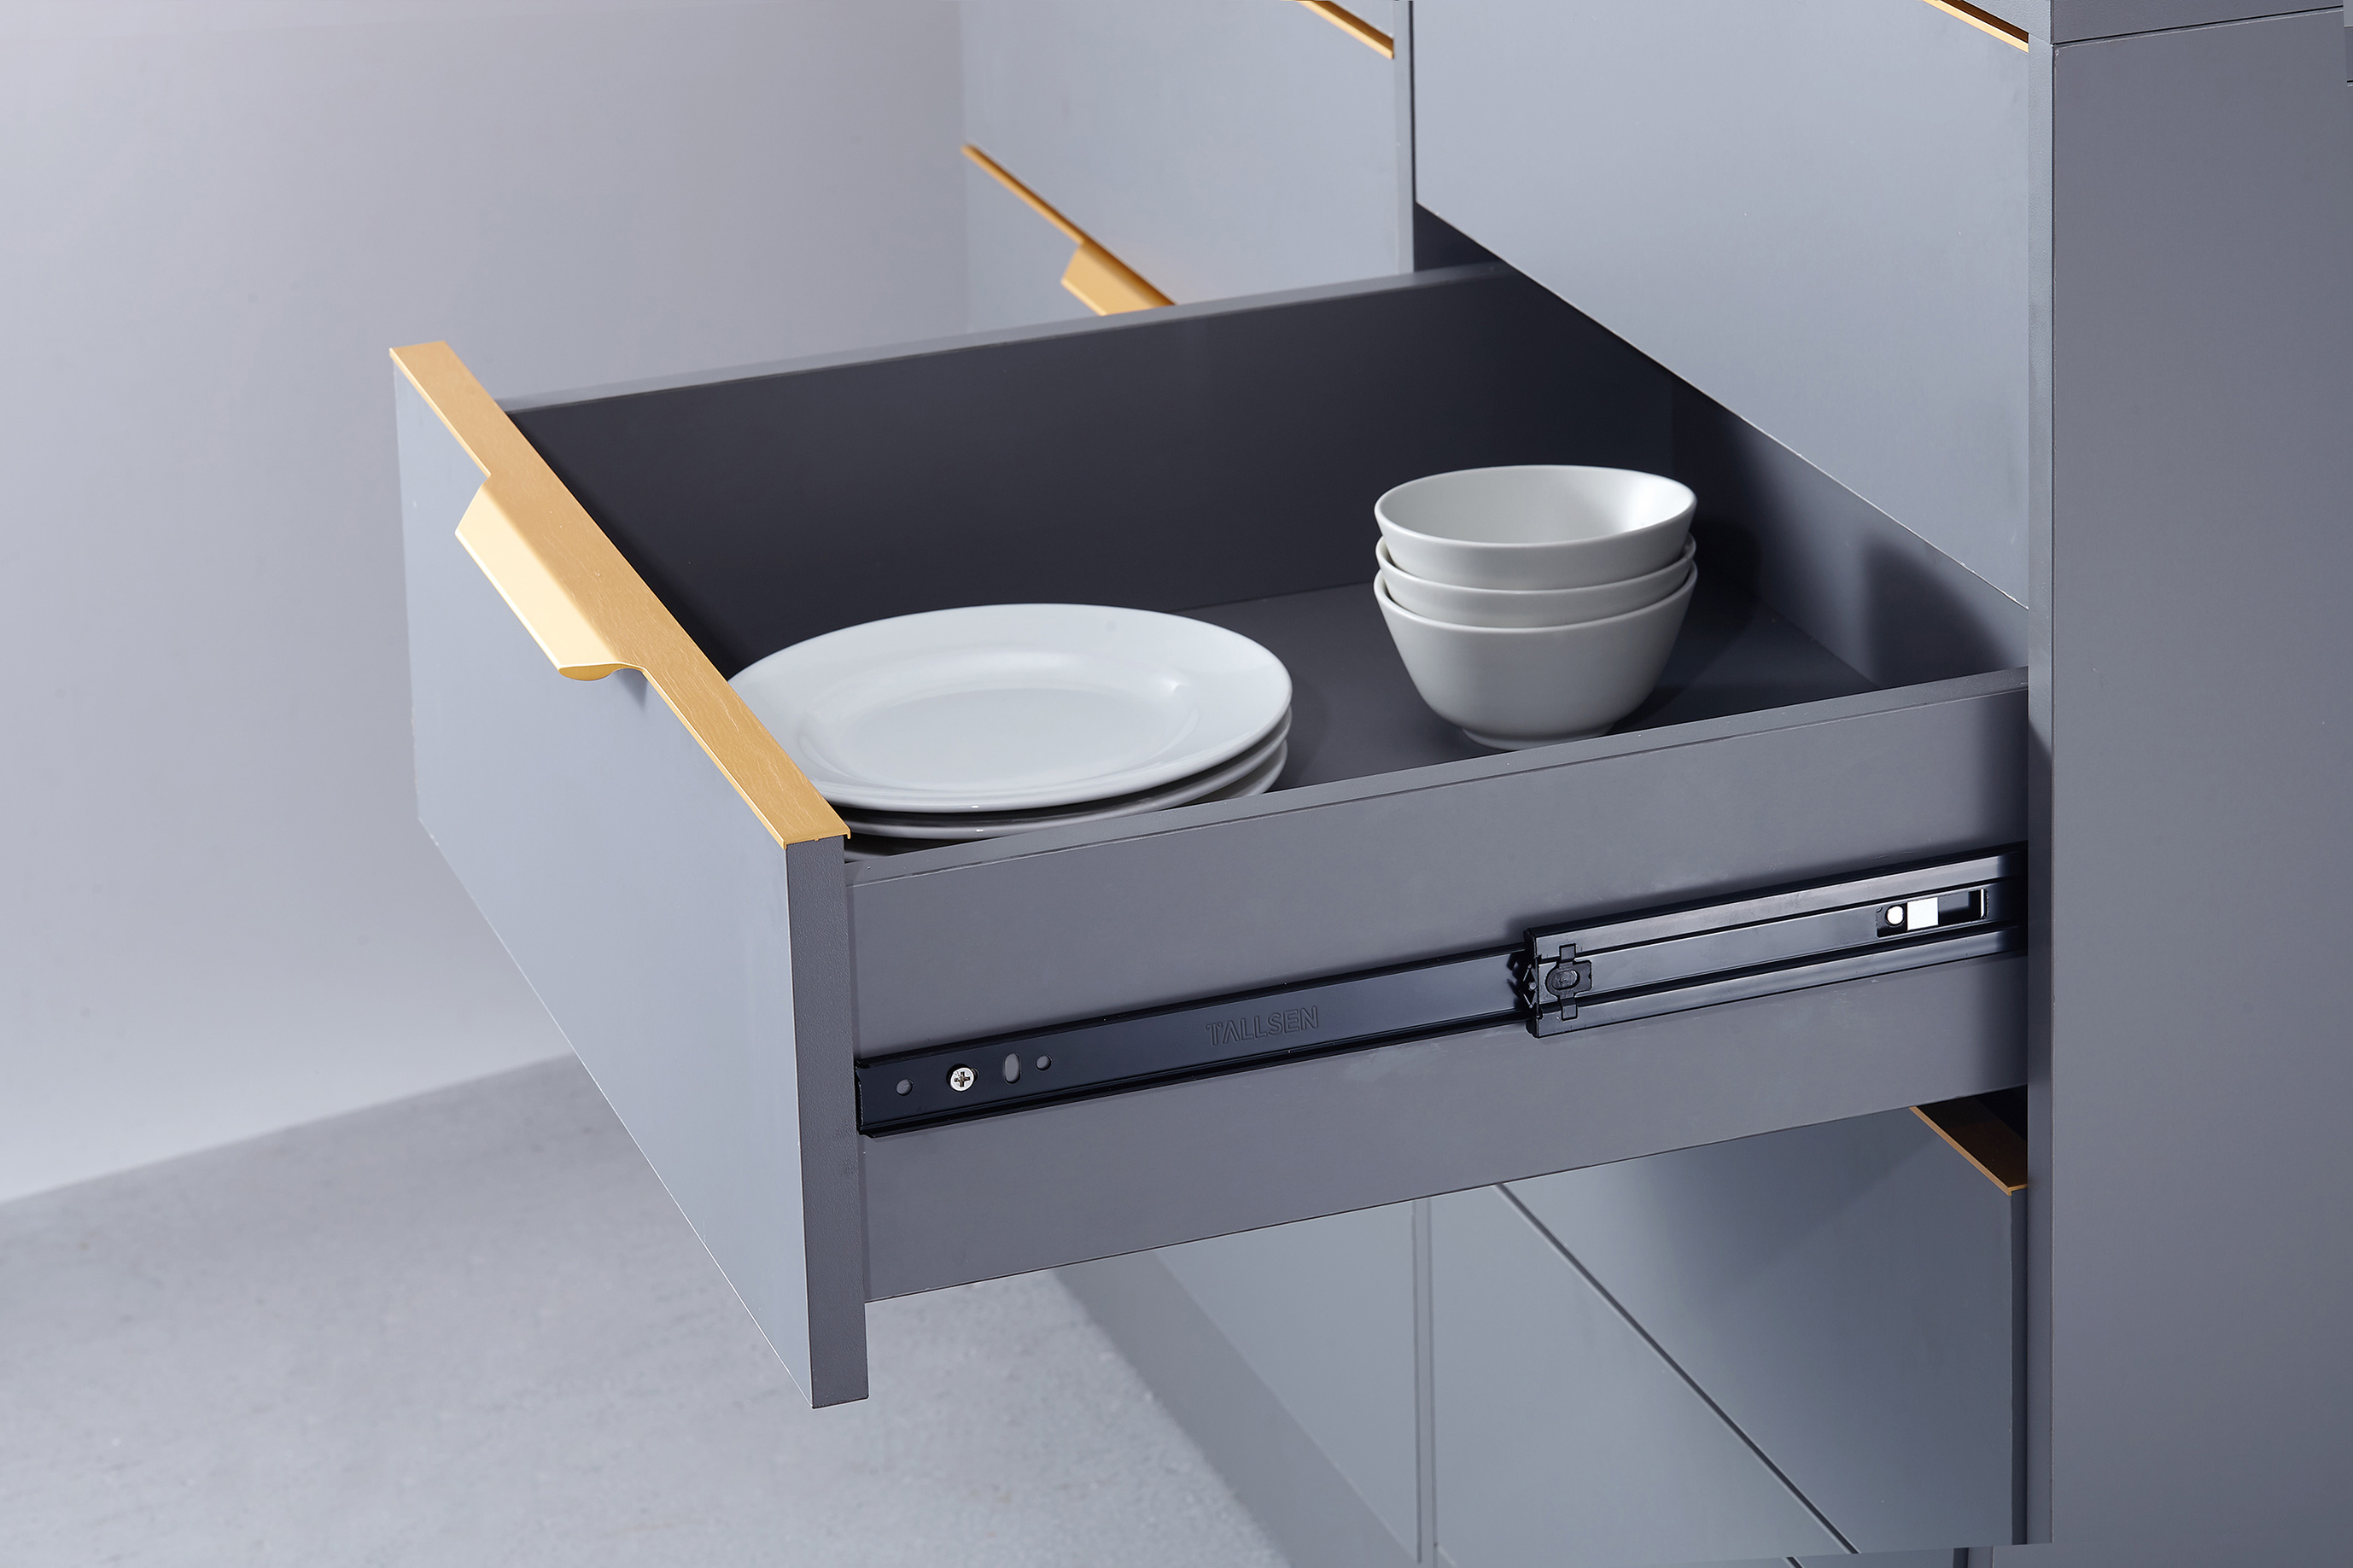
Remove dirt and old grease from the drawer slides using a clean cloth. Apply a light lubricant to help the drawer glide smoothly and reduce noise. Regular cleaning and lubrication prevent sticking and extend the slide’s life.
Cleaning and lubricating kitchen drawer slides can extend their life. It helps them glide smoothly and reduces wear. This process ensures your drawers open and close effortlessly.
Removing Dirt And Debris
Start by pulling the drawer out completely. This gives you access to the slide. Use a soft cloth or brush to wipe away visible dirt. A vacuum with a narrow attachment can help reach tight spaces. Remove all dust and crumbs. Check for any stuck objects or buildup. Clean both the drawer and cabinet slides. Ensure no obstructions remain. Once clean, your slides are ready for lubrication.
Choosing The Right Lubricant
Select a lubricant designed for metal or plastic slides. Silicone spray is a good choice. It doesn't attract dust. Avoid oil-based lubricants. They can cause more dirt buildup. Apply a small amount of lubricant along the slides. Open and close the drawer to distribute it evenly. This ensures smooth operation. Repeat as needed for optimal performance.
Credit: www.tallsen.com
Tighten Or Replace Screws
Loose or damaged screws are often the hidden cause behind a stubborn kitchen drawer that refuses to slide smoothly. Tightening or replacing these screws can make your drawer glide effortlessly again. Before you decide to buy new slides, check the screws first—sometimes the fix is simpler and cheaper than you expect.
Checking For Loose Screws
Start by pulling the drawer out and examining the screws holding the slides in place. Use a screwdriver to gently test each screw—are any spinning freely or feeling loose? If you find loose screws, tighten them firmly but avoid over-tightening, which can strip the wood or screw head.
Sometimes, screws seem tight but the wood around them is damaged or worn out. In those cases, the screw won’t hold properly, causing the drawer slide to misalign. Can you spot any cracks or enlarged holes where screws sit? If yes, the screws might need replacing or you may need to fill the holes before installing new ones.
Selecting Replacement Hardware
If tightening doesn’t solve the issue, consider swapping out the screws or even the entire slide hardware. Not all screws are created equal—choose ones that match the size and length of the originals for a secure fit. Stainless steel screws are a good choice because they resist rust and last longer in kitchen environments.
When buying replacement drawer slides, check their weight rating and length to match your drawer size. Some slides come with screws included, which ensures compatibility. Have you checked if your drawer is a side-mount, center-mount, or under-mount? This detail affects which hardware works best.
Replacing screws or slides might feel daunting, but focusing on this small part can save you from more expensive repairs or replacements down the line. What could be easier than tightening a few screws to bring back smooth kitchen drawer action?
Adjust Slide Alignment
Adjusting the slide alignment is key to fixing a stuck or misaligned kitchen drawer. Proper alignment allows the drawer to open and close smoothly. Misaligned slides cause resistance and wear over time. Careful adjustment can restore perfect function without replacing parts.
Realigning Drawer Slides
Start by removing the drawer from the cabinet. Inspect the slides on both the drawer and the cabinet sides. Look for screws that may have loosened or shifted. Loosen these screws slightly to allow slide movement. Gently move the slides so they line up evenly along the drawer’s path.
Use a level or straight edge to check alignment. The slides should be parallel and flat against the surfaces. Tighten the screws once the slides sit correctly. Place the drawer back in and test the movement. Repeat adjustments if the drawer still sticks.
Ensuring Even Movement
Check that both slides move smoothly together. Uneven movement often means one slide is higher or lower than the other. Adjust the slides by raising or lowering screws slightly. Listen for any scraping or grinding sounds as the drawer moves.
Apply a small amount of lubricant to the slide tracks for smoother motion. Avoid excess lubricant to prevent dirt buildup. Test the drawer several times to confirm even movement. Properly aligned slides extend the drawer’s lifespan and improve kitchen usability.
Fix Bent Or Damaged Slides
Bent or damaged drawer slides can make your kitchen drawers stick, jam, or even fall out. Fixing these slides restores smooth movement and keeps your kitchen functional. Before deciding to replace slides, it's worth trying to straighten them, especially if the damage is minor.
Straightening Metal Slides
Metal slides often bend due to heavy loads or accidental knocks. To fix this, first remove the drawer to access the slides easily. Use pliers or a rubber mallet to gently bend the metal back into shape.
Work slowly and check the alignment frequently by sliding the drawer back in place. Avoid over-bending, as metal can weaken and break if stressed too much. If you notice that the slide no longer holds screws firmly, adding small washers can help secure it better.
Have you ever tried adjusting the slide and realized the drawer glides more smoothly afterward? This small fix can save you the cost and hassle of a full replacement.
When To Replace Slides
Not all bent slides can be fixed. If the metal is cracked, rusted through, or the slide mechanism sticks despite straightening, replacement is necessary. Also, check if the slide’s ball bearings or rollers are missing or damaged—they are essential for smooth operation.
Replacing slides is straightforward and often inexpensive. Bring the old slide to a hardware store to find a matching size and type. Installing new slides might take a bit of time, but the result is a drawer that works like new.
Ask yourself: Is the time and effort to fix the slide worth it compared to replacing it? Sometimes, a fresh set of slides is the better long-term investment for your kitchen’s functionality.
Reinstall The Drawer
Reinstalling the kitchen drawer is a key step after fixing the slide. It ensures the drawer fits well and works smoothly. Proper installation helps avoid damage and keeps the drawer functional for a long time.
Properly Seating The Drawer
Start by aligning the drawer with the slides inside the cabinet. Gently push the drawer in, making sure both sides fit into the tracks. Avoid forcing the drawer, as this can bend or break the slides. Check that the drawer sits evenly and is level. If the drawer sticks, pull it out and realign before trying again.
Testing Smooth Operation
Pull the drawer out slowly to check the movement. It should glide easily without jerking or catching. Push the drawer back in and listen for any unusual sounds. Smooth operation means the slides are correctly installed and working well. Repeat this test a few times to confirm consistent movement. Adjust the slides if the drawer feels loose or tight during use.
Prevent Future Drawer Issues
Preventing future drawer issues is just as important as fixing the current problem. Taking proactive steps can save you time, money, and frustration down the line. By understanding simple maintenance habits and avoiding common mistakes, you can keep your kitchen drawers sliding smoothly for years.
Regular Maintenance Tips
Keep your drawer slides clean by wiping them down every few months. Dust and crumbs can build up and cause friction, making the drawer stick or jam. Using a dry cloth or a small brush works well to remove debris from the tracks.
Lubricate the slides with a silicone spray or a small amount of petroleum jelly. This reduces wear and tear and helps the drawer glide effortlessly. Be careful not to use too much, as excess lubricant can attract more dust.
Check the screws and mounting brackets regularly. Loose hardware can cause misalignment, leading to drawer problems. Tighten any screws that feel loose to maintain proper support and balance.
Avoiding Common Mistakes
Don’t overload your drawers. Heavy loads put extra strain on the slides and can cause them to bend or break. Ask yourself: Are you trying to fit too much into one drawer?
Avoid slamming drawers shut. This harsh action can damage the slides and the wood over time. Instead, close drawers gently to extend their lifespan.
Make sure the drawer is properly aligned when reinstalling or adjusting it. Misalignment is a frequent cause of sticking or uneven sliding. Take a moment to check that the slides are parallel and securely attached before you finish.

Credit: www.youtube.com
Frequently Asked Questions
How Do I Fix A Stuck Kitchen Drawer Slide?
First, remove the drawer and clean the slide tracks. Lubricate the slides with silicone spray. Reinstall the drawer and test for smooth movement.
Why Is My Kitchen Drawer Slide Misaligned?
Misalignment often happens from loose screws or worn parts. Tighten screws and replace damaged components to fix alignment and improve function.
Can I Replace A Broken Kitchen Drawer Slide Myself?
Yes, replacing a slide is simple. Remove the old slide, measure for size, buy a matching replacement, and install it with screws.
What Tools Are Needed To Repair Drawer Slides?
You typically need a screwdriver, lubricant, replacement slides, and a measuring tape. These tools help fix or replace faulty drawer slides effectively.
Conclusion
Fixing a kitchen drawer slide can save time and money. Small steps make the process simple and clear. Clean the slide, check screws, and replace broken parts. Test the drawer often to ensure smooth movement. A working drawer helps keep your kitchen neat.
Regular care prevents future problems and keeps things easy. Try these tips to fix your drawer today. Enjoy a quieter, smoother kitchen drawer again.