
Have you ever tried to remove your KitchenAid blender from the stand, only to find it stuck fast? It’s frustrating when your trusted kitchen tool won’t budge, especially when you’re ready to whip up a quick smoothie or sauce.
If you’re staring at your blender wondering what to do next, you’re not alone. You’ll discover simple, effective tips to free your KitchenAid blender without damaging it or wasting time. Keep reading, and you’ll be back to blending in no time.
Common Causes Of Blender Stuck On Stand
Blenders stuck on their stands cause frustration in the kitchen. Understanding common causes helps fix the problem faster. Several issues can prevent the blender jar from releasing smoothly.
Some causes are simple to fix. Others need more attention or replacement parts. Identifying the root cause avoids damage to the blender or injury.
Locking Mechanism Issues
The locking mechanism holds the blender jar firmly on the base. Over time, it can become jammed or misaligned. Dirt or small particles may block the lock parts.
If the lock does not release, the jar stays stuck. Sometimes the mechanism wears out and stops working properly. This issue often needs cleaning or adjustment.
Food Residue And Debris
Food bits can get trapped between the jar and the stand. Sticky sauces or thick mixtures cause buildup. This residue acts like glue and keeps the jar stuck.
Cleaning the base and jar edges regularly prevents buildup. Even small crumbs or pulp can cause trouble. Removing all debris frees the jar easily.
Wear And Tear On Components
Blender parts wear down after long use. Gaskets, seals, or rubber feet may degrade. This wear can cause the jar to stick or fit too tight.
Metal parts can rust or bend slightly. Plastic parts may crack or warp. Worn components often need replacement to restore smooth operation.

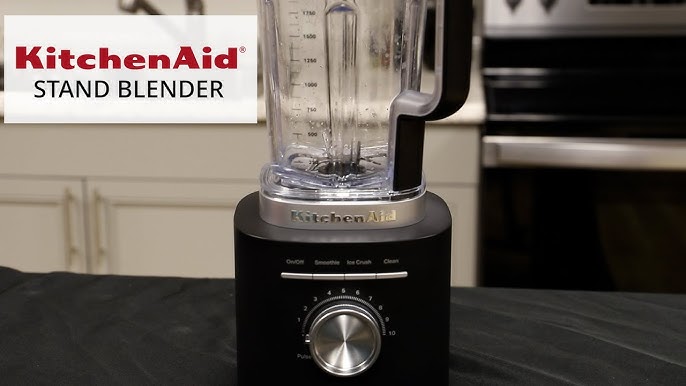
Credit: ca.style.yahoo.com
Simple Steps To Release The Blender
Getting your Kitchen Aid blender stuck on the stand can be frustrating, especially when you’re in a hurry. The good news is, freeing it often requires only a few simple actions. These steps help you handle the problem safely and effectively without damaging your appliance.
Unplug And Inspect The Blender
Always start by unplugging your blender to avoid any accidents. Take a close look at the connection points between the blender and the stand. Check for any visible food residue, sticky spots, or mechanical obstructions that might be causing the blender to stick.
Have you noticed any unusual build-up around the base before? Sometimes, dried ingredients act like glue, making the blender tough to remove.
Apply Gentle Pressure And Twist
Hold the blender firmly and try to twist it gently from side to side. Avoid pulling straight up with force, which could damage the locking mechanism. A slight rocking motion often loosens whatever is holding the blender in place.
If it doesn’t budge immediately, pause and try again with steady, gentle pressure. Patience here can save you from unnecessary repairs.
Use Warm Water To Loosen Residue
If twisting doesn’t work, warm water can help break down sticky residues. Dampen a cloth with warm water and wrap it around the base where the blender meets the stand. Let it sit for a few minutes to soften any hardened food or spills.
This simple trick works wonders, especially if your blender hasn’t been cleaned thoroughly after use. After soaking, try twisting again—you might be surprised how easily it moves.
Tools And Techniques For Stubborn Blenders
Stubborn Kitchen Aid blenders stuck on the stand need gentle twisting and lifting to release. Using a rubber grip or warm water can help loosen the base safely. Avoid forcing it to prevent damage.
Getting your KitchenAid blender off its stand can be a challenge when it decides to be stubborn. You are not alone if you've found yourself wrestling with this kitchen essential. Sometimes, it feels like the blender has a mind of its own, refusing to budge. Fear not, as this section will explore the tools and techniques to tackle this common household dilemma.
Using Lubricants Safely
A little lubrication can go a long way in freeing a stuck blender. Before reaching for any product, ensure it is food-safe. A few drops of vegetable oil around the base can help loosen it. Gently twist and turn the blender to work the oil into the stubborn spots. Remember to clean the area thoroughly after to avoid any residue or slipping.
Tapping Techniques To Free The Blender
Sometimes, a gentle tap can be more effective than brute force. Use a wooden spoon to tap around the base gently. This can help dislodge any food particles or residue causing the stickiness. Be patient, and avoid heavy-handedness to prevent damage. A few strategic taps can make all the difference without exerting too much effort.
When To Use A Rubber Grip Mat
A rubber grip mat can provide the extra grip you need. Place the mat on your counter to hold the base steady. Then, use your hands to twist the blender off the stand. The added grip from the mat minimizes slipping and maximizes your effort. Have you ever used a rubber mat for this purpose? It might be the simple solution you've been overlooking. With these practical tips, your blender should come off with ease and make your kitchen endeavors much more enjoyable.
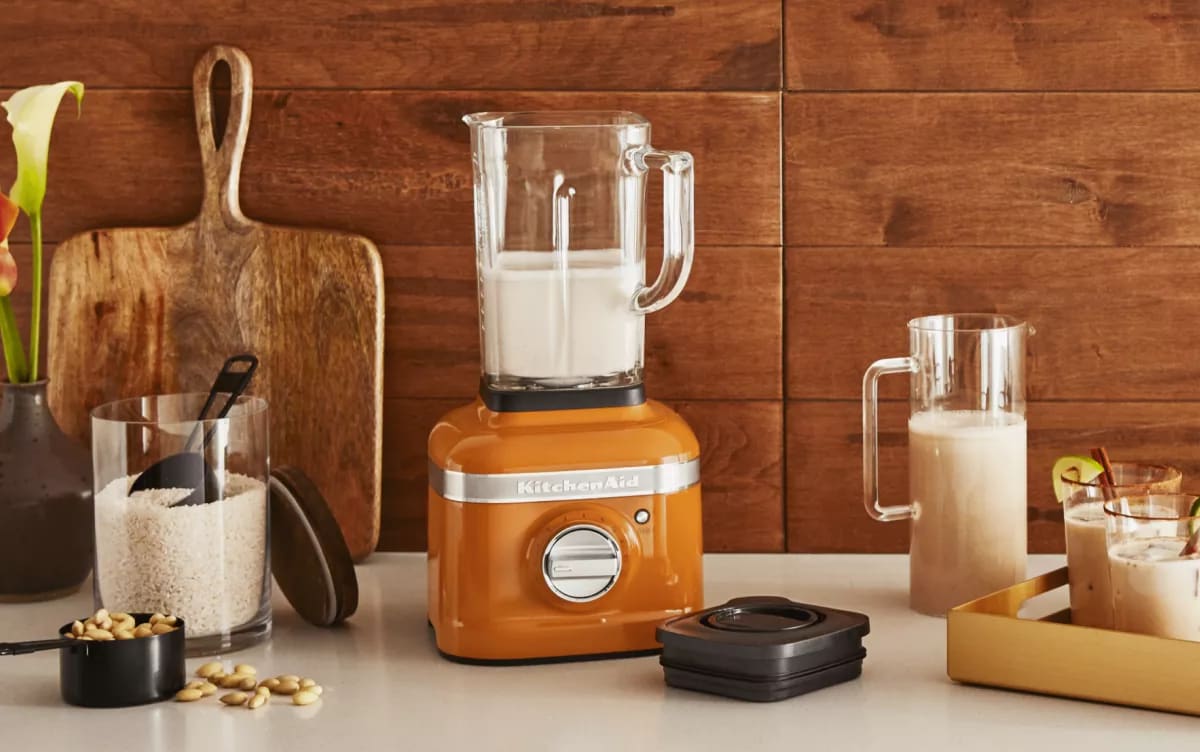
Credit: www.kitchenaid.ca
Preventing Future Blender Sticking
Preventing your Kitchen Aid blender from sticking to the stand saves you time and frustration. It’s easier to enjoy smooth blending when you don’t have to wrestle with the parts every time. Small habits and regular care make a big difference in keeping your blender working flawlessly.
Regular Cleaning Tips
After each use, clean the blender base and jar thoroughly. Food residue can build up and cause parts to stick together. Use warm soapy water and a soft cloth to wipe down the stand and the bottom of the jar.
Make sure to dry all parts completely before putting them back. Moisture can create suction, making removal difficult. Have you noticed how a quick clean after blending keeps everything smooth?
Proper Assembly And Disassembly
Pay close attention to how you attach the jar to the base. Align the jar properly and twist gently until it locks into place. Forcing it can bend or damage parts, increasing the chance of sticking.
When removing the blender jar, hold the handle firmly and twist slowly. Avoid pulling straight up without twisting, as this can create a vacuum seal. Have you ever tried lifting without twisting only to find it stuck?
Routine Maintenance Checks
Inspect the rubber gasket and seals regularly for wear or damage. Worn-out seals can cause tight suction or leaks. Replace these parts as soon as you notice cracks or stiffness.
Lubricate the locking mechanism lightly with food-safe oil if it feels stiff. This small step keeps the parts moving smoothly. When was the last time you checked your blender’s seals and moving parts?
When To Contact Customer Support
Knowing when to contact customer support for your Kitchen Aid blender saves time and effort. Sometimes, the blender gets stuck on the stand and simple fixes do not work. Professional help ensures safety and prevents damage to the appliance. Recognizing signs for support is key to a smooth solution.
Identifying Warranty Coverage
Check your blender’s warranty status before seeking help. Most Kitchen Aid blenders come with a one-year warranty. Some models offer extended coverage for parts and labor. Keep your purchase receipt and warranty card ready. Warranty coverage affects repair costs and options.
Repair Vs Replacement Options
Customer support can guide whether to repair or replace the blender. Minor issues often qualify for repair under warranty. Severe damage or repeated problems may mean replacement is better. Support staff assess the problem and suggest the best choice. This saves money and avoids repeated hassle.
Authorized Service Centers
Contact authorized service centers for reliable repair work. These centers use original parts and trained technicians. Unauthorized repairs may void your warranty or cause more issues. Find the nearest authorized center on Kitchen Aid’s official website. Customer support helps locate and schedule service appointments.

Credit: www.reddit.com
Frequently Asked Questions
Why Can't I Remove My Kitchenaid Blender From The Stand?
The blender may be locked due to the locking mechanism or residue buildup. Ensure the jar is in the correct position and twist gently. Clean any stuck debris around the base to loosen the jar from the stand.
How Do I Unlock A Stuck Kitchenaid Blender Jar?
Turn the jar counterclockwise while holding the base firmly. If it’s stuck, try tapping the base gently to loosen it. Avoid using excessive force to prevent damage to the blender or jar.
Can Residue Cause Kitchenaid Blender Jar To Stick?
Yes, food residue or liquid can dry and cause the jar to stick. Regular cleaning of the jar base and stand area helps prevent this issue. Use warm soapy water and a brush to clean hard-to-reach spots.
Is It Safe To Force-remove The Kitchenaid Blender Jar?
No, forcing can damage the jar or the blender base. Use gentle twisting and cleaning methods first. If stuck, apply a warm cloth to the base to expand the metal slightly before trying again.
Conclusion
Dealing with a stuck Kitchen Aid blender can be frustrating. Try gentle twisting or a light tap to loosen it. Clean the base and blender joint to remove residue. Avoid using too much force to prevent damage. Regular maintenance helps keep parts moving smoothly.
Stay patient and careful; the blender will come off soon. This simple effort keeps your kitchen tools working well.