
Are you tired of worrying about the quality of your tap water? Installing a water purifier on your kitchen faucet is a simple way to ensure every drop you use is clean and safe.
Imagine having fresh, pure water right at your fingertips without buying bottled water or using bulky filters. In this guide, you’ll learn exactly how to put a water purifier on your kitchen faucet quickly and easily. Keep reading, and you’ll discover the step-by-step process that anyone can follow to enjoy better tasting and healthier water every day.
Choosing The Right Water Purifier
Choosing the right water purifier for your kitchen faucet is more than just picking the first model you see. It involves understanding the types available and weighing the features that matter most to your household. The right choice ensures clean, safe water without hassle or extra costs down the line.
Types Of Faucet Water Purifiers
Faucet water purifiers come in various designs tailored to different needs. Some attach directly to the faucet, offering instant filtration as water flows through. Others use replaceable cartridges inside a compact unit, making them easy to maintain and swap out.
Here are common types you’ll encounter:
- Activated Carbon Filters:These reduce chlorine, bad tastes, and odors effectively.
- Reverse Osmosis (RO) Systems:Offer thorough purification, removing heavy metals and harmful chemicals.
- Ultraviolet (UV) Purifiers:Kill bacteria and viruses without affecting water taste.
- Multi-Stage Filters:Combine several filtration methods for comprehensive water treatment.
Think about which contaminants concern you most. Is it bacteria, chemicals, or just improving taste? Your answer guides the best type for your needs.
Factors To Consider Before Buying
Before you buy, reflect on your water source and daily usage. Is your tap water hard, or does it have a strong chlorine smell? Knowing this helps you pick a filter that targets those specific issues.
Other important factors include:
- Installation Ease:Can you install it yourself, or will you need professional help?
- Filter Lifespan:How often will you need to replace cartridges? Frequent changes can add up in cost and effort.
- Flow Rate:Will the purifier slow down your water flow significantly?
- Certifications:Look for filters certified by reputable bodies like NSF or WQA for reliable performance.
Ask yourself, how much time and money are you willing to invest in maintaining your purifier? This honest reflection prevents surprises after purchase.
Choosing the right water purifier isn’t just about protection—it’s about convenience and peace of mind in your daily routine. What features do you value most in clean water?

Credit: www.amazon.com
Gathering Necessary Tools
Before installing a water purifier on your kitchen faucet, you need to gather the right tools. Having the correct tools makes the process easier and faster. It also helps avoid damage to your faucet and purifier. Prepare your workspace and collect all items to avoid interruptions during installation.
Basic Tools You’ll Need
Gather these common tools for the installation:
- Adjustable wrench for tightening connections
- Screwdriver, usually Phillips or flathead
- Plumber’s tape to seal threads
- Bucket or bowl to catch water drips
- Clean cloth to wipe spills
These tools are easy to find in most homes or local stores.
Checking Compatibility With Your Faucet
Not all faucets work with every water purifier. Check your faucet type before buying a purifier.
- Look for standard thread sizes on your faucet spout
- Measure the diameter of the faucet tip
- Identify if the faucet has an aerator or not
- Check if the purifier kit includes adapters for your faucet
Ensuring compatibility saves time and avoids frustration during setup.
Preparing Your Faucet
Ensure your faucet is clean and free from debris before installation. Remove any aerators or attachments to fit the purifier properly. Checking for leaks helps avoid future water damage.
Preparing your kitchen faucet for a water purifier involves essential steps. This ensures a smooth installation process. A clean and ready faucet is crucial for optimal purifier function. Follow the steps below for a hassle-free experience.
Turning Off The Water Supply
Begin by turning off the water supply. Locate the shut-off valve under your sink. Turn the valve clockwise to stop the water flow. This prevents any water spillage during the installation. Confirm the water is off by turning on the faucet. If no water flows, you are set.
Removing Existing Attachments
Check your faucet for any attachments. This includes aerators or other nozzles. Use a wrench or pliers to unscrew them. Hold the base of the faucet while turning the tool. Store these parts safely in case you need them later. Ensure the faucet end is clean and free of debris. This prepares it for the purifier attachment.
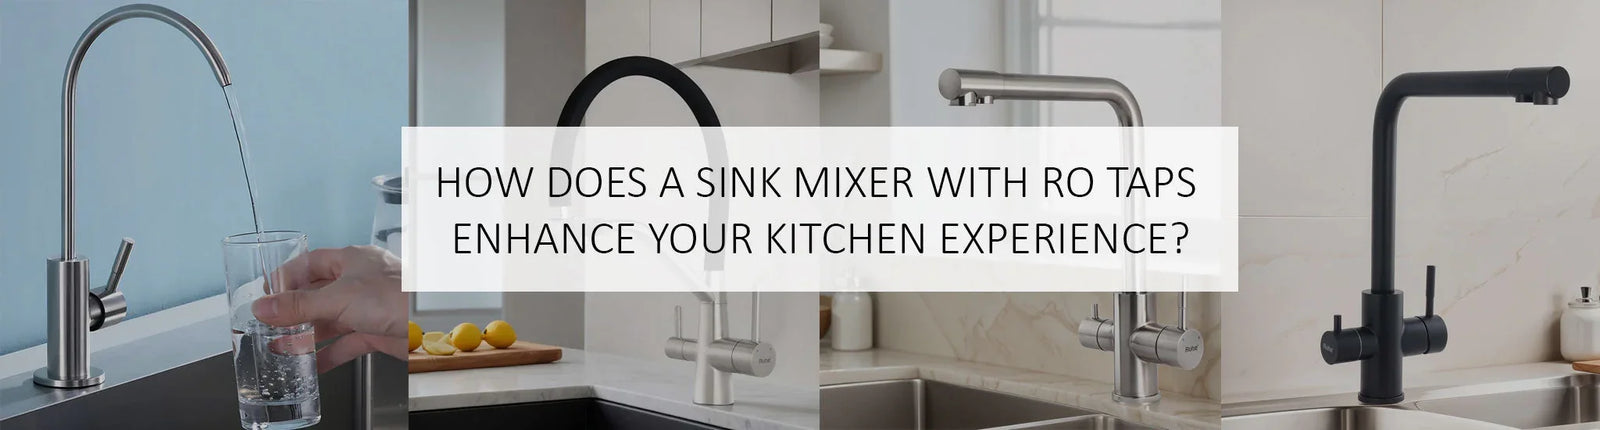
Credit: ruheindia.com
Installing The Water Purifier
Installing a water purifier on your kitchen faucet is easier than it sounds. With just a few simple tools and a bit of patience, you can have clean, fresh water ready in minutes. Let’s break down the key steps to get your purifier attached securely and working properly.
Attaching The Adapter
Start by checking the faucet’s end to see if it fits the purifier’s connector. Most purifiers come with several adapter sizes to match different faucets.
Take the right adapter and screw it onto the faucet tightly but don’t overdo it—too much force can damage the threads. If your faucet has an aerator, you may need to remove it before attaching the adapter.
Wondering how to know if it’s secure enough? Give it a gentle wiggle. It should feel firm but not forced. A loose adapter can cause leaks and reduce water pressure.
Securing The Purifier To The Faucet
Next, align the purifier’s inlet with the adapter and push or screw it on according to the model’s instructions. Some purifiers snap in place, while others require twisting.
Check that the purifier sits flush against the faucet with no gaps. If your purifier has a locking mechanism, engage it to prevent accidental disconnection.
Have you noticed any water dripping after installation? Tighten connections carefully or add the included washers if necessary. A watertight seal ensures your purifier works efficiently without wasting water.
Testing The Setup
Testing your water purifier setup is a crucial step that ensures everything is working smoothly and safely. It’s where you confirm that your installation is secure and that the purifier delivers clean water without any issues. Skipping this stage can lead to leaks or poor water flow, which defeats the purpose of having a purifier in the first place.
Turning The Water Back On
Once your purifier is attached, slowly turn the water supply back on. Doing this gradually helps prevent any sudden pressure that might cause damage or leaks. Pay close attention as the water starts flowing through the purifier; this is your first sign that the system is functioning.
You might hear some unusual noises or notice air bubbles in the stream—this is normal as air clears out from the pipes and purifier. Keep the faucet running for a minute or two to flush out any trapped air and loose carbon particles if your purifier has a carbon filter. This step also helps the filter settle and get ready for use.
Checking For Leaks And Proper Flow
After the water is flowing steadily, inspect every joint and connection closely for leaks. Even a tiny drip can waste water and damage your cabinet or countertop over time. Use a dry cloth or paper towel to detect moisture, and tighten any loose fittings immediately.
Next, evaluate the water flow from the faucet. Is the stream steady and strong, or does it seem weak and sputtering? Weak flow might indicate a clogged filter or incorrect installation. If you notice low pressure, try removing and reinstalling the purifier, ensuring all washers and seals are correctly positioned.
Have you checked the taste and clarity of the water yet? This personal test will tell you if the purifier is doing its job. If the water tastes off or looks cloudy, run it through a few more times or consider replacing the filter cartridge.
Maintaining Your Water Purifier
Maintaining your water purifier keeps water clean and safe to drink. Regular care helps the purifier work well for a long time. Simple actions like cleaning and changing filters prevent problems. Proper upkeep also saves money by avoiding repairs or replacements. Follow easy steps to keep your purifier in top shape.
Cleaning And Filter Replacement
Cleaning your water purifier stops dirt and germs from building up. Use a soft cloth to wipe the exterior. Avoid harsh chemicals that can damage parts. Clean the faucet area often to remove any deposits.
Filters trap harmful particles and must be changed regularly. Check the manufacturer’s guide for how often to replace them. Some filters last three to six months, others longer. Replace filters on time to keep water pure and tasting fresh.
Keep spare filters at home for quick replacement. Mark the date when you put a new filter. This helps to remember the next change. Clean and replace filters to ensure safe drinking water.
Troubleshooting Common Issues
Sometimes, water flow may slow down or stop. This can happen if the filter is clogged. Check and replace the filter if flow is weak. Air bubbles in the line can cause dripping or sputtering. Run water for a minute to clear air from pipes.
Leaks around the faucet may occur if connections are loose. Tighten all fittings gently with a wrench or by hand. Avoid over-tightening, which can cause damage. Strange tastes or odors can mean filters need changing. Always use genuine replacement parts for best results.
Regular checks prevent most issues. Watch for changes in water taste, smell, or flow. Fix small problems early to keep your purifier working well.

Credit: www.amazon.com
Frequently Asked Questions
How Do I Install A Water Purifier On My Kitchen Faucet?
To install, first turn off the water supply. Attach the purifier’s adapter to your faucet. Secure it tightly, then connect the purifier unit. Finally, turn the water back on and check for leaks. Follow your purifier’s manual for specific steps.
Can I Install A Water Purifier Without Tools?
Yes, many faucet water purifiers come with tool-free installation. They use adapters and connectors that fit snugly by hand. However, some models might need a wrench for a secure fit. Always check the product instructions before installation.
Will A Water Purifier Reduce Water Flow From My Faucet?
Some purifiers slightly reduce water flow due to filtration. This is normal and varies by model and filter type. If the flow is too low, check for clogs or incorrect installation. Regular filter changes help maintain good water pressure.
How Often Should I Replace The Water Purifier Filter?
Filter replacement depends on usage and water quality. Typically, replace filters every 3 to 6 months. Some models have indicators to signal when to change filters. Regular replacement ensures clean, safe drinking water and optimal purifier performance.
Conclusion
Installing a water purifier on your kitchen faucet improves water quality instantly. It helps remove dirt, bad taste, and harmful substances. The process is simple and quick with basic tools. Clean water supports better health for you and your family.
Remember to check and change filters regularly for best results. Enjoy fresh, safe water every day right from your tap. This small step makes a big difference in your daily life.