

Are your kitchen cabinet drawers sticking, squeaking, or not sliding smoothly? It’s frustrating when a simple daily task turns into a struggle because of faulty drawer slides.
But don’t worry—you don’t need to call a professional or replace the entire cabinet. In this guide, you’ll learn easy and effective ways to fix your kitchen cabinet drawer slides yourself. By the end, your drawers will glide like new, making your kitchen more enjoyable and functional.
Ready to bring back the smooth slide? Let’s get started!
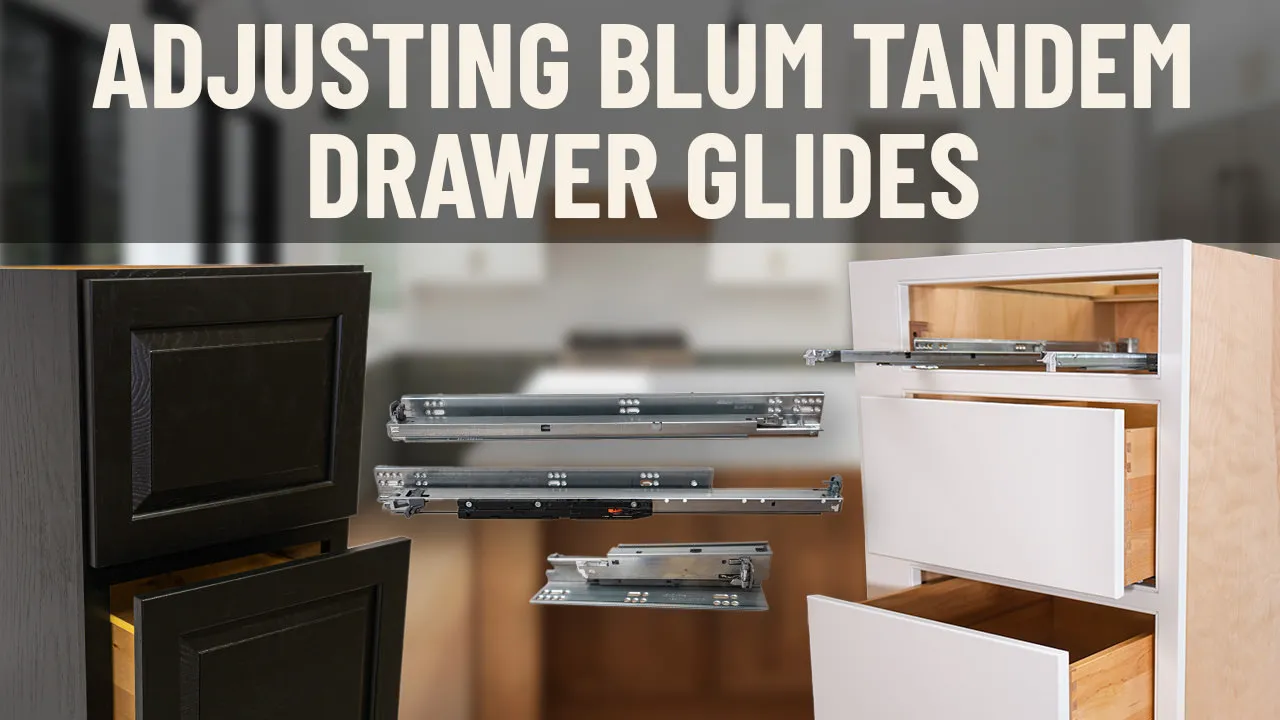
Credit: www.cabinetjoint.com
Common Drawer Slide Issues
Kitchen cabinet drawer slides often face common issues that affect their smooth operation. These problems can cause drawers to stick, wobble, or fail to open and close properly. Understanding these issues helps in fixing and maintaining the slides effectively.
Loose Or Misaligned Slides
Loose slides cause drawers to wobble or fall off track. Screws may loosen over time, or slides may shift out of place. Misalignment prevents drawers from closing fully or opening smoothly. Tighten screws and adjust slide position to fix this problem.
Stuck Or Jammed Drawers
Drawers can get stuck due to dirt, debris, or damaged slides. Dust and grime build-up create friction that blocks movement. Bent or warped slides also cause jamming. Cleaning the slides and checking for damage helps free stuck drawers.
Worn Out Or Broken Parts
Over time, parts like rollers or ball bearings wear out. Broken pieces stop the drawer from sliding properly. Replacing worn or damaged parts restores smooth operation. Use matching replacement parts for best results.
Tools And Materials Needed
Tools and materials needed include a screwdriver, replacement drawer slides, measuring tape, screws, and a pencil. These essentials help in repairing or replacing worn-out drawer slides in kitchen cabinets efficiently. Proper tools ensure a smooth and sturdy fix.
Every DIY project requires a set of tools and materials to ensure smooth execution, and fixing kitchen cabinet drawer slides is no exception. Gathering the right items ahead of time not only saves you from unnecessary trips to the hardware store but also ensures you tackle the task efficiently. Whether you're a seasoned DIY enthusiast or a beginner, having these essentials at your fingertips will make the process much simpler and more enjoyable.
Basic Hand Tools
To start, you'll need some basic hand tools that are likely already in your toolbox. A screwdriver set is essential, as you'll need both Phillips and flathead types to handle different screws found in drawer slides. A tape measure will help you ensure precise alignment and placement, while a level guarantees your drawers will glide smoothly without any tilt. A small hammer can also be handy for gently tapping any misaligned parts into place.
Replacement Parts
Sometimes, fixing drawer slides means replacing worn-out or broken parts. It's wise to have a few replacement slides on hand, as well as extra screws that match the size and type used in your cabinet. If your drawer slides have specific components like ball bearings, ensure you have those ready too. Knowing the exact model of your cabinet hardware can save you from mismatches and further frustration.
Lubricants And Cleaners
Lubricants and cleaners play a crucial role in maintaining the efficiency of your drawer slides. A silicone-based lubricant is ideal as it reduces friction and prevents future wear without attracting dust. Before applying any lubricant, use a mild cleaner to remove dirt and grime that may have accumulated over time. A clean and well-lubricated slide ensures smooth, effortless movement and prolongs the life of your drawers. Getting equipped with these tools and materials can transform a daunting repair job into a straightforward task. Have you ever tackled a home repair and found yourself missing a critical tool? Preparing in advance not only saves time but also enhances your success in achieving a flawless fix.
Removing The Drawer Safely
Removing a kitchen cabinet drawer safely is key to avoiding damage. It protects both the drawer and the cabinet structure. Careful handling ensures the slides stay intact for smooth operation later.
Follow clear steps to detach the drawer without force. Gentle movements prevent scratches and broken parts. Preparation and focus make the task easier and safer.
Unlocking The Slides
Most drawer slides have a release mechanism to unlock them. It can be a lever, tab, or button on the side or bottom of the slide. Press or lift this part gently to free the drawer.
Pull the drawer straight out while holding the release. Avoid twisting or bending the drawer. This keeps the slides aligned and prevents damage.
Handling Delicate Components
Drawer slides contain small parts like rollers or ball bearings. These parts move smoothly but can get stuck or fall out if handled roughly. Keep the drawer level and steady during removal.
Place the drawer on a soft surface after removal. Inspect the slides for dirt or damage before reinstalling. Clean parts with a dry cloth to maintain smooth sliding.
Cleaning And Inspecting Slides
Cleaning and inspecting your kitchen cabinet drawer slides is a crucial step to ensure smooth operation and extend their lifespan. Dirt and debris can build up over time, causing your drawers to stick or squeak. Taking the time to carefully clean and check these slides helps you catch problems early before they become costly repairs.
Removing Dirt And Debris
Start by pulling out the drawer completely so you can access the slides easily. Use a soft brush or a dry cloth to remove loose dust and crumbs. You might be surprised how much gunk hides in these narrow tracks, blocking smooth movement.
For tougher grime, a damp cloth with mild soap works well—just make sure the slides dry thoroughly afterward. Avoid harsh chemicals that might damage the metal or plastic parts. Have you noticed any sticky spots or buildup around your slides? Cleaning these areas can often solve the sticking issue instantly.
Checking For Damage
After cleaning, inspect the slides carefully for any dents, bends, or broken components. Look for loose screws or misaligned parts that could cause the drawer to jam. Even small damage can make a big difference in how well your drawer opens and closes.
If you spot rust or corrosion, it’s a warning sign that the slides might need replacement soon. Sometimes, tightening screws or realigning the slides fixes the problem, saving you a full replacement. Have you ever ignored a small crack only to find the drawer completely stuck later? Catching these issues early saves a lot of frustration.
Realigning And Tightening Slides
Realigning and tightening kitchen cabinet drawer slides improves smooth opening and closing. Misaligned slides cause sticking or uneven movement. Loose screws make the drawer wobbly or off track. Fixing these issues restores proper function and extends slide life.
Adjusting Slide Position
Start by removing the drawer from the cabinet. Check the slide rails on both the drawer and cabinet sides. Slides should be parallel and aligned evenly. If one side sits higher or lower, loosen the screws slightly. Move the slide up or down until it lines up straight. Tighten the screws just enough to hold the slide in place. Test the drawer by sliding it back in. Repeat adjustments until the drawer moves smoothly without sticking.
Securing Loose Screws
Loose screws cause drawer slides to shift or fall off track. Use a screwdriver to tighten all screws on both sides of the slides. Inspect each screw hole for damage. If holes are stripped, replace screws with slightly larger ones or use wood filler to secure the screw. Check the screws regularly to keep the slides stable. Tight screws ensure the drawer stays aligned and slides easily.
Replacing Damaged Slides
Replacing damaged kitchen cabinet drawer slides restores smooth operation. Old or broken slides cause drawers to stick or fall off. New slides improve drawer movement and extend cabinet life. The task needs careful part selection and correct installation. Follow simple guidelines for best results.
Choosing The Right Replacement
Select slides matching drawer size and weight capacity. Measure slide length and width before buying. Choose between side-mount, under-mount, or center-mount slides. Side-mount slides are visible but strong. Under-mount slides are hidden for a clean look. Check load rating to support drawer contents. Look for features like soft-close or full extension. Quality materials like steel last longer. Avoid cheap plastic slides that break easily.
Installing New Slides
Remove the drawer and old slides carefully. Clean the drawer and cabinet surfaces. Align new slides with existing screw holes. Use a level to ensure slides are straight. Secure slides with screws without overtightening. Attach slides to both drawer and cabinet sides. Test drawer movement before final tightening. Adjust slide position if drawer sticks or misaligns. Reinstall the drawer and open-close several times. Smooth operation means proper installation.
Lubricating Drawer Slides
Lubricating your kitchen cabinet drawer slides can make a huge difference in how smoothly your drawers open and close. Over time, dust, grime, and wear can cause friction, leading to sticking or squeaky slides. Adding the right lubricant reduces this friction, making your daily kitchen tasks easier and more satisfying.
Best Lubricants To Use
Choosing the right lubricant is key to fixing sticky drawer slides. Not all lubricants work well on metal or plastic slides.
- Silicone spray:This is a top choice because it doesn't attract dust and works well on both metal and plastic parts.
- White lithium grease:Great for metal slides, it provides long-lasting lubrication but can be a bit messy.
- Graphite powder:Ideal if you want a dry lubricant that won’t collect dirt, but it can be tricky to apply evenly.
- WD-40:While useful for loosening stuck parts, it’s not a good long-term lubricant as it evaporates quickly.
Have you ever applied WD-40 only to find the drawer gets sticky again in a few days? That’s why picking the right product upfront saves you time and effort.
Applying Lubricant Properly
Applying lubricant correctly ensures it reaches the areas that need it most. Start by fully extending the drawer to expose the slides.
Clean the slides with a damp cloth or a mild cleaner to remove dirt and old grease. Let the slides dry completely before adding lubricant to avoid trapping moisture.
- Spray or apply a thin layer of lubricant along the entire length of the slide rails.
- Move the drawer in and out several times to spread the lubricant evenly across the sliding surfaces.
- Wipe away any excess lubricant to prevent it from attracting dust and grime.
Remember, a little lubricant goes a long way. Excessive application can cause build-up and attract more dirt, which defeats the purpose.

Credit: www.familyhandyman.com
Testing And Final Adjustments
Testing and making final adjustments ensure your kitchen cabinet drawer slides work perfectly. This step helps spot any problems and fix them quickly. A smooth slide feels easy and quiet. Small tweaks can improve the drawer’s function and extend its life.
Smooth Operation Check
Open and close the drawer several times. Notice if it moves smoothly without sticking or wobbling. Listen for any unusual noises like grinding or squeaking. Check if the drawer aligns well with the cabinet frame. A properly working slide feels even and steady.
Making Minor Tweaks
If the drawer sticks or is uneven, adjust the screws slightly. Tighten loose screws to secure the slide firmly. Loosen tight screws just enough to allow smooth movement. Use a level to check the slide’s angle and adjust as needed. Test the drawer again after each change. Repeat until the drawer operates perfectly.
Preventing Future Drawer Slide Problems
Keeping your kitchen cabinet drawer slides working smoothly saves you time and frustration later. Preventing future problems starts with simple habits and smart handling. Small efforts now can extend the life of your drawer slides and keep your kitchen running like clockwork.
Regular Maintenance Tips
Check your drawer slides every few months to catch issues early. Wipe them down with a dry cloth to remove dust and crumbs that can cause jamming.
Apply a small amount of lubricant designed for metal slides to keep them moving smoothly. Avoid using too much; a little goes a long way and prevents dirt buildup.
Tighten any loose screws to keep the slides securely attached. Loose hardware often leads to misalignment and damage.
Avoiding Common Mistakes
Don’t overload your drawers. Exceeding weight limits strains the slides and can cause them to bend or break.
Be gentle when opening and closing drawers. Slamming them shut can damage the slides and wear down the tracks faster.
Make sure the slides are installed properly. Misaligned slides create friction and can wear out quickly. Have you ever noticed a drawer that sticks only in certain spots? That’s often due to poor installation or wear.
Keep liquids away from the slides. Moisture can cause rust and corrosion, making your slides stiff or stuck.
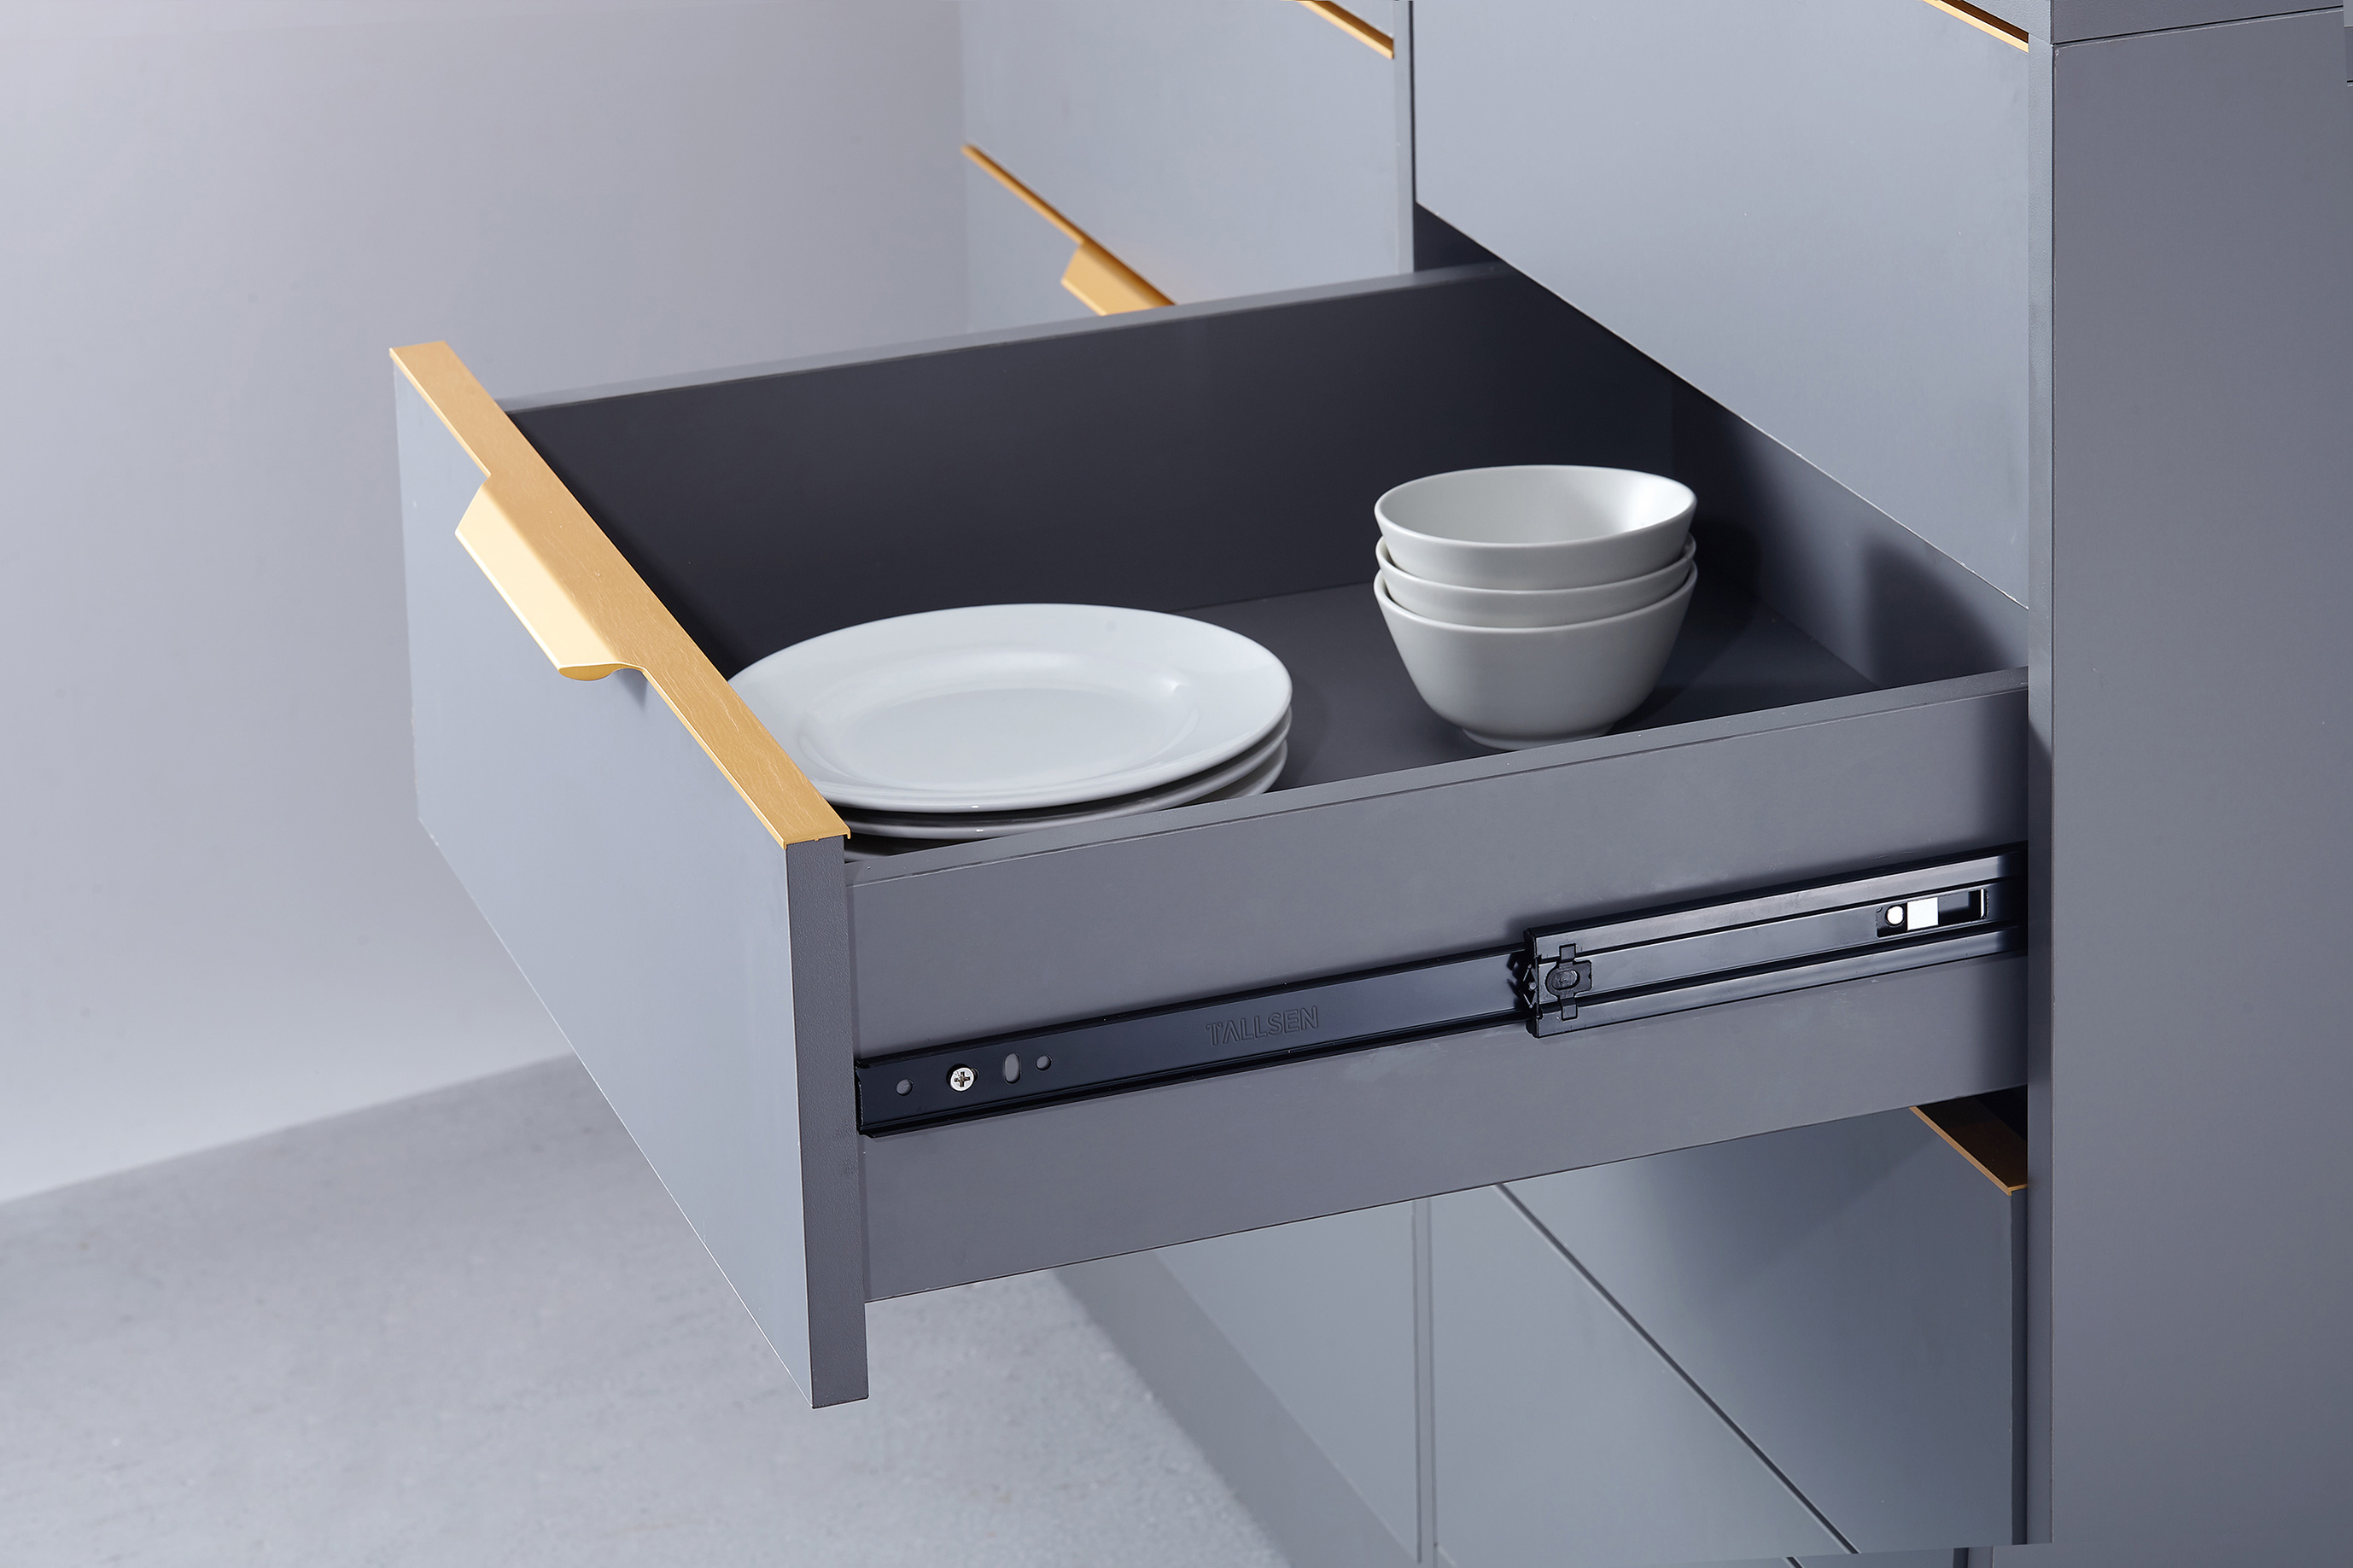
Credit: www.tallsen.com
Frequently Asked Questions
How Do I Fix A Stuck Kitchen Cabinet Drawer Slide?
First, remove the drawer and check for debris or damage. Clean the slides and lubricate them with silicone spray. Tighten loose screws or replace broken parts. Reinstall the drawer carefully to ensure smooth operation.
What Tools Are Needed To Repair Drawer Slides?
You typically need a screwdriver, lubricant spray, replacement screws, and possibly new slides. A measuring tape and level can help ensure proper alignment during repair.
How Can I Prevent Kitchen Drawer Slides From Breaking?
Avoid overloading drawers and regularly clean the slides. Lubricate them every few months to reduce friction. Handle drawers gently to extend their lifespan and maintain smooth operation.
When Should I Replace Kitchen Cabinet Drawer Slides?
Replace slides if they are bent, broken, or don’t glide smoothly after cleaning. Also, replace if they make noise or the drawer falls out frequently. New slides improve drawer function and safety.
Conclusion
Fixing kitchen cabinet drawer slides is easier than it seems. Small steps like tightening screws or cleaning tracks help a lot. Proper care keeps drawers smooth and quiet. Regular checks prevent bigger problems later. Spend a little time now to save trouble later.
Enjoy your well-working drawers every day. Simple fixes make your kitchen more comfortable. Try these tips and see the difference yourself.