
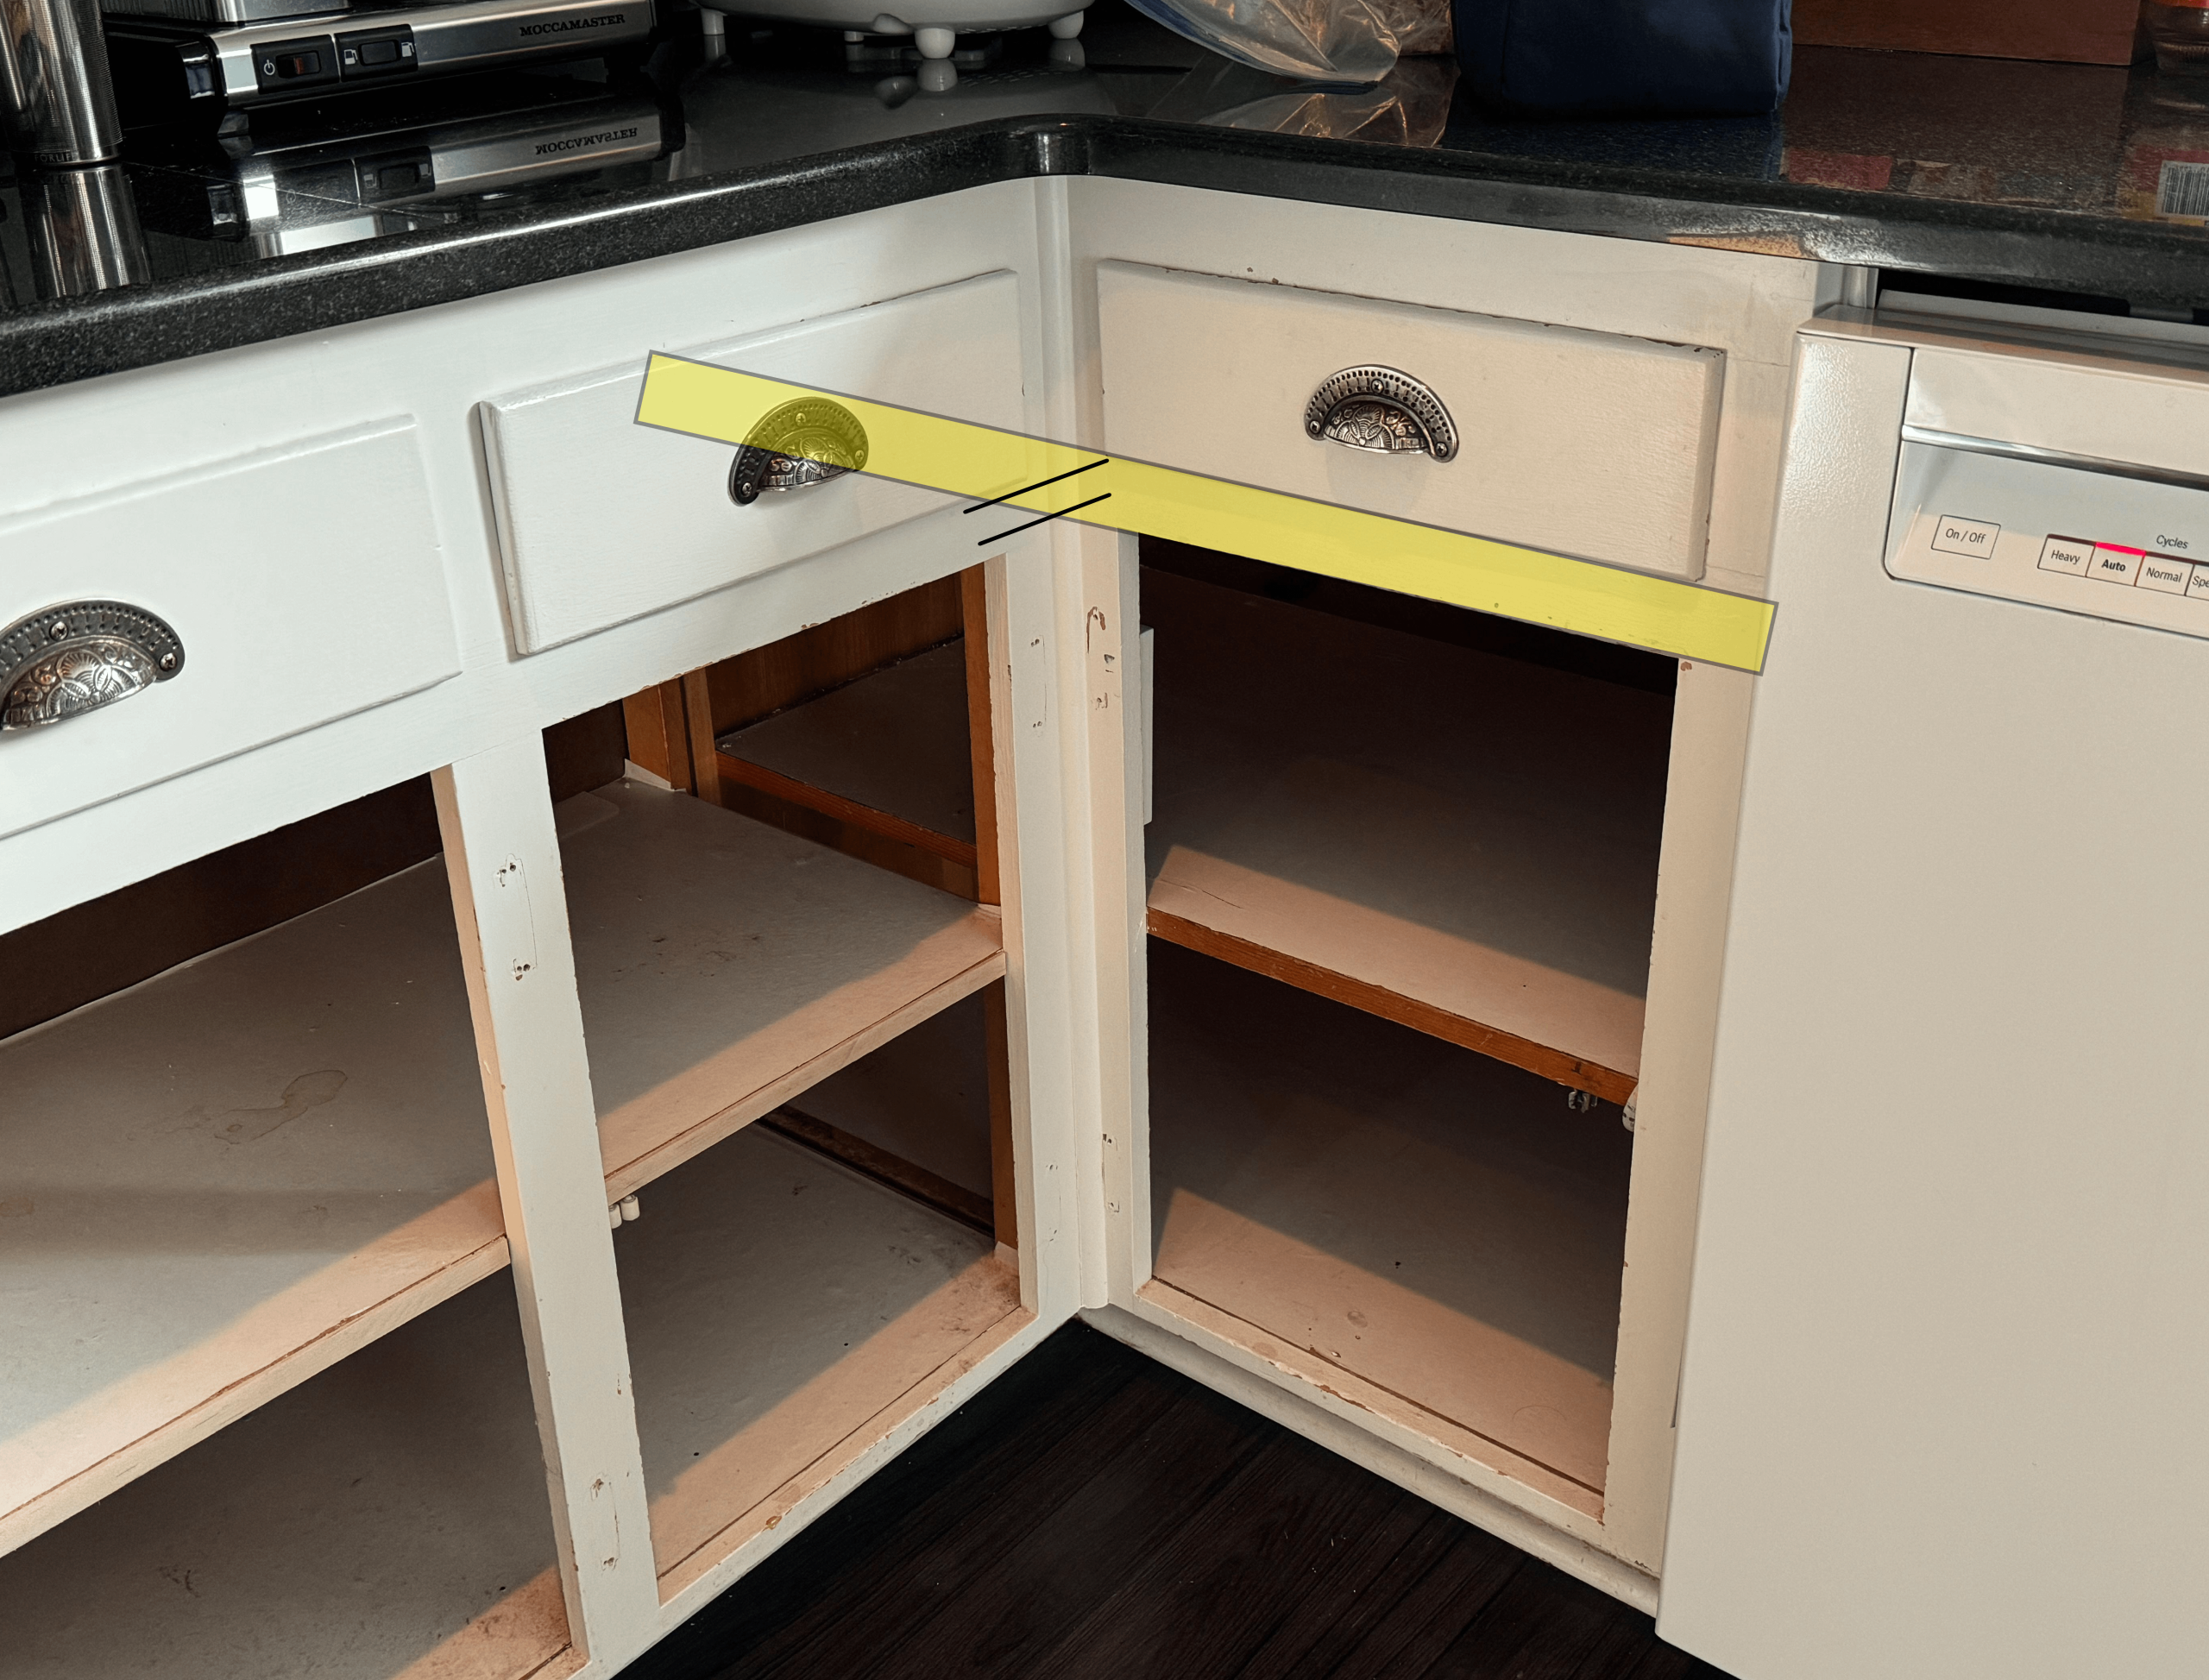
Are your kitchen drawer fronts looking worn out or outdated? Removing them might seem tricky, but with the right steps, you can do it yourself quickly and safely.
Imagine the satisfaction of giving your kitchen a fresh look without paying for expensive help. In this guide, you’ll learn exactly how to remove your kitchen drawer fronts with simple tools and clear instructions. Keep reading—you’re just moments away from starting your kitchen makeover!
Tools Needed
Removing kitchen drawer fronts requires a few simple tools. Having the right tools makes the job easier and safer. Prepare these items before starting your project. This saves time and avoids frustration.
Basic Hand Tools
- Screwdriver – Choose a flathead or Phillips, depending on screws.
- Drill – Useful for quick screw removal and reattachment.
- Putty knife – Helps pry off glued or stuck drawer fronts gently.
- Pliers – For gripping and pulling stubborn nails or screws.
- Measuring tape – Ensures you note dimensions for replacement fronts.
Safety Gear
- Safety glasses – Protect your eyes from dust and debris.
- Work gloves – Prevent cuts and splinters while handling wood.
- Mask – Keeps dust out of your lungs during sanding or prying.
Preparing The Workspace
Preparing your workspace is a crucial step before removing kitchen drawer fronts. It sets the stage for a smoother, safer process and helps avoid damage to your kitchen or tools. Taking time here can save you frustration and extra cleanup later.
Clearing The Area
Start by removing anything that might get in your way. Clear countertops, floors, and nearby surfaces of clutter. This gives you enough room to move freely and keeps your tools within reach.
Think about where you’ll place the drawer fronts once removed. Do you have a safe spot to lay them down without scratching or bending? Clearing space ahead prevents accidents and damage.
Protecting Surfaces
Next, protect your kitchen surfaces. Lay down drop cloths, old towels, or cardboard on countertops and floors to catch dust and prevent scratches. This simple step keeps your kitchen looking fresh throughout the project.
Have you noticed how a small scratch on a cabinet can stand out even months later? Taking a few extra minutes to cover surfaces means you won’t have to worry about that. It’s a small effort that makes a big difference.
Removing Drawer Contents
Removing the contents of your kitchen drawer is an important first step before taking off the drawer fronts. This clears the space and makes the removal process safer and easier. It also helps prevent damage to your items or the drawer itself.
Start by pulling the drawer out gently. Place the contents on a clean surface nearby. This keeps everything organized and within reach for later.
Check for any sticky spots or crumbs inside the drawer. Clean them out to avoid mess during removal. A quick wipe with a damp cloth works well.
Empty The Drawer Completely
Take out all utensils, tools, and other items. Don’t leave anything inside that could fall out. Empty drawers are lighter and easier to handle.
Sort Items For Storage
Group similar items together. Use boxes or small containers to keep them organized. This helps when putting items back later.
Inspect Drawer For Damage
Look for cracks, loose screws, or worn parts. Note any problems before removing the drawer front. Fixing these issues early saves time later.

Credit: cabinetdoorsnmore.com
Locating The Fasteners
Locate the screws or brackets securing the drawer front. These fasteners are usually found inside the drawer, near the corners.
Locating the fasteners is the first step in removing kitchen drawer fronts. Fasteners hold the drawer front securely to the drawer box. Identifying their type and location is crucial. This guide will help you find and understand them.
Types Of Fasteners
There are several types of fasteners used for kitchen drawers:
- Screws: Common and easy to identify. Usually require a screwdriver.
- Brackets: Metal pieces that support and secure the drawer front.
- Clips: Plastic or metal, often used in modern kitchens for a sleek look.
Each type of fastener requires specific tools for removal. Knowing the type helps in preparing the right tools.
Common Fastener Locations
Fasteners are usually hidden but can be found by examining the drawer carefully:
- Interior Side: Often, screws are inside the drawer box, near the front.
- Bottom Edge: Look for brackets or clips under the drawer front.
- Back of the Front: Some fasteners attach directly to the back of the drawer front.
Understanding these locations will make removing the drawer front easier and quicker.
Detaching The Drawer Front
Detaching the kitchen drawer front is a key step for repairs or updates. It requires care to avoid damage to the drawer or cabinet. The drawer front is usually attached with screws or fasteners. Removing these fasteners carefully frees the drawer front from the rest of the drawer assembly.
Unscrewing Fasteners
Start by locating the screws that hold the drawer front in place. These screws are often inside the drawer box, near the sides. Use a screwdriver that fits the screw heads well. Turn the screws counterclockwise to loosen them. Keep the screws in a safe spot for reuse. Avoid forcing the screws as they might strip or break.
Handling Stuck Or Painted Fasteners
Sometimes screws get stuck or painted over, making removal harder. Apply a small amount of penetrating oil on stuck screws. Let it sit for a few minutes to loosen rust or paint. Use a screwdriver with a good grip to prevent slipping. If paint covers the screws, carefully score around the head with a utility knife. This breaks the paint seal and eases removal. For very tight screws, a rubber band placed between the screwdriver and screw head can improve grip.
Dealing With Damaged Drawer Fronts
Damaged kitchen drawer fronts can be frustrating, especially when they disrupt the harmony of your kitchen’s appearance. Whether the damage comes from scratches, dents, or water exposure, addressing these issues early can save you time and money. You might wonder if a simple fix will do or if it’s time to consider a full replacement. Let’s look at practical ways to handle these common problems effectively.
Repair Tips
Small scratches and dents don’t always mean you need a new drawer front. You can fill minor dents with wood filler or putty, then sand it smooth once dry. This restores the surface and prepares it for repainting or staining.
If the finish is worn or chipped, try using a touch-up marker or paint that matches your drawer color. This quick fix can make a big difference without much effort.
Loose or damaged hardware can also make a drawer front look worse than it is. Tighten screws or replace worn handles to improve both function and appearance.
Have you ever tried using a heat gun to remove old paint or varnish? It can save time and reveal the original wood, giving you a fresh surface to work with.
When To Replace
Some damage is beyond repair, especially if the wood is swollen, cracked deeply, or warped. In these cases, replacing the drawer front is usually the best choice.
Consider replacement if your drawer front doesn’t fit correctly anymore or if repairs would be more expensive than a new one. Matching old finishes can be tricky, and a fresh drawer front can give your kitchen a clean, updated look.
Think about how much time and effort you’re willing to invest. If you want a long-lasting solution, replacement might save you from repeated repairs in the future.
Do you prefer a quick fix or a lasting upgrade? Deciding between repair and replacement depends on your budget, skills, and the drawer’s condition.
Reattaching Or Replacing Drawer Fronts
Reattaching or replacing kitchen drawer fronts requires careful handling. Proper alignment and secure fastening ensure a neat, functional drawer. Taking time to position the front correctly avoids uneven gaps and sticking drawers. Using the right fasteners keeps the front stable and durable. Follow these steps for a smooth reattachment or replacement process.
Aligning The Drawer Front
Start by placing the drawer front against the drawer box. Check that the edges line up evenly on all sides. Use clamps or ask someone to hold it steady. Make small adjustments until the front sits flush. Measure gaps to confirm equal spacing around the drawer front. Proper alignment prevents damage and keeps your kitchen looking sharp.
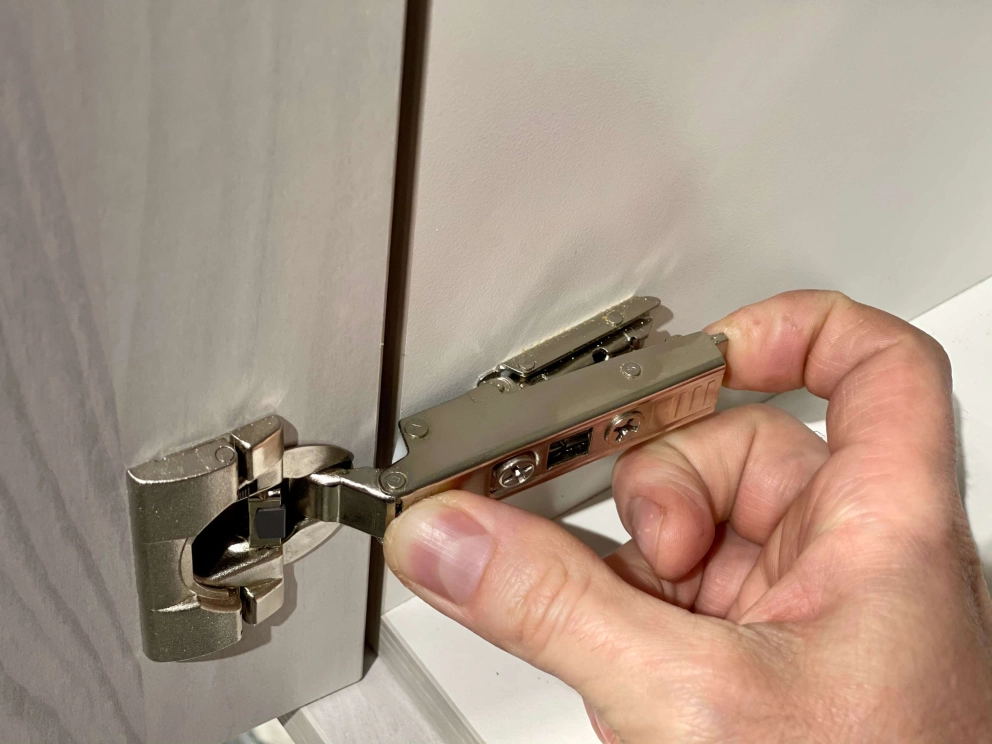
Securing New Fasteners
Choose fasteners that match your drawer’s material and weight. Common options include screws, bolts, or specialized drawer clips. Pre-drill holes to avoid splitting the wood. Insert fasteners slowly, tightening them evenly on each side. Avoid over-tightening to prevent cracking. Test the drawer by opening and closing it a few times. Adjust fasteners if the drawer sticks or feels loose.
Credit: cut2size.ca
Finishing Touches
After removing your kitchen drawer fronts, the finishing touches are crucial to ensure everything looks neat and works smoothly. This phase is about more than just appearance—it’s about making sure your drawers function perfectly and your kitchen feels refreshed. Taking a little extra time here can save you from headaches later.
Cleaning Up
Once the drawer fronts are off, you'll often find dust, dirt, or sticky residue around the edges and inside the drawers. Use a gentle cleaner and a soft cloth to wipe down these areas thoroughly. Pay special attention to corners where grime tends to build up unnoticed.
If you notice any old adhesive or paint drips, carefully scrape them off with a plastic putty knife to avoid damaging the wood. A clean surface not only looks better but also helps any new hardware or drawer fronts attach securely. Have you ever skipped this step and regretted the sticky mess later?
Testing Drawer Functionality
Before reattaching or replacing drawer fronts, slide each drawer in and out several times. Check for smooth movement and listen for any unusual noises like grinding or sticking. If you feel resistance, it might be time to adjust or lubricate the drawer slides.
Simple fixes like tightening loose screws or adding a bit of wax to the runners can make a big difference. Don’t overlook this step; functional drawers are just as important as their appearance. What’s the point of a beautiful kitchen if your drawers jam every time you use them?
Credit: www.diychatroom.com
Frequently Asked Questions
How Do I Safely Remove Kitchen Drawer Fronts?
First, empty the drawer completely. Locate screws or clips securing the front panel. Use a screwdriver to unscrew gently. If clips hold it, carefully unclip to avoid damage. Always support the drawer front during removal to prevent it from falling.
Can I Remove Drawer Fronts Without Removing The Drawer?
Yes, you can remove drawer fronts without pulling out the drawer fully. Access the screws or clips from inside the drawer cavity. Unscrew or unclip while the drawer is slightly pulled out. Be cautious to avoid damaging drawer slides or surrounding cabinetry.
What Tools Are Needed To Remove Kitchen Drawer Fronts?
You'll typically need a Phillips or flat-head screwdriver. Sometimes, a drill with screwdriver bits speeds up the process. A putty knife may help loosen glued or stuck drawer fronts. Gloves protect your hands during removal. Always check the drawer type to choose the right tools.
How To Avoid Damage When Removing Drawer Fronts?
Work slowly and carefully to avoid chipping or cracking wood. Support the drawer front firmly during removal. Use the right screwdriver size to prevent stripping screws. Avoid forcing stuck fronts; instead, gently pry them loose. Protect surrounding areas with cloth or tape.
Conclusion
Removing kitchen drawer fronts can be simple and quick. Start by gathering the right tools and working carefully. Take your time to avoid damage. Keep screws and parts safe for reassembly. This task helps with cleaning, painting, or replacing fronts.
You will save money by doing it yourself. Practice makes the process easier next time. Enjoy your refreshed kitchen look after completing the job. Simple steps lead to great results.