
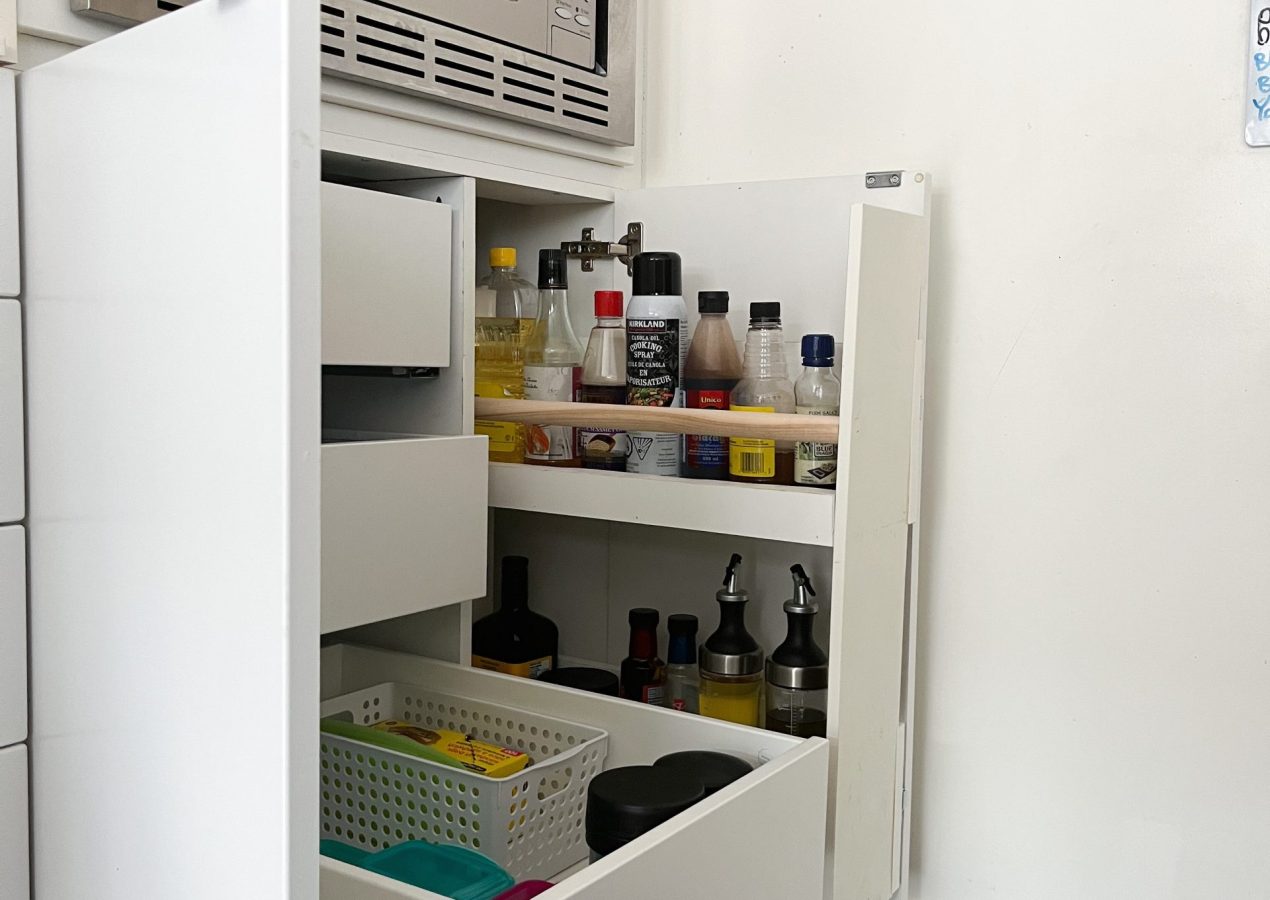
Are your old kitchen cabinets feeling outdated or hard to use? Adding drawer slides can make a huge difference in how smoothly your drawers open and close.
Imagine pulling out your drawers effortlessly, with no sticking or jamming. In this guide, you’ll learn exactly how to add drawer slides to your cabinets step by step. Whether you’re a beginner or just want a quick fix, this simple upgrade will save you time and frustration every day.
Keep reading, and you’ll discover easy tips to transform your kitchen without spending a fortune.
:strip_icc()/bhg-kitchen-drawer-slides_8pmLpaOPqRL84F5AQsbK3g-c0889a5c5ff04b5eafdc8bcd9018236c.jpg)
Credit: www.bhg.com
Tools And Materials Needed
Before you start adding drawer slides to your old kitchen cabinets, gathering the right tools and materials is crucial. Having everything ready will make the process smoother and help you avoid frustrating interruptions. Let’s break down what you’ll need to get the job done efficiently and accurately.
Essential Tools
First, make sure you have a reliable drill with drill bits suited for wood. A screwdriver, either manual or electric, is necessary for attaching the slides securely. A tape measure and pencil will help you mark the exact spots for installation, ensuring your drawers slide perfectly.
A level is also important to check that your slides are straight. Don’t forget a hammer and a set of clamps—they can come in handy for holding parts steady while you work. These basic tools are easy to find and often already in your toolbox.
Choosing The Right Drawer Slides
Not all drawer slides are created equal. You need to pick slides that fit the size and weight of your drawers. For older cabinets, side-mount slides are often easier to install, but under-mount slides offer a cleaner look if your cabinet design allows.
Consider the length of the slides carefully. They should match the depth of your cabinet to allow full drawer extension without sticking out. Also, check the weight rating—heavier items like pots require sturdier slides. Have you measured your drawers and cabinet interiors precisely to pick the perfect match?
Additional Supplies
Besides tools and slides, some extra materials will make your task easier. Wood screws sized to your drawer and cabinet thickness are essential. Using the wrong size can damage your cabinets or fail to hold the slides firmly.
Wood filler can help cover any old screw holes or mistakes during installation. Sandpaper smooths down any rough spots after filling. Lastly, a clean cloth will keep your workspace tidy and prevent dust from interfering with the slide mechanism.
Preparing The Cabinets
Preparing the cabinets is a key step before installing drawer slides. It makes sure everything fits well and works smoothly. This stage involves carefully removing old parts, cleaning the space, and taking accurate measurements. Proper preparation helps avoid problems later.
Removing Old Drawers
Start by pulling out the old drawers completely. Check if they have screws or clips holding them. Use a screwdriver or gently pry clips off. Take the drawers out slowly to avoid damage. Place them aside in a safe spot.
Cleaning And Inspecting
Clean the inside of the cabinet with a damp cloth. Remove dust, dirt, and any sticky residue. Look closely for cracks, loose parts, or water damage. Fix small issues like loose screws or rough edges. A clean, sturdy cabinet is ready for new slides.
Measuring For Slides
Measure the width, height, and depth of the cabinet space. Use a tape measure for accuracy. Write down all numbers clearly. Check if the cabinet is square by measuring diagonally from corner to corner. Accurate measurements help select the right size slides.
Installing Drawer Slides
Installing drawer slides on old kitchen cabinets improves drawer function and storage. It gives old cabinets a fresh, smooth operation. The process requires careful measurement, alignment, and secure attachment. Precision ensures drawers open and close without sticking or wobbling.
Marking Slide Positions
Start by measuring the height of your drawer. Mark a straight line inside the cabinet where the slide will sit. Use a pencil and a level for accuracy. Repeat the same measurement on both sides of the cabinet. This ensures the slides align perfectly. Mark the same line on the drawer sides where the slide will attach.
Attaching Slides To Cabinet
Separate the two parts of the drawer slide. Attach the cabinet member first. Align it with the pencil marks inside the cabinet. Use screws to secure the slide firmly. Check the slide is level and straight. Repeat on the other side. Tighten screws but avoid over-tightening to prevent damage.
Mounting Slides On Drawers
Attach the drawer member of the slide to the drawer sides. Align it with the pencil marks on the drawer. Use screws to fix the slide securely. Make sure the slide is flush with the drawer edge. Repeat on the other side of the drawer. Test the drawer by sliding it in and out smoothly.
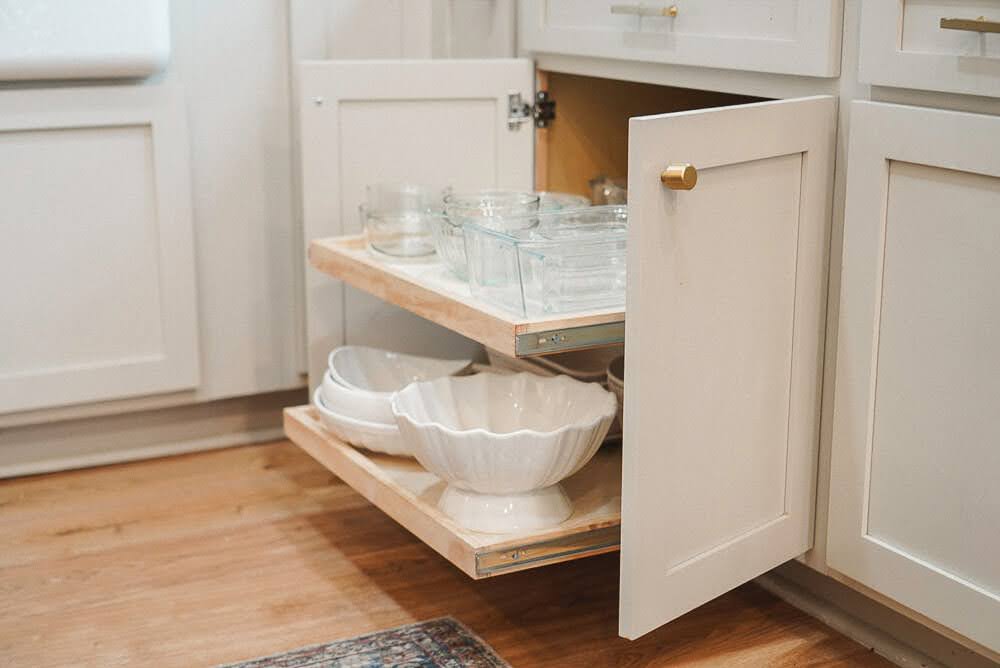
Credit: crystelmontenegrohome.com
Adjusting And Testing
Adjusting and testing are crucial steps for perfect drawer slides. After installation, ensure everything aligns and moves smoothly. This process ensures your drawers open and close without a hitch. It's time to make your kitchen cabinets functional again. Let's explore how to fine-tune your drawers for the best performance.
Aligning Drawers
Aligning drawers is essential for proper function. Check that the slides are level on both sides. Use a spirit level for accuracy. Misalignment can cause drawers to jam or not close properly. Adjust screws to ensure the slides are perfectly aligned. This simple step improves drawer performance significantly.
Smoothing Movement
Smoothing movement is key for user satisfaction. Test the drawer by sliding it in and out. Notice any resistance or noise? These indicate friction or misalignment. Apply a light lubricant to metal slides. It reduces friction and enhances glide. For wooden slides, use wax for a smoother feel.
Troubleshooting Common Issues
Troubleshooting common issues can save time and frustration. If drawers stick, check for debris in the tracks. Clean them thoroughly with a cloth. For squeaks, ensure all screws are tight. Loose screws can cause noise and misalignment. If problems persist, reconsider slide choice or size.
Finishing Touches
Finishing touches bring your kitchen cabinets to life. They improve both function and style. Simple upgrades make a big difference in your kitchen’s look and feel. Focus on details for a polished result.
Replacing Drawer Fronts
Old drawer fronts may look worn or outdated. Replace them with new ones for a fresh appearance. Choose fronts that match your cabinet style and color. Measure carefully to ensure a perfect fit. Secure the new fronts tightly for durability.
Adding Handles Or Pulls
Handles and pulls add convenience and charm. Select designs that fit your kitchen’s theme. Installing them is easy with basic tools. Mark holes precisely to avoid crooked placement. Tighten screws firmly to prevent loosening over time.
Maintaining Drawer Slides
Regular care keeps drawer slides working smoothly. Clean slides with a soft cloth to remove dust and dirt. Apply a small amount of lubricant for easy movement. Check screws and brackets for tightness often. Fix any issues quickly to avoid damage.

Credit: www.youtube.com
Frequently Asked Questions
How Do I Choose The Right Drawer Slides Size?
Measure your cabinet drawer’s depth and width carefully. Select slides that match these dimensions for smooth operation and durability.
What Tools Are Needed To Install Drawer Slides?
You need a drill, screwdriver, measuring tape, pencil, and level for precise installation of drawer slides.
Can I Install Drawer Slides On Old Cabinet Doors?
Yes, you can retrofit old cabinet doors with drawer slides for better accessibility and functionality.
How Do I Align Drawer Slides Properly?
Use a level and measuring tape to ensure slides are straight and parallel before securing them with screws.
Conclusion
Adding drawer slides to old kitchen cabinets makes them easier to use. You can open and close drawers smoothly without any trouble. This simple upgrade saves time and reduces frustration. It also helps keep your kitchen neat and organized. With just a few tools and steps, you can improve your cabinets at home.
Try this project to give your kitchen a fresh, practical touch. Small changes can make a big difference in daily life. Ready to enjoy your improved kitchen?