
Your kitchen mat works hard every day, catching spills, crumbs, and dirt while you cook and clean. But when was the last time you gave it a proper clean?
A dirty kitchen mat can harbor bacteria, cause unpleasant odors, and even affect your health. You might think cleaning it is a hassle, but what if I told you it’s easier than you expect? You’ll discover simple, effective ways to clean your kitchen mat so it looks fresh and lasts longer.
Keep reading—you’ll want to know these tips that can make your kitchen cleaner and safer right now.
Choosing The Right Cleaning Method
Choosing the right cleaning method for your kitchen mat helps keep it fresh and long-lasting. Different mats need different care. The type of material and the level of dirt guide the best approach. Proper cleaning protects the mat’s surface and your floors.
Material Matters
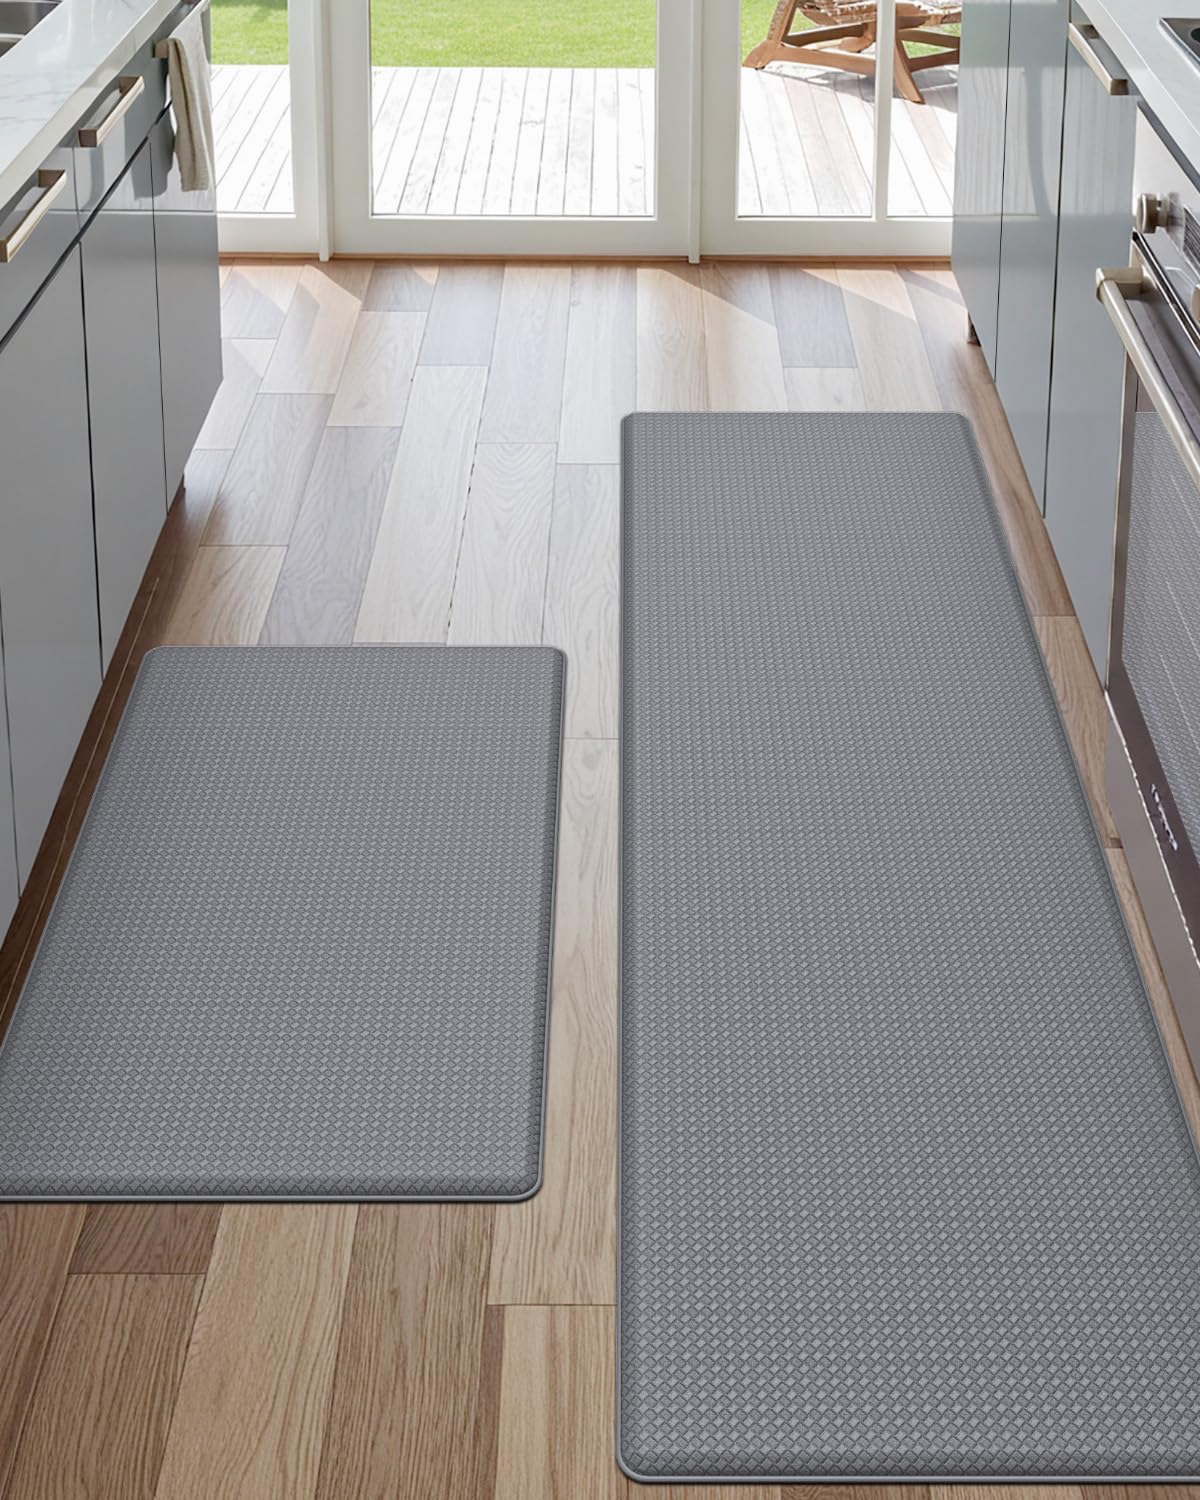
Kitchen mats come in many materials like rubber, foam, fabric, and vinyl. Each material needs a unique cleaning method. Rubber mats can handle water and scrubbing. Foam mats need gentle washing to avoid damage. Fabric mats might require spot cleaning or machine washing, depending on the care label. Vinyl mats clean well with mild soap and water. Always check the mat’s label before cleaning.
Spot Cleaning Vs Deep Cleaning
Spot cleaning removes small stains and spills fast. Use a damp cloth and mild detergent for this. It keeps the mat looking good daily. Deep cleaning removes built-up dirt and grime. It requires soaking or thorough scrubbing. Use deep cleaning only when the mat is very dirty. Overdoing deep cleaning can wear out the mat quickly.
Credit: www.amazon.in
Gathering Cleaning Supplies
Gathering the right cleaning supplies is the first step to clean your kitchen mat effectively. Having all tools ready saves time and effort. It also ensures a thorough clean without damage to the mat.
Focus on supplies that suit your mat’s material. Some mats need gentle care, while others can handle stronger cleaners. Prepare a workspace where you can clean without making a mess.
Essential Tools
- A soft-bristle brush to scrub dirt gently
- A vacuum cleaner for removing loose debris
- A bucket to hold water and cleaning solution
- A sponge or cloth for wiping and drying
- Rubber gloves to protect your hands
- A drying rack or clothesline for air drying
Recommended Cleaning Agents
- Mild dish soap for everyday dirt and stains
- White vinegar to remove odors and disinfect
- Baking soda to tackle tough stains and smells
- Warm water as a base for mixing solutions
- Specialized mat cleaner for delicate or rubber mats
Preparing The Kitchen Mat
Preparing your kitchen mat before cleaning is a crucial step that can save you time and ensure better results. The right preparation helps avoid damage and makes the cleaning process more effective. Taking a few simple actions upfront can make your kitchen mat look fresh and last longer.
Removing Loose Dirt
Start by shaking your kitchen mat outside to get rid of loose dirt and crumbs. This simple action can prevent dirt from spreading inside your washing area. If shaking isn’t enough, use a vacuum cleaner to pick up any remaining dust or debris.
Pay attention to the corners and edges where dirt tends to gather. You might be surprised how much grime hides there, especially if you cook frequently. Removing loose dirt first means your cleaning method will work better and your mat will dry faster.
Checking Care Labels
Always check the care label before you clean your kitchen mat. The label tells you the material and any specific instructions for washing or drying. Ignoring these details might cause shrinking, fading, or damage to the mat’s backing.
For example, some mats can be machine washed, while others need hand washing or spot cleaning only. If your mat has non-slip backing, it may require a gentler approach to keep it effective. Knowing these details helps you choose the safest and most efficient cleaning method.
Credit: sokafa.com
Step-by-step Cleaning Process
Kitchen mats are a staple in many homes, providing comfort during cooking and protection against spills. However, these trusty companions can quickly become dirty and unhygienic. Knowing how to clean them properly is essential for maintaining a healthy kitchen environment. Let’s dive into the step-by-step cleaning process to ensure your kitchen mat looks great and lasts longer.
Hand Washing Techniques
Sometimes, a gentle hand wash is all your kitchen mat needs. Start by shaking out any loose dirt or crumbs. Fill a basin with warm water and add a mild detergent.
Submerge the mat and use a soft brush to scrub it gently. Pay extra attention to stained or heavily soiled areas. Rinse thoroughly with clean water to remove soap residue.
Machine Washing Tips
Some kitchen mats are machine washable, making your job easier. Always check the care label for washing instructions. Use a gentle cycle with cold water to avoid damaging the fibers.
Add a small amount of mild detergent and avoid bleach, which can weaken the material. Consider washing the mat with towels to balance the load, reducing wear and tear.
Drying The Mat Properly
Proper drying is crucial to prevent mildew and odors. Avoid using a dryer unless the label explicitly says it’s safe. Instead, hang the mat over a clothesline or drying rack in a well-ventilated area.
Ensure it's completely dry before placing it back in your kitchen. A damp mat can invite bacteria and mold, undoing all your hard work. Have you ever noticed a musty smell on a mat? That’s often due to inadequate drying.
Dealing With Tough Stains
Tough stains on your kitchen mat can be stubborn and frustrating. They often come from spilled sauces, oils, or dirt tracked in from outside. Tackling these spots requires more than just a quick wipe; you need effective solutions that break down the grime without damaging the mat.
Homemade Stain Removers
Simple ingredients in your kitchen can become powerful stain removers. A paste made from baking soda and water works wonders on grease and food stains. Apply the paste, let it sit for 15 minutes, then scrub gently with a soft brush.
White vinegar is another excellent option. Mix equal parts vinegar and water in a spray bottle and spritz the stained area. After a few minutes, blot the stain with a clean cloth and rinse with water.
Have you tried lemon juice? Its natural acidity helps lift discolorations and leaves a fresh scent. Just squeeze lemon juice directly onto the stain, wait 10 minutes, then wipe with a damp cloth.
Commercial Products
If homemade solutions aren’t cutting it, commercial stain removers can offer targeted cleaning power. Look for products labeled safe for rubber or fabric mats to avoid damage.
Enzyme-based cleaners are particularly effective against organic stains like food and drink spills. They break down proteins and oils, making the stain easier to remove.
Always test a small hidden spot before applying any commercial cleaner to the entire mat. This helps you avoid discoloration or material breakdown.
Which option fits your cleaning style better: DIY remedies or ready-made solutions? Sometimes combining both can give your kitchen mat a fresh start.
Maintaining A Spotless Mat
Keeping your kitchen mat spotless isn’t just about appearances—it impacts hygiene and comfort in one of the busiest parts of your home. A clean mat reduces the risk of bacteria buildup and keeps your kitchen inviting. Small, consistent efforts make a big difference in how long your mat stays fresh and functional.
Regular Cleaning Schedule
Set a cleaning routine that fits your kitchen’s traffic. Depending on usage, aim to clean your mat once a week or every two weeks. This prevents dirt from settling deep into the fibers and makes cleaning easier each time.
Use a vacuum or shake the mat outdoors to remove loose crumbs and dust. Spot clean spills immediately to avoid stains setting in. For a deeper clean, wash the mat according to its care instructions, usually in cold water with mild detergent.
Have you noticed how skipping cleaning even once can make the mat look dull and smelly? Staying consistent keeps your kitchen mat welcoming and safe.
Preventive Care Tips
Protect your mat by reducing the amount of dirt and moisture it collects. Place a small rug or a shoe rack near the kitchen entrance to catch dirt before it reaches your mat. Encourage family members to wipe their feet or use slippers while in the kitchen.
Rotate your mat regularly to avoid uneven wear and tear. Make sure it dries completely after cleaning to prevent mold growth. Avoid placing heavy appliances on the mat to keep its shape intact.
Have you ever thought about how small daily habits affect your mat’s lifespan? Simple preventive steps can save you time and money on replacements.
Frequently Asked Questions
How Often Should I Clean My Kitchen Mat?
You should clean your kitchen mat at least once a week. Regular cleaning prevents dirt buildup and bacteria growth. Frequent cleaning keeps your kitchen hygienic and fresh. For heavy use, consider cleaning twice a week to maintain cleanliness and safety.
What Is The Best Method To Clean Kitchen Mats?
Vacuum your mat first to remove loose dirt. Use mild detergent and warm water for scrubbing. Rinse thoroughly and air dry completely before placing it back. Avoid harsh chemicals to protect the mat material and ensure longevity.
Can Kitchen Mats Be Machine Washed Safely?
Many kitchen mats are machine washable, but check the label first. Use a gentle cycle with cold water and mild detergent. Avoid bleach and fabric softeners. Air dry or tumble dry on low heat to prevent damage.
How To Remove Tough Stains From Kitchen Mats?
Apply a mixture of baking soda and water on stains. Let it sit for 15 minutes, then scrub gently with a soft brush. Rinse with clean water and air dry. This method effectively lifts stains without harsh chemicals.
Conclusion
Keeping your kitchen mat clean helps maintain a fresh and healthy space. Regular washing removes dirt and germs that build up over time. Use gentle cleaning methods to protect the mat’s material. Dry it fully before placing it back in the kitchen.
Clean mats also prevent slips and keep your floor safe. Small efforts lead to a cleaner kitchen and better hygiene. Start a simple cleaning routine today and enjoy a tidy cooking area. A clean kitchen mat makes a big difference every day.