
Have you ever faced a slow or clogged kitchen sink that just won’t drain? It’s frustrating, messy, and can disrupt your entire day.
But what if the solution is simpler than you think? A kitchen sink plunger might be your secret weapon to quickly fix that stubborn blockage without calling a plumber. You’ll discover how this handy tool works, why you need one in your home, and the best tips to use it effectively.
Keep reading to take control of your kitchen sink problems and save time and money.
Credit: www.walmart.com
Types Of Kitchen Sink Plungers
Choosing the right kitchen sink plunger can make all the difference when you’re faced with a stubborn clog. There are several types designed to tackle specific kinds of blockages and sink shapes. Understanding these options helps you pick a tool that works efficiently and saves you time.
Cup Plungers
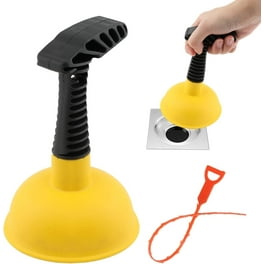
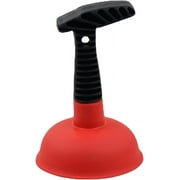
Cup plungers are the most common type you’ll find in many households. They have a simple rubber cup at the end of a handle and work best on flat surfaces like kitchen sinks. If your clog is minor and right at the drain opening, a cup plunger can often clear it quickly.
One time, I tried using a cup plunger on a heavily clogged sink, and it barely made a dent. That taught me cup plungers are great for quick fixes but not for deep or stubborn blockages.
Accordion Plungers
Accordion plungers have a collapsible, bellows-like design that allows you to create more forceful pressure. This type is especially useful for sinks with deeper drains or those with more complex pipes beneath. The extra power can dislodge tougher clogs that a cup plunger might miss.
However, the rigid shape can make it tricky to seal properly on flat surfaces. If you want strong pressure but have a shallow kitchen sink, this might not be your best bet.
Flange Plungers
Flange plungers include an additional rubber flap that extends from the bottom of the cup, creating a better seal in curved or irregular drains. Though they’re often used for toilets, they work surprisingly well in kitchen sinks with built-in stoppers or overflow holes.
If your sink has a unique shape or built-in drain features, a flange plunger might be the one that fits snugly and clears the blockage effectively. Have you ever struggled with a plunger that just wouldn’t seal? This type solves that problem.
Choosing The Right Plunger
Choosing the right kitchen sink plunger makes all the difference when you’re facing a stubborn clog. A plunger that fits well and feels comfortable in your hand can save you time and frustration. Let's look closely at what to consider before making your choice.
Material And Durability
The material of your kitchen sink plunger affects how long it lasts and how well it works. Look for plungers made from strong rubber or silicone because they create a better seal and resist cracking over time.
Plastic handles might break easily, so a wooden or metal handle often offers better durability. Think about how often you’ll use it—if clogs are rare, a basic model might be enough, but frequent use demands sturdier materials.
Size And Shape
Kitchen sink drains are smaller than toilet drains, so your plunger should match that size to be effective. A cup size around 3 to 4 inches usually fits well.
The shape matters too—some plungers have a flat bottom or a flange designed to fit sink drains better. Choosing the right shape helps you create a strong seal, which means less effort and better results.
Handle Design
Comfort and grip are key when choosing a handle. A handle with a non-slip grip lets you apply pressure without your hand slipping, especially when wet.
Length is also important; a handle that’s too short can make plunging awkward, while one too long might be hard to control in tight spaces. Pick a handle length that feels natural for your kitchen sink setup.
Preparing For Effective Use
Preparing to use a kitchen sink plunger effectively can save you time and frustration. It’s essential to set the stage for success before you even touch the plunger. A little preparation can make a big difference in tackling those stubborn clogs.
Clearing The Area
Before you dive into plunging, make sure the area around your sink is clear. Remove any dishes, utensils, or other items that might get in the way. This not only provides more space but also prevents items from accidentally falling into the sink during the process. Plus, it helps maintain a focus on the task at hand without distractions.
Creating A Water Seal
To ensure the plunger works effectively, create a strong water seal. Fill the sink with enough water to cover the plunger's cup. This water acts as a medium to transfer pressure directly to the clog. Without this seal, the plunger won't work efficiently, and you'll end up exerting more effort than necessary.
Safety Precautions
While plunging might seem straightforward, it's important to consider your safety. Wear gloves to protect your hands from germs and sharp objects that might be lurking in the drain. Also, ensure the area is dry to prevent slipping. If you're using any cleaning chemicals, make sure they are fully rinsed away to avoid harmful fumes or reactions.
Step-by-step Plunging Techniques
Mastering the art of plunging your kitchen sink can save you time and money. It’s not just about pushing down and pulling up; the technique you use can make a big difference in clearing the clog effectively. Let’s break down the steps that ensure your plunger works as hard as you do.
Positioning The Plunger
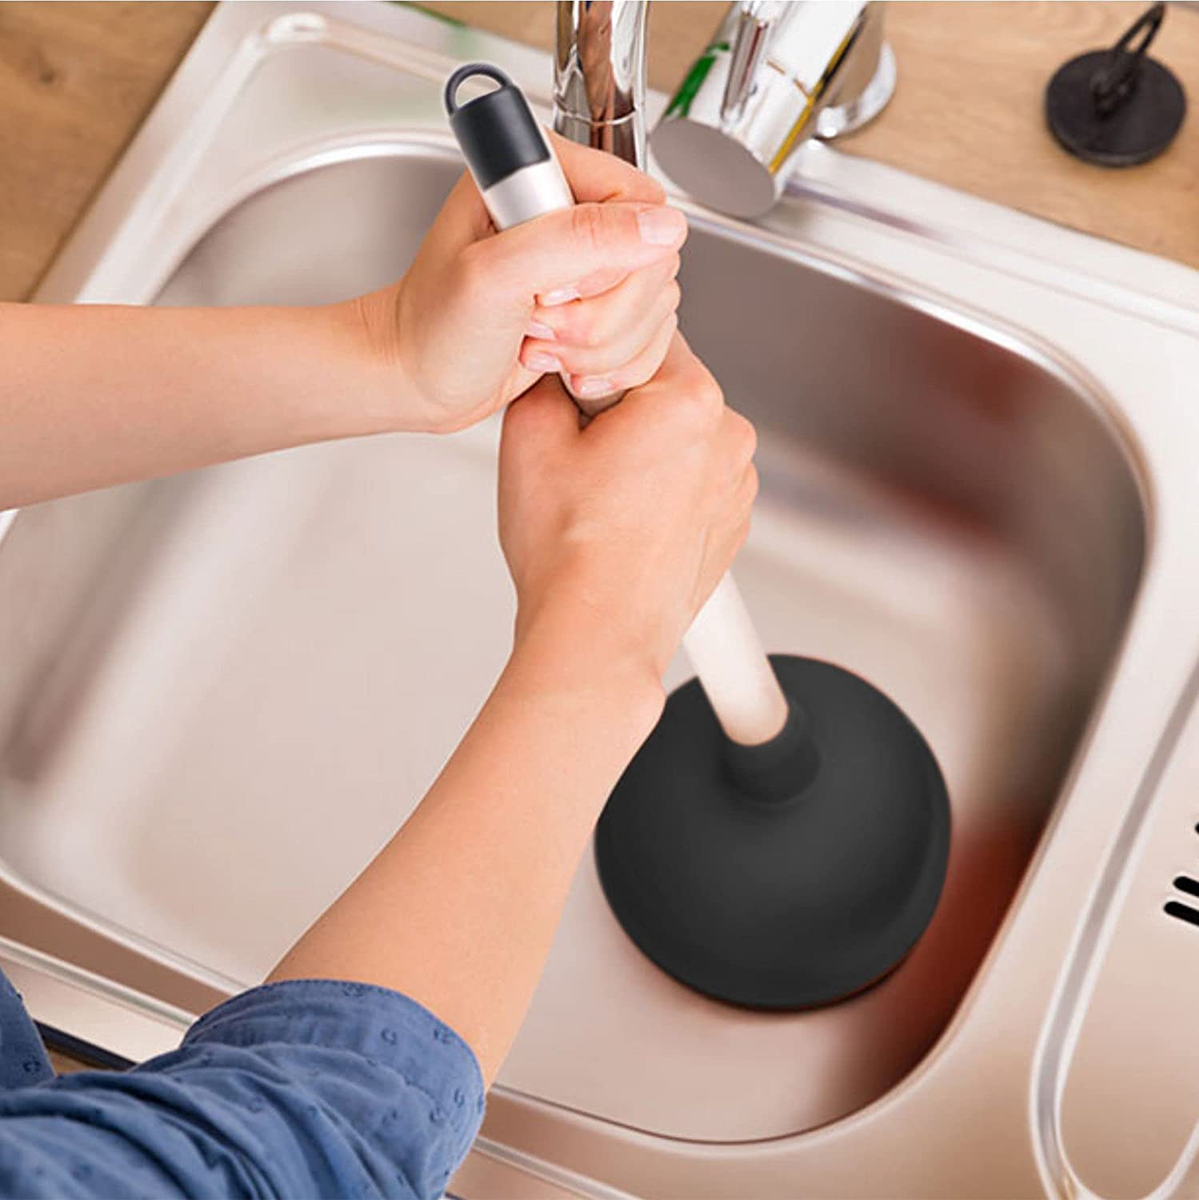
Start by making sure the plunger’s cup completely covers the drain opening. If the seal isn’t tight, air will escape and reduce the plunging power. You might need to add a little water to the sink to create a better seal—dry surfaces won’t work well.
Try to keep the plunger handle straight up and down. Angling it can let air in, weakening the suction. Think about how you would cover a bottle’s mouth with your hand to trap air inside—that’s the kind of seal you want to create.
Applying Pressure And Release
Push down firmly but avoid using excessive force that might damage your sink or pipes. The goal is to build pressure and then release it quickly to dislodge the clog. Pull the plunger up sharply without breaking the seal to create a strong suction effect.
Control is key here. Too gentle, and you won’t move the blockage; too rough, and you risk splashing dirty water everywhere. How confident do you feel about controlling the plunger’s motion in a confined space?
Repetition And Persistence
Don’t give up after a few plunges. Sometimes it takes multiple cycles of pressure and release to shift stubborn clogs. Keep a steady rhythm and watch for changes in water flow as a sign of progress.
If the water starts draining slowly, that’s a good indication you’re on the right track. However, if nothing happens after several tries, it might be time to reassess your approach or consider other tools. Have you noticed how persistence often makes the difference between success and frustration?
Common Mistakes To Avoid
Using a kitchen sink plunger seems simple, but many make mistakes that reduce its effectiveness. Avoiding these errors can save time and prevent damage. Understanding common pitfalls helps ensure better results and less frustration.
Using Excessive Force
Pressing too hard can damage your pipes or sink. Gentle, steady pressure works best to clear clogs. Force does not always mean faster results. It may cause leaks or cracks in plumbing.
Ignoring Ventilation
Proper airflow is necessary for effective plunging. Blocked or closed vents slow down water movement. This makes plunging less efficient and prolongs clogs. Keep vents open to allow air to flow freely.
Plunging Without Water
Water creates suction needed for plunging. Without enough water, plungers cannot seal the drain. Always fill the sink with water before plunging. Dry plunging wastes effort and won’t clear blockages.
Credit: www.ebay.com
Maintaining Your Plunger
Maintaining your kitchen sink plunger keeps it ready for action and extends its life. Cleanliness and proper care help avoid odors and germs. Small efforts prevent bigger problems later.
Cleaning After Use
Rinse the plunger with hot water right after use. Use mild soap to remove grease and debris. Avoid harsh chemicals that damage the rubber. Let it dry completely before storing to stop mold growth.
Proper Storage
Store the plunger in a dry place away from sunlight. Use a holder or a bucket to keep it upright. Avoid leaving it on the sink or floor. Proper storage keeps the plunger clean and functional.
When To Replace
Replace the plunger if the rubber is cracked or stiff. A worn plunger loses suction and stops working well. Change it if it smells bad even after cleaning. A fresh plunger saves time and effort.
Alternative Drain Clearing Methods
Sometimes a kitchen sink plunger might not be the perfect tool to clear a stubborn clog. Luckily, you have other options that can tackle the problem effectively. These alternative methods can save you time, money, and a lot of frustration.
Chemical Cleaners
Chemical cleaners are widely available and designed to dissolve grease, food particles, and hair that block drains. You simply pour the liquid into your sink, wait for the recommended time, and then flush with hot water.
Be cautious: some chemicals can damage pipes or harm the environment. Always read the label and use gloves to protect your skin. Have you checked if your pipes are compatible with these cleaners?
Drain Snakes
A drain snake is a flexible, coiled tool you manually feed into the drain to break up or pull out clogs. It’s especially useful when plungers fail to reach the blockage deep inside the pipes.
I once had a stubborn clog that a plunger couldn’t fix, but a quick twist with a drain snake cleared it instantly. You don’t need special skills—just patience and a bit of elbow grease.
Natural Solutions
If you prefer to avoid chemicals, natural solutions can be surprisingly effective. A mix of baking soda and vinegar creates a fizzy reaction that helps loosen debris and neutralize odors.
Try this: pour half a cup of baking soda down the drain, followed by half a cup of vinegar. Let it sit for 15-30 minutes, then flush with hot water. Would you consider this safe and eco-friendly option for your home?

Credit: www.amazon.com
Troubleshooting Stubborn Clogs
Stubborn clogs in kitchen sinks can disrupt daily chores and cause frustration. A kitchen sink plunger helps clear blockages quickly. Understanding how to troubleshoot tough clogs saves time and prevents damage. This section guides you through identifying clogs, knowing when to seek help, and tips to prevent future problems.
Identifying The Problem
Check if water drains slowly or not at all. Listen for gurgling sounds when the sink is draining. Notice any bad odors near the sink area. Use a flashlight to look down the drain. Remove visible debris or food particles. If water backs up into the sink, the clog may be deeper.
When To Call A Professional
If plunging does not clear the clog, it may be serious. Persistent bad smells can indicate a bigger issue. Water leaking under the sink needs expert attention. Clogs recurring after cleaning suggest pipe damage. Professionals have tools to reach deep blockages. Call for help to avoid costly repairs.
Preventive Tips
- Use a drain strainer to catch food scraps.
- Run hot water after each use to clear grease.
- Avoid pouring oil or coffee grounds down the drain.
- Regularly clean the sink with baking soda and vinegar.
- Flush the drain weekly with boiling water.
- Use the kitchen sink plunger gently to keep pipes clear.
Frequently Asked Questions
What Is A Kitchen Sink Plunger Used For?
A kitchen sink plunger clears clogs in sink drains. It creates suction to dislodge blockages. It is effective for minor to moderate clogs caused by food or grease buildup.
How To Use A Kitchen Sink Plunger Effectively?
Place the plunger over the drain opening. Push down firmly to create a seal. Pump the plunger up and down repeatedly. Release the pressure to see if water drains freely.
Can A Kitchen Sink Plunger Unclog A Garbage Disposal?
Yes, a kitchen sink plunger can help unclog a garbage disposal. Use gentle plunging to avoid damage. If the clog persists, consider professional assistance or other cleaning methods.
What Types Of Kitchen Sink Plungers Are Best?
Cup-style plungers with a flat rim work best for kitchen sinks. They create a strong seal on flat surfaces. Avoid flange plungers meant for toilets, as they don’t fit sink drains well.
Conclusion
A kitchen sink plunger helps clear clogs fast and easy. It saves time and avoids costly repairs. Anyone can use it with little effort. Keep one nearby to handle blockages quickly. Regular use can keep your drains flowing well. Simple tools often fix common household problems.
A good plunger is a handy kitchen tool. Try it next time water won’t drain. You’ll see how effective and helpful it can be.