
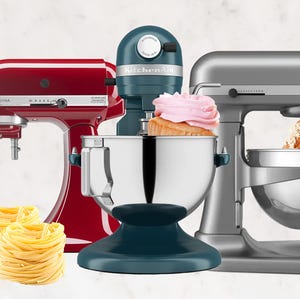
Can You Colour Your Kitchen Aid Stand Mixer: Are you tired of the same old look of your KitchenAid stand mixer? Maybe you want it to match your kitchen’s style or just stand out with a fresh new color.
But can you really colour your KitchenAid stand mixer without damaging it or voiding the warranty? If you’ve ever wondered about giving your trusty mixer a makeover, you’re not alone. You’ll discover everything you need to know about safely and effectively changing the color of your KitchenAid stand mixer.
Keep reading, because your mixer’s next look might be just a few steps away!
Why Customize Your Stand Mixer
Customizing your Kitchen Aid stand mixer lets you make a statement beyond its functionality. It’s more than just a kitchen tool—it’s a reflection of your style and personality. Why settle for a standard color when you can have a mixer that truly fits your kitchen vibe?
Benefits Of Personalizing Your Mixer
Personalizing your stand mixer brings a unique charm to your kitchen. It helps you easily spot your mixer among other appliances, especially if you own multiple gadgets. Plus, a custom color can boost your cooking motivation by making the space feel more inviting.
Think about how often you use your mixer. Wouldn’t it be nicer if it matched your kitchen décor or your favorite color? Customizing can also increase the mixer’s resale value since a rare or unique color attracts buyers looking for something special.
Popular Color Trends
Colors like matte black and deep navy are gaining popularity for their sleek, modern look. Soft pastels such as mint green, blush pink, and powder blue add a gentle, vintage feel to kitchens. If you want something bold, bright reds and sunny yellows bring energy and fun to your cooking space.
Seasonal colors also offer fresh ideas. Warm autumn hues like burnt orange and mustard yellow can create a cozy atmosphere. Cool winter tones such as icy blue and frosty gray suit minimalist and contemporary kitchens well.
Choosing The Right Paint
Choosing the right paint is key to a successful Kitchen Aid stand mixer makeover. The paint must stick well and resist chipping. It should also look smooth and match the kitchen style. Selecting the proper paint type and finish helps protect the mixer and keeps it looking fresh for years.
Types Of Paint Suitable For Mixers
Not all paints work well on metal surfaces like mixers. Choose paints designed for appliances or metal. These paints offer good adhesion and durability.
- Spray paint made for appliances
- Enamel paint for metal surfaces
- Epoxy-based paints for extra toughness
- Acrylic paints with a metal primer
Test a small area first. This ensures the paint sticks well and dries evenly.
Durability And Finish Options
Durability matters because kitchen mixers face heat, moisture, and frequent handling. Use paint with a hard finish to avoid scratches and chips.
- Glossy finishes give a shiny, bright look
- Satin finishes balance shine and smoothness
- Matte finishes hide fingerprints and smudges
Choose a clear protective topcoat to extend paint life. It adds extra protection and improves the finish.
Preparation Before Painting
Getting your KitchenAid stand mixer ready for painting isn’t just about slapping on a new color. Proper preparation ensures the paint sticks well and lasts long, giving your mixer a fresh, professional look. Skipping these steps can lead to peeling or uneven finishes, which nobody wants.
Cleaning And Removing Old Coating
Start by giving your mixer a thorough clean. Use a mild detergent and warm water to remove grease, dust, and any food residues. This step helps the paint adhere better.
Next, you need to remove the old coating. Depending on your mixer's finish, use a paint stripper or rubbing alcohol to soften and lift old paint or varnish. This can take some patience, but it’s crucial for a smooth new coat.
Sanding Techniques
Sanding is where you create a texture that paint can grip. Use fine-grit sandpaper (around 220 grit) to gently roughen the surface. Avoid heavy sanding, which could damage the metal.
Focus on areas where old paint is chipping or uneven. Sand in circular motions and wipe off dust with a damp cloth afterwards. Have you noticed how a little sanding can make a huge difference in finish quality?
Masking And Protecting Parts
Protect the parts you don’t want to paint by masking them carefully. Use painter’s tape to cover buttons, knobs, and the power cord. Plastic wrap or aluminum foil works well for larger areas.
Remember, the cleaner and more precise your masking, the neater your final result will be. Take your time here — it’s easier to spend a few extra minutes masking than to fix paint mistakes later.

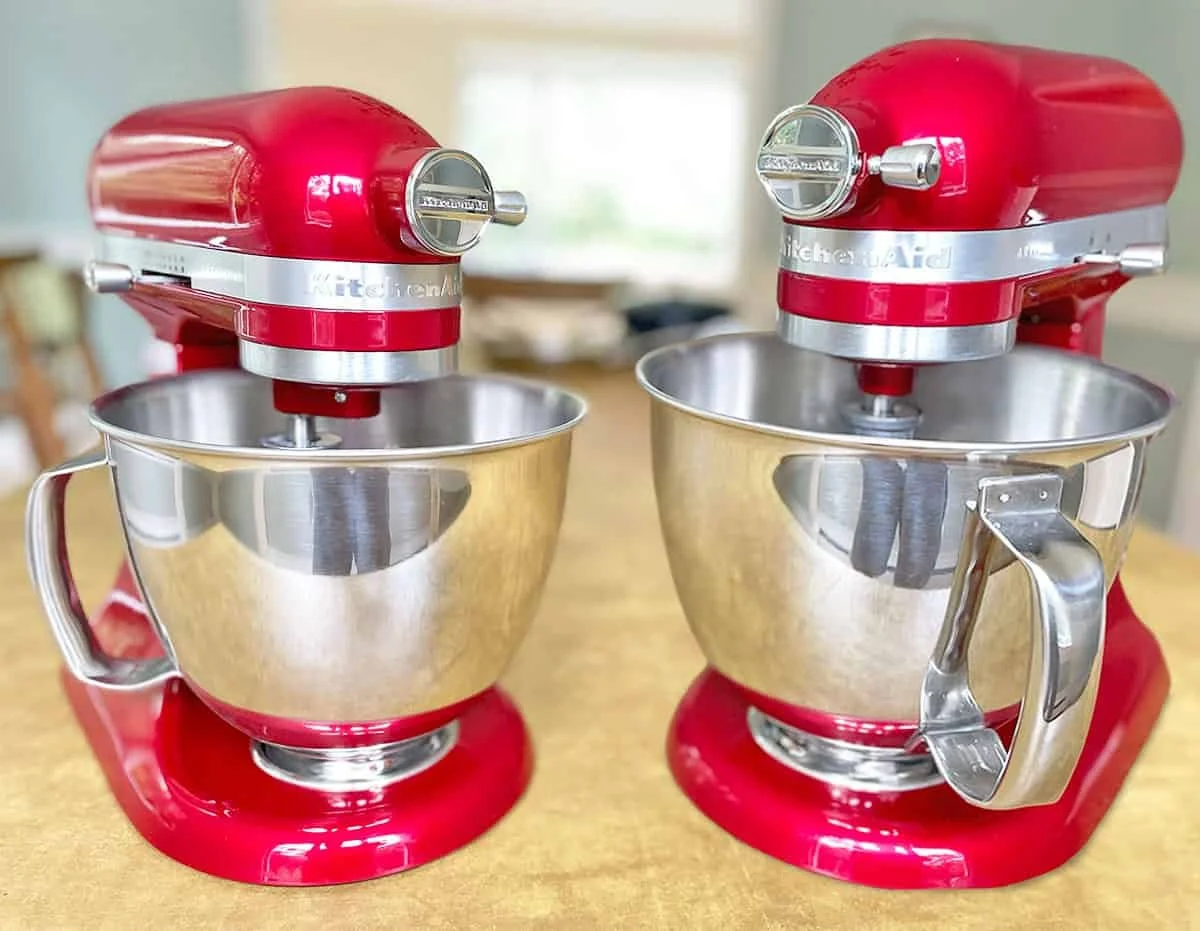
Credit: www.theinspirationedit.com
Step-by-step Painting Process
Painting your KitchenAid stand mixer can be a fun and rewarding project that gives your kitchen a personal touch. The process may seem daunting, but breaking it down into manageable steps will make it much more approachable. Let’s explore how to transform your mixer into a colorful masterpiece with a step-by-step painting process.
Priming The Surface
Begin by cleaning your mixer thoroughly to remove any grease or residue. Use a mild soap and water, then dry it completely. Lightly sand the surface with fine-grit sandpaper to ensure the primer adheres well.
Apply a high-quality primer suitable for metal surfaces. This step is crucial as it helps the paint stick and prevents chipping. Allow the primer to dry completely, following the manufacturer's recommended drying time.
Applying Paint Layers
Select a paint designed for metal appliances to ensure durability. Choose a color that complements your kitchen decor or makes a bold statement.
Using a spray paint offers a smooth finish, but be sure to apply it in thin, even coats. Hold the can about 8-10 inches away from the surface to avoid drips.
Apply multiple layers, allowing each coat to dry before adding the next. This builds up the color and ensures an even, vibrant finish.
Drying And Curing Times
Patience is key when it comes to drying and curing. After the final coat, let the paint dry thoroughly. This usually takes about 24 hours, but check the paint instructions for specifics.
Once dry, allow the paint to cure for at least a week. This hardening period prevents scratches and ensures long-lasting durability.
While waiting might feel tedious, it's essential for achieving a professional-looking finish. Imagine the satisfaction of unveiling your revamped mixer, perfectly tailored to your kitchen’s aesthetic!
Alternative Customization Methods
Looking to give your KitchenAid stand mixer a fresh look without the risk of permanent paint? There are several creative ways to customize your mixer that can be just as striking and much less risky. These alternative methods let you express your style while keeping your mixer safe and functional.
Vinyl Wraps And Decals
Vinyl wraps and decals offer a quick, removable way to change the appearance of your mixer. They come in countless colors, patterns, and finishes, from matte to glossy, letting you match your kitchen’s vibe perfectly.
Applying a vinyl wrap is straightforward and doesn’t require special skills. You can even find kits designed specifically for stand mixers, making the process easier. Plus, if you ever want to switch up the look, simply peel off the wrap without damaging the original finish.
Hydro Dipping
Hydro dipping involves transferring intricate designs onto your mixer using water and special film. This method can create unique patterns like marble, camo, or abstract art that paint alone can’t replicate.
Keep in mind, hydro dipping requires some preparation and care to avoid damaging the mixer's electronics. If you’re handy or willing to hire a professional, it can be a stunning way to personalize your appliance.
Airbrushing Designs
Airbrushing lets you add detailed, custom artwork with smooth gradients and subtle effects. It’s perfect if you want a truly one-of-a-kind look tailored to your personality.
This technique demands skill and proper materials to avoid harming the mixer’s surface or function. If you know an airbrush artist or are ready to learn, it’s a fantastic way to turn your mixer into a conversation piece.
Maintaining Your Customized Mixer
Customizing your Kitchen Aid stand mixer adds a unique touch to your kitchen, but maintaining that new look takes some care. Keeping the paint fresh and vibrant requires specific attention to how you clean and repair it. Your mixer deserves upkeep that matches its style and personality.
Cleaning Tips For Painted Surfaces
Use a soft, damp cloth for daily cleaning to avoid scratching your paint. Harsh chemicals can damage the finish, so stick to mild soap and water.
Avoid abrasive scrubbers that might chip or dull the paint. Gently wipe spills immediately to prevent stains or discoloration from setting in.
Have you tried using microfiber cloths? They are excellent at catching dust without applying too much pressure on your painted surface.
Touch-up And Repair Advice
If your paint chips or scratches, don’t panic. Keep some matching paint on hand for quick touch-ups.
Use a fine brush for small repairs to blend the new paint seamlessly. Let each layer dry completely before adding another for a smooth finish.
Consider testing your repair paint on a hidden spot first. This helps ensure the color and texture match perfectly with your customized mixer.
Safety Precautions
Colouring a Kitchen Aid stand mixer can refresh its look. Safety is key during this process. Taking the right precautions protects your mixer and yourself. Follow these simple safety tips for the best results.
Avoiding Damage To Electrical Components
Keep paint and liquids away from electrical parts. Cover areas like the power cord, switch, and motor vents. Use painter’s tape and plastic wrap to protect these spots. Avoid spraying or brushing paint near openings. Moisture can cause short circuits or rust. Always unplug the mixer before starting any work. Handle the mixer gently to prevent loosening internal parts.
Using Non-toxic Materials
Choose paints and finishes labeled as non-toxic. These are safe for kitchen appliances and food areas. Avoid harsh chemicals that release strong fumes. Work in a well-ventilated space to reduce inhaling vapors. Wear gloves to protect your skin from irritants. Let the paint dry fully before using the mixer. Non-toxic materials keep your kitchen safe and clean.
Credit: www.mrmixer.store

Credit: www.kitchenaid.com
Frequently Asked Questions
Can You Safely Paint A Kitchenaid Stand Mixer?
Yes, you can safely paint it using proper prep and paint types. Use primer and spray paint designed for metal surfaces. Avoid painting electrical parts to maintain safety and functionality.
What Paint Type Works Best On Kitchenaid Mixers?
Spray paints made for appliances or metal surfaces work best. Use a high-quality primer first. This ensures smooth, durable, and chip-resistant finish on your stand mixer.
Will Painting Affect Kitchenaid Mixer's Warranty?
Painting your mixer may void the manufacturer's warranty. Always check warranty terms before customizing. Painting can cause damage not covered by warranty.
How To Prep A Kitchenaid Mixer For Painting?
Clean thoroughly, remove grease, and lightly sand the surface. Use painter’s tape to cover buttons and controls. Proper prep ensures paint adheres well and lasts longer.
Conclusion
Colouring your Kitchen Aid stand mixer can be a fun project. It lets you match your mixer to your kitchen style. You can use special paint made for appliances. Remember to prepare the surface well before painting. Avoid harsh chemicals that can damage the mixer.
Take your time and follow safety steps. A freshly coloured mixer adds a personal touch to your space. Try it carefully and enjoy a unique kitchen look.