
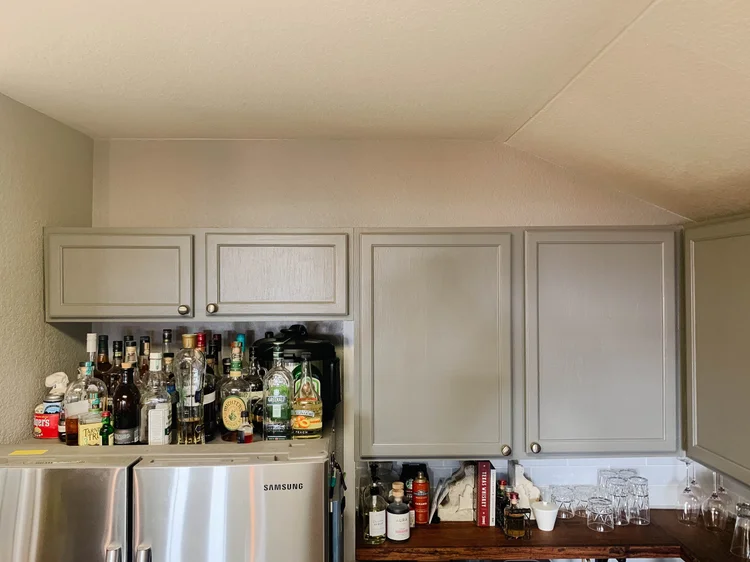
Are you tired of cluttered countertops and bottles rolling around in your kitchen? Building a wine rack inside your kitchen cabinets is the perfect way to keep your favorite wines organized, accessible, and stylishly displayed.
Imagine opening your cabinet to find a sleek, custom space designed just for your wine collection. This isn’t just about storage—it’s about transforming your kitchen into a more functional and inviting space. In this guide, you’ll discover simple, step-by-step instructions that anyone can follow, even if you’re not a DIY expert.
Ready to upgrade your kitchen and impress your guests? Let’s dive in and build the perfect wine rack for your home.
Choosing The Right Location
Choosing the right location for your wine rack in kitchen cabinets is vital. It affects how your wine ages and how easy it is to access. A well-placed wine rack keeps bottles safe and looks great in your kitchen.
Assessing Kitchen Space
Start by checking available space in your kitchen cabinets. Look for spots that fit wine bottles comfortably. Avoid areas that are too small or crowded.
Measure height, width, and depth to ensure bottles fit well. Consider cabinets near your dining or cooking area for convenience.
- Check cabinet depth for standard wine bottles (about 12 inches)
- Find space away from heat sources like ovens or dishwashers
- Choose cabinets with enough room for future wine collection growth
Considering Accessibility And Safety
Place the wine rack where it is easy to reach without bending or stretching. Make sure it does not block kitchen workflow or cabinet doors.
Keep the rack away from direct sunlight to protect wine quality. Secure the rack firmly to avoid bottles falling or rolling.
- Position rack at waist or eye level for easy access
- Avoid high or low spots that cause strain
- Ensure sturdy installation to prevent accidents
Selecting Materials And Tools
Selecting the right materials and tools is key to building a sturdy wine rack inside kitchen cabinets. The choice of wood affects the rack's strength and style. Using proper tools makes the work easier and safer. This section covers the best wood types and essential tools for the project.
Types Of Wood Suitable For Wine Racks
Choose wood that resists moisture and holds weight well. Solid hardwoods work best for durability and appearance. Here are common wood types for wine racks:
- Oak:Strong and long-lasting with a classic look.
- Maple:Smooth grain and light color, easy to finish.
- Cherry:Rich color that darkens over time, elegant choice.
- Pine:Affordable and light, but less durable than hardwood.
- Walnut:Dark wood with a beautiful grain, premium option.
Select wood that matches your kitchen style and budget. Avoid softwoods that may dent or warp easily.
Essential Tools For The Project
Having the right tools ensures precise cuts and safe assembly. Prepare these tools before starting:
- Measuring tape for accurate dimensions.
- Power drill with drill bits for screws and holes.
- Jigsaw or circular saw to cut wood pieces.
- Clamps to hold pieces steady while working.
- Wood glue for strong joints.
- Sandpaper or electric sander for smooth finishes.
- Screwdriver or screw gun for assembly.
- Level to keep the rack straight.
Use quality tools for better results and easier work. Safety gear like gloves and goggles is important too.
Measuring And Planning The Design
Measuring and planning the design are the first steps in building a wine rack within your kitchen cabinets. Precise measurements ensure the rack fits perfectly and holds your bottles securely. Thoughtful planning helps maximize space and creates an attractive display. This phase sets a strong foundation for a successful project.
Determining Wine Bottle Size And Capacity
Start by measuring the size of your wine bottles. Most standard bottles are about 12 inches tall and 3 inches in diameter. Consider the types of bottles you have, such as larger magnums or smaller dessert wines. Decide how many bottles you want to store. This helps you plan the rack’s overall size and capacity.
Allow extra space around each bottle for easy removal and ventilation. Account for the thickness of the rack material. These details affect the final dimensions and strength of your wine rack.
Sketching The Rack Layout
Draw a simple sketch of your wine rack design. Include cabinet dimensions and the available space for the rack. Mark each bottle slot and spacing between them. Use graph paper or digital tools for accuracy.
Choose a layout style: horizontal rows, diamond shapes, or cubbies. Think about how the rack will fit with your kitchen’s style and function. Label all parts clearly to avoid confusion during construction.

Credit: www.amazon.ca
Preparing The Cabinet Space
Preparing the Cabinet Space Measure the cabinet to ensure enough space for the wine rack. Clear out any items to avoid clutter. Make sure the shelves are sturdy enough to hold wine bottles.
Preparing the cabinet space is a crucial step in building a wine rack. A well-prepared space ensures the wine rack fits perfectly and functions efficiently. This phase involves clearing, cleaning, and sometimes modifying the cabinet area. Proper preparation sets the foundation for a sturdy and visually appealing wine rack.
Clearing And Cleaning The Area
Start by removing everything from the cabinet. This includes shelves, lining, and any items stored inside. Once cleared, clean the interior thoroughly. Use a gentle cleaner to wipe surfaces, removing dust and grime. This step ensures a fresh start for your wine rack project.
Making Necessary Modifications
Examine the cabinet space to determine if modifications are needed. Measure the dimensions carefully to ensure the wine rack fits perfectly. If the cabinet has shelves, consider removing or adjusting them. Some cabinets may require cutting or drilling to accommodate the rack. Make sure to use appropriate tools for any modifications. Safety first!
Cutting And Assembling The Rack
Cutting and assembling your wine rack is where your vision starts to take shape. Precision in this phase ensures the rack fits perfectly into your kitchen cabinets and holds your bottles safely. Taking your time here saves frustration later and gives you a sturdy, beautiful result.
Cutting Wood Pieces Accurately
Measure twice, cut once is more than a saying—it's your rule. Use a reliable tape measure and mark your cuts clearly with a pencil. A miter saw or circular saw can give you clean, straight edges, which are crucial for a tight fit.
Keep your wood pieces organized by labeling each one after cutting. This helps avoid confusion during assembly. If you’re new to power tools, practicing cuts on scrap wood can boost your confidence and accuracy.
Joining Components Securely
Strong joints make your wine rack last. Choose the right screws or wood glue based on your wood type and design. Pre-drilling holes prevents wood from splitting and makes screws go in smoothly.
Clamps are your best friend here—they hold pieces steady while glue dries or while you screw parts together. Don’t rush this step; letting glue cure fully can be the difference between a wobbly rack and a rock-solid one.
Have you thought about adding corner braces or dowels for extra strength? Small reinforcements can significantly extend your rack’s durability without complicating the build.
Installing The Wine Rack
Installing the wine rack inside your kitchen cabinets takes careful planning and precise work. This step ensures your rack is stable and fits perfectly. Focus on the right placement and strong attachment to keep your bottles safe.
Positioning Inside The Cabinet
Measure the cabinet space before placing the rack. Check for any obstacles like hinges or pipes. Leave enough room for wine bottles to fit comfortably. Position the rack at a height that is easy to reach. Ensure the rack sits flat and does not tilt. A centered position inside the cabinet helps balance weight evenly.
Securing The Rack Firmly
Use screws or brackets to fix the rack in place. Choose hardware that suits your cabinet material. Pre-drill holes to avoid splitting the wood. Tighten screws securely but avoid over-tightening. Test the rack’s stability by gently shaking it. Add extra support if you notice any movement. Proper securing prevents accidents and protects your wine collection.
Finishing Touches
Finishing touches bring your wine rack to life. They protect the wood and improve its look. Taking time here ensures your project looks neat and lasts long. Focus on smoothing all surfaces and adding the right color or finish.
Sanding And Smoothing Surfaces
Start by sanding the wine rack with medium-grit sandpaper. This removes rough spots and splinters. Move to fine-grit sandpaper for a smooth feel. Sand edges and corners carefully to avoid sharpness. Wipe the dust away with a clean cloth. A smooth surface helps stain or paint stick evenly.
Applying Stain Or Paint
Choose a stain or paint that matches your kitchen style. Use a brush or cloth to apply thin, even coats. Let each coat dry fully before adding the next. Stain enhances the wood’s natural grain. Paint offers color and a bold look. Finish with a clear sealant to protect from moisture and wear.
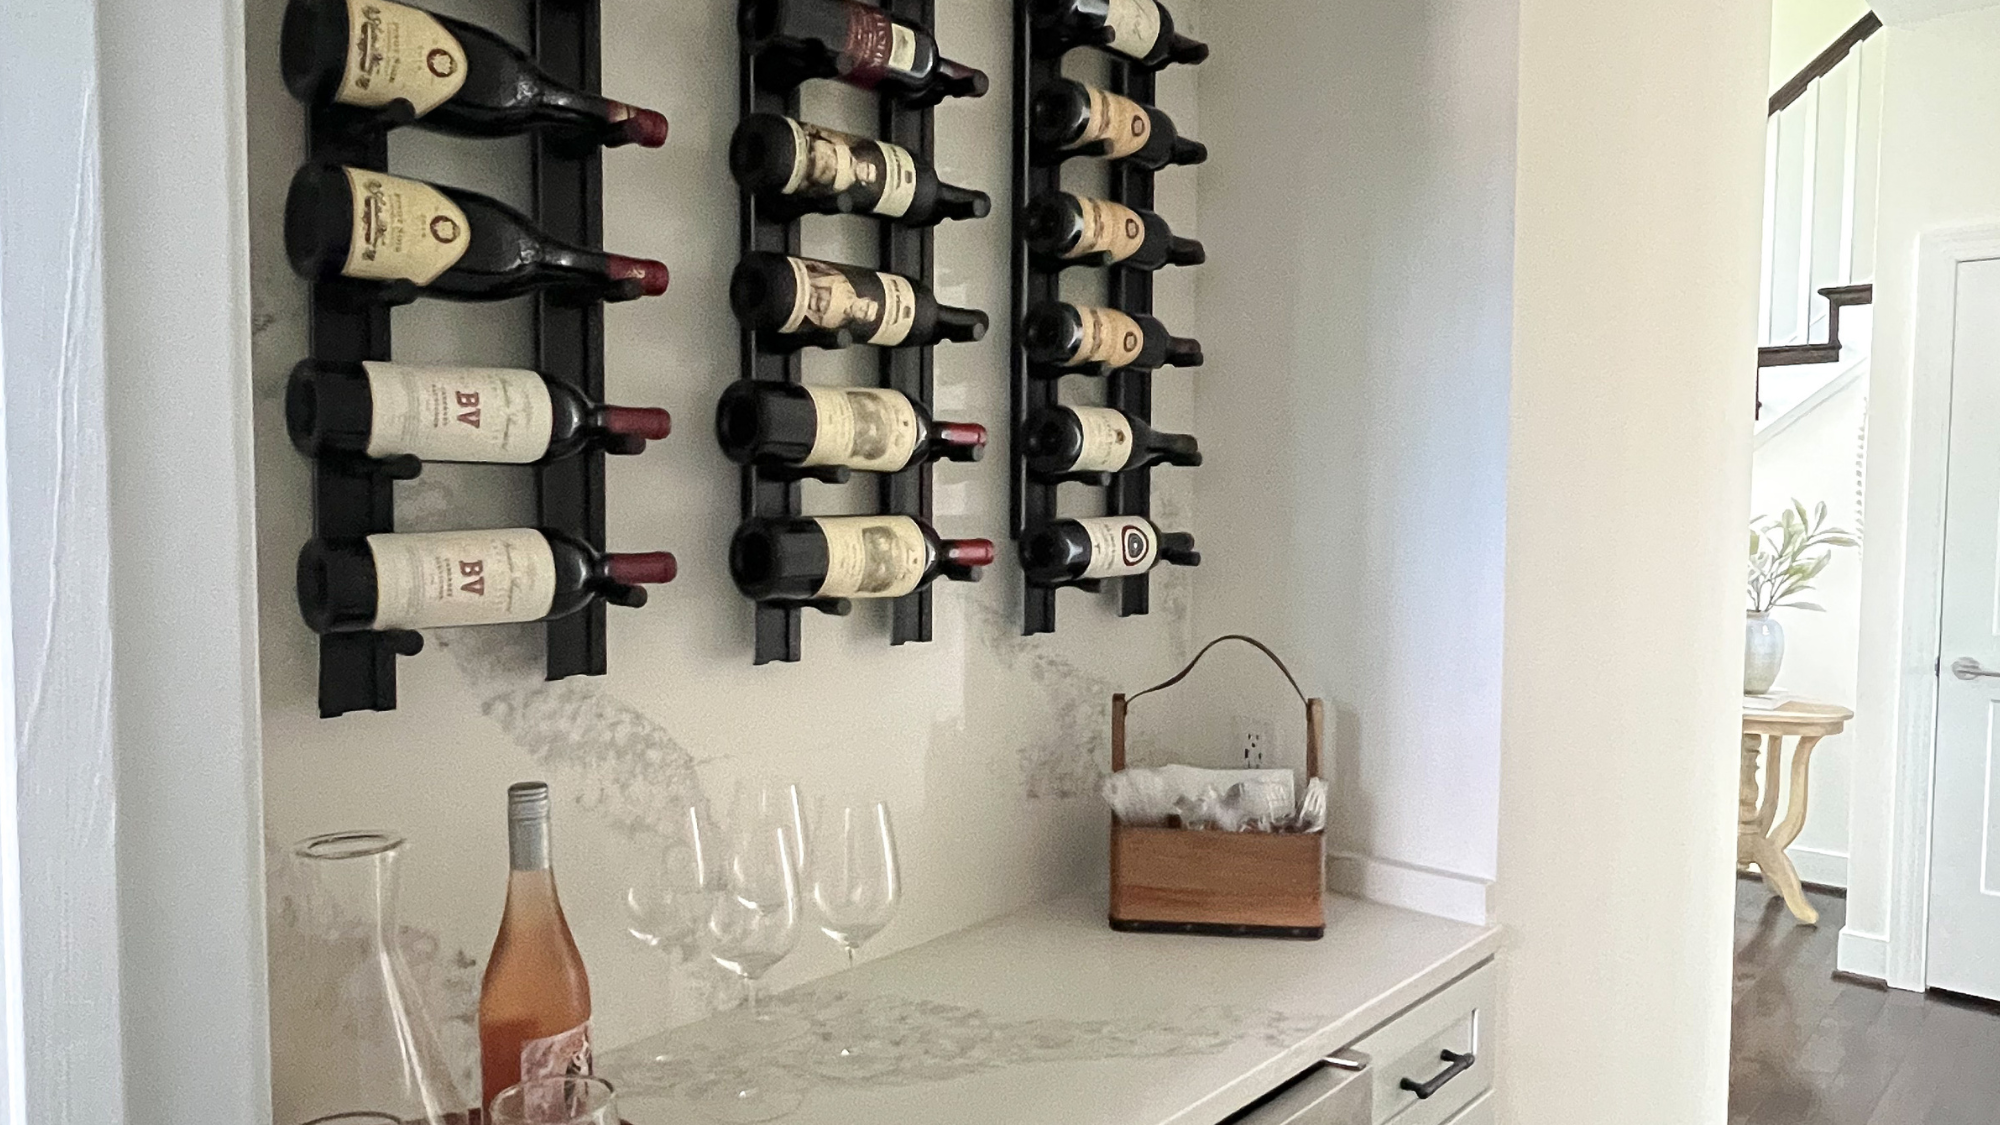
Credit: vintageview.com
Maintaining Your Wine Rack
Maintaining your wine rack ensures it stays sturdy and looks great. Regular care helps protect your wine collection and extends the rack's life. Simple steps keep the rack clean and safe for your bottles.
Cleaning Tips
Dust your wine rack often with a soft cloth. Use a damp cloth for sticky spots, but avoid soaking the wood. Mild soap works well for stubborn dirt. Dry the rack quickly to stop water damage. Clean bottle labels gently to keep them readable.
Checking For Wear And Tear
Inspect your wine rack regularly for cracks or loose joints. Tighten screws and bolts to keep it stable. Watch for signs of wood warping or splitting. Replace broken parts quickly to avoid accidents. Check shelves hold weight well without bending.

Credit: www.decorpad.com
Frequently Asked Questions
How Do I Choose The Right Wood For A Kitchen Wine Rack?
Select hardwoods like oak or maple for durability and aesthetics. These woods resist moisture and support wine bottles safely. Avoid softwoods that may warp or dent easily. Proper wood choice ensures a sturdy, long-lasting wine rack that complements your kitchen cabinets.
What Tools Are Needed To Build A Wine Rack In Cabinets?
Essential tools include a saw, drill, measuring tape, level, and clamps. Sandpaper and wood glue help with finishing and assembly. Having these tools ready simplifies construction and ensures precise cuts and secure fitting in your kitchen cabinets.
How Much Space Is Required For A Built-in Wine Rack?
Allow about 4 inches in height and width per bottle. Ensure cabinet depth is at least 12 inches to accommodate bottles horizontally. Proper spacing prevents bottle damage and makes retrieval easy. Measure your cabinet space accurately before building.
Can I Customize The Wine Rack Size In Kitchen Cabinets?
Yes, customize size based on your wine collection and cabinet dimensions. Tailor shelf height and width to fit different bottle shapes. Custom sizing maximizes storage efficiency and fits seamlessly with your kitchen design.
Conclusion
Building a wine rack in kitchen cabinets adds style and saves space. You can customize it to fit your kitchen perfectly. Using basic tools and materials makes the project simple and fun. A well-built rack keeps bottles safe and easy to reach.
Enjoy your organized kitchen and your favorite wines close by. This small change brings big convenience to daily life. Give it a try and see how it improves your kitchen.