
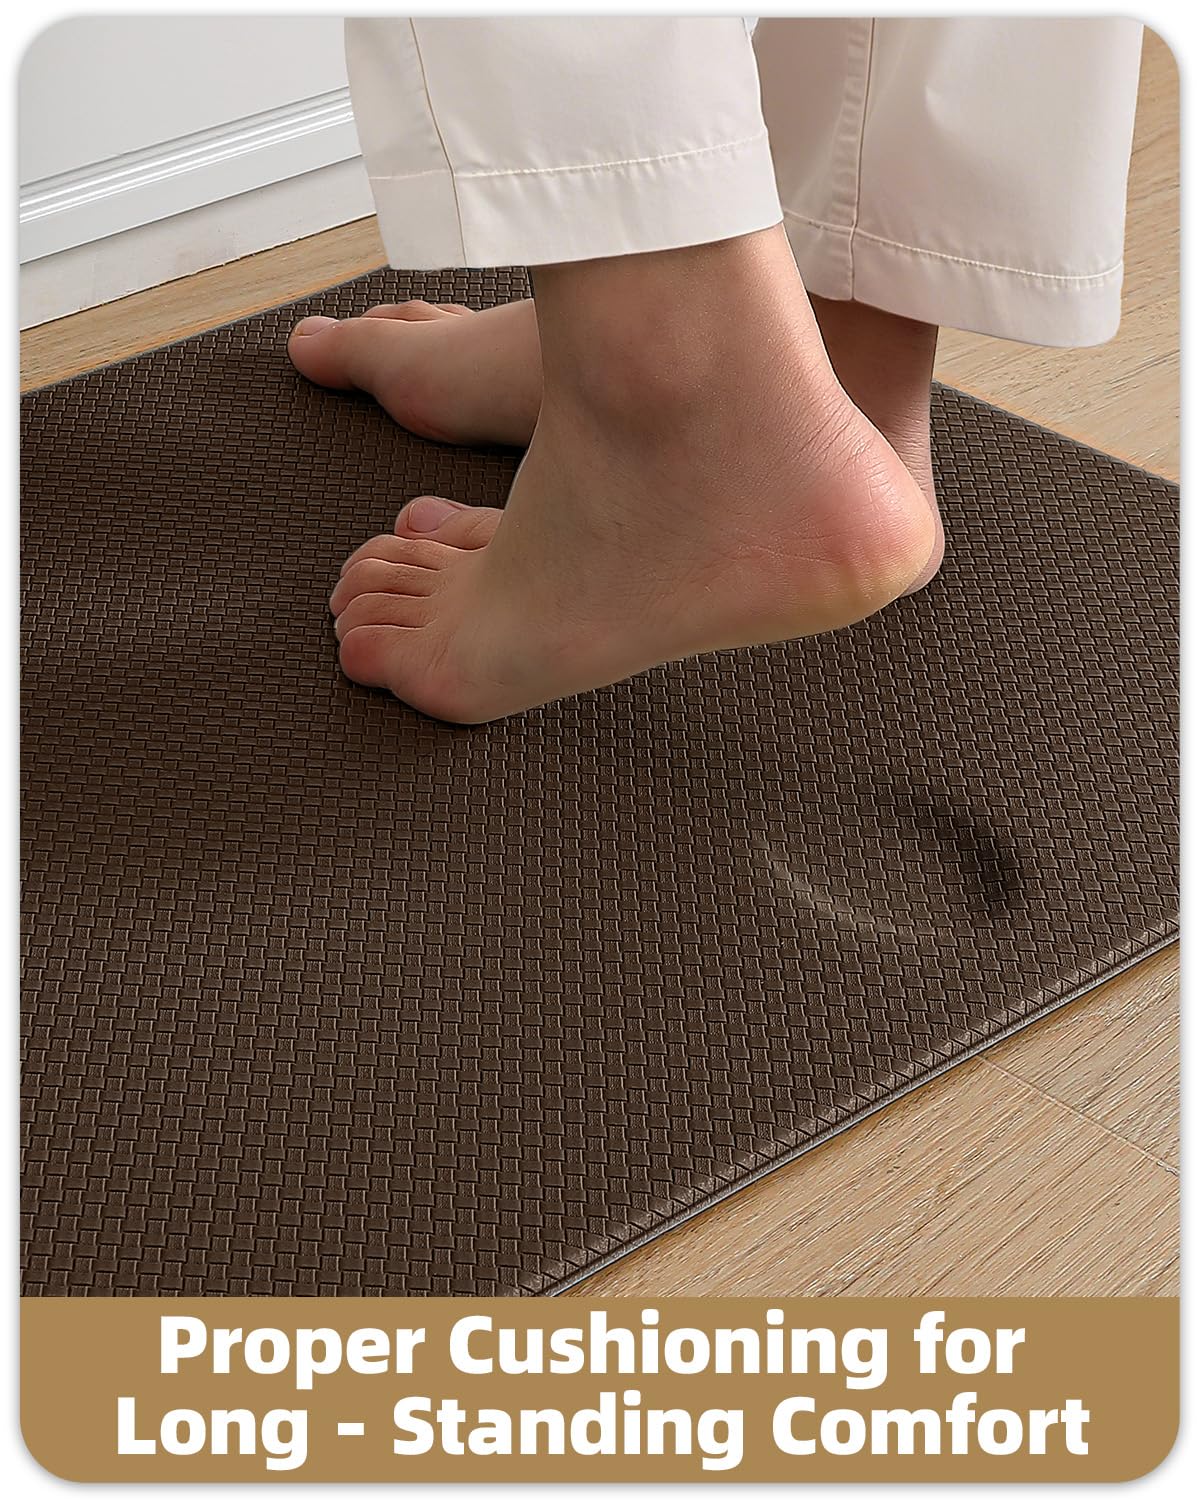
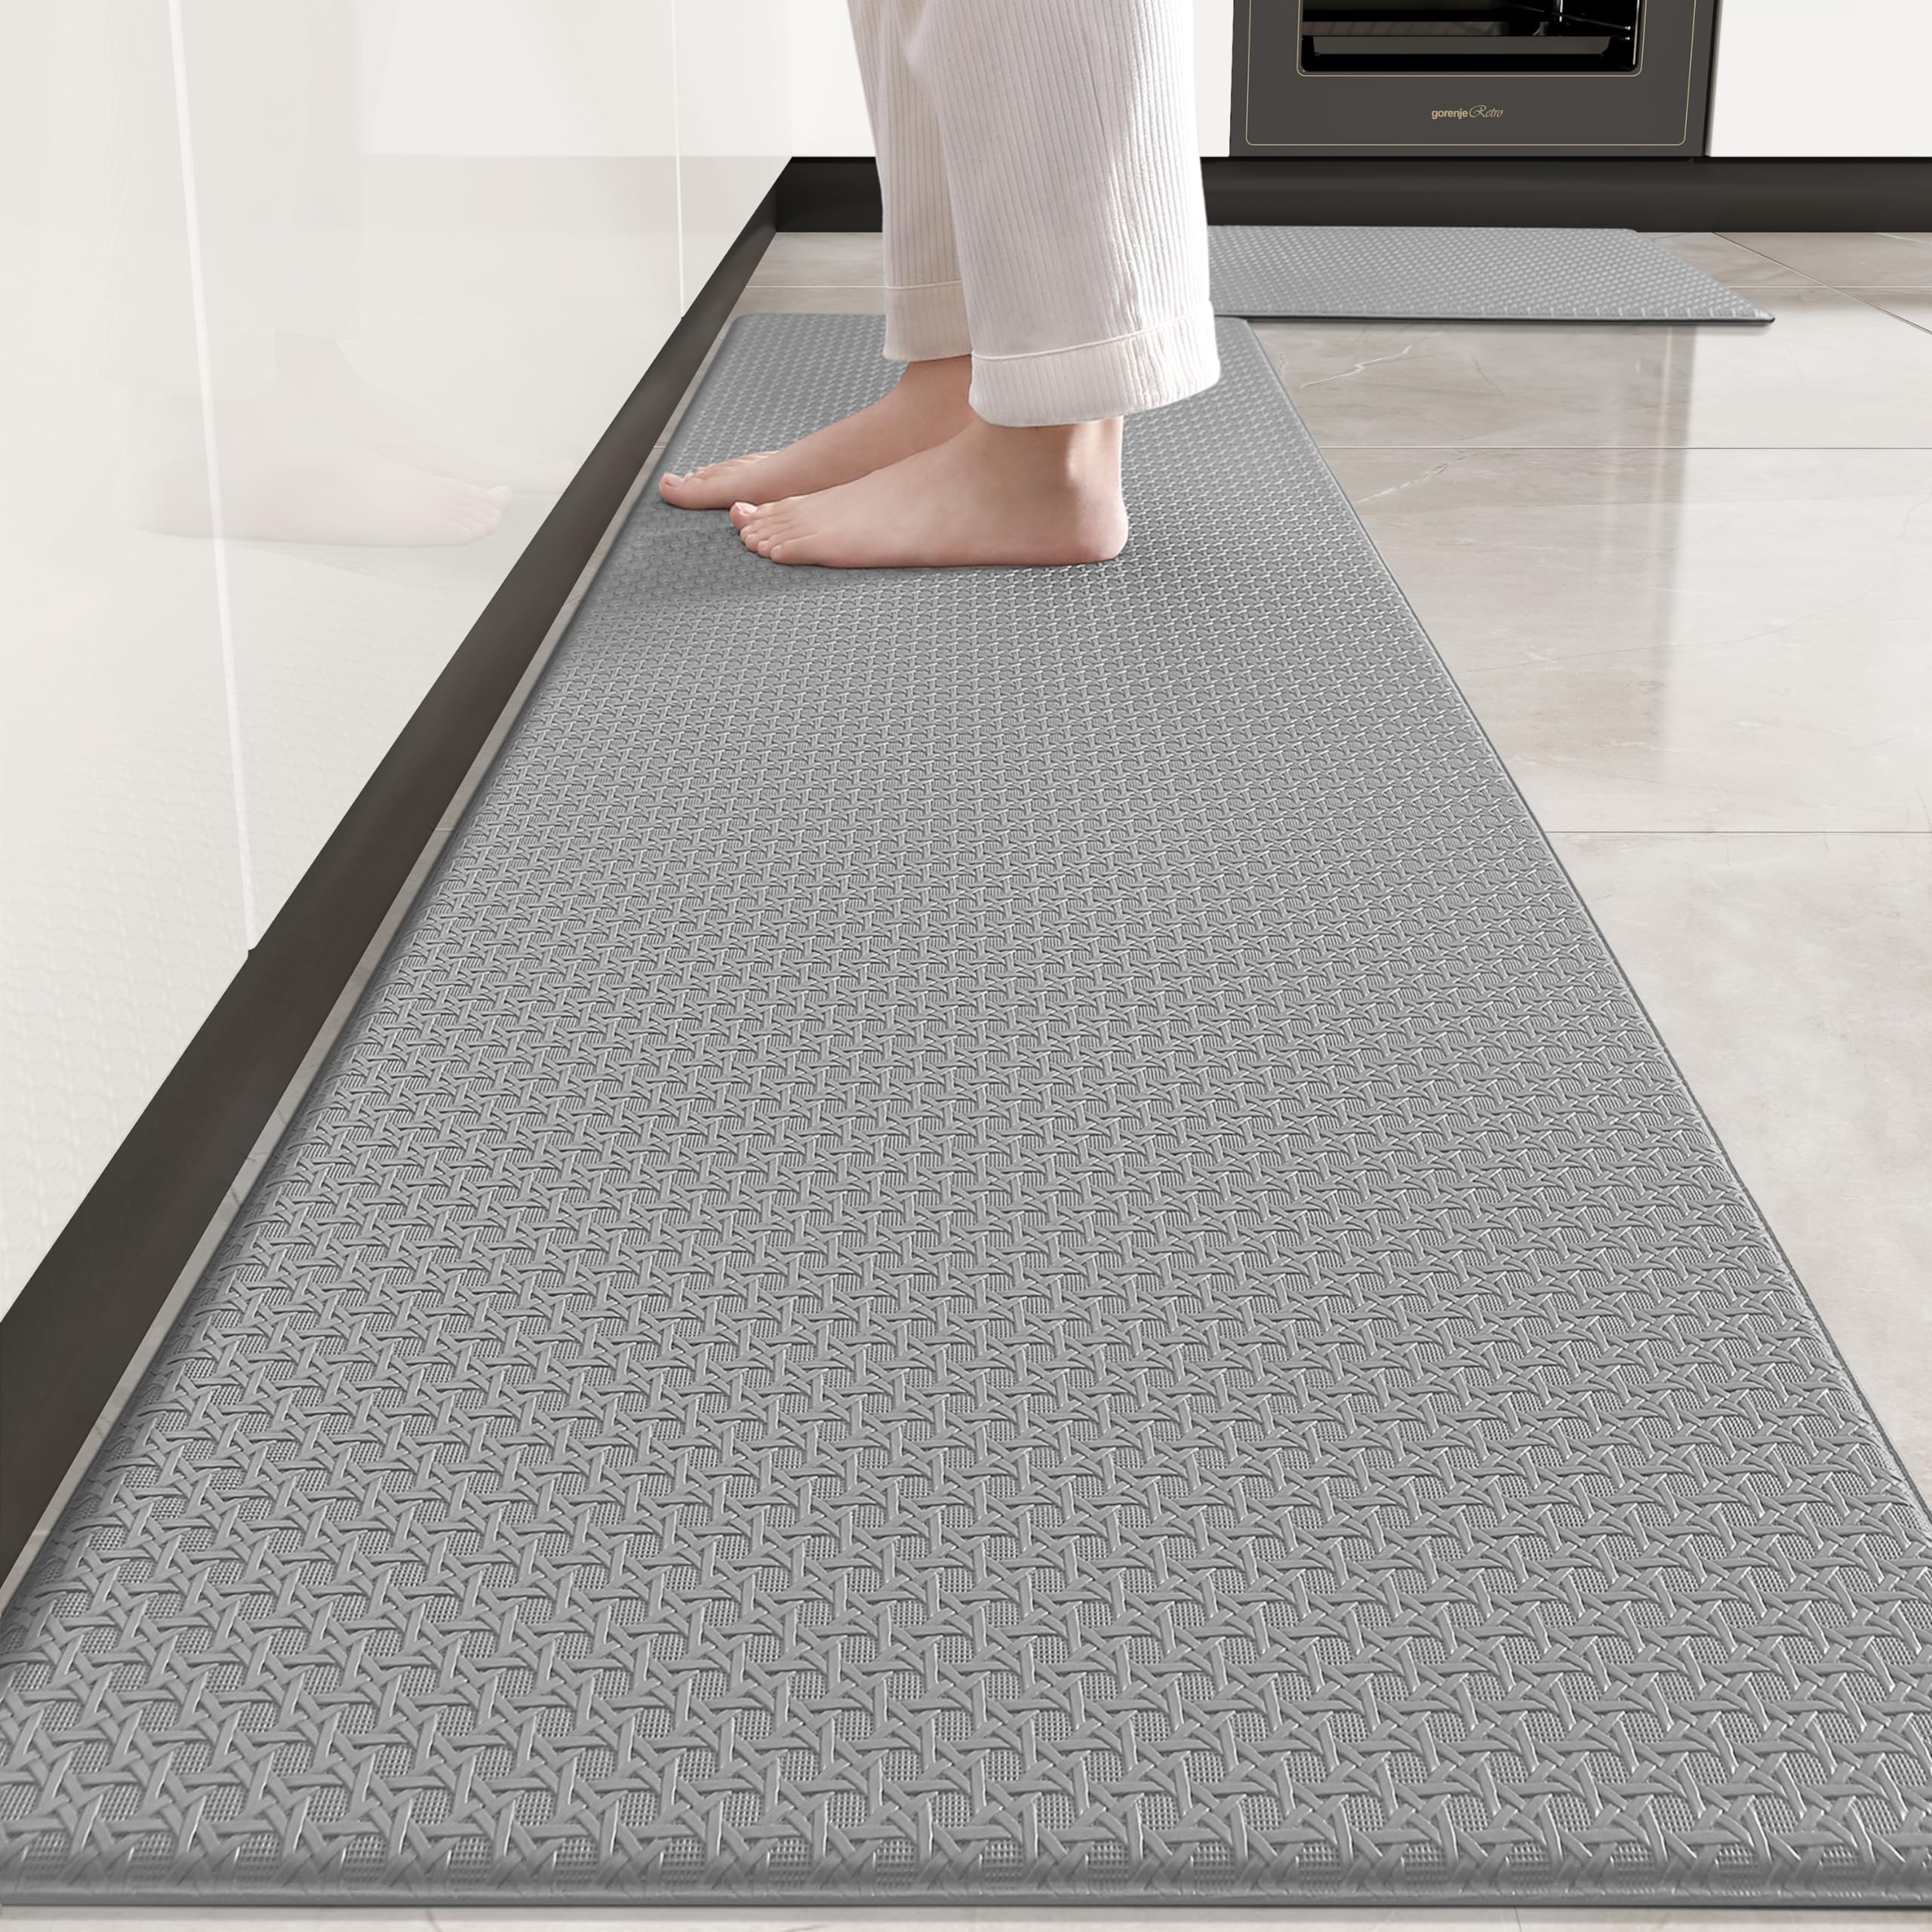
Your cushioned kitchen floor mats make standing for long cooking sessions much easier. But over time, they can collect dirt, spills, and stubborn stains that affect both their look and comfort.
If you want to keep your mats fresh, clean, and inviting, knowing the right way to clean them is key. You’ll discover simple, effective steps to restore your mats without damaging them. Ready to make your kitchen feel cleaner and more comfortable?
Let’s dive in!
Types Of Cushioned Kitchen Mats
Cushioned kitchen mats come in different types, each designed for comfort and durability. Knowing the type helps in cleaning and maintaining them properly.
Some mats focus on softness, while others add extra support or grip. Understanding these differences makes caring for your mat easier.
Foam Mats
Foam mats are soft and lightweight. They offer good cushioning for standing tasks.
Cleaning is simple. Use mild soap and water to wipe away dirt. Avoid harsh chemicals that can damage foam.
Gel Mats
Gel mats contain a gel layer for extra comfort. They reduce fatigue during long cooking sessions.
Clean gel mats gently with a damp cloth. Harsh scrubbing can cause the gel to leak or wear out.
Rubber-backed Mats
Rubber-backed mats prevent slipping on slippery floors. They stay firmly in place.
These mats can be cleaned with a brush and mild detergent. Dry them flat to keep the rubber backing intact.

Credit: www.amazon.com
Tools And Supplies Needed
Cleaning your cushioned kitchen floor mats effectively starts with having the right tools and supplies at hand. The quality of your cleaning depends a lot on what you use. Choosing the right cleaning solutions, brushes, and drying equipment can save you time and keep your mats looking fresh and lasting longer.
Cleaning Solutions
You need a gentle but effective cleaning solution to avoid damaging the cushioned material. Mild dish soap mixed with warm water often works well. Avoid harsh chemicals that can break down the mat’s cushioning or fade its color.
Some people swear by a vinegar and water mix for removing odors and stains without leaving a strong smell behind. If you have kids or pets, consider using eco-friendly, non-toxic cleaners to keep your kitchen safe.
Brushes And Sponges
A soft-bristled brush helps loosen dirt trapped in the textured surface without tearing the mat. You can use a sponge for wiping down smoother areas or soaking up excess water. Avoid stiff brushes or abrasive scrubbers that might scratch or wear down the material.
Think about the size of your mat too. For larger mats, a bigger brush or a sponge with a handle can reduce strain on your hands. Have you noticed how a simple switch in tools can make cleaning less of a chore?
Drying Equipment
Proper drying is essential to prevent mold and odors. A clean, dry towel is perfect for blotting excess water after washing. You can also hang the mat in a well-ventilated area or lay it flat on a drying rack.
Using a fan or placing the mat near an open window speeds up drying. Just be careful with direct sunlight, as it can fade colors or warp some materials. Do you have a favorite drying spot that keeps your mats fresh and ready to use again?
Pre-cleaning Preparation
Cleaning cushioned kitchen floor mats starts with good preparation. It ensures effective results and prevents damage. Follow these pre-cleaning steps for a cleaner mat.
Removing Loose Dirt
Start by shaking the mat outside. This removes loose dirt and crumbs. Use a handheld vacuum to pick up remaining debris. This makes deep cleaning easier.
Spot Testing Cleaners
Always spot test cleaners before full use. Apply a small amount on an inconspicuous area. Wait a few minutes. Check for color fading or damage. This ensures the cleaner is safe for your mat.
Credit: infrakraft.com
Step-by-step Cleaning Process
Cleaning cushioned kitchen floor mats keeps them fresh and extends their life. A clear process helps remove dirt and stains effectively. Follow these simple steps to clean your mats thoroughly.
Vacuuming Or Sweeping
Start by removing loose dirt and crumbs. Use a vacuum cleaner or a broom to clean the surface. Focus on corners and edges where dust collects. This step prevents dirt from spreading during washing.
Applying Cleaning Solution
Choose a mild soap or gentle floor cleaner. Mix it with warm water in a bucket. Dip a soft cloth or sponge into the solution. Apply it evenly over the mat’s surface, avoiding soaking the cushion inside.
Scrubbing Stains
Target stains with a soft brush or sponge. Use circular motions to lift dirt without damaging the mat. For tough spots, apply a small amount of baking soda or stain remover. Be gentle to protect the mat’s material.
Rinsing And Wiping
Rinse the mat with clean water to remove soap. Use a damp cloth to wipe away excess moisture. Let the mat air dry completely before placing it back. Avoid direct sunlight to prevent fading or warping.
Drying And Maintenance Tips
Keeping your cushioned kitchen floor mats clean is only half the job. Proper drying and ongoing maintenance ensure they last longer and stay comfortable underfoot. Neglecting these steps can lead to unpleasant odors, mold growth, or mat deterioration.
Proper Drying Techniques
After washing your kitchen mat, drying it thoroughly is crucial. Avoid leaving it damp or folded, as moisture trapped inside encourages mold and mildew.
Lay the mat flat in a well-ventilated area. If possible, hang it over a drying rack or railing where air can circulate on both sides.
Steer clear of direct sunlight for extended periods, especially if your mat has rubber backing—it can crack or warp. Instead, choose a shaded spot with good airflow.
Regular Cleaning Schedule
How often you clean your mat depends on your kitchen’s activity level. For busy kitchens, aim for a quick wipe or vacuum every few days and a deep clean once a month.
Establish a routine that fits your lifestyle. Mark it on your calendar or set a reminder to avoid letting dirt and spills build up.
Keeping a consistent schedule helps you spot wear and tear early and keeps your mat looking fresh and inviting.
Preventing Damage
Protect your cushioned mat by avoiding harsh chemicals and abrasive scrubbing tools. Gentle soap and soft brushes work best for cleaning.
Think about where you place the mat—avoid areas where it might get caught under cabinet doors or heavy appliances that could cause tears.
Have you ever noticed your mat slipping on tile? Adding a non-slip pad underneath can prevent accidents and extend the mat’s life.
Dealing With Tough Stains
Tough stains on cushioned kitchen floor mats can be frustrating. They not only look bad but can also cause unpleasant odors and damage the mat’s surface. Tackling these stubborn stains requires the right approach and materials to keep your kitchen safe and clean.
Grease And Oil Spots
Grease and oil can seep deep into the cushioned layers of your mat, making them tricky to remove. Start by blotting the spot gently with a paper towel to soak up excess oil—avoid rubbing, which spreads the stain.
Next, sprinkle baking soda or cornstarch over the area and let it sit for 15-20 minutes. These powders absorb oil effectively. Afterward, vacuum or brush off the powder, then apply a small amount of dish soap mixed with warm water. Scrub gently with a soft brush and rinse with a damp cloth.
Have you noticed how some grease stains seem permanent? Acting quickly can make all the difference in preventing long-term damage.
Food And Drink Spills
Food and drink spills are common but can turn into stubborn stains if ignored. Blot any liquid immediately with a clean cloth or paper towel to prevent it from soaking in.
For dried stains, mix equal parts white vinegar and water and spray the solution on the stain. Let it sit for 5-10 minutes, then scrub gently with a soft brush. Rinse with a damp cloth and dry thoroughly.
Remember, some colorful drinks like red wine or coffee can stain faster than you think. What’s your go-to quick clean-up trick?
Mold And Mildew
Mold and mildew thrive in damp environments, which can happen if your mat stays wet too long. To prevent this, make sure your mat dries completely after cleaning or spills.
If mold appears, mix one part bleach with ten parts water. Apply the mixture carefully using a sponge or spray bottle, then let it sit for a few minutes. Scrub the area gently and rinse thoroughly with clean water. Always wear gloves and ensure good ventilation.
Ignoring mold can lead to health issues and ruin your mat. How often do you check your kitchen mats for hidden moisture?
When To Replace Your Kitchen Mat
Knowing when to replace your cushioned kitchen floor mat is essential for maintaining both comfort and hygiene in your cooking space. Over time, mats can lose their cushioning, develop stains, or even harbor bacteria that regular cleaning can't fix. Paying attention to the condition of your mat ensures you keep your kitchen safe and pleasant.
Signs Of Wear And Tear
Look closely at your mat for cracks, thinning areas, or flattened cushioning. These signs mean your mat no longer provides the support your feet need during long cooking sessions.
Stains that won’t come out, persistent odors, or mold growth indicate it's time for a new mat. If cleaning doesn’t restore freshness, replacement is the better option.
Also, check if the non-slip backing is peeling or worn down. A slippery mat can be a safety hazard, especially in a kitchen where spills happen often.
Choosing A New Mat
Think about how you use your kitchen mat before picking a replacement. Do you need extra cushioning for standing long hours, or is water resistance more important?
Materials like gel, foam, or rubber offer different benefits. Gel mats provide comfort, foam is lightweight, and rubber is great for grip and durability.
Size matters too. A mat that’s too small won’t protect your floor effectively, while one that’s too big might get in your way. Measure your space carefully before buying.
Have you checked if your new mat is easy to clean? Choosing one that resists stains and dries quickly saves you time and effort.
Frequently Asked Questions
How Often Should I Clean Cushioned Kitchen Floor Mats?
Clean cushioned kitchen floor mats weekly to remove dirt and spills. Frequent cleaning prevents stains and keeps mats fresh. Deep clean monthly for best hygiene and durability.
What Is The Best Cleaning Method For Cushioned Mats?
Use mild detergent and warm water for cleaning cushioned mats. Gently scrub with a soft brush to avoid damage. Rinse well and air dry completely before use.
Can I Machine Wash Cushioned Kitchen Floor Mats?
Check the mat’s care label before machine washing. Many cushioned mats are machine washable on a gentle cycle. Use cold water and mild detergent, then air dry to maintain cushion quality.
How Do I Remove Tough Stains From Cushioned Mats?
Apply a mixture of baking soda and water on stains. Let it sit for 10 minutes, then scrub gently. Rinse thoroughly and air dry to prevent damage.
Conclusion
Cleaning cushioned kitchen floor mats keeps your kitchen fresh and safe. Regular cleaning removes dirt and spills quickly. Use gentle soap and warm water for best results. Let mats dry completely before placing them back. Simple care extends the life of your mats.
Clean mats also help prevent slips and stains. Keep your kitchen comfortable with clean, cushioned mats. Small effort, big difference. Try these easy steps and enjoy a cleaner kitchen floor.